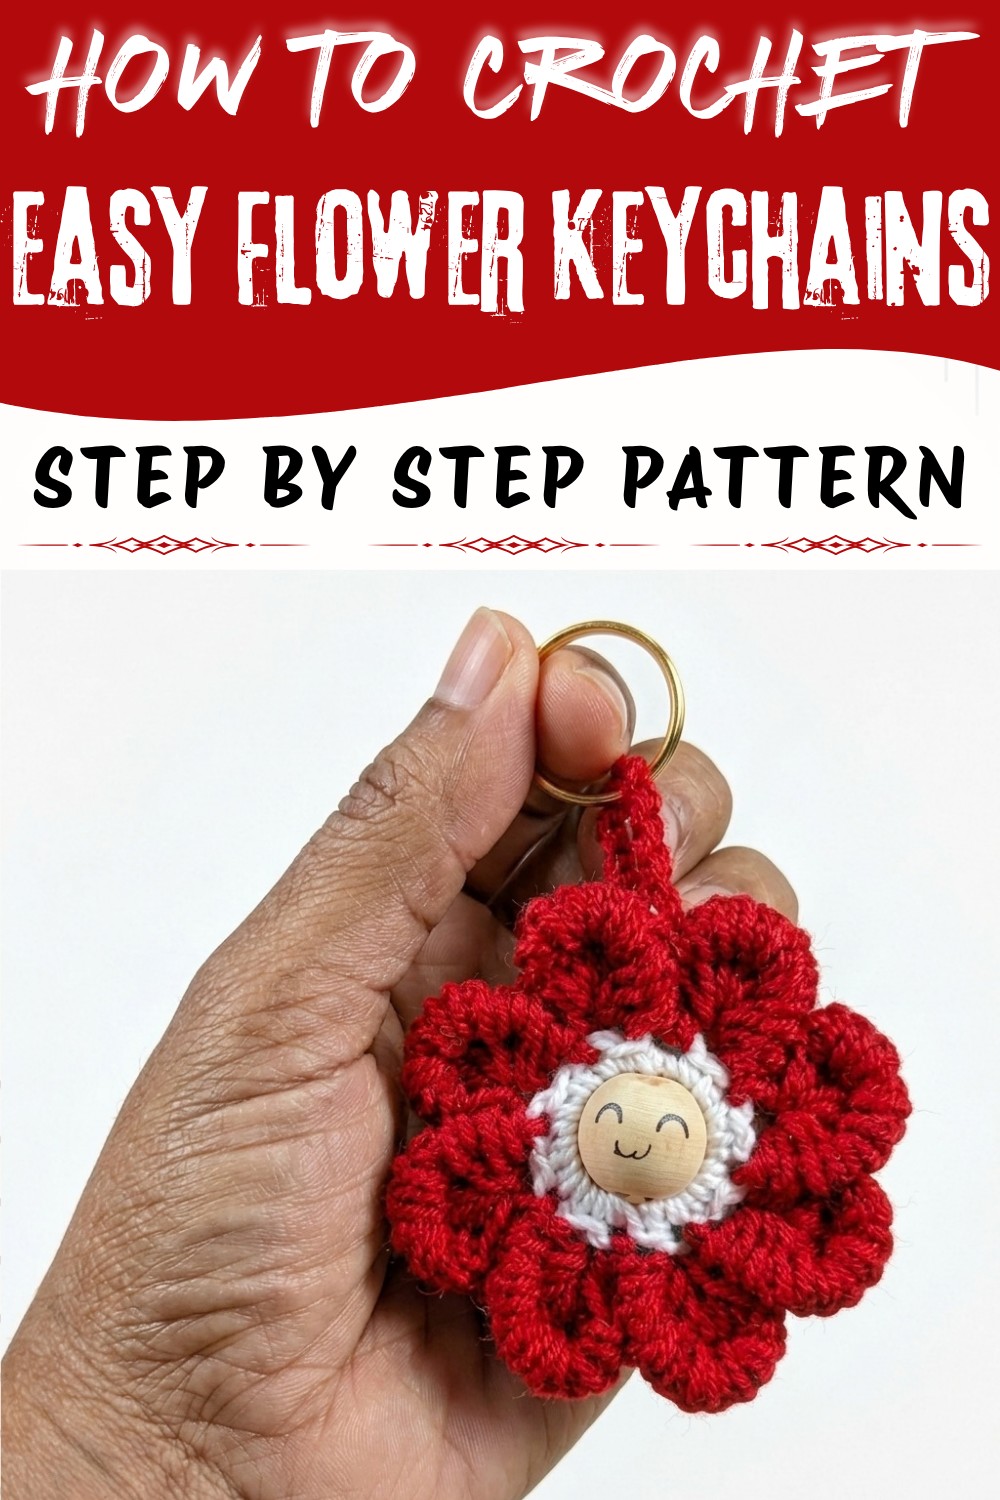
Dress up your backpack with this Crochet Flower Keychain Pattern and add a sweet bloom that gives your daily accessories a playful look.
There's something truly delightful about small handmade accessories that brighten up your everyday essentials. A charming little flower, delicate yet sturdy enough to hang from your keys or wallet, adds a touch of personality and warmth to the items you use daily. This sweet project is exactly that-a lovable floral accent that's as pretty as it is practical. Thanks to a wonderful tutorial by Nancy a crochet, you can bring this idea to life easily with the Crochet Flower Keychain Pattern.
Simple Crochet Flower Keychain Free Pattern with a Cheerful Look
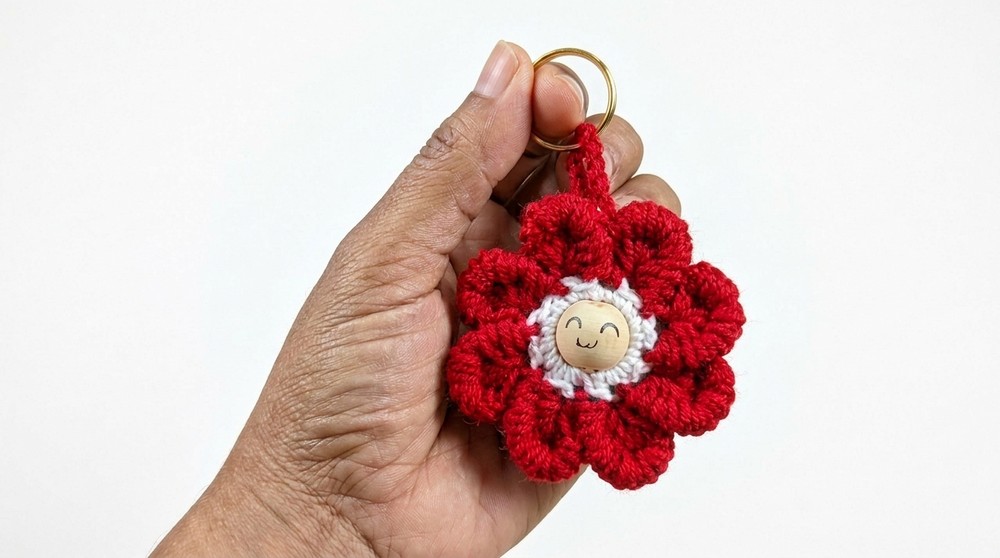
This tiny flower keychain is a joy to look at and hold. Its soft texture and neat, rounded petals create a visually pleasing shape that mimics a sunlit bloom, complete with a little bead detail enhancing its center. The compact size makes it incredibly versatile, perfect for jazzing up your keys, zipper pulls, or even a backpack charm. What's lovely is how quickly this flower can come together, making it a satisfying project for those moments when you want to whip up something pretty without a big time commitment.
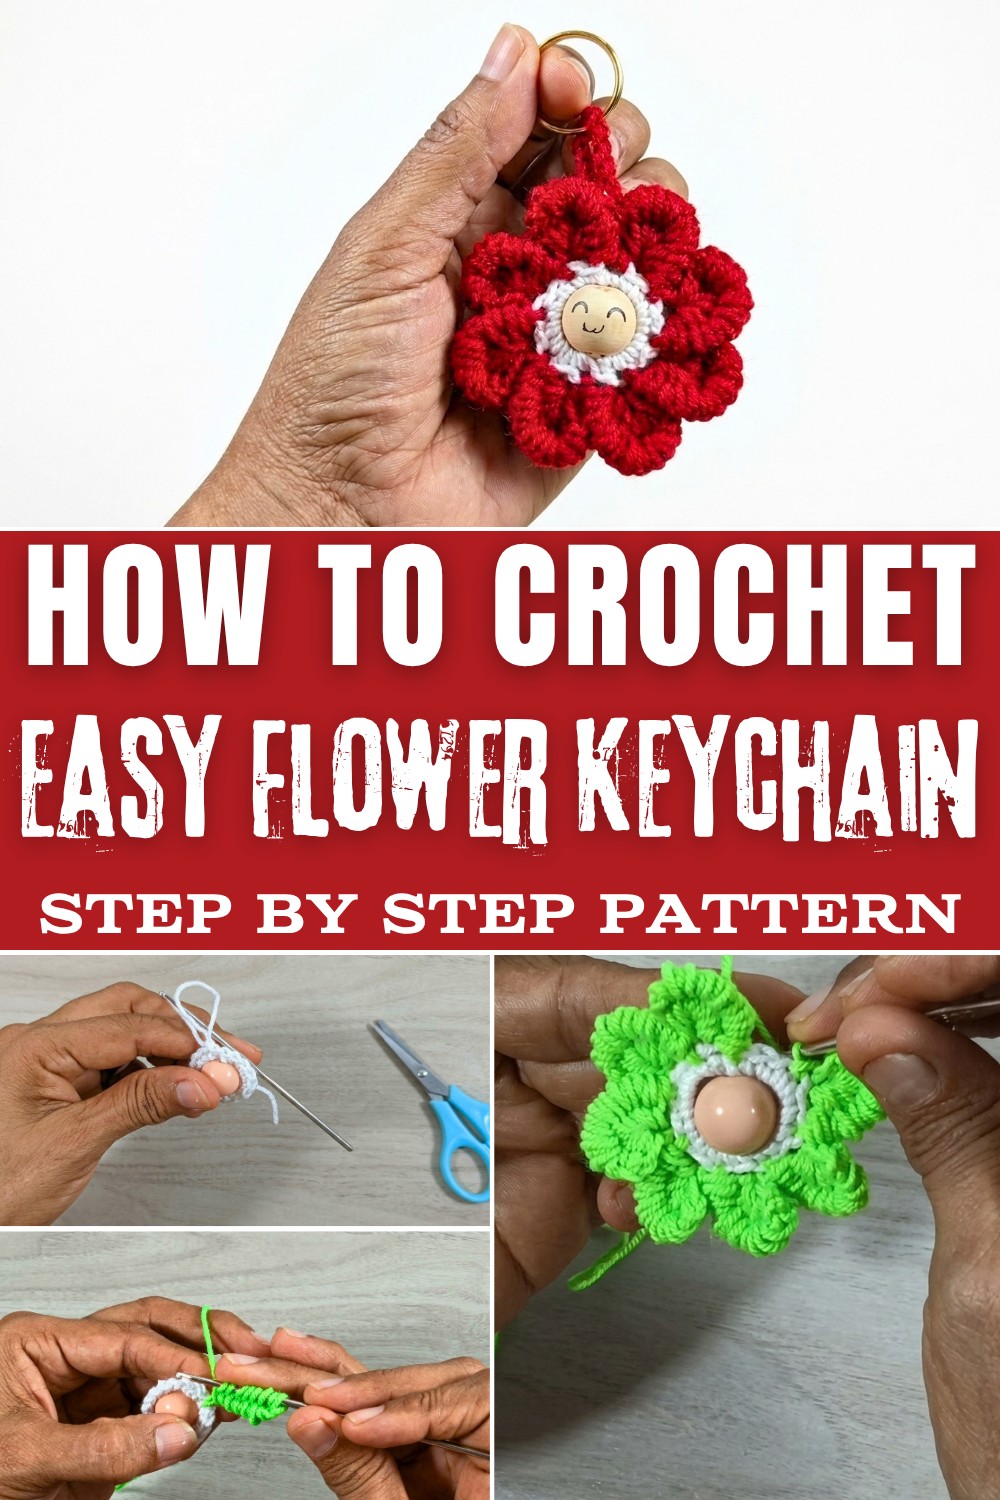
The design is accessible for crocheters with some basic experience who want to practice stitches like half double crochets and slip stitches, while also playing with color and personalization. You get to explore techniques like chaining and joining to bring the petals to life, and you can tailor the length and fullness of your flower by adjusting stitch counts. Plus, adding bead accents or creating variations like a chamomile-inspired bloom offers room to make it uniquely yours.
By working on this project, you'll get a gentle workout with stitches and finishing skills, and you'll end up with a charming little keepsake that's both useful and cheerful. Ready to brighten your day-or someone else's-with a handmade flower keychain? Head over and check out the free pattern to get started.
Crochet Flower Keychain Free Pattern - Full Guide
This floral bead keychain project provides a concise guide for assembling a playful and bright accessory with yarn and a central bead. The process emphasizes clear steps for building structure, beginning with anchoring the bead securely and encasing it with single crochets for a stable foundation. The addition of petal loops introduces a soft, dimensional effect, expanding outward to achieve a cheerful flower shape. Thoughtful color choices for the center and petals enable each maker to personalize the finished result to their style or season. The final assembly, including weaving in ends and attaching a sturdy keychain loop, ensures a robust and tidy accessory suitable for daily use. Optional facial accents or embroidery allow for gentle customization, resulting in an accessory both decorative and practical. This project prioritizes accessible techniques, waste-minimizing materials, and a polished outcome.
Quick Overview Of Pattern
- Create a slip knot and secure a center bead with crochet stitches
- Crochet single crochet stitches around both sides of the bead, encasing it securely
- Change color and crochet layered flower petals around the center
- Form a sturdy hanging loop with chain stitches
- Add a keychain clasp for functionality
- Optionally, draw or embroider a sweet face on the bead
- Weave in all loose ends for a neat finish
Notes
- Select a bead or stone with a large enough hole for multiple passes of yarn.
- Maintain gentle, even tension for the base and especially when working petal loops.
- Use a sharp tapestry needle for secure weaving of ends and attaching the chain loop to the keyring.
- For a more pronounced flower, consider using slightly thicker yarn for petals.
- Choosing contrasting colors for the flower center and petals increases visual appeal.
- Optionally, customize the expression on the bead center with fabric marker, embroidery, or leave plain for a classic look.
Skill Level
- Beginner to Intermediate: Knowledge of slip knot, slip stitch, single crochet, basic chain, and basic embroidery is helpful.
Materials
- Leftover cotton yarn in desired colors (e.g., yellow for center, any petal color)
- Crochet hook matching the yarn weight (often 2.5-3.5 mm)
- One large center bead or polished stone (at least 1 cm wide)
- Keyring clasp or small carabiner
- Tapestry (yarn) needle
- Scissors
- Marker, pencil, or embroidery thread for drawing/embroidering face (optional)
Measurements / Sizing
- Finished flower diameter: approximately 4-6 cm, depending on yarn and bead size
- Loop length: adjustable (default instruction creates a ~5-6 cm hanging loop)
Gauge
- Gauge is not critical for this accessory.
- Sample gauge: 8 sc around a 1-1.5 cm bead center.
Stitch Abbreviations
- ch - chain
- sc - single crochet
- sl st - slip stitch
Special Stitches
- Petal Loop Stitch:
Draw up multiple loops under chain and base stitches, keeping all loops on the hook, then yarn over and pull through all loops to form a petal. - Embroidery/Stitching Optional:
Use a tapestry needle for surface details such as a face.
The Crochet Pattern
Center Base & Bead Assembly
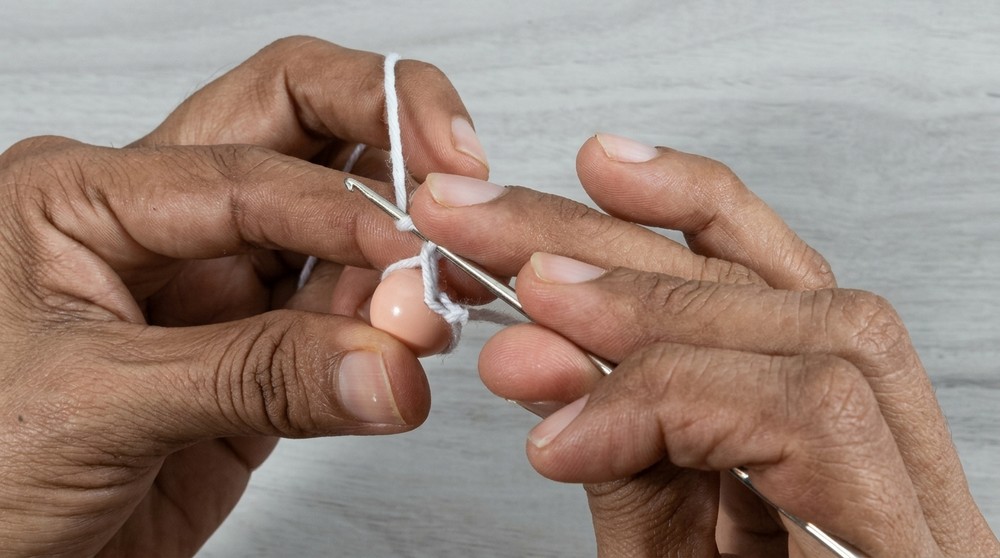
Step 1: Slip Knot & Bead Attachment
- Form a slip knot on your hook.
- Thread yarn through the hole of your large bead or stone.
- Slip stitch to secure the yarn through the center of the bead.
- This anchors the starting point and holds the bead in place.
Round 1: Side 1 Center Single Crochets
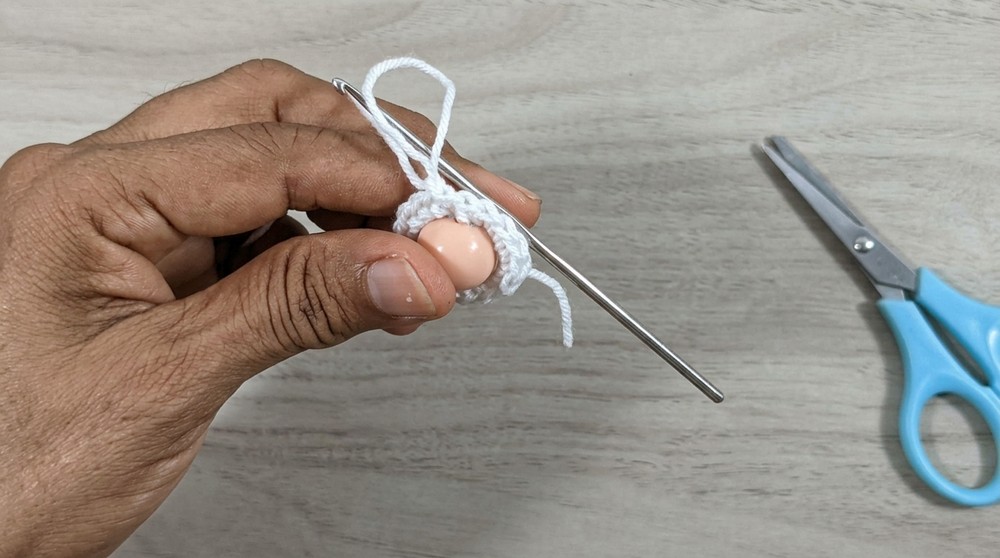
- Work 8 sc around the bead thread on one side of the bead.
- Space the stitches evenly, sliding them around the bead until the first side is encased securely.
Side 2 Center Single Crochets
- Rotate and "jump" to the opposite opening on the bead's other side.
- Work an additional 8 sc around the thread on that side.
- There should now be 16 total sc encircling the bead.
-
- This ensures the bead is fully surrounded by crochet stitches.
Closing the Center Ring
- Sl st into the first sc to join the round.
- Ch 1 and fasten off the center color thread.
Weaving Center Ends
- With the tapestry needle, weave in the starting and fastened-off ends through the back side of the stitches.
- Check the finished center from the front to ensure no loose ends are visible; trim any excess yarn.
Petals Round 2
Attach Petal Color
- Join your chosen petal color yarn with a slip stitch at any stitch between the top and bottom sides of the center.
For each petal, follow these steps (you will make 8 petals in total):
Chain Base for Petal
- Ch 7 to begin the petal.
Forming the First Loop
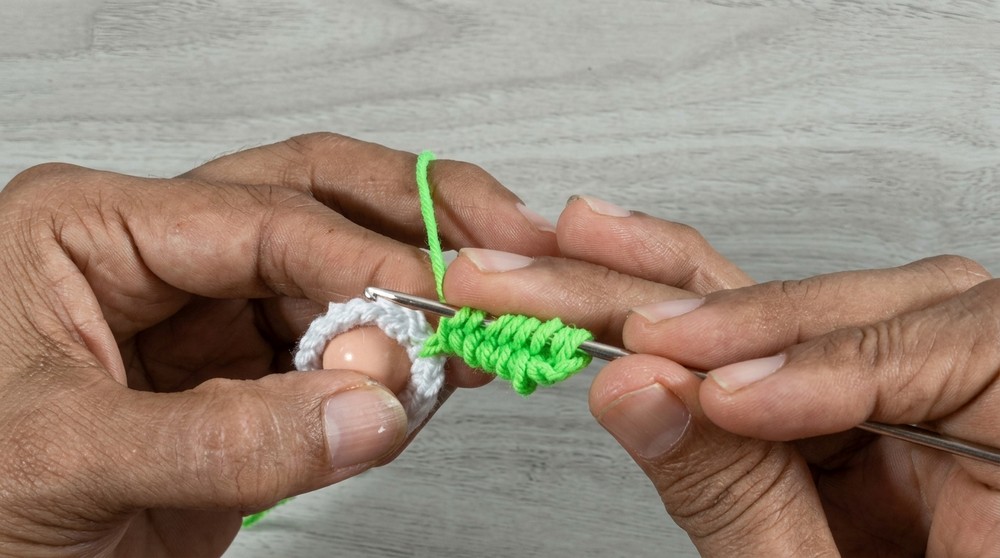
- Insert your hook into the first ch from the hook and pull up a loop.
Loop Pulls under Base
- Working under each chain and adjacent base stitches, continue pulling up loops until you have 12 loops on the hook.
-
- Loops should be of even height and tension for uniform petals.
Completing the Petal
- Yarn over and, holding the hook slightly downwards, pull through all 12 loops on the hook at once.
- Gently tighten to form a neat, puffy petal.
Securing & Skipping
- Sl st to the flower center to secure the petal.
- Skip 1 st on the flower center base, then sl st into the next stitch to begin the next petal.
Repeating Petal Pattern
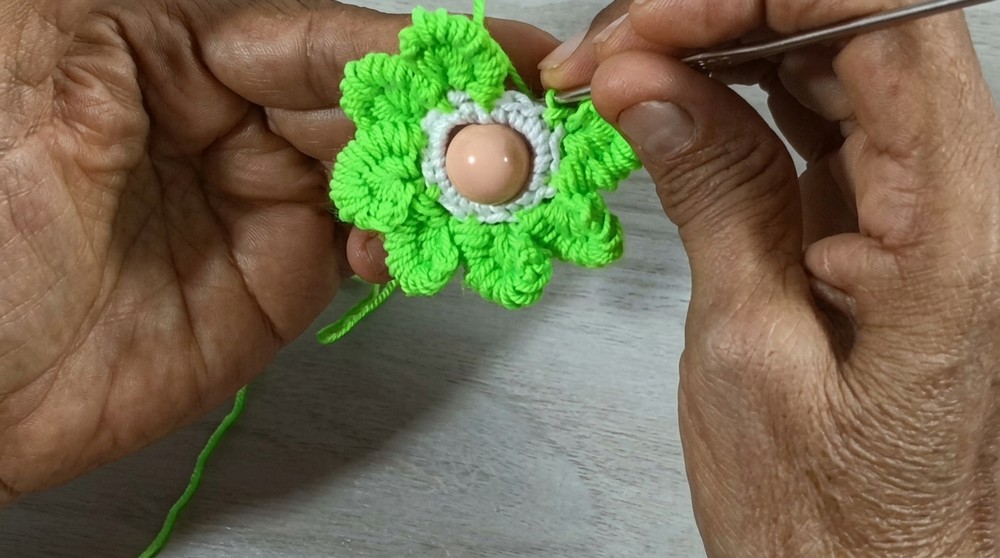
- Repeat steps 7-11 for a total of 8 petals evenly distributed around the flower.
- On the 8th petal, after pulling through all loops and skipping one stitch, close with a sl st into the base of the very first petal.
Keychain Loop & Finishing Touches
Hanging Chain
- From the last sl st (joining the petal round), ch 25 (or more for a longer loop).
- This will be the hanging strap for your keychain.
Securing the Loop
- Sl st back into the petal round at the base.
- Ch 1 and cut the yarn, leaving a 5-6 cm tail.
Weaving & Attachment
- Thread the yarn tail onto the tapestry needle and weave it securely into the back of the flower and chain loop.
- Attach your keyring clasp to the hanging chain by threading it through the loop securely.
Facial Details (Optional)
Step 16: Adding a Face
- With a fine-tipped fabric marker, pencil, or embroidery thread and needle, delicately draw or stitch two curved "sleeping" eyes and a small smile on the bead center of the flower.
- Allow any ink to dry thoroughly if using a marker.
Assembly & Finished Size
- Double-check that all loose ends are securely woven into the back.
- Ensure the keychain clasp is attached firmly to the chain loop.
- The completed keychain flower measures approximately 4-6 cm across (petals included), with the loop adding another 5-6 cm for hanging.
Conclusion and ending words
Upon completion, the crochet flower bead keychain stands out as both pleasing to the eye and suitable for routine handling. The bead's secure encasement and the consistent arrangement of petal stitches contribute to a reliable and symmetric form. Each step, from tension control to careful weaving of yarn ends, supports a polished and lasting finish. By using leftover yarn and available beads, this accessory also demonstrates a resourceful approach to small-scale handiwork. A keyring clasp attached to the sturdy loop ensures practicality for carrying or gifting. Optional embellishments, such as drawn or stitched facial details, add a playful, personal dimension. Overall, each element combines for an accessory that uplifts everyday items with a touch of handmade vibrancy and thoughtful construction.