
There's something so charming about pandas, they're universally loved for their adorable black-and-white look and playful nature. If you enjoy crocheting, a crochet panda pattern lets you bring this cuteness to life through your craft whether you're making a soft toy for kids, a decor piece for a nursery, or even a fun desk companion.
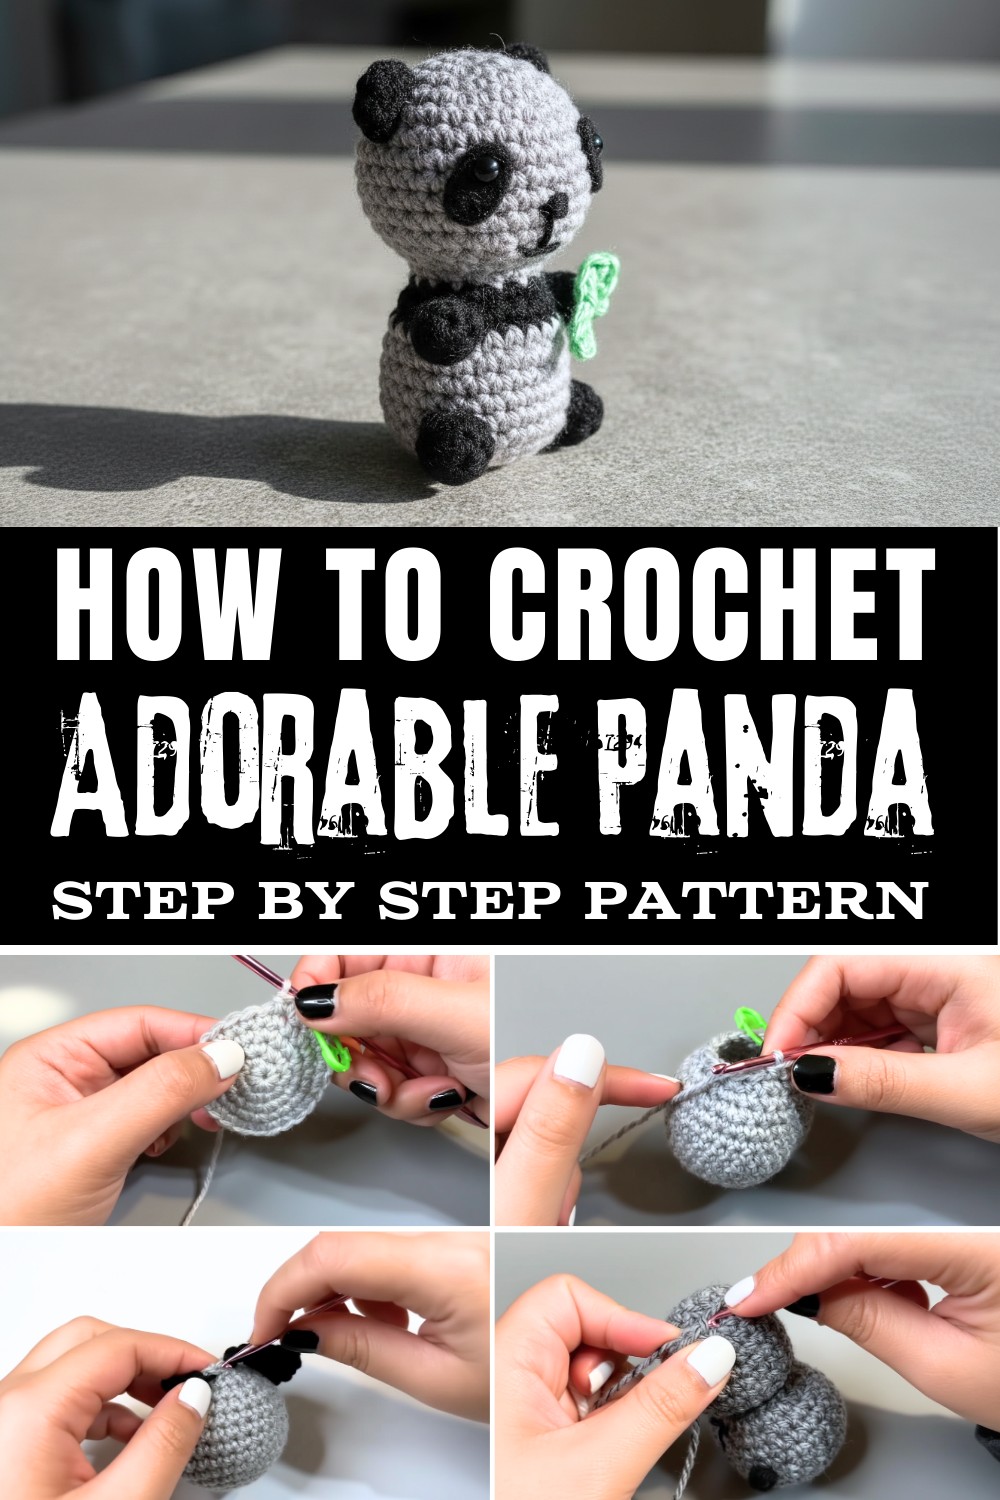
This project is versatile and rewarding using simple stitches and minimal materials, making it beginner-friendly while still being detailed enough to captivate experienced crocheters. You can personalize it by adding details like a scarf, a bow, or even a tiny flower to give it character. Perfect as a thoughtful gift or an eco-friendly plushie, this handmade panda is a creative way to spread charm and joy.
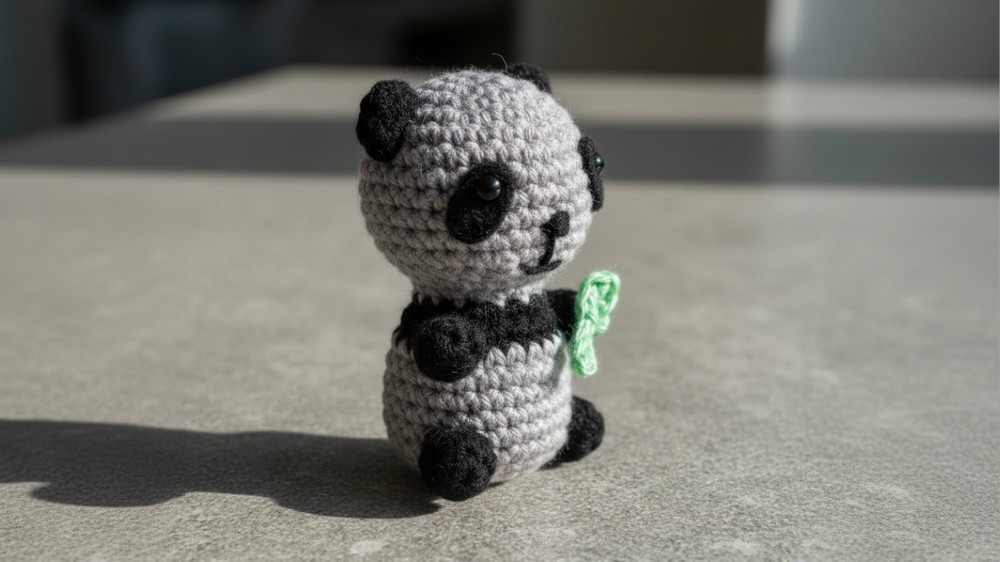
Mini Panda Amigurumi Pattern
Before You Start
- Choose sturdy, smooth yarn for neat stitches (white, black, and a bit of green if making the leaf).
- Keep a small hook and tight tension-this pattern creates a tiny amigurumi!
- The magic circle is used frequently; practice it for small rounds.
- Have a hot glue gun for attaching details or, alternatively, a yarn needle for sewing.
- Prepare felt, safety eyes, and stuffing in advance.
- Use a stitch marker to keep track of each round.
- This amigurumi is suitable as a keychain, car charm, or small gift.
Pattern Notes
- Written in US crochet terminology.
- Tiny pieces mean you'll work in tight spaces-take your time!
- All pieces are made separately and assembled/glued on.
- Amigurumi is constructed in continuous rounds (spiral); do not join unless stated.
- Invisible decreases create a neater finish.
- Embellishments (face, leaf, hanging string) are optional but add character.
How I Made the Crochet Pattern
- Started with the magic circle for all round pieces (head, ears, arms, legs).
- Increased and decreased for smooth shaping, using a stitch marker for accuracy.
- For the face, cut and attached felt "mask" around safety eyes and embroidered a mouth.
- Worked body in two-tone (black/white) to imitate panda coloring.
- Made accessories (leaf) and glued/sewed all parts in place.
- Finished with a hanging loop or keyring option.
Skill Level
Confident Beginner (familiar with magic circle & working in the round)
Finished Size
- Height: ~2.5-3.5 inches (7-9 cm), depending on yarn/hook and tension.
Materials
- Worsted/Aran weight yarn (size 4): White, Black, Green (small scrap)
- 3.5mm crochet hook (E)
- 6mm safety eyes
- Black embroidery thread or DK yarn for mouth
- Small piece black craft felt for eye patches and nose
- Hot glue gun or craft glue
- Yarn needle
- Scissors
- Stuffing/fiberfill
- Stitch markers
- Keyring or white yarn for hanging loop (optional)
Measurements / Sizing
- Finished panda (sitting): ~3" (7.5cm) tall by ~2" (5cm) wide
- Ears, arms, legs, and leaf: ~0.5" (1.3cm) long each; adjust for desired size
Gauge & Stitch Pattern
- Gauge is not critical but use a hook size smaller than usual for tight, gap-free stitches.
- Pattern uses only the single crochet (sc) stitch for most pieces, with some half double crochet (hdc) in the leaf.
- Stitches are worked in spirals (continuous rounds).
Stitch Abbreviations
- MR = magic ring
- sc = single crochet
- inc = increase (2 sc in 1 st)
- dec = decrease (sc 2 together, invisible decrease preferred)
- BLO = back loop only
- hdc = half double crochet
- ch = chain
- sl st = slip stitch
- st(s) = stitch(es)
Special Stitches
- Invisible decrease: Insert hook in front loop of next two sts, yarn over, pull through both loops, yarn over, pull through last two loops.
- Magic ring: Make an adjustable loop to work sc stitches into; closes the round neatly for amigurumi.
- Changing color: At the last step of the previous st, yarn over with the new color to keep the stitch smooth.
- Petite leaf: Chain 3, hdc, sc, sl st into previous chain, chain 3 to finish.
The Pattern
Head/Body
With white yarn, start at the top of the head:
- Round 1: MR, 6 sc in ring [6]
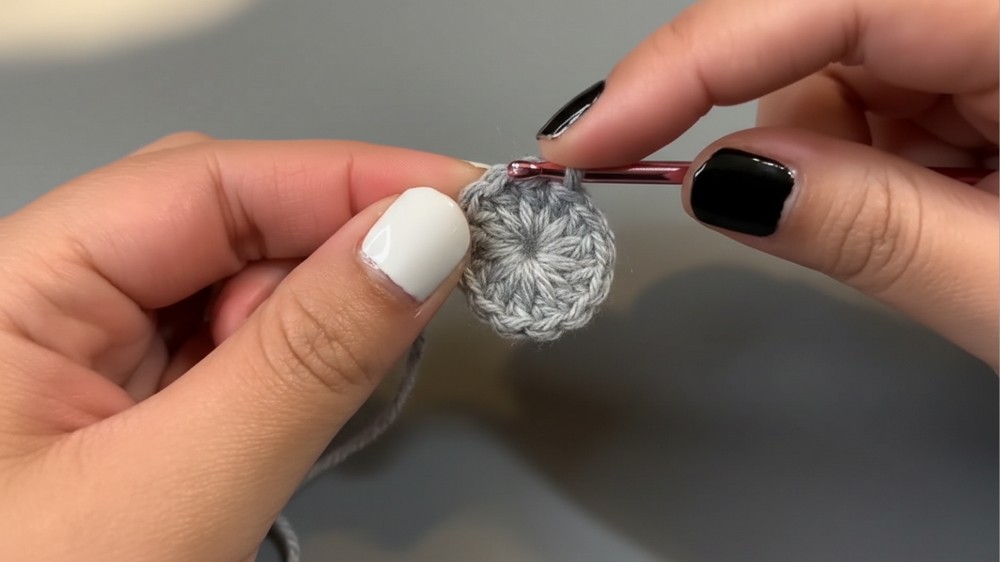
- Round 2: Inc in each st around [12]
- Round 3: (Inc, sc in next st) x6 [18]
- Round 4: (Inc, sc in next 2 sts) x6 [24]
- Round 5: Sc in each st around [24]
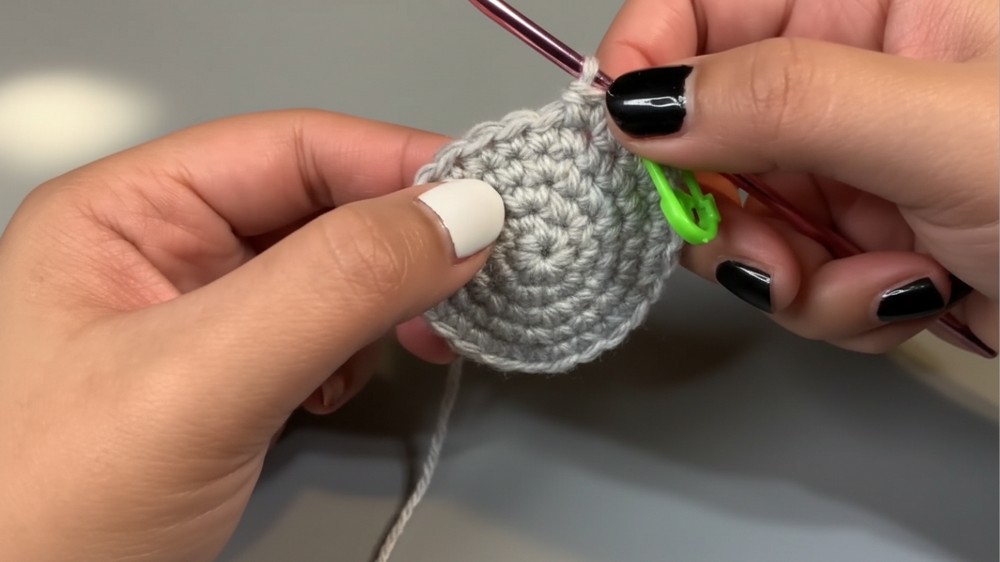
- Round 6: (Inc, sc in next 3 sts) x6 [30]
- Rounds 7-11: Sc in each st around [30, 5 rounds]
After forming a ball with five rounds of sc, you have your basic panda head shape.
Shaping the Head
- Round 12: (Inv dec, sc in next 3 sts) x6 [24] (Use invisible decreases for a neat appearance.)
- Round 13: Sc in each st around [24]
- Round 14: (Inv dec, sc in next 2 sts) x6 [18]
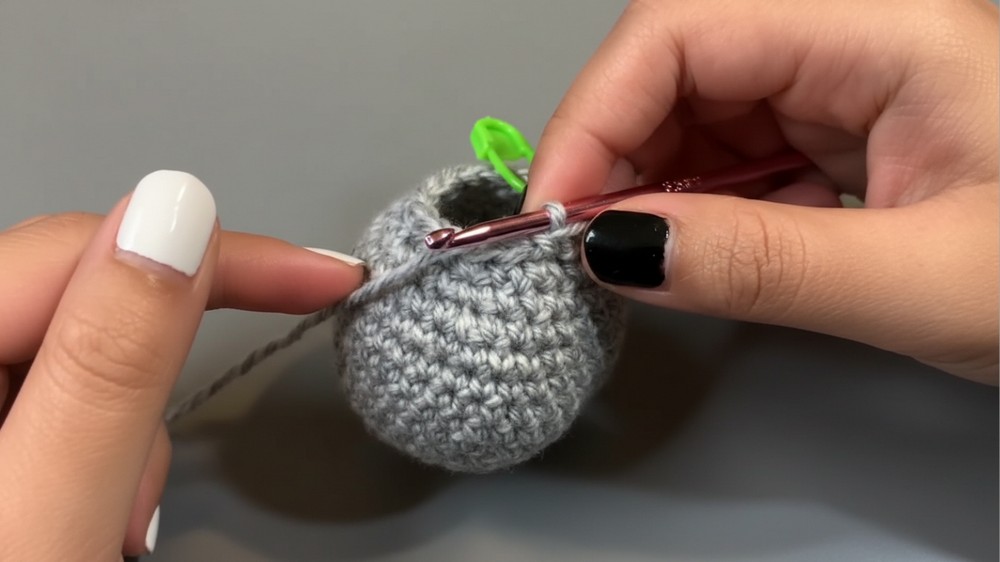
- Round 15: (Inv dec, sc in next st) x6 [12]
Finish head:
Stuff firmly, shape, and sew up using an invisible closure. At this stage, use black felt for eye patches and nose, glue on eyes and nose, and embroider the mouth.
If you're a new crocheter, you build the head by increasing and then decreasing rounds. Mark each round end and stuff before finishing off.
Neck/Body Transition (Black Section)
Switch to black yarn:
- Round 16: (Inc, sc in next st) x6 [18]
- Round 17: (Inc, sc in next 2 sts) x6 [24]
- Round 18: Sc in each st around [24]
This short "belt" of black forms the panda's neck/shoulders. You can add an extra round for a bolder black section.
Lower Body
Switch to white yarn:
- Round 19-23: Sc in each st around [24, 5 rounds]
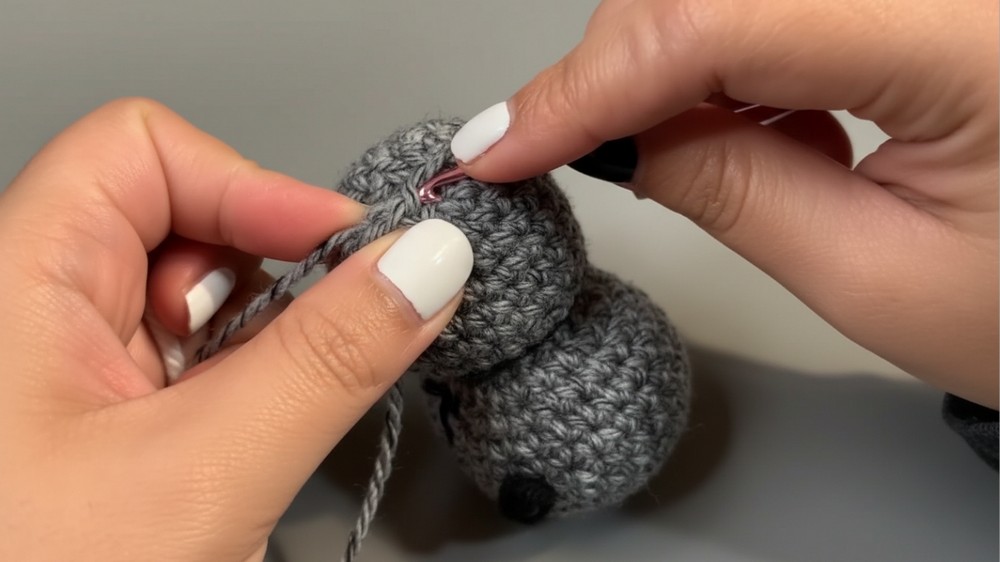
Work these rounds in plain white to elongate the body. The body is intentionally stubby for cuteness!
Tapering/Closing
- Round 24: (Inv dec, sc in next 2 sts) x6 [18] (add stuffing here)
- Round 25: (Inv dec BLO, sc next st) x6 [12]
- Round 26-27: Inv dec x3, sl st to finish and close hole.
Fasten off, close opening with a needle by weaving through last 6 loops and pull tight.
The bottom rounds taper into a base. Stuff firmly before closing!
Ears (Make 2, black)
- Round 1: MR, 6 sc [6]
- Round 2: Sc in next 4 sts [4]
Fasten off, flatten, leaving a tail for sewing/gluing.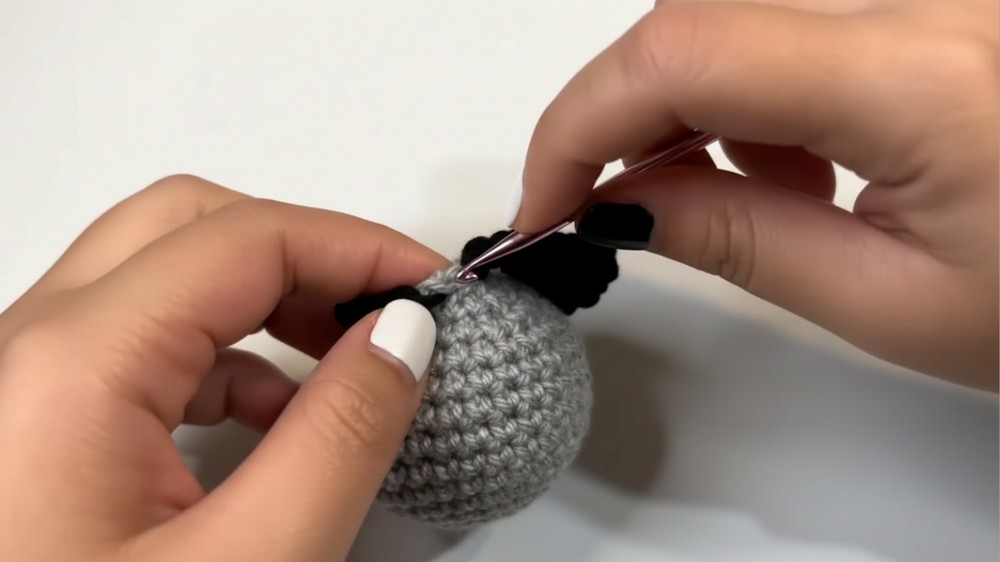
Arms (Make 2, black)
- Round 1: MR, 5 sc [5]
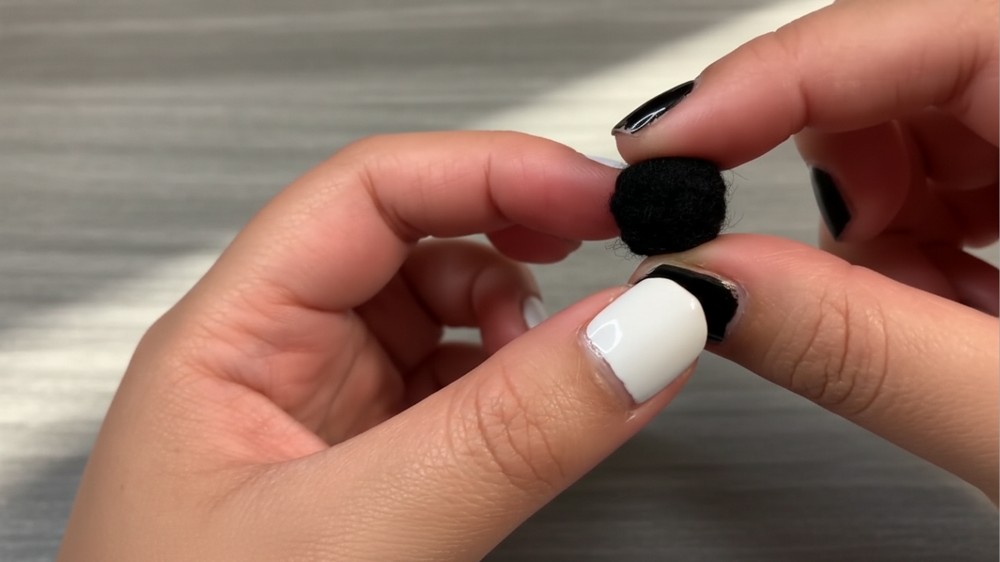
- Round 2: Sc in each st [5]
Fasten off, flatten.
Legs (Make 2, black)
- Round 1: MR, 6 sc [6]
- Round 2: Sc in each st [6]
Fasten off, flatten.
Leaf (Optional, green)
- Make a slip knot, ch 3
- Hdc in 2nd ch from hook, sc in next ch, sl st in same ch, ch 3, fasten off.
Assembly & Finishing
- Attach ears to sides/top of head with hot glue or sew with yarn needle.
- Glue on eye patches & nose cut from felt. Press safety eyes through patches and head; secure from inside.
- Embroider mouth with backstitch or satin stitch using black thread.
- Attach arms and legs with glue or stitch securely.
- Glue/on the leaf to a paw, arm, or beside the face.
- Attach a keyring or create a loop on top (optional).
Solution of Problem
- If rounds are hard to see or join: Use a stitch marker from the first round and check counts regularly.
- If amigurumi is lumpy or gaps show: Use tighter tension and stuff as you go; use a smaller hook if needed.
- If magic circle won't close: Thread tail onto a needle and weave through stitches to pull tight.
What You Can Make With These Stitches
- Mini animals (bears, bunnies, etc.)
- Amigurumi fruit, food, or plants
- Bag charms and keychains
- Tiny ornaments
- Pocket pals and party favors
Special Notes
By carefully following each round and using invisible decreases and color changes, you'll have your own adorable mini panda amigurumi! Feel free to customize size, limbs, or accessories for your own twist, these make wonderful gifts, bag buddies, or cheerful companions wherever you go.