
Bring classic style using the Free Crochet Waffle Bag Pattern for a unique, graceful bag that blends charm and function.
Practical designs that combine functionality with style are always a favorite among crafters, and nothing represents that better than a crochet waffle bag. This uniquely textured bag pattern offers a blend of durability, charm, and versatility, making it an ideal accessory for everyday use. With its signature waffle stitch pattern, it stands out instantly, adding a modern yet cozy vibe to any outfit or occasion.
Versatile and Easy to Customize
Perfect for carrying essentials like books, groceries, or personal items, this pattern is as handy as it is stylish. Its sturdy structure provides reliability, while the waffle stitch adds a trendy aesthetic that complements various wardrobe styles. The pattern is versatile, allowing you to customize the size, color, and handle design to suit your preferences. Whether you're heading to the market, the beach, or a casual outing, this bag pattern easily adapts to your needs.
Beginner Friendly Crochet Waffle Bag Pattern With Quick Success

Beyond its stylish appeal, this project is an excellent way to sharpen your crochet skills. The waffle stitch introduces an interesting texture and depth, making it a fun and engaging pattern to work on for both beginners and more experienced crocheters. Additionally, since it requires medium-weight yarn, it's a practical way to use materials already in your stash.
Sustainable and Lightweight Choice
Lightweight, eco-friendly, and reusable, this pattern also serves as a sustainable alternative to disposable shopping bags. It's a creative project that doesn't just enhance your accessory collection but also reflects a thoughtful lifestyle choice. The waffle bag pattern strikes the perfect balance between creativity, functionality, and modern design.

Why I Love this Project
- Unique texture: The waffle stitch adds a visually appealing and modern look.
- Versatility: Perfect for groceries, books, outings, or as a stylish everyday bag.
- Customizable: Easily adjustable in size, color, and handle design to suit personal preferences.
- Skill-building: A great way to practice the waffle stitch and improve crochet techniques.
- Eco-friendly: Reusable and sustainable, reducing reliance on disposable bags.
- Durability: The sturdy design makes it reliable and long-lasting.
- Minimal materials: Requires medium-weight yarn, ideal for using up leftover supplies.
- Lightweight: Easy to fold and carry without extra bulk.
- Modern design: A casual yet stylish accessory that complements any outfit.
Materials
- Yarn: 2.5mm hollow fiber cotton (select a color of your choice).
- Hook: 3.5mm crochet hook.
- Notions:
- Scissors (to cut the yarn neatly).
- Tapestry needle (for weaving in ends).
Gauge
- Gauge: 10 single crochet (sc) x 10 rows = 4 inches (10 cm).
- Gauge is important to ensure proper finished size. Adjust hook size if your gauge differs significantly.
Finished Size
The finished waffle bag size largely depends on your chain foundation and subsequent rows, but this pattern results in a medium-sized bag approx. 11 inches x 8 inches (28 cm x 20 cm).
Special Techniques
- Slip Knot: Begin with a secure slip knot to hold the yarn firmly to the hook.
- Single Crochet (sc): Insert hook in stitch, yarn over, pull through, yarn over, and pull through both loops on the hook.
- Double Crochet (dc): Yarn over, insert hook in stitch, yarn over, pull through, yarn over, pull through two loops, yarn over, pull through the remaining two loops.
- Slip Stitch: Insert hook in stitch, yarn over, and pull through both the stitch and the loop on the hook.
- Chain (ch): A basic stitch used to form a foundation. Yarn over and pull yarn through the loop on the hook.
Pattern Instructions
Bottom Base
- Step 1: Begin with a slip knot .
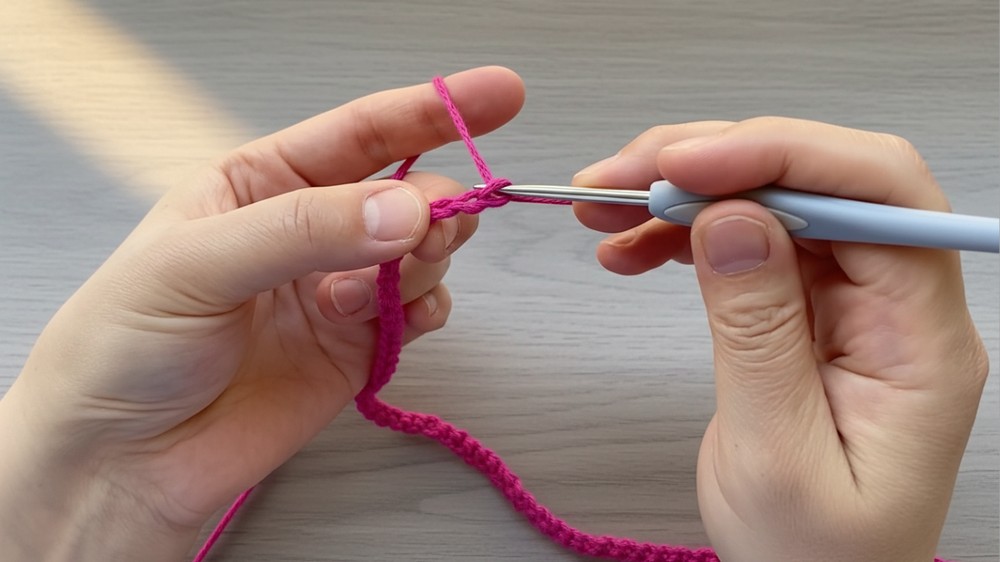
- Step 2: Chain 31 to form the foundation row for the bottom base.
- Step 3:
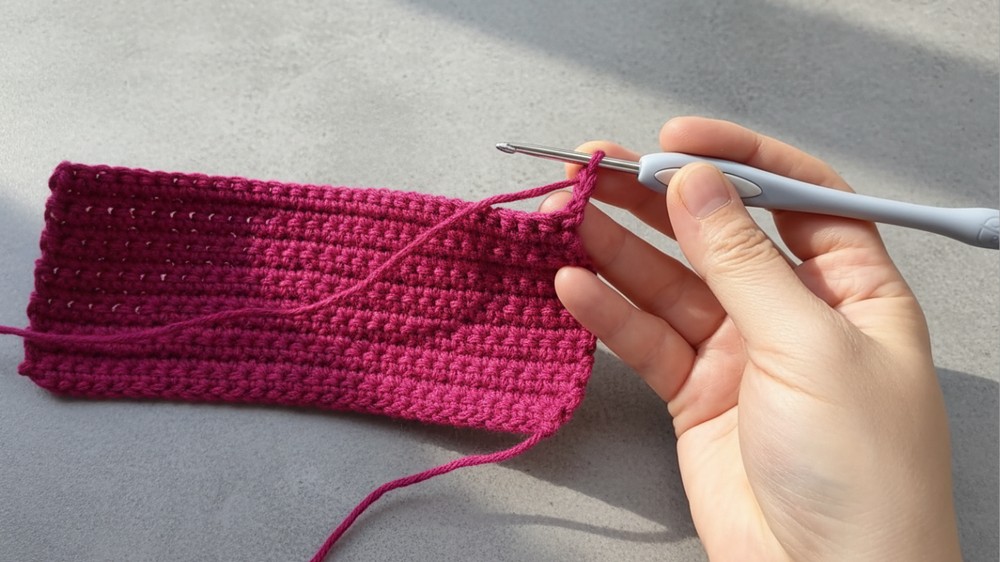
- In Row 1 (R1): Work 30 single crochet (sc) stitches starting from the second chain from the hook.
- Chain 1, turn your work.
- Step 4:
- For Rows 2-13 (R2-R13): Work 30 single crochet (sc) stitches across each row. Always chain 1 and turn at the end of each row. By Row 13, you will have a rectangular base.
First Layer
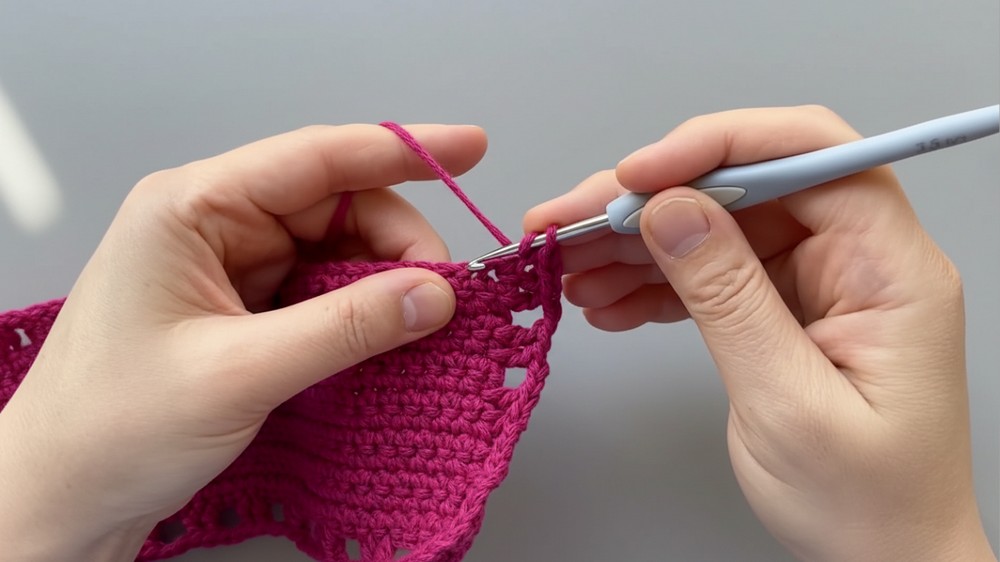
- Step 5: Chain 3 and turn your work (3:44).
- Skip the first stitch and work 1 double crochet (dc) into the second stitch.
- Step 6:
- Chain 2 (4:14), skip the next 2 stitches, and work 1 (dc) into the third stitch.
- Follow by working 1 (dc) in the next stitch.
- Repeat across: 2 chains, skip 2 stitches, 2 double crochets. This pattern creates the waffle texture.
Second Layer
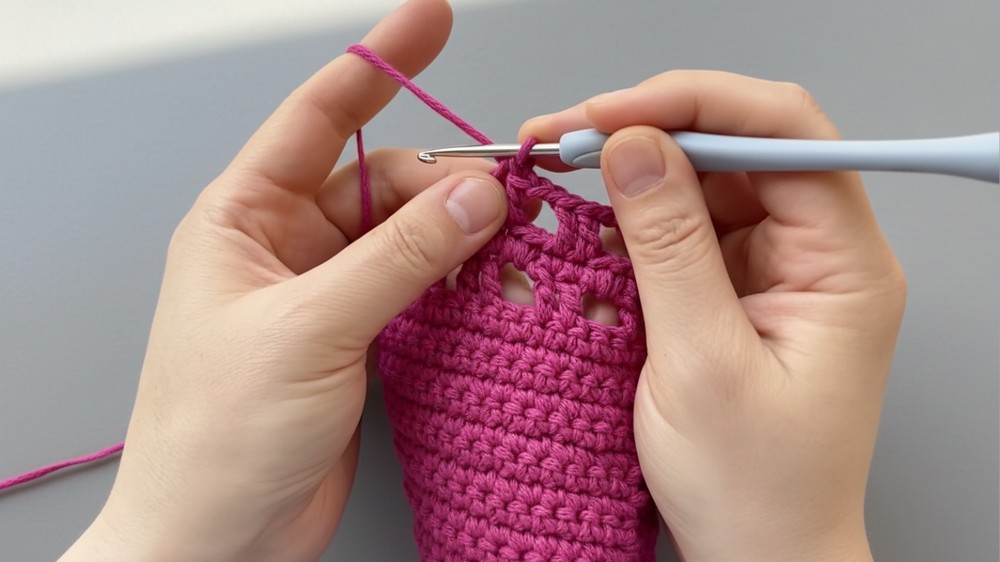
- Step 7: At the end of the row:
- Chain 2 and 1dc into the same stitch, then work 1dc in the next stitch.
- Continue the repeat: 2 chains, skip 1 stitch, 2dc across the row.
- Step 8: This repeat forms another waffle layer. Continue repeating R5-R8 waffle style until desired height is achieved. You can stop after 11 rows for a medium bag or 15 rows for a larger bag.
Strap Creation and Final Touches
- Step 9: To create straps: Chain the desired length (for example, 40 chains or longer for longer straps), and work single crochets (sc) along the chains. This creates sturdy straps.
- Step 10: Attach the straps by slip stitching them securely onto the edges of the bag.
- Step 11: Work a final single crochet round around the bag's opening, including going around the strap edges for neatness.
Customization Ideas
- Size Adjustment: Adjust the initial chain count to make a bigger or smaller bag. For a wider bag, for example, chain 41 instead of 31 and repeat the single crochet rows accordingly.
- Color: Use different yarn colors for stripes, contrasting details, or gradient effects to personalize your bag.
- Tassels or Fringe: Add decorative tassels at the bottom corners for an extra touch.
Tips for Success
- Keep Count: Always count your stitches to avoid uneven rows and unwanted gaps.
- Tension: Maintain consistent tension to create a polished and even finish.
- Blocking: After completing the bag, you can lightly block it with steam or water to give it a neat shape.
Conclusion
The Crochet Waffle Bag combines practical utility with classic beauty. Featuring a textured pattern resembling waffles, this lightweight yet durable bag is perfect for outings, shopping, or gifting. With a little patience and creativity, you can customize colors, sizes, and add features like straps or decorative accents.
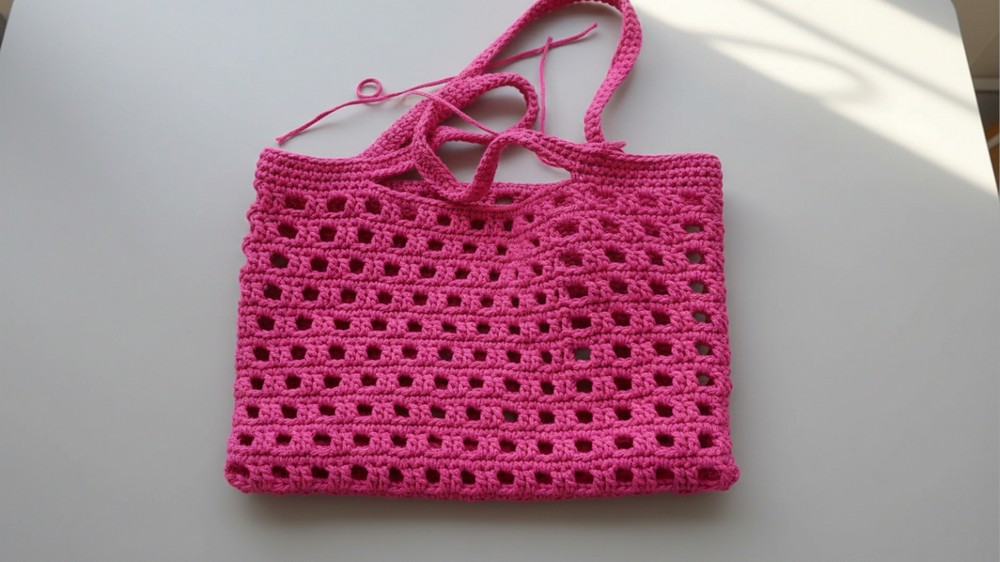
Final Look and Remarks
Once completed, this bag will showcase a clean, structured design with soft yet bold texture. Its versatility and charm make it a wonderful handmade accessory you'll be proud to carry. Follow the steps carefully and enjoy the satisfying experience of turning yarn into something functional and beautiful.