
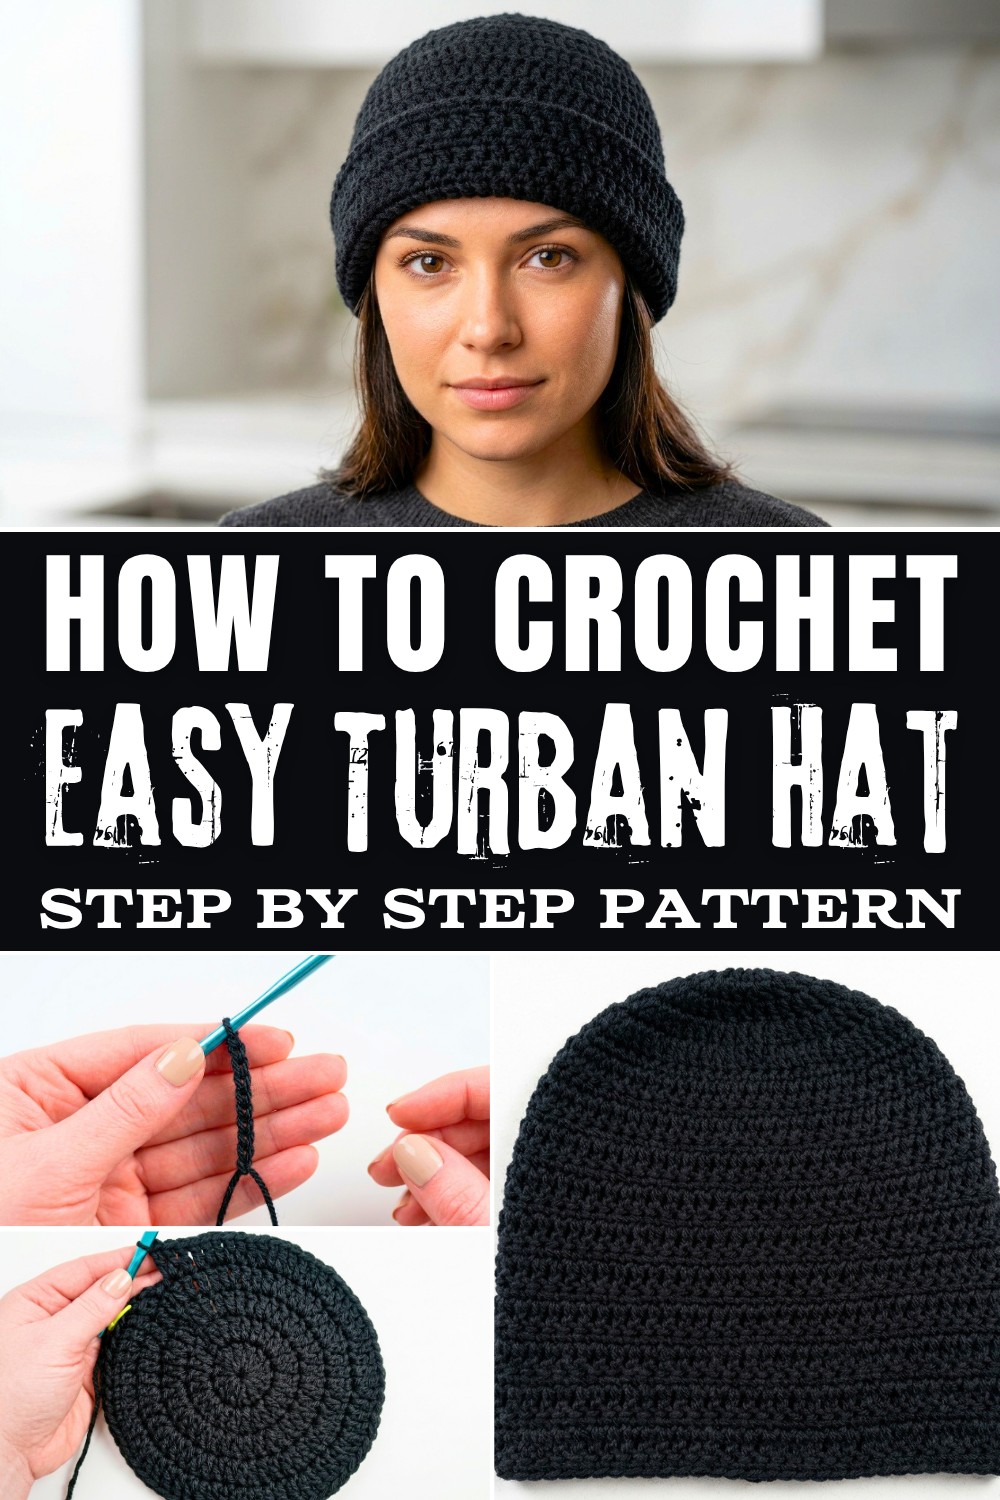
Learn a trendy crochet turban hat pattern, perfect for beginners, with alternating textures that deliver chic looks for any outfit.
Crocheting a cozy turban hat is one of those projects that brings comfort and charm together beautifully. This hat is designed with a simple yet striking alternating pattern of double crochet (dc) and single crochet (sc) rounds, giving it a unique texture that stands out while still feeling minimalist. The turban-style hat offers versatility-you can wear it as a slouchy beanie for a casual look or roll up the brim for added warmth on chilly days. Made with medium (#4 weight yarn), this project is wonderfully beginner-friendly and works up quickly, making it ideal for crocheters of all levels, whether you're trying out your first wearable piece or looking for a fun way to use leftover yarn.
Wonderful Free Crochet Turban Hat Pattern for a Stylish Look
One of the highlights of this pattern is how effortlessly the work shapes into a hat without complicated stitches or increases after the foundational rounds. Once you master the beginner stitches such as double crochet and single crochet, you'll be alternating the rows to create depth and texture in the hat. Plus, you'll also learn skills like working in the round and increasing with precision while maintaining a consistent tension-an essential skill for crocheters who want polished, professional-looking results.
What You Can Make With These Skills
The skills gained from this project are incredibly versatile! Beyond turban hats, you can expand your creativity to crochet matching scarves, cowls, or even textured blankets using the same techniques. The alternating row method lends itself to creating sturdy yet stylish accessories and home décor items with ease. The possibilities are endless!
What You Will Learn From This Pattern
This pattern teaches how to work in rounds, increase systematically using dc in multiples, and alternate between rows of single and double crochet to achieve seamless texture. It also provides a helpful opportunity to learn slip stitch joins for starting and ending rounds, ensuring a clean finish. For those seeking a simple but transformative crochet project, this hat is perfect.
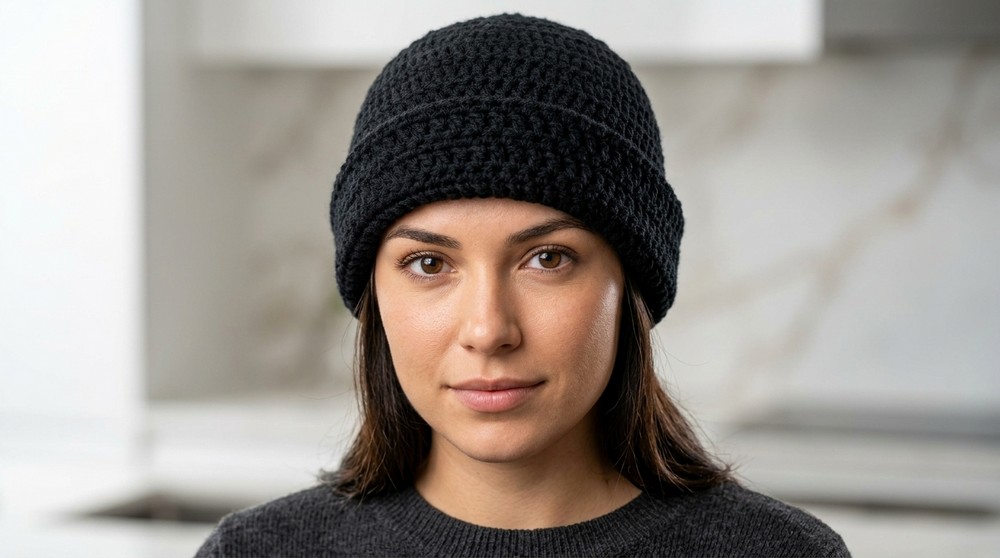
Graceful Crochet Turban Hat Pattern
Materials Needed
- Medium 4 (Worsted Weight) Yarn: Select a soft, flexible black color yarn perfect for hats. Acrylic or a blend works well.
- US Size I/9 (5.5 mm) Crochet Hook
- Scissors
- Darning/Tapestry Needle
- 2 Stitch Markers
Abbreviations (US Terminology)
- Ch: Chain
- Sl St: Slip Stitch
- Sc: Single Crochet
- Dc: Double Crochet
- Yo: Yarn Over
- Inc: Increase (2 stitches in the same base stitch)
- BLO: Back Loop Only
Special Stitch Instructions
No particularly unique stitches are required for this pattern, making it beginner-friendly. However, you will learn how to increase strategically, a key technique in shaping hats and circular motifs. Here's a simple breakdown:
- When increasing, place two stitches into the same stitch to widen the diameter of the circle.
- Alternating rounds of sc and dc create the beautifully textured pattern.
Finished Size
- Depth: Adjustable to fit your preferences (approximately 8-10 inches after rolled brim).
- Diameter of the crown: About 6 inches or wider, depending on adjustments.
Pattern Overview
This pattern creates the unique shape and texture of a turban style hat using alternating rounds of single crochet (Sc) and double crochet (Dc). The increases start from a crown base, shaping into rounded sides, and the design ends with a twist finish to mimic the classic turban aesthetic.
Step by Step Instructions
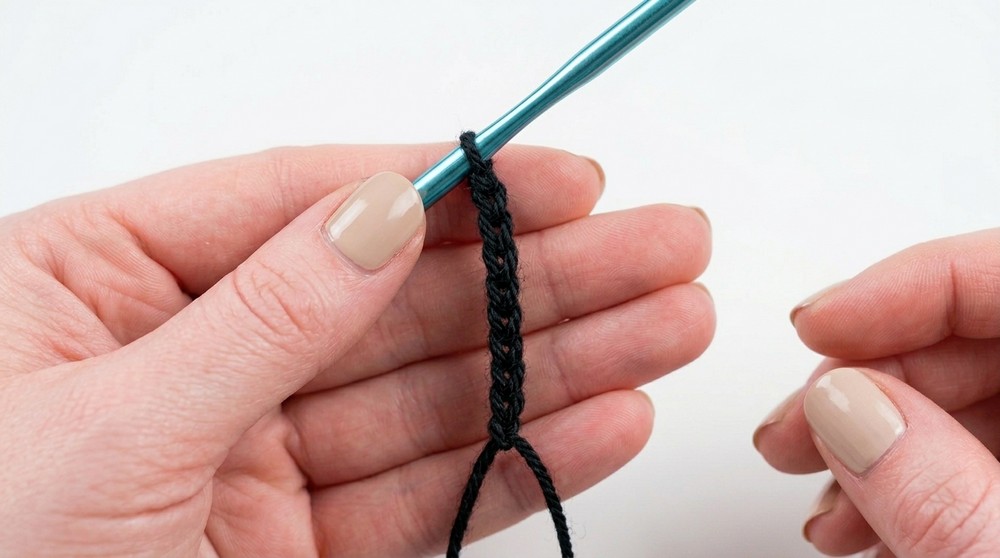
Foundation
- Make a Slip Knot and chain 4 (Ch4).
- Form a Ring:
- Slip stitch (Sl St) into the first chain to join, forming a ring.
Crown Increases
Round 1: (Foundation Circle)
- Ch 3 (counts as your first Dc), then work 11 Dc into the center of the ring.
- Join with a Sl St into the top of the Ch 3. (12 Dc in total for this round)
Round 2: (First Increase Round)
- Ch 3 (does not count as a stitch).
- Work 2 Dc into each stitch around.
- Join with a Sl St into the top of the first stitch. (24 stitches)
Round 3: (Second Increase Round)
- Ch 3.
- Work 1 Dc in the first stitch, 2 Dc in the next stitch.
- Repeat 1, 2 around the circle.
- Join with a Sl St into the top of the first stitch. (36 stitches)
Round 4: (Third Increase Round)
- Ch 3.
- Work 1 Dc in each of the first two stitches, 2 Dc in the next stitch.
- Repeat 1, 1, 2 around the circle.
- Join with a Sl St into the top of the first stitch. (48 stitches)
Round 5 (Optional Further Increases)
- If needed for larger sizes, continue increasing by adding another 1 before the 2. For instance, 1, 1, 1, 2.
Note: Stop increasing once the circle reaches the crown size of the person's head measurement.
Body of the Hat
To form the body of the turban hat, you will alternate single crochet and double crochet rounds, working evenly in the same number of stitches.
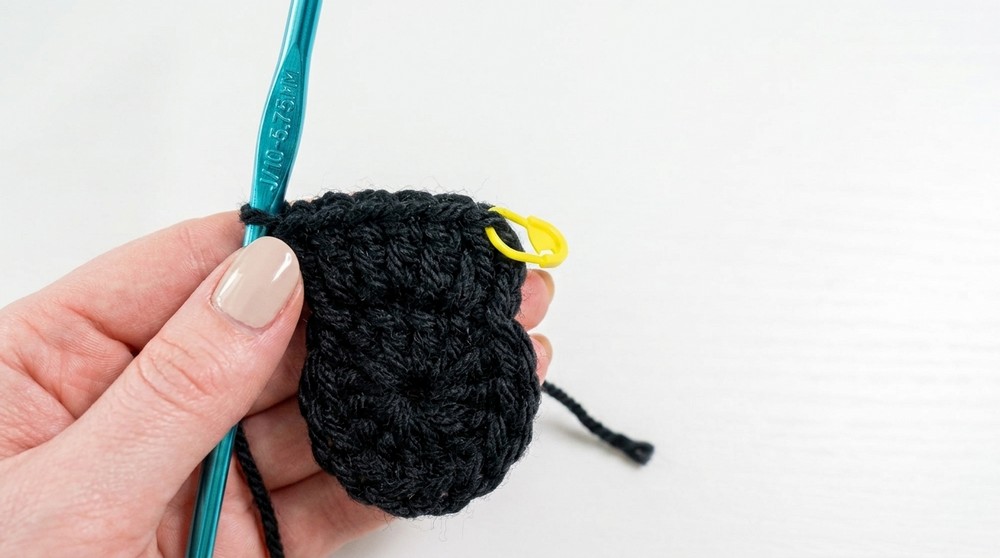
- Begin Sc Round (Round 6):
- Ch 1 (does not count as a stitch).

- Work 1 Sc in each stitch around.
- Sl St to the first Sc to join.
- Place a stitch marker in the first stitch to mark your round.
- Ch 1 (does not count as a stitch).
- Dc Round (Round 7):
- Ch 3 (does not count as a stitch).
- Work 1 Dc in each stitch around.
- Turn your work after completing the round to add texture.
- Sl St into the first Dc to join.
- Repeating Rounds:
- Alternate between Single Crochet rounds and Double Crochet rounds, turning your work after each Dc round and maintaining the stitch count.
- Measure Depth:
- Continue until the hat depth reaches approximately 9-10 inches (23-25 cm) or your desired length, ensuring there is enough length for the turban fold at the front.
Creating the Turban Twist
- Work the Final Round (BLO):
- To prepare for the twist, work one final round of Sc in the Back Loop Only (BLO). This adds flexibility to the edge and makes the twist easier to form.
- Fasten Off:
- Cut the yarn, leaving a long tail (16-18 inches) for sewing.
Assembling the Turban Hat
- Folding:
- Flatten the hat to identify the front center.

- Pinch the bottom edge of the hat at the front and overlap the edges slightly to mimic a twist. Adjust the overlap to create the signature turban look.
- Flatten the hat to identify the front center.
- Sewing the Twist:
- Thread your darning needle with the long yarn tail.
- Secure the overlap by stitching through both edges. Pull the stitches tight to create the twist effect, and knot securely.
- Weave in Ends:
- Use the darning needle to weave any excess yarn tail into the hat for a clean finish.
Final Tips
- Tension Consistency:
- Pay attention to your tension throughout the pattern. Consistent tension ensures a neat and professional finish.
- Customization:
- Change the number of initial Dc in Round 1 to adjust the size (e.g., 10 Dc for a smaller size, 14 Dc for a larger size).
- Add pom poms or decorative appliques for additional flair.
- Maintenance:
- Hand wash or use the delicate cycle if using washable yarn.
- Lay flat to dry and reshape, especially around the twist, to maintain the turban look.
Final Words
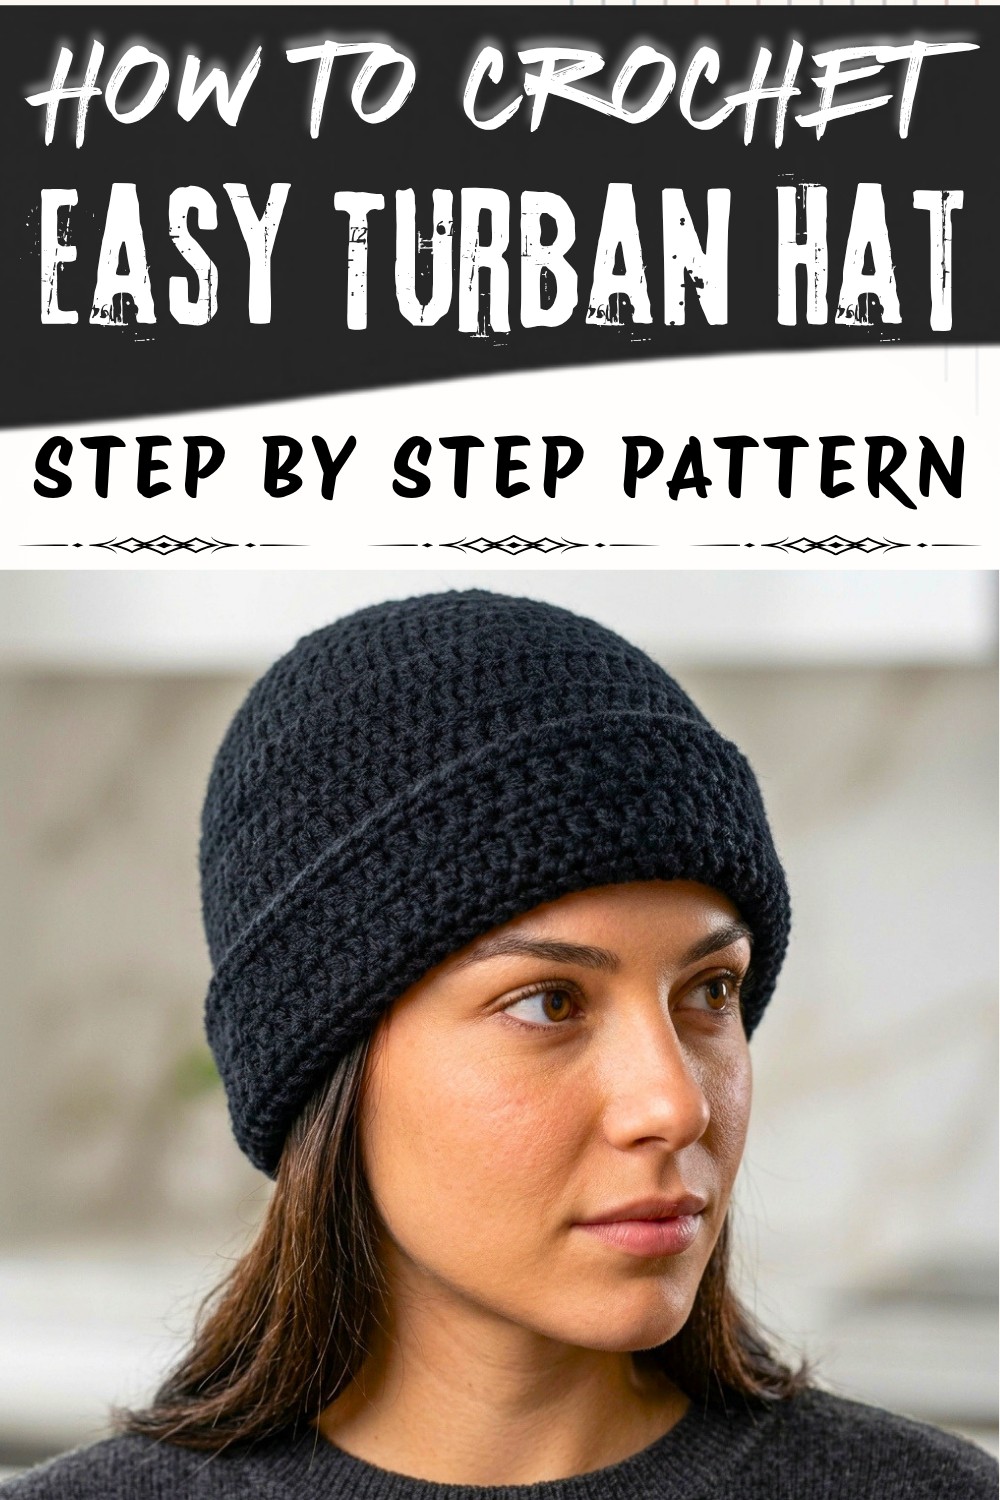
Congratulations on completing your crochet turban hat. This simple yet elegant design pairs beautifully with any outfit and can be styled in multiple ways. The alternating stitch pattern gives it a textured and sophisticated look, while the front twist adds a stylish focal point.
Feel free to experiment with colors, multi tone designs, and embellishments to make it uniquely yours.
What You Can Make With These Skills
Congratulations on completing your stunning crochet turban hat! The skills you've learned-like working dc in rounds and increasing smoothly-are the foundation for creating a variety of other projects. Use these techniques for crocheting beanie hats, bowl-shaped baskets, placemats, or even the beginnings of circular blankets. Additionally, the alternating sc and dc texture makes this pattern easily adaptable to accessories like chunky cowls and scarves.