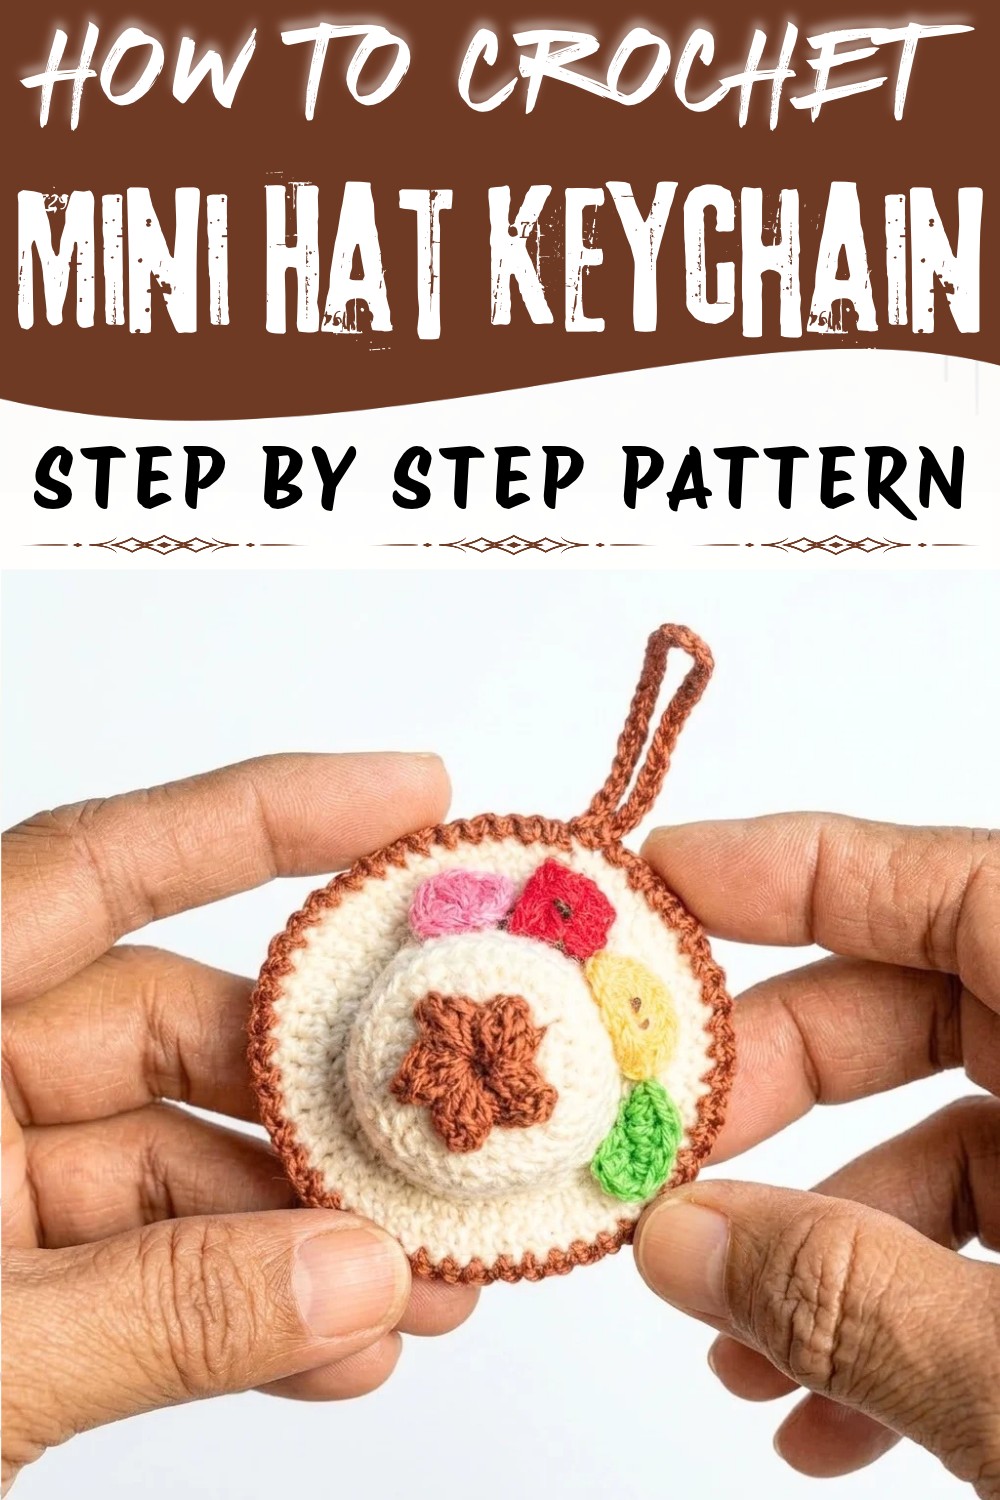
Clip a tiny hat onto your keys with this Crochet Mini Hat Keychain Free Pattern and give your everyday bag a cute touch.
There's a special appeal in small accessories that combine charm and functionality. One such delightful project is the Crochet Mini Hat Keychain Pattern, featured on the YouTube channel Nancy a crochet, which deserves full credit for the original tutorial and design. This project transforms simple recycled lids into adorable mini hats that can be used as keychains or decorative charms. The Crochet Mini Hat Keychain Pattern offers an engaging and accessible way to create a cute accessory that brings a touch of personality to everyday items.
Lovely Crochet Mini Hat Keychain Free Pattern With Cute Details
This mini hat keychain is not only a great decorative piece but also has excellent gifting potential. Its compact size makes it an ideal little keepsake, perfect for friends, family, or anyone who appreciates handmade-inspired accessories. Hanging from keys, backpacks, or purses, it adds a playful and stylish accent. The project's beauty lies in its charming design and its ability to brighten up even the most ordinary objects.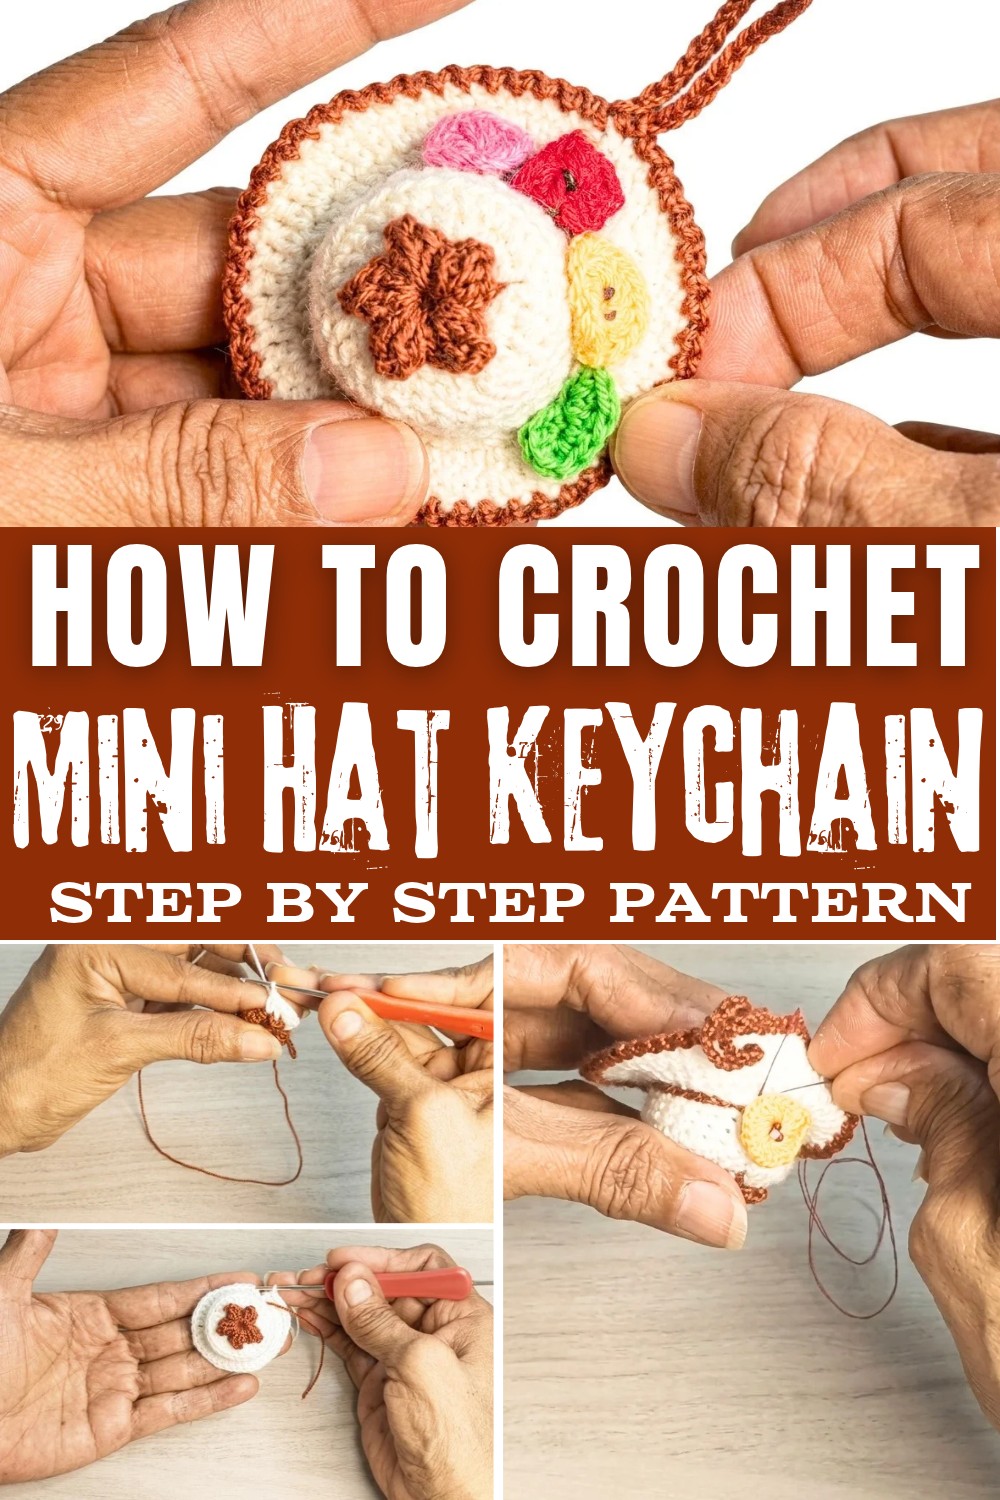
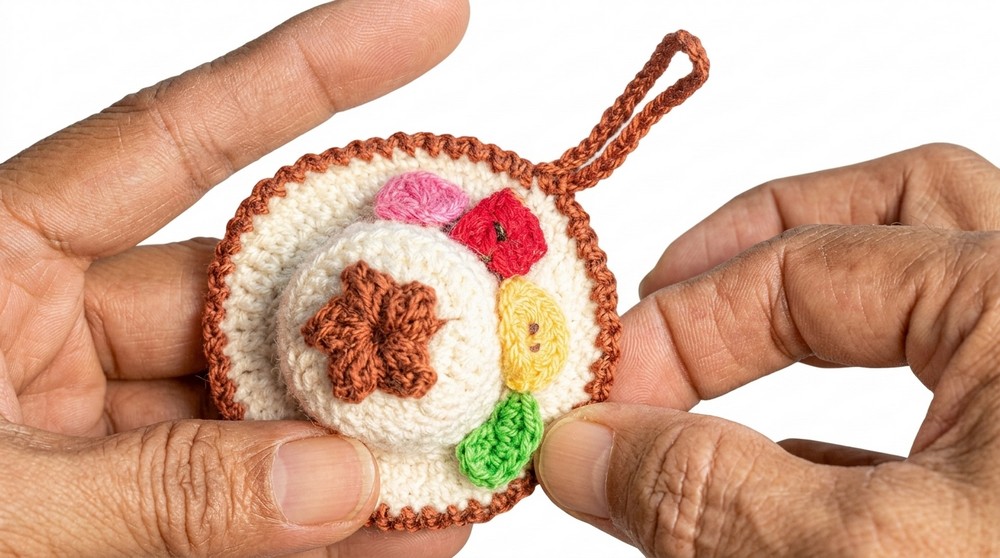
Visually, the mini hat features a classic rounded shape with a slightly flared brim that lends it a distinctive silhouette. The texture is dense yet soft, providing structure without rigidity. The standout design elements include a delicate, dainty flower embellishment that brings an elegant touch to the piece. Made with fine, natural cotton thread, the keychain has both style and durability, making it a practical and attractive item for everyday use.
Suitable for anyone looking to add a unique touch to their accessories, this mini hat keychain is a fun, decorative item that enhances the look of keys, bags, or even home décor displays. Its blend of style and utility makes it a wonderful little project to enjoy and share.
Adorable Crochet Mini Hat Keychain Free Pattern
This concise tutorial guides you through the process of making a charming crochet pincushion hat with an integrated bottle cap base and a delicate decorative flower. Beginning with a small crocheted flower, the instructions transition into encasing the cap, constructing the hat's sides, and elegantly shaping the brim. The result is a playful motif that serves both as a practical pincushion and a delightful accessory for brooches, headbands, or keychains. Each round is detailed to provide clarity and consistency, ensuring your project takes on the same well-defined form and structure displayed throughout the process.
Quick Overview of Pattern
- Crochet a decorative five-petal flower using a magic ring start.
- Encase the plastic bottle cap with rounds of double and single crochets.
- Shape the sides and height of the hat with continuous rounds.
- Work specialized increases to create a gentle flare for the brim.
- Add a textured border with alternating slip stitches and chains.
- Secure the bottle cap with precise decreasing rounds at the bottom.
- Finish with neat assembly and optional functional add-ons.
Notes
- Ensure your bottle cap is clean and fits snugly within the crocheted casing.
- Mercerized cotton thread provides both a smooth finish and structural integrity for the hat shape.
- For a different look, experiment with color combinations for the base, brim, and flower.
- Maintain consistent tension in your stitches for smooth, professional results, especially at the color transitions and when covering the cap.
- Adjust the number of single crochet rounds for larger or smaller caps as necessary.
- Weave in all ends securely before assembly to maintain neatness and durability.
Skill Level
Advanced Beginner:
This project requires familiarity with the magic ring, basic round structure, increases, decreases, back loop work, and finishing techniques. The use of small hooks and fine thread may require some patience and fine-motor skill. Previous experience with encasing objects in crochet or working amigurumi-style rounds is helpful.
Materials
- Plastic Bottle Cap: Clean, roughly 3-4 cm diameter (standard plastic water bottle cap).
- Mercerized Cotton Thread, 0.5 mm thick:
- Brown or preferred main color (for hat body and brim)
- Contrasting color (for flower)
- Crochet Hook: Size 1 (1 mm)
- Scissors
- Stuffing: Small amount of fiberfill (optional, used for slightly domed top)
- Yarn Needle: For weaving ends, assembling, and sewing components
Optional: Keychain loop, hairpin, brooch pin, or headband for finishing.
Measurements / Sizing
- Finished Height: Approximately 3-4 cm
- Brim Diameter: About 6-7 cm (varies by cap size and tension)
The hat is designed to snugly cover a standard plastic bottle cap; adjust round counts for caps of varying diameters.
Gauge (and Stitch Pattern)
- Gauge: Not critical; focus on fitting the base tightly over your chosen bottle cap.
- Main Stitches: Double Crochet (dc), Single Crochet (sc), Slip Stitch (sl st).
- Pattern Style: Worked in rounds, mostly amigurumi-style, with increases and decreases as directed.
Stitch Abbreviations
- mr = magic ring
- ch = chain
- sl st = slip stitch
- sc = single crochet
- dc = double crochet
- inc = increase (2 dc in same stitch)
- dec = decrease (skip one stitch, or combine as directed)
- st(s) = stitch(es)
- blo = back loop only
Special Stitches
- Magic Ring (mr): Form an adjustable loop; required for starting both the flower and the cap cover.
- Cluster Petal: Work multiple unfinished dc, gather together in one motion for dimensional flower petals.
- Back Loop Only (blo): Inserting hook through only the back loop creates structure for crisp sides.
The Crochet Pattern
The Decorative Flower
Magic Ring & Center:
- Create a magic ring.
- Ch 3 (serves as first dc), then work 5 dc into the ring.
- Sl st into the first stitch to close the round and pull the ring tight. (6 stitches in center)
Petals (repeat for a total of 5):
- Ch 2, yarn over, work 5 unfinished dc in the same space (do not complete the final yarn over for each until all 5 are worked).
- Pull through all loops on hook, ch 2 to finish the petal.
- Sl st in the space between dc groups to anchor the petal.
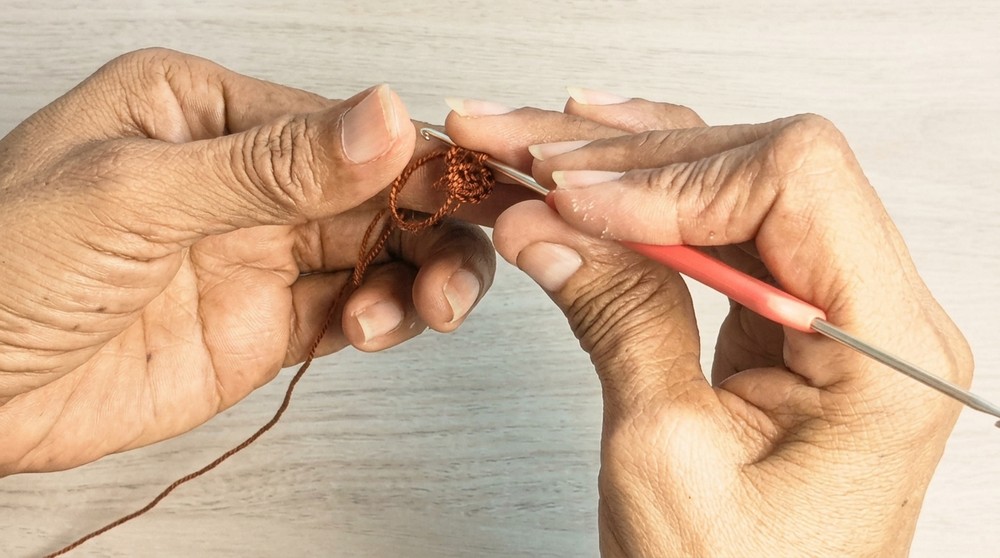
- Repeat for each of the five petals, spacing evenly around.
- Fasten off and secure your yarn.
Covering the Plastic Bottle Cap (Base & Sides)
Base Cover:
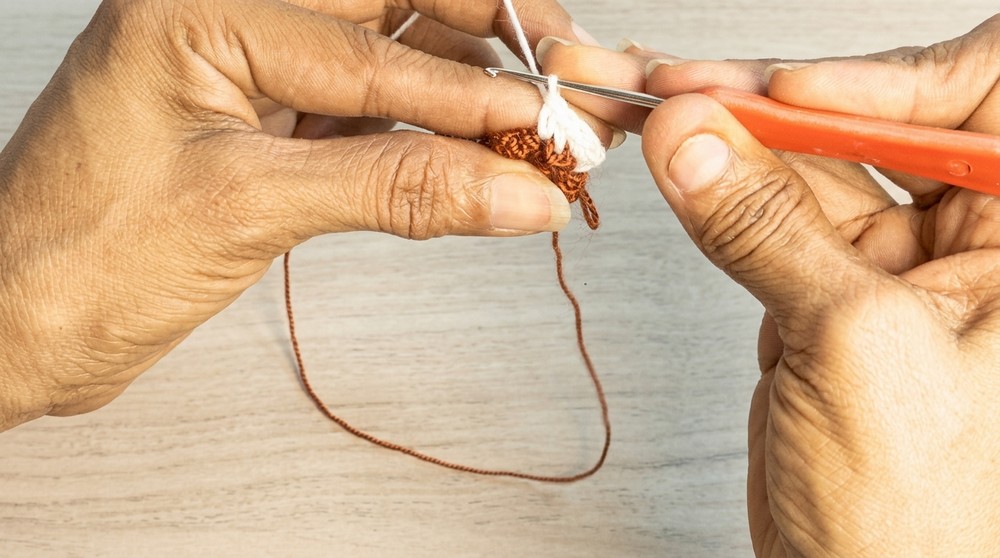
- With main color,
- Start with a magic ring.
- Ch 2 (counts as your first dc).
- Work 3 additional dc.
-
- Continue around, alternating 1 dc and 1 extra dc in the next stitch until you have 25 dc encircling the ring.
- Sl st to join the round.
Single Crochet Foundation:
- Ch 1.
- Work 25 sc evenly around the edge.
- Sl st to close.
(Check cap size here: If cover is too small, add another round of sc; for snug fit, proceed.)
Back Loop Only Row:
- For structural support, sl st to join, then work 25 sc blo (into back loop only) around.
- Sl st to join.
Building the Height (Rounds 4-8):
- Continue with 1 sc in each st around, maintaining 25 sc per round.
- Work up to Round 8 or until the sides reach just below the height of the cap.
- Fasten off or change color as preferred for the brim.
Shaping the Hat Brim
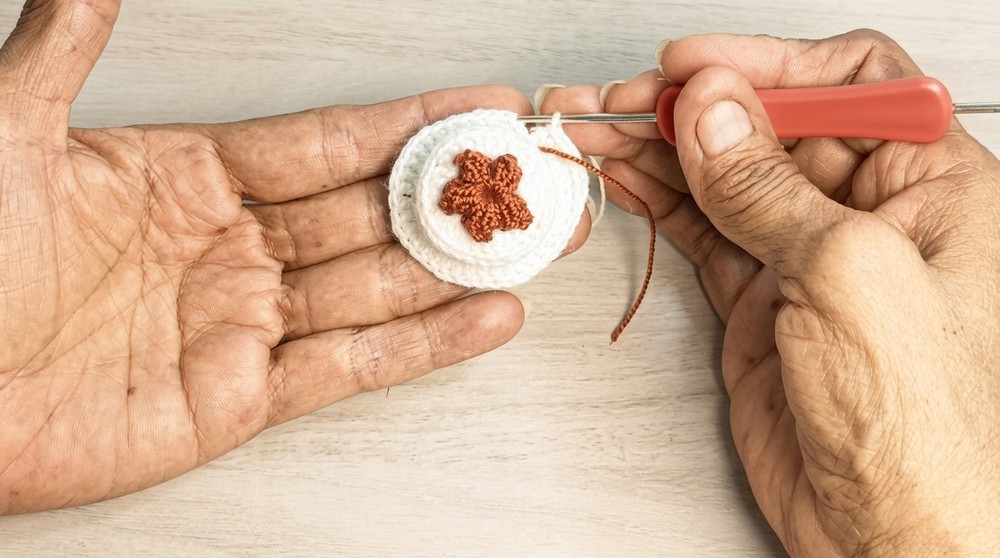
First Brim Round:
- Sl st to the next st, ch 3.
- [Dc in next st, inc (2 dc in the same st)]
- Repeat this sequence all the way around the edge.
- This increases round should gently flare outward.
Second Brim Round:
- Sl st to join, ch 2.
- Work pattern: 2 dc, inc (2 dc in same st).
- Repeat around the full edge.
Finishing Brim:
- Ch 1, cut your yarn, and weave in all loose ends with yarn needle.
Creating the Decorative Edge (Slip Stitch Border)
Border Application:
- Identify your round's starting point.
- Attach main color thread one round above the brim.
- [Ch 1, sl st in next space] - Repeat this sequence around the edge for a delicate ridge detail.
Optional Add-Ons:
- For a keychain: Ch 25, attach securely to hat top before finishing.
- For brooch or headband: Sew or glue attachment neatly at base.
Closing the Bottom of the Cap
Cap Insertion & Cinching:
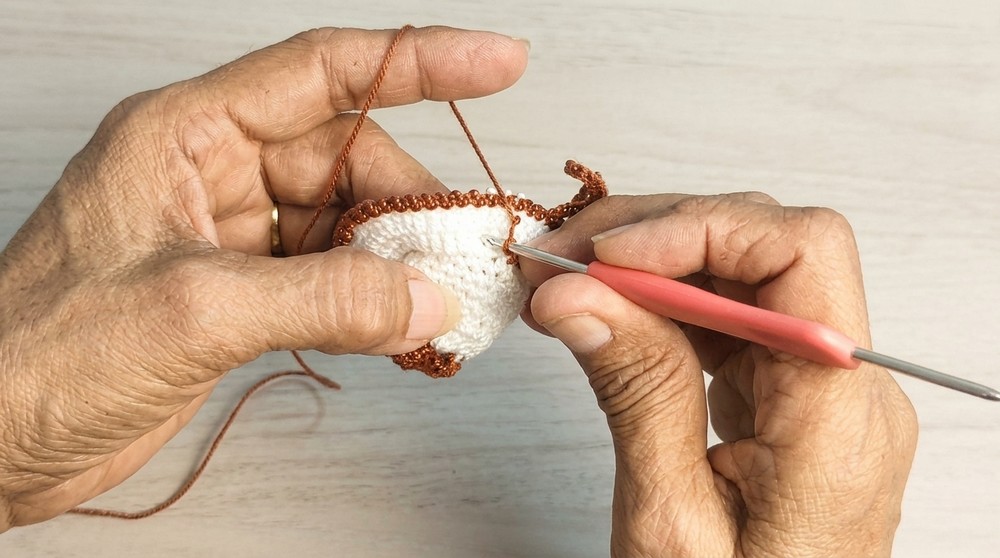
- Place cap inside crocheted cover.
- Using leftover yarn strands at base:
- Ch 3.
- Work a round of dc with decreases: [Skip 1 st, dc in next] to tighten edge.
- Follow with a round of sc, working decreases as needed to further close opening.
- Cut yarn, use yarn needle to weave and close the bottom completely, ensuring cap is secure.
Assembly & Finished Size
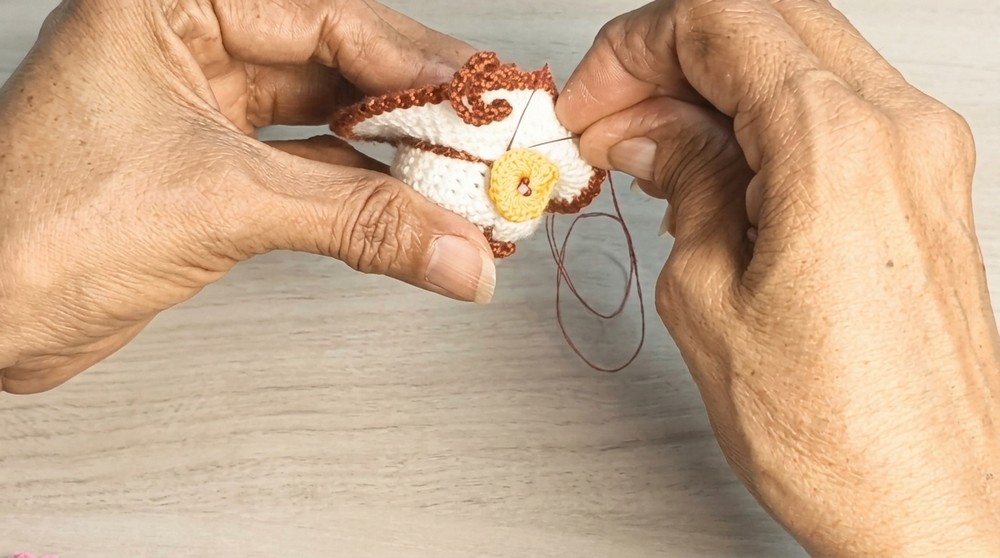
- Attach the crocheted flower to the side of the hat using your yarn needle, ensuring it is firmly anchored.
- Hide and secure all remaining threads inside the hat's structure.
- Finished hat should measure approximately 4-5 cm across brim, and sit 3-4 cm tall. The cap base should be firmly encased with no looseness.
Conclusion and Ending Words
The pincushion hat merges practical function with delicate craftsmanship, showcasing smooth edges, an even brim, and a romantic flower accent. Assembling each component-covering the cap snugly, shaping the brim with calculated increases, and adorning the finished form with a dainty flower-results in an accessory suitable for daily use or decorative gifting. With all steps methodically executed, the hat maintains shape and elegance. Optional additions like keychains or brooch pins extend its usefulness, transforming this small creation into a versatile handcrafted gem sure to delight in both form and function.