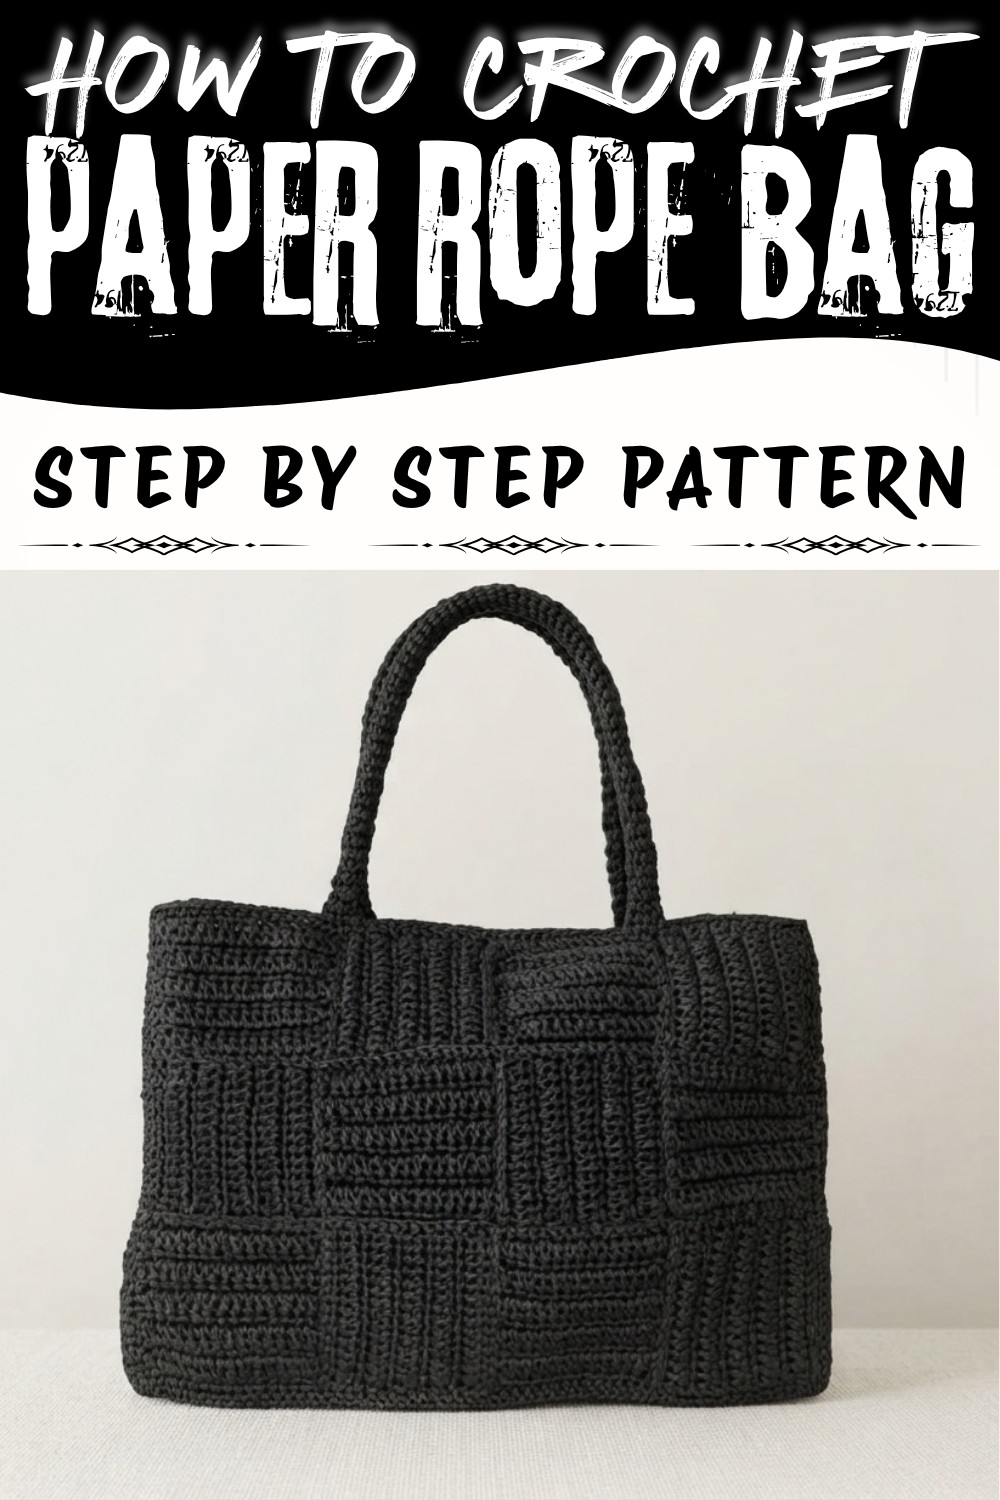
Carry your daily items with the Crochet Paper Rope Bag Free Pattern, a lovely textured tote for shopping trips and casual outings.
A beautiful handmade bag can add a special touch to your everyday outfits while keeping your essentials close. This stylish accessory stands out with its lovely woven appearance, neat finish, and practical design. It is a wonderful choice for anyone who loves simple bags that look fashionable and feel comfortable to carry. The Crochet Paper Rope Bag Pattern offers a lovely way to add a personal touch to your collection, with a beautiful design shared by GÖKTÜRK AİLESİ, who deserves full credit and appreciation for the original tutorial and design.
Summer Crochet Paper Rope Bag Free Pattern With A Natural Look
One of the most attractive features of this bag is its beautiful textured surface. The detailed woven look gives it a clean, modern appearance, while its structured shape adds a stylish finish. It has a lovely balance of beauty and everyday use, making it suitable for shopping, casual outings, or carrying personal items. Another nice thing about this project is how easily it can match different clothing styles. You can pair it with a simple summer dress, everyday jeans, or a comfortable weekend outfit. Its natural appearance works especially well with light clothing and relaxed summer looks.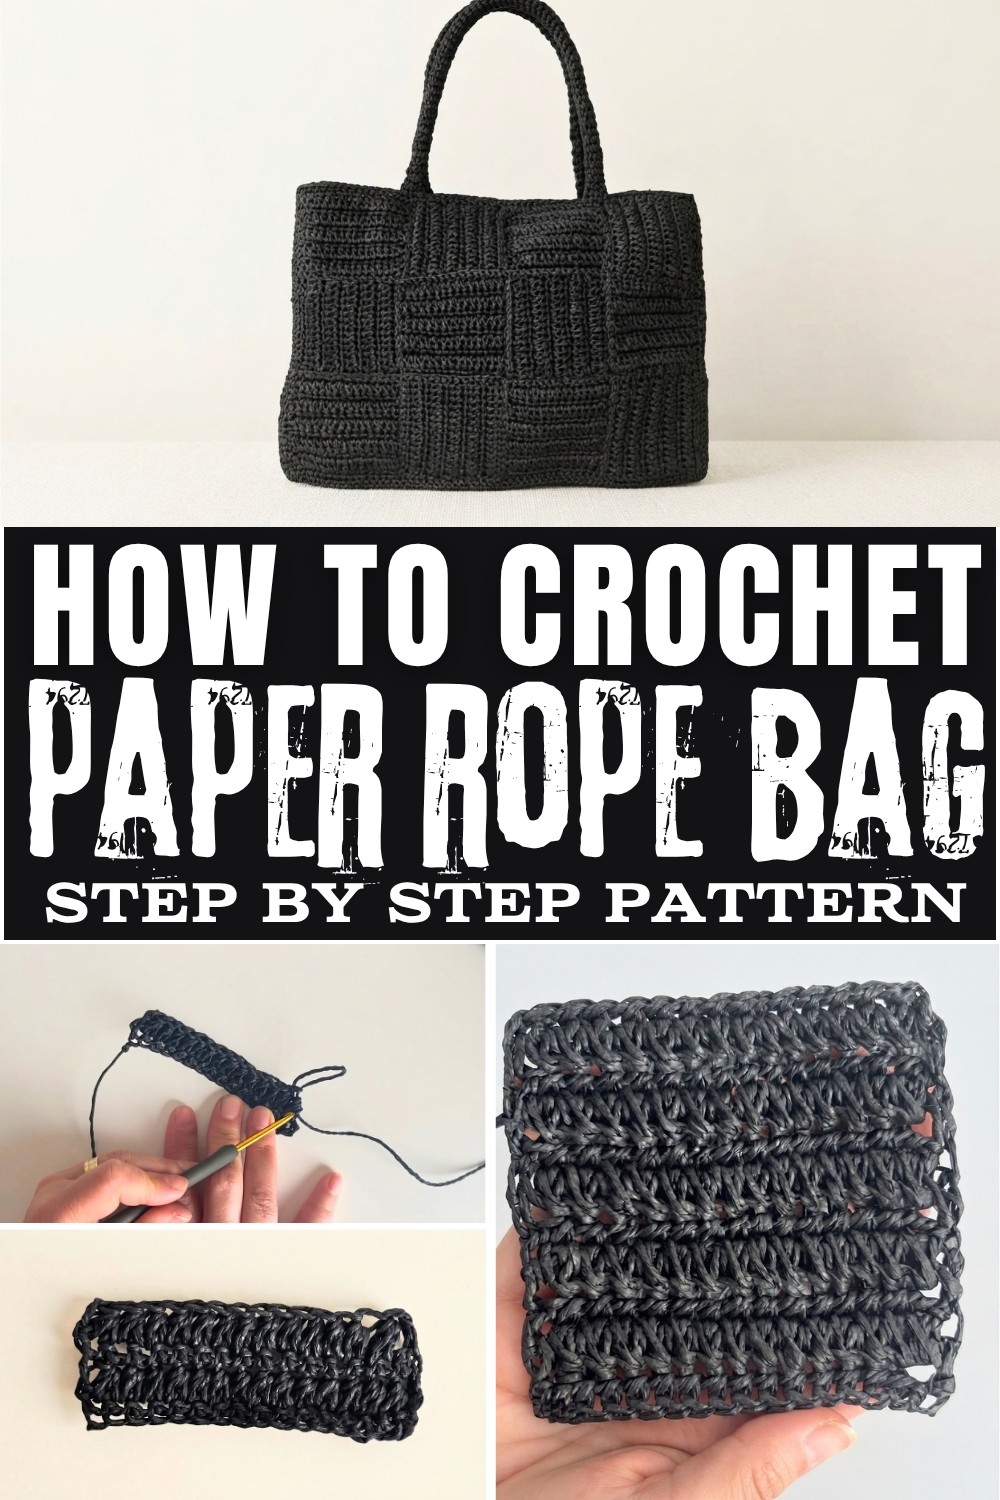
You can also give your bag a personal touch by choosing colors that suit your taste. Soft natural shades offer a classic appearance, while darker or brighter colors can give it a different personality. Small changes in size or finishing details can also help you achieve a look that feels more personal. This project is especially appealing to crocheters who want to improve their ability to produce neat, even surfaces and well-shaped accessories. It offers a satisfying finished result that feels both useful and special.
Whether you want a lovely addition to your wardrobe or a thoughtful handmade gift for someone special, this bag is a beautiful choice. Check out the free pattern and see how this stylish accessory comes together.
Modern Crochet Waterway Bag Free Pattern
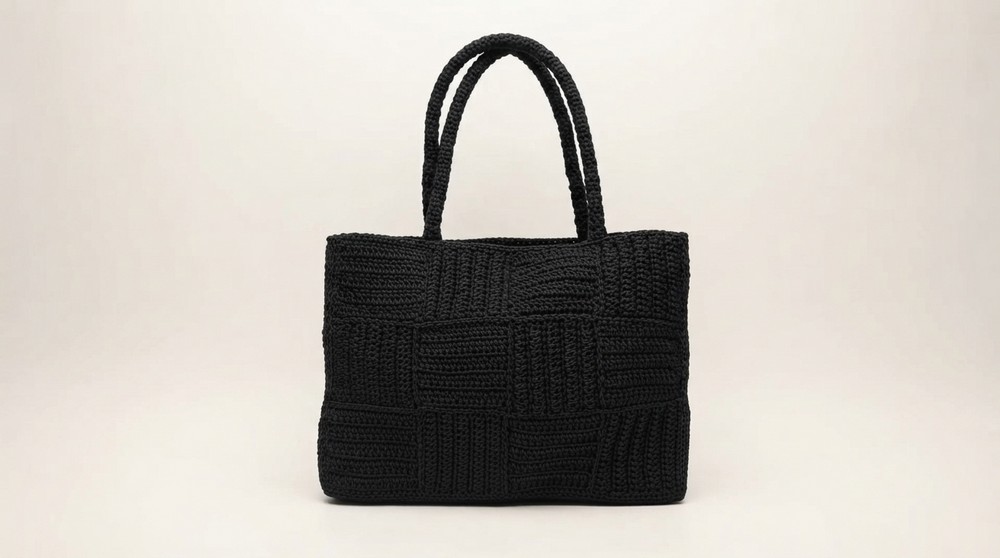
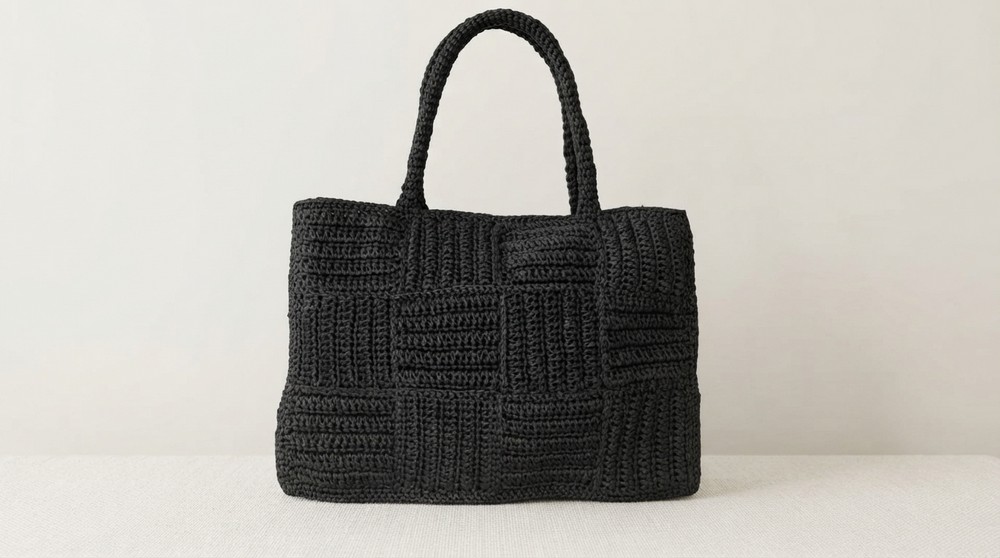
A sophisticated black handbag can transform both everyday and special occasion ensembles, especially when combined with a stunning texture like the waterway motif. Utilizing durable black paper yarn and a distinctive, geometric assembly, this bag highlights tactile contrast and visual depth. With a focus on precision in stitch count, motif alignment, and seamless construction, each segment is executed to achieve both resilience and aesthetic appeal. Crisp stitch lines, careful joining, and sturdy straps contribute to a refined finished look. The following instructions break down every stage-from motif to strap-in a sequential and approachable format, guiding the maker to a final product that is robust, practical, and visually striking.
Quick Overview Of Pattern
- Create 24 waterway motifs using rows of single crochet and waterway stitches.
- Assemble the main body using alternating motif orientation for a modern, structured look.
- Border and reinforce the edges with single crochet and slip-stitch finishing.
- Construct and attach side and base panels using the same motif structure, joining securely at the seams.
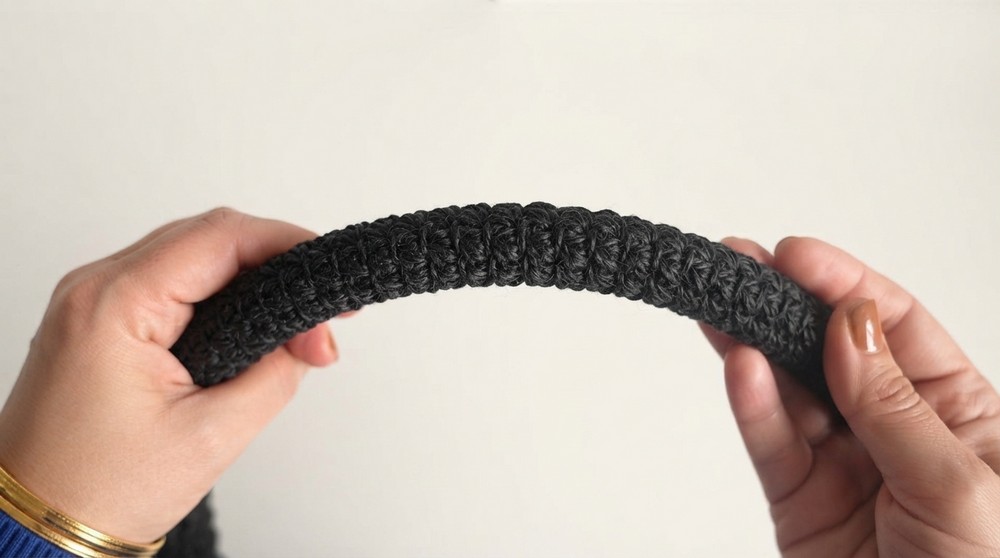
- Work robust straps with half-double crochet in the back loop for texture and strength.
- Optional finishing touches: snap fasteners and inner lining.
Notes
- Consistent counting is important throughout; always check motifs for 15 stitches at the start and finish of each motif.
- Avoid pulling yarn too tight when slip-stitch joining motifs, as this can cause puckering.
- The paper yarn is firm and holds shape well, but weave in and knot all ends from the inside for lasting strength.
- Minor variations in motif size or row count are normal due to individual tension; measure and adjust accordingly.
Skill Level
Intermediate. Knowledge of basic crochet stitches, working in rows, sewing motifs together, and constructing bag components is necessary. Attention to motif orientation during assembly is important for a polished result.
Materials
- Black paper yarn (Kağıt ip)
- Crochet hook, 3.5 mm (adapt for personal tension)
- Embroidery or tapestry needle for sewing pieces together
- Scissors
- Optional: bag snap fasteners and matching inner lining fabric
Measurements / Sizing
- Bag width: Approx. 45 cm
- Bag height: Approx. 35 cm
- Strap length: 65 cm (for each of two straps)
- Motif: Rectangular piece approx. 15 stitches wide
Gauge & Stitch Pattern
- Achieving an exact gauge is less critical due to the modular motif design.
- Motif rows: Single crochet rows alternate with waterway (spike) stitch rows for dimensional texture.
- Strap pattern: Half double crochet in back loop only.
Stitch Abbreviations
- ch - chain
- sc - single crochet
- hdc - half double crochet
- sl st - slip stitch
- dc - double crochet
- st(s) - stitch(es)
- BLO - back loop only
Special Stitches
- Waterway (Spike) Stitch: Yarn over, insert hook into base of last worked st, pull up a loop (3 loops on hook). Yarn over, insert into next st, pull up a loop (5 loops on hook). Yarn over, draw through all 5 loops.
THE CROCHET PATTERN
THE MOTIFS (24 TOTAL)
Foundation:
- Twist your yarn once and tighten to form a firm knot (not counted as a chain).
- Loosely chain 15, plus 2 turning chains (17 total).
Row 1 - SINGLE CROCHET:
- Insert your hook into the 3rd chain from hook (15th chain in total), working under a single loop along the same side each time for a neat edge.
- Work 15 sc across. (Count carefully; should have 15 "spikes" or stitches visible.)
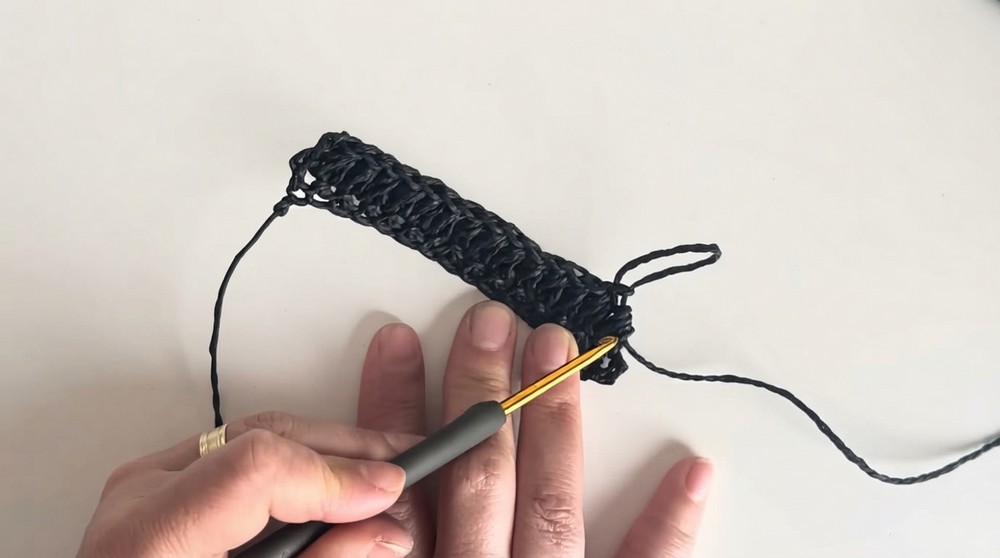
Row 2 - WATERWAY PATTERN:
- Ch 2 and turn.
- Waterway Stitch Sequence:
- Yarn over, insert hook into the first gap, pull up a loop (3 loops on hook).
- Yarn over, insert into the next stitch, pull up another loop (5 loops on hook).
- Yarn over and pull through all 5 loops in one motion.
- Continue across the row, always working first into the base of the last motif stitch and then into the new stitch.
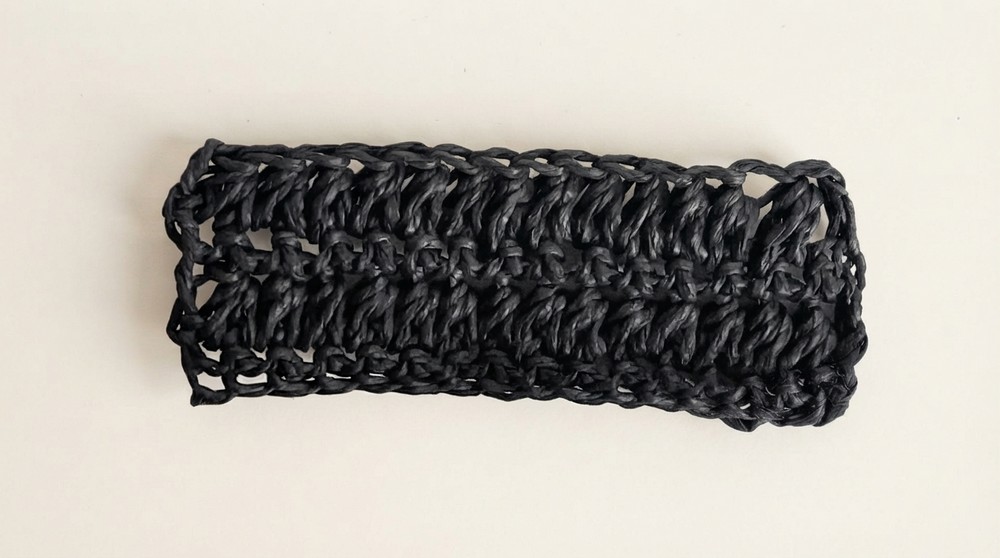
Row 3 - SINGLE CROCHET:
- Ch 1 and turn.
- Work sc into each stitch across the row (15 total).
Row 4 - WATERWAY PATTERN:
- Ch 2 and turn, repeat the waterway pattern across (14 waterway motifs per row), always finishing with a dc into the turning chain.
Continue Alternating:
- Alternate single crochet and waterway rows so that your motif has 5 rows of the waterway pattern visible, always sandwiched between single crochet rows.
- Maintain strict stitch count; ensure the motif is rectangular and crisp.
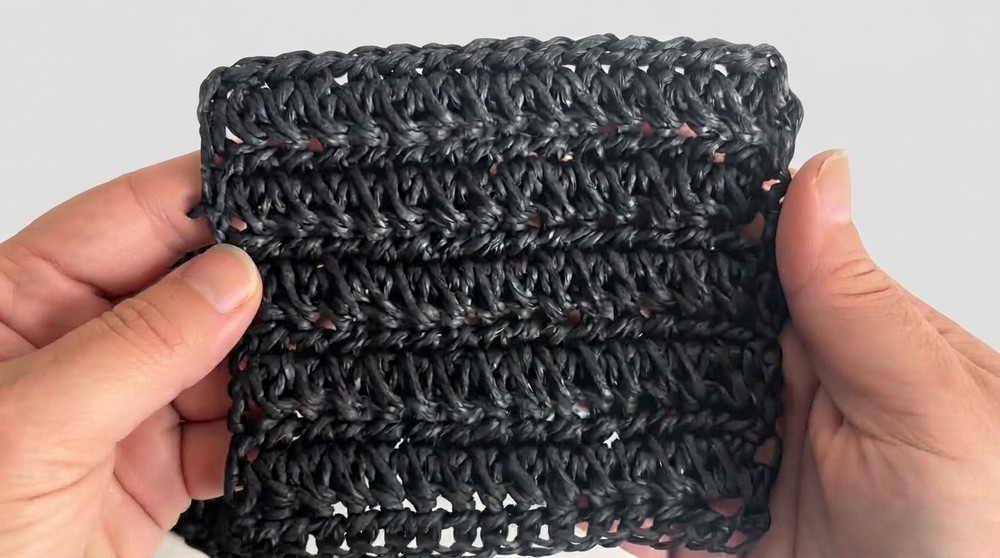
Finishing a Motif:
- End each motif after a waterway row, finishing with a double crochet in the last turning chain space for easy assembly.
- Weave in loose ends at the back, tying off for extra strength.
Repeat:
- Make 24 motifs in total.
ASSEMBLING THE MAIN BODY
Layout Plan:
- Arrange the motifs in strips of four, alternating orientation (one upright, one on its side, etc.) for a bold, geometric look.
- Keep spike/waterway patterns aligned for continuity.
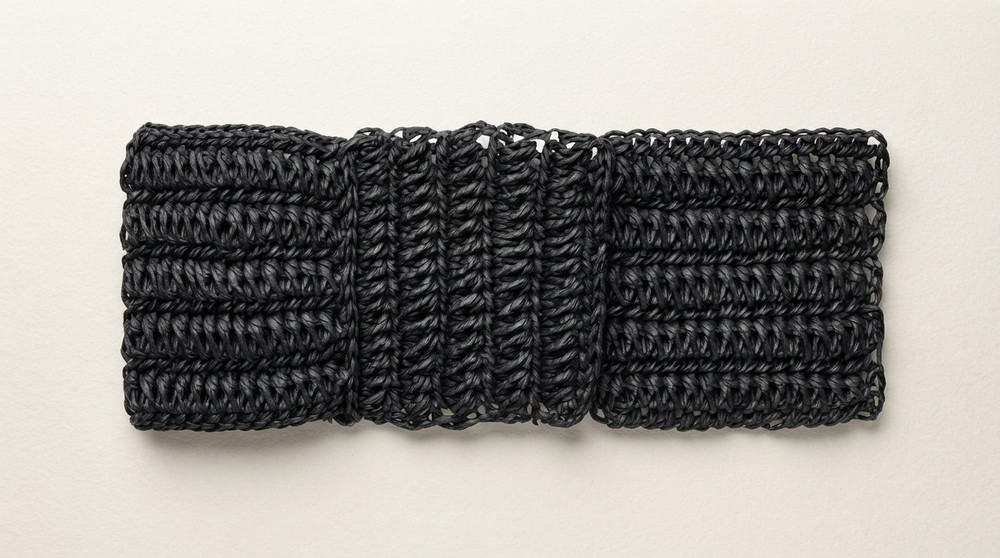
Joining Technique:
- Using a slip-stitch join:
- Insert hook through the single loop edge of adjacent motifs, yarn over, and slip the loop through both motifs and the working loop.
- Do not pull tightly; align motifs as flat as possible to prevent puckering or distortion.
Assembly Steps:
- Join four motifs in a strip.
- Attach further strips sequentially, matching orientation, until the entire outer body is formed.
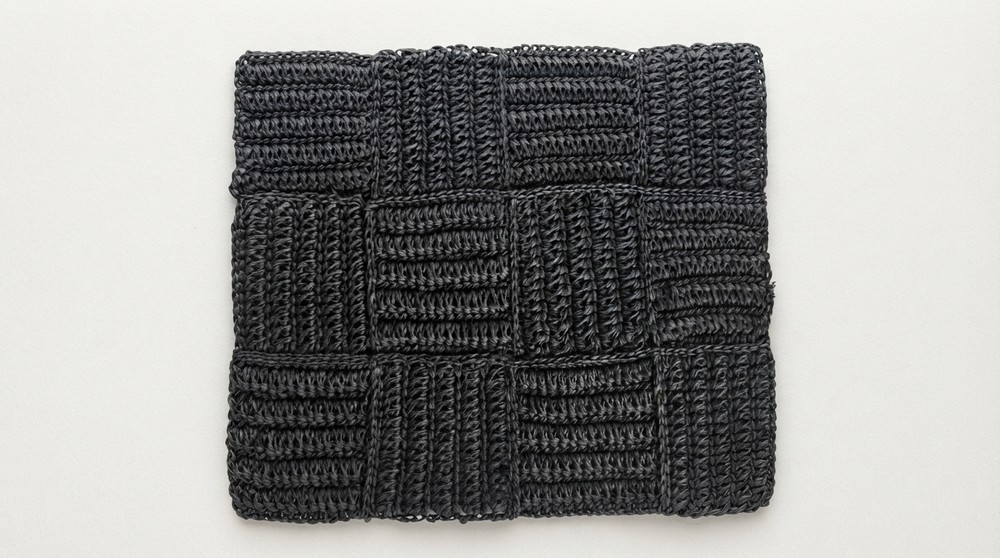
Top Edging:
- Attach yarn at the top rim of the unified body, and work a round of single crochet stitches, making 1 chain at each corner to avoid pulling.
- Finish with a slip-stitch round for reinforced structure.
SIDE PANELS & BASE
Side Panels (2 pieces):
- Construct as with motifs, but each side panel is 3 motifs wide and worked for approx. 15 rows of waterway pattern, bordered by a final round of single crochet.
Base Panel (1 piece):
- Work a base as above, but for approx. 21 rows of the waterway pattern; finish with a single crochet border.
Attaching Base & Sides:
- Place side and base panels flush against the main body, aligning stitch loops.
- Using a slip stitch join, join each panel in sequence, always matching up motif and row alignment carefully.
MAKING AND ATTACHING THE STRAPS (2 STRAPS)
Foundation:
- Leave a long tail for sewing. Chain 10.
Row 1:
- Work hdc across all 10 sts.
Subsequent Rows:
- Turn, work hdc into BLO of each st for a sturdy, textured effect.
- Continue until strap measures 65 cm in length.
- Close off the ends with single crochet for finished tips.
Attaching the Straps:
- Thread the tail onto an embroidery needle.
- Sew each strap firmly to inside reinforcement rows of the bag's rim across two parallel lines of stitching for durability.
ASSEMBLY & FINISHED SIZE
- Interior finishing: Weave and tie all loose ends within bag body for a tidy inside.
- Dimensions: Width approx. 45 cm, height 35 cm, straps 65 cm long.
- Optional: Add snap fasteners at the rim and line the interior with fabric for added strength and polish.
Conclusion and Ending Words
This structured, motif-driven handbag is a testament to both technique and design. Each stage highlights the importance of attention to detail-from the uniformity in motif creation to seamless edge finishing and the thoughtful construction of each strap. Using durable paper yarn provides both firmness and a modern matte texture, making the finished bag a versatile and long-lasting accessory. Bordering, strategic layout, and precise joining ensure that the bag maintains its shape and visual interest over time. Optional touches such as a fabric lining or secure snap fasteners enable further personalization. With consistent practice, the waterway approach offers both a rewarding challenge and a reliably polished result, supporting a bag that will remain striking and functional with frequent use.