
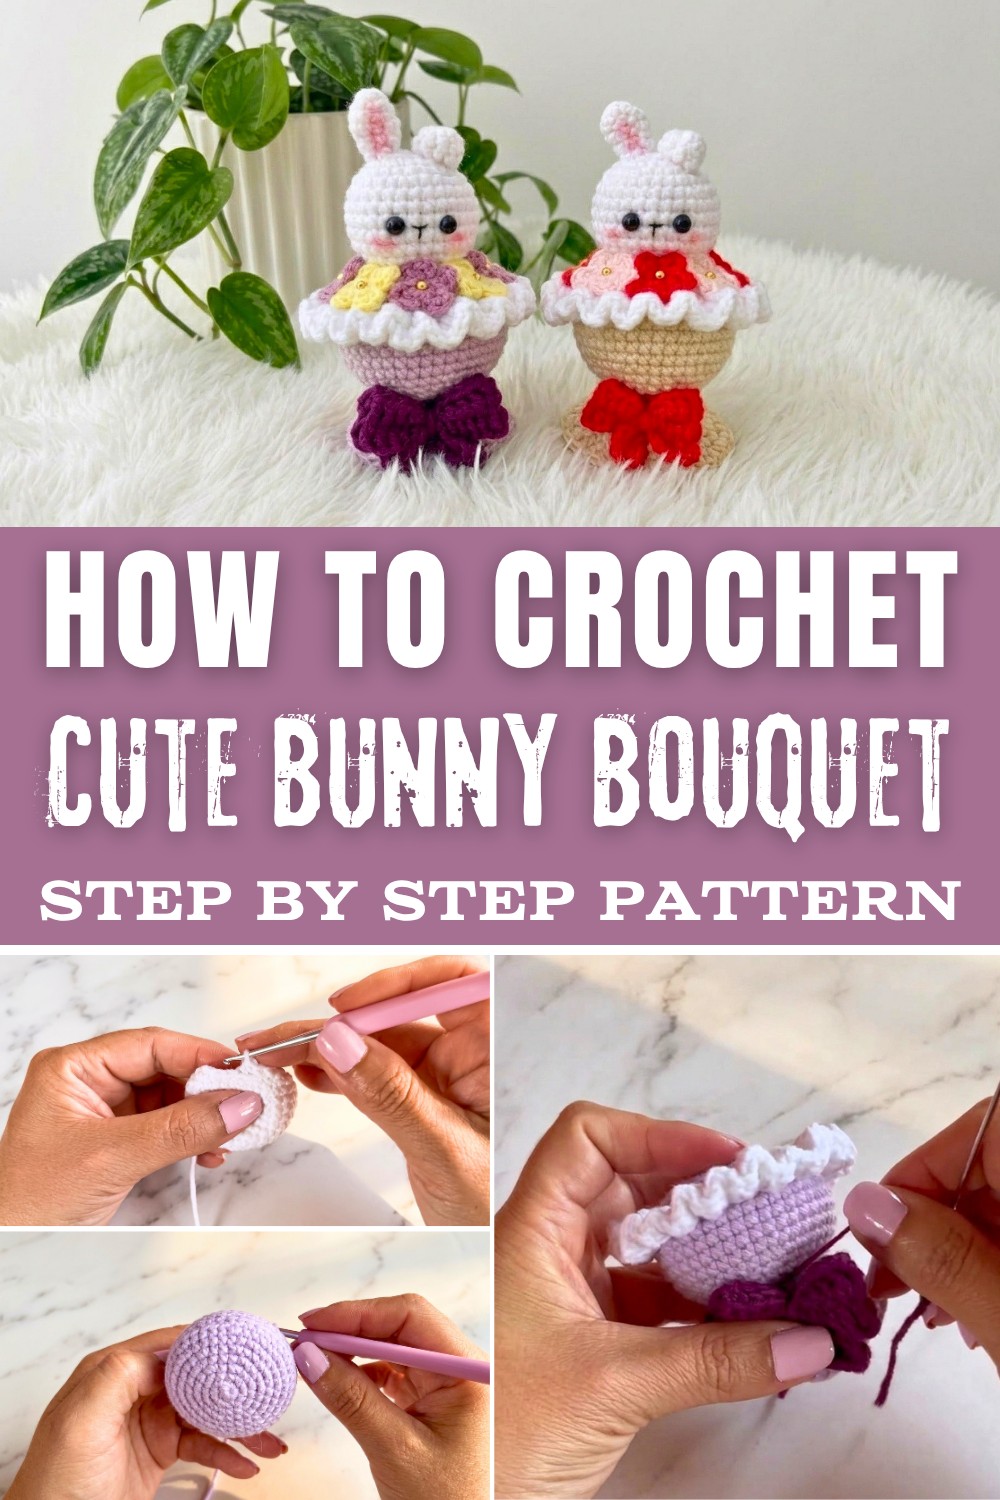
Energize any celebration instantly with the Free Crochet Bunny Bouquet Pattern and deliver a delightful dose of bunny-floral cuteness.
I've always found that crochet allows me to turn a few simple strands of yarn into something magical, and this Bunny Bouquet Pattern is such a delightful project to create. A sweet little bunny nestled among delicate, colorful flowers, radiating warmth and joy. The pattern features soft and lovely pastel shades like pink, yellow, green, and cream, paired with a neutral tone for the adorable bunny. It's perfect for brightening a room, gifting as a token of love, or even decorating for special occasions like Easter or baby showers. This project is as versatile as it is charming, making it a keepsake that can truly melt hearts.
Beautiful crochet bunny bouquet pattern free for cheerful days
The best part about this pattern is how beginner-friendly it feels while still teaching new techniques. You'll use simple stitches that include the magic ring, single crochet, slip stitches, increases, and half-double crochet. These foundational stitches not only help shape the bunny and flowers but also open the door to other creative possibilities, like crocheting garlands, floral wreaths, or even more animal-themed bouquets.
While working through this pattern, you'll learn how to craft intricate pieces like petals and animal features, blend colors for creative flair, and assemble the various components into a cohesive design. These skills are not only fun to practice but will inspire you to try more detailed projects that combine textures and themes.
Key Things You'll Learn:
- Creating the magic ring for clean and tidy beginnings.
- Shaping flowers, petals, ears, and other small pieces.
- Learning assembly techniques to bring all parts together.
- Exploring floral design concepts for bouquets and arrangements.
If you're ready to bring your imagination to life, this pattern is such a rewarding place to start. With just a bit of yarn and love, you can create a treasure that will make anyone smile.
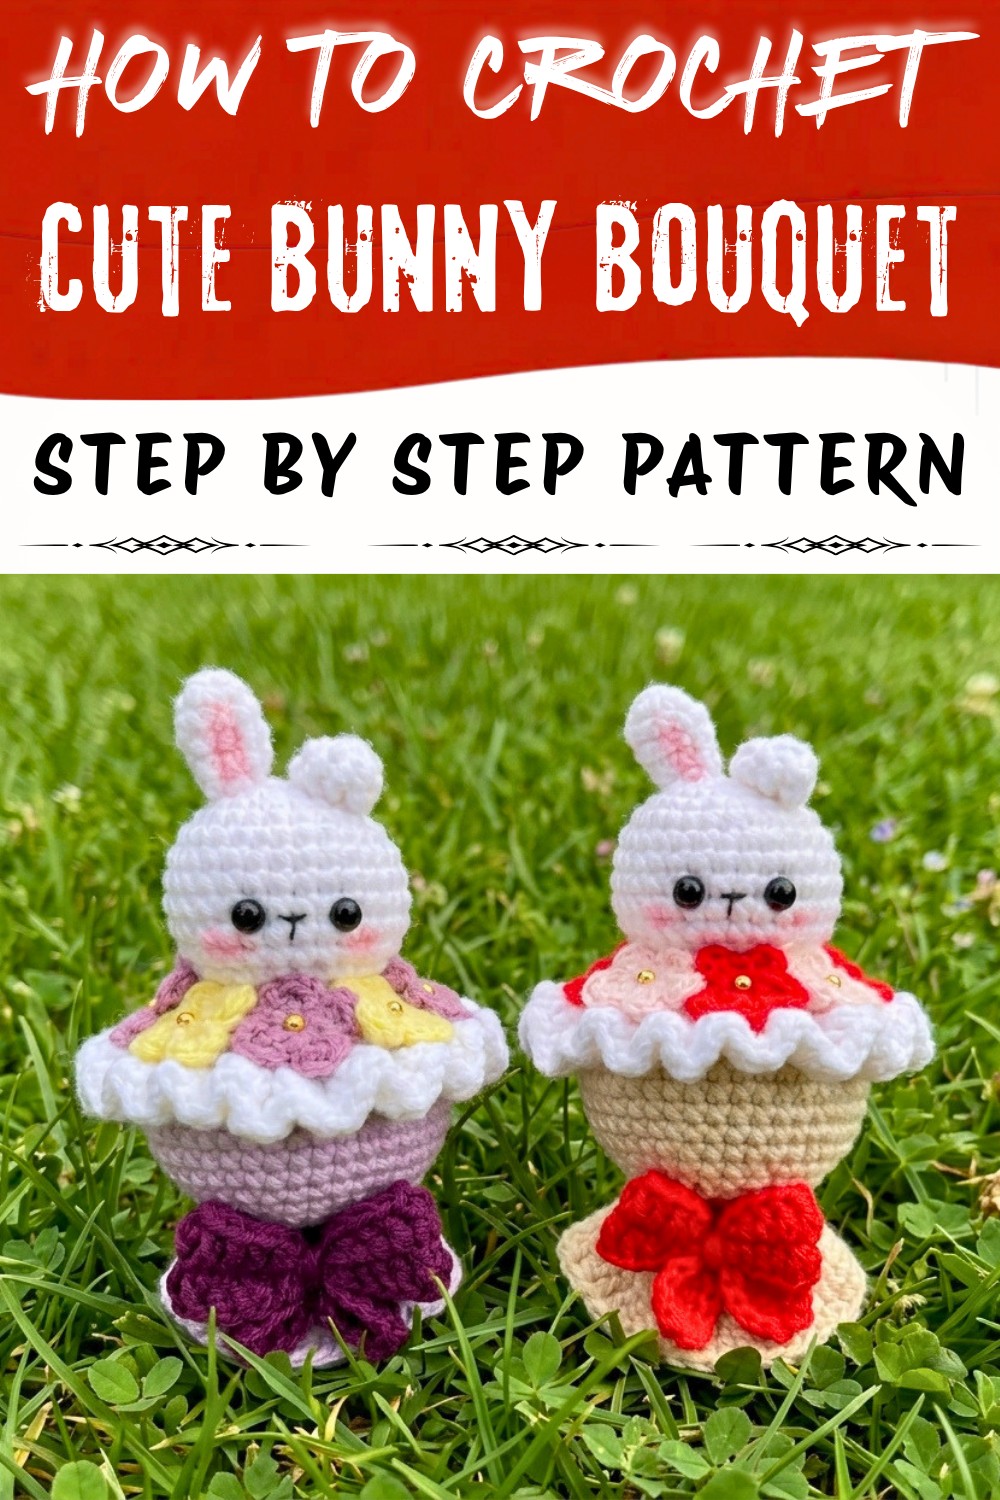
Crochet Bunny Bouquet Pattern
This project combines the sweetness of a tiny bunny with a beautiful floral bouquet-perfect for gifting, decorating, or simply adding a bit of handmade joy to your day. With its soft pastel tones and delicate flowers, this pattern is both a beginner-friendly project and an opportunity to refine your amigurumi and assembly skills.
Whether you're new to crochet or a seasoned creator, this pattern will guide you through each step with clear instructions and detailed explanations of stitches and techniques. You'll work with single crochet, magic rings, increases, and decreases to shape your pieces, as well as decorative elements like flowers and bows to bring everything together.
Skill Level & Terminology
Skill Level: Beginner to Intermediate
Terminology: US Crochet Terms
Materials & Tools
- Yarn: Pastel shades for the bouquet and a neutral tone (like white or light gray) for the bunny.
- Hook Size: 2.2 mm hook.
- Other Tools: Tapestry needle, pins, safety eyes (size 5 mm), black embroidery thread, an appropriate needle for embroidery, silicone stuffing, glue, a small blush or makeup for cheeks, and small pearls for the flowers.
- Scissors: For cutting yarn and threads.
Gauge
While exact gauge is not critical for this project, tension should be consistent. Use a hook size and yarn thickness that ensures tight stitches so the stuffing doesn't show through.
Abbreviations List
- SC: Single Crochet
- HDC: Half Double Crochet
- DC: Double Crochet
- INC: Increase (two stitches in the same space)
- DEC: Decrease (combine two stitches into one)
- Sl St: Slip Stitch
- MR: Magic Ring
Special Stitch Instructions
- Magic Ring (MR): Create a loop, insert the hook, pull up a loop, and crochet the required stitches into the ring before pulling it tight.
- Working in Front/Back Loops Only: Insert your hook under the back or front loop of the stitch rather than both loops as usual.
Finished Size
The completed Bunny Bouquet (including the rabbit and the floral arrangement) measures approximately 6-7 inches, depending on yarn and hook size.
The Pattern
1. Bunny Ears (Make 2)
- Round 1: Start with a MR and make 4 SC.
- Round 2: INC in each stitch (8 SC).

- Rounds 3-4: 1 SC in each stitch (8 SC per round).
- Round 5: Make 4 DEC (4 SC).
- Finish off, leaving a long tail for sewing. Make the second ear the same way.
For users: This small piece shapes the bunny's ears. If you're unfamiliar with decreases, take your time to shape them evenly.
2. Bunny Head
- Round 1: Start with a MR and make 6 SC.
- Round 2: INC in each stitch (12 SC).
- Round 3: 1 SC, INC repeat around (18 SC).
- Round 4: 2 SC, INC repeat around (24 SC).
- Round 5: 3 SC, INC repeat around (30 SC).
- Rounds 6-10: Work straight 1 SC in each stitch (30 SC per round).
- Add safety eyes between Rounds 8 and 9, leaving about 2 stitches in between.
- Round 11: 3 SC, DEC repeat around (24 SC).
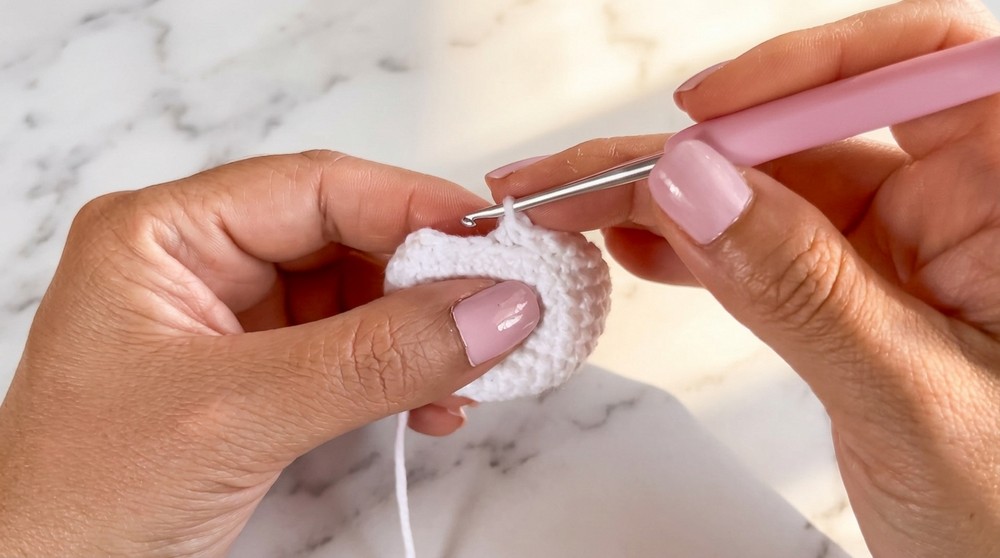
- Round 12: 2 SC, DEC repeat around (18 SC).
- Round 13: Using the back loops only, 1 SC, DEC repeat around (12 SC).
- Round 14: Make 6 DEC to close (6 SC).
- Cut the yarn, leaving a long tail for sewing, and finish the opening by threading through the front loops of the remaining stitches. Stuff the head firmly before closing.
For users: The head is shaped with increases and decreases to form a rounded ball. Add the safety eyes and fill the head with soft stuffing to give it shape.
3. Bunny Nose
Using black embroidery thread, embroider a small triangular nose on Round 8 of the bunny's head.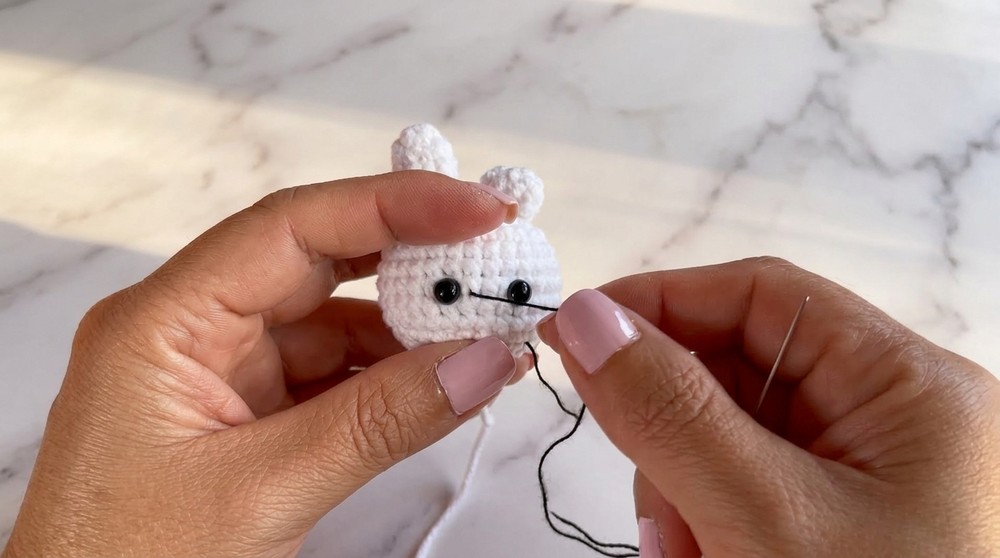
For users: Adding finishing touches like the nose gives the bunny its personality! You can also embroider a smile if you'd like.
4. Making the Bunny Body and Base of Bouquet
- Round 1: Start with a MR and make 6 SC.
- Round 2: INC in each stitch (12 SC).
- Round 3: 1 SC, INC repeat around (18 SC).
- Round 4: 2 SC, INC repeat around (24 SC).
- Continue working rounds as you did for the bunny head (repeating rounds of SC with symmetrical increases and decreases) to create the body. Stop at Round 20, leaving space for the bouquet base and stitching to the head.
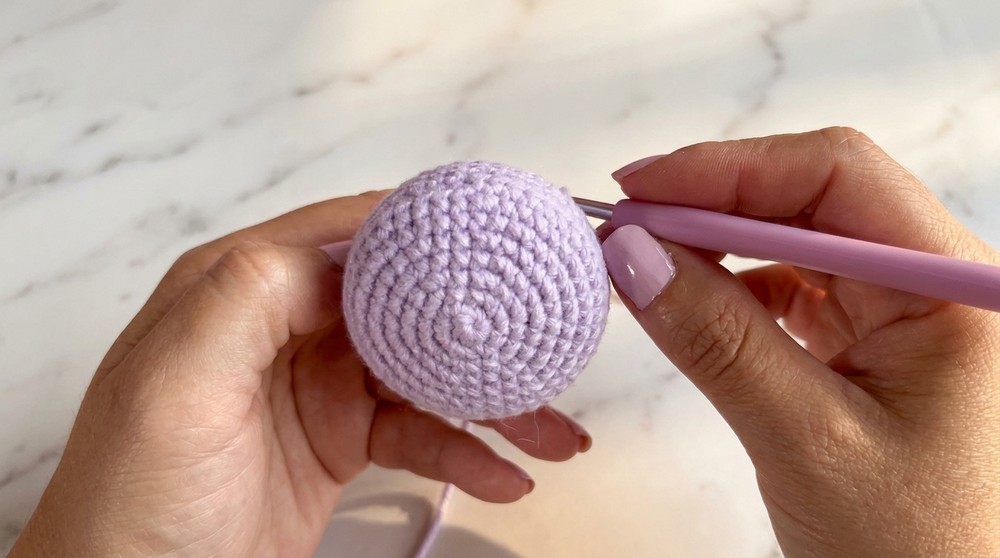
For users: Follow a familiar sequence of increases and decreases to shape the body and make sure to keep your tension consistent.
5. Flower Petals (Make 8)
- Round 1: Start with a MR. Work 2 ch, 1 DC, 2 ch, Sl St in the same ring to form one petal. Repeat this 5 times for 5 petals.
- Tighten the magic ring and weave in the ends. Add a tiny pearl as the flower's center with glue or thread.
For users: Crochet all your flowers in batches using two complementary colors for variety. Attach the pearls for an elegant touch!
6. Forming the Bouquet
Arrange your crocheted flowers on the bouquet base. Use pins to position them evenly around the bouquet. Once satisfied, glue or sew them in place.
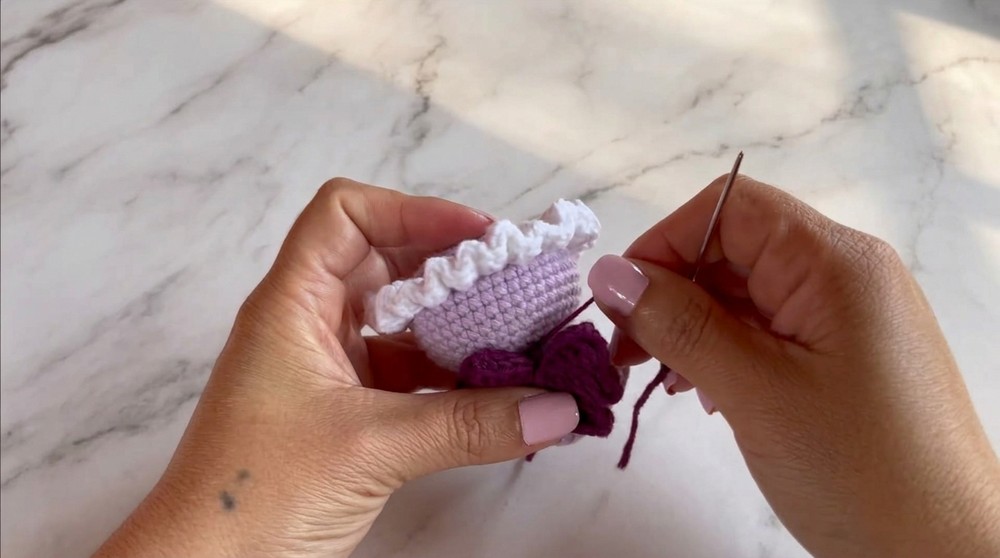
For users: Play around with the flower placement and color combinations to make your bouquet unique! Now you're ready to finish assembling.
7. Assembly & Finishing
- Sew the bunny's ears onto the head (between Rounds 1 and 3). Add stitches to create the flopped ear effect if desired.
- Attach the bunny's head to the bouquet's top by sewing carefully between the fourth round of the bouquet base and the bunny's neck. Ensure the bunny faces the direction of the bouquet's top bow.
- Crochet a bow (25 chains, follow video instructions above for double crochets and half-double crochets, repeat on both sides of chains).
- Use the bow as a decorative embellishment-wrap the middle with yarn and attach securely to the bouquet.
- Finally, apply a little blush to the bunny's cheeks and inner ears for a pop of detail.
Tips for Success
- Attention to details: Small embellishments like blush and pearls are what bring this project to life!
- Proper stuffing: Use small amounts of stuffing at a time to avoid lumps.
- Mix and match yarn colors: Play with different floral shades to personalize your bouquet.
This Bunny Bouquet Crochet Pattern is truly a labor of love, so take your time, enjoy the process, and have fun creating this beautiful keepsake. Perfect for gifting or decorating, this project will be cherished by anyone who sees it.