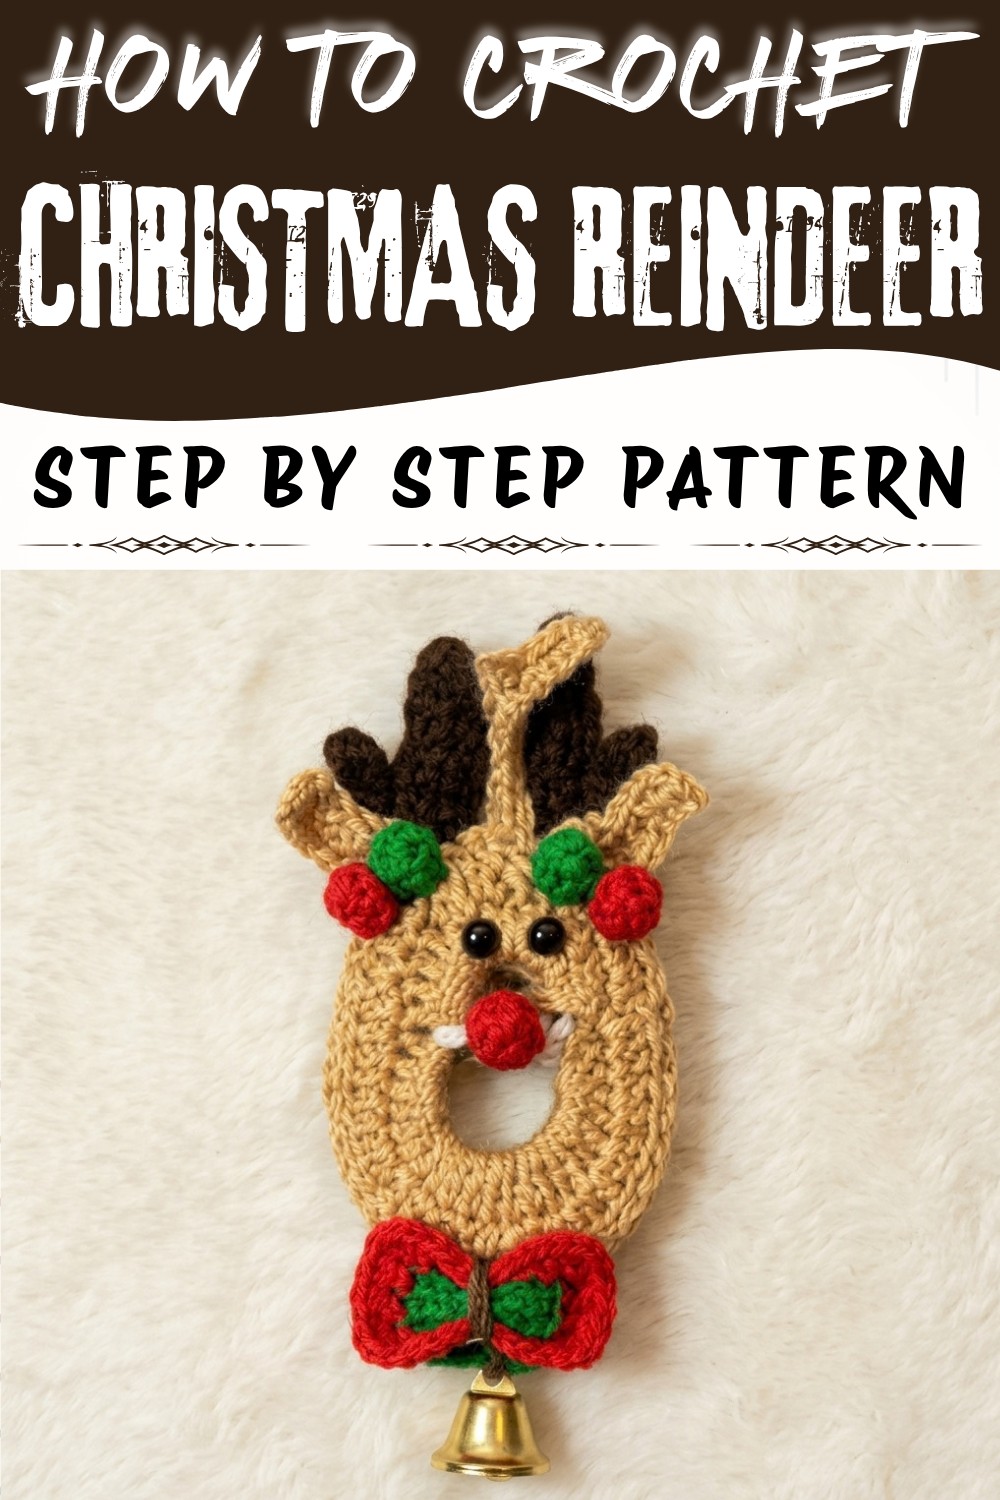
Surprise someone special with the Crochet Christmas Reindeer Free Pattern, a sweet project for holiday presents and seasonal decor.
Celebrate the festive spirit with a delightful holiday project that brings warmth and charm to your seasonal décor. This Crochet Christmas Reindeer Pattern, beautifully designed and thoughtfully shared by Nancy a crochet, offers an inspiring opportunity to create a truly unique ornament that embodies the joy of the holidays. Elegantly combining traditional holiday colors like red, green, and white, this reindeer is a perfect addition to your Christmas decorations, ideal for hanging on your tree, wreaths, or even as a cute gift topper.
Rudolph Crochet Christmas Reindeer Free Pattern for holiday Decor
The design's cozy appeal fits seamlessly with seasonal themes, making it perfect not only for Christmas but also for winter gatherings, holiday markets, or cozy home accents throughout the cold season. Pair it with rustic, natural elements like pine cones and twinkling fairy lights for a heartwarming ambiance that invites smiles and fond memories.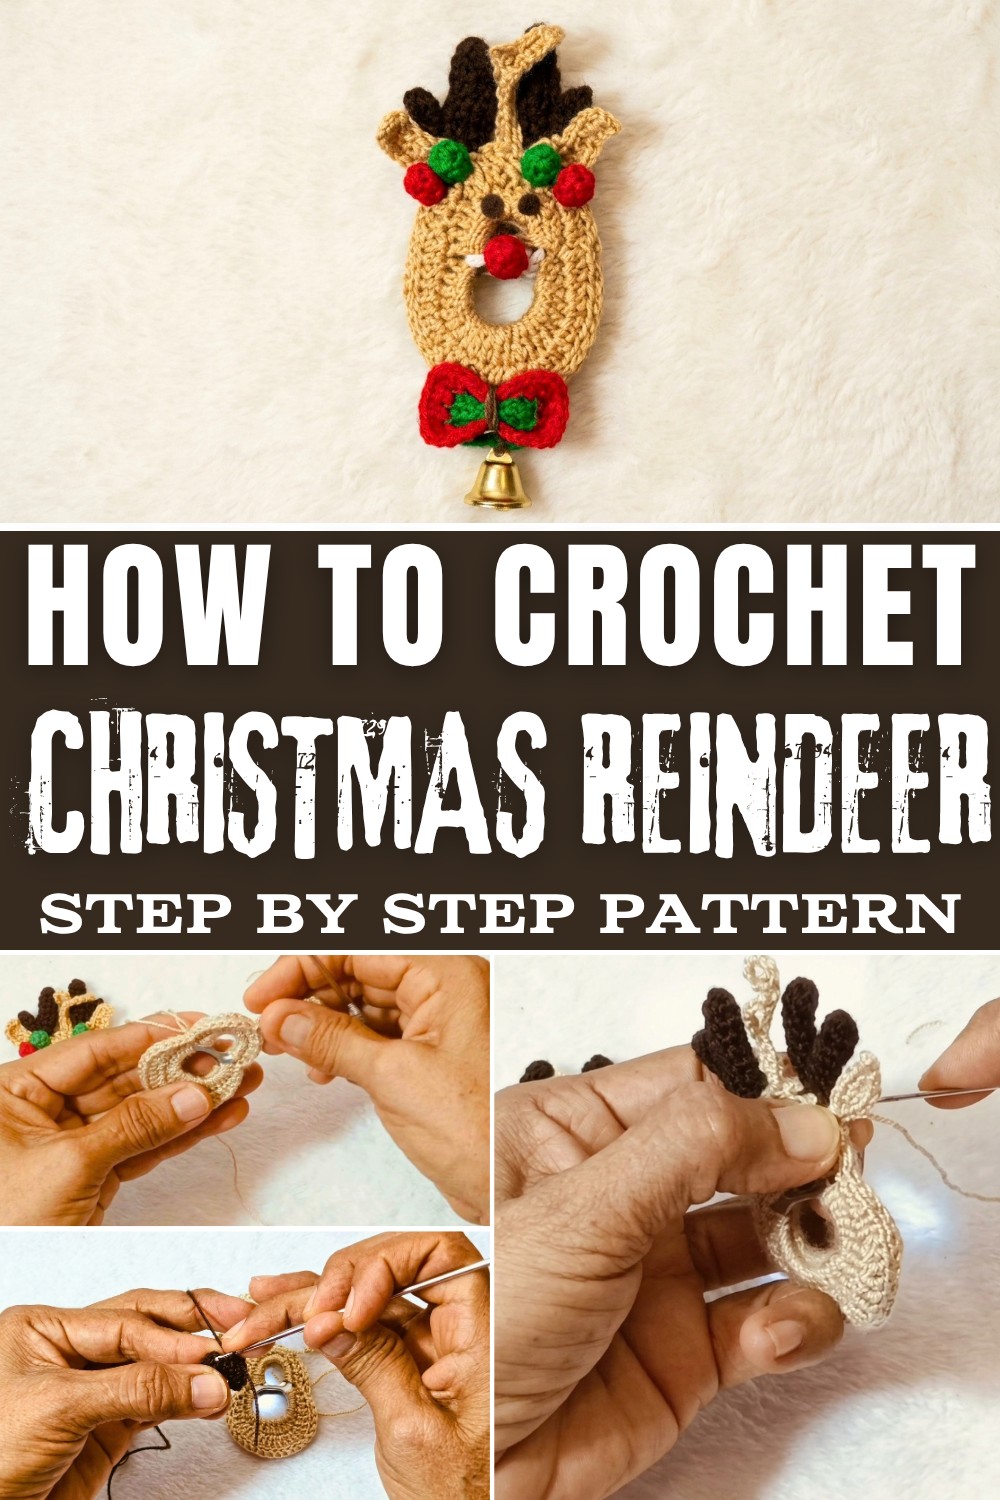
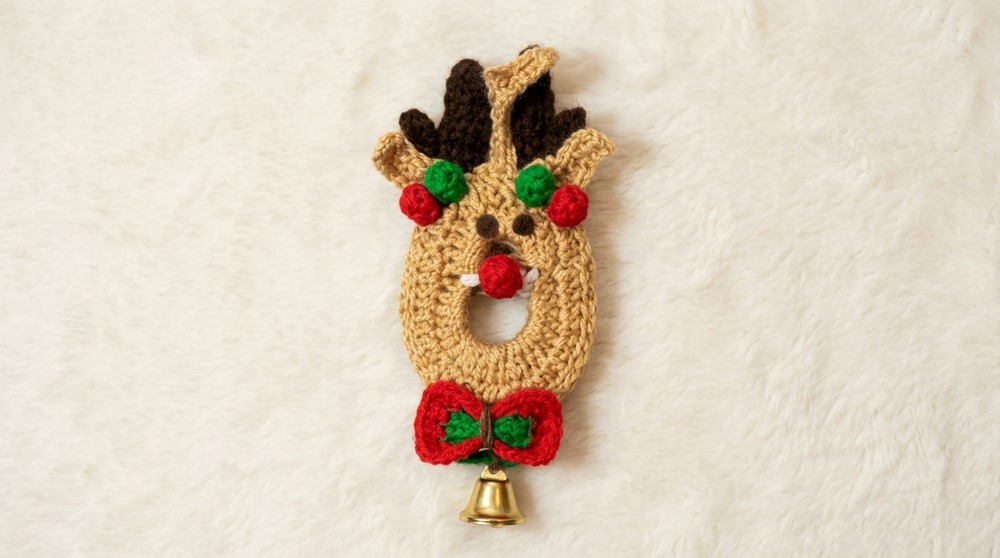
Crocheted from mercerized cotton thread, this project has a lovely texture that balances softness with durability, ensuring your reindeer stays intact for many seasons. The slight sheen of the cotton thread adds subtle elegance, enhancing the overall beauty of the piece. Standout design features include charming little ears and playful horns made with magic rings, accented by vivid pom-poms that represent the nose and festive embellishments. The double-layer construction gives it a neat finish suitable for hanging, while slip stitches provide a seamless edge that shows impressive attention to detail.
This Crochet Christmas Reindeer Pattern is not just a decoration; it's a heartwarming tradition that can brighten any space. Jump into the full pattern to find the step-by-step process and bring this enchanting holiday character to life in your home this season.
Small Crochet Christmas Reindeer Free Pattern
Upcycling takes center stage in this festive crochet project, transforming humble food can pull tabs and colorful mercerized cotton into a whimsical reindeer ornament. Utilizing practical materials often overlooked, this design delivers both environmental consciousness and classic holiday appeal. Every detail, from the unique double-thickness pull tab ring to the charming crochet antlers and ears, forms a cohesive and sturdy decoration. With a crisp No. 1.75 crochet hook and the vibrant colors of your choice, the process remains accessible while presenting subtle challenges for those who enjoy refining their handwork. This ornament serves as a playful expression of holiday cheer, celebrating resourcefulness and traditional crochet technique in a unique seasonal accent. Its lightweight nature and charmingly compact profile make it suitable for adorning trees, gift toppers, or even classroom crochets-a true blend of form and function for winter festivities.
Quick Overview Of Pattern
- Work single crochet stitches around double pull tabs for a stable base.
- Form a flat, stretched semicircle with half double and elongated double crochets.
- Join two identical pieces for a symmetrical, filled body.
- Shape small, three-dimensional ears.
- Construct structured, branched antlers using two joined segments.
- Crochet and attach decorative pom-poms for nose and cheeks.
- Finish with sewing, optional facial details, and embellishments.
Notes
- Doubling the pull tabs increases the ornament's stability and allows a neater, supportive hanging ring.
- Adjust yarn colors to personalize each reindeer or to match theme decor.
- Neatness in slip stitch joining around the edges is critical for a reversible, tidy look.
- Pom-poms for cheeks and nose can be glued or lightly stitched in place.
- Small bells or maracas provide an extra festive jingle, but are completely optional.
- All sewing can be done with a tapestry or yarn needle; ensure ends are fully hidden inside for a clean finish.
Skill Level
Adventurous Beginner to Intermediate
The pattern blends basic stitches with simple amigurumi rounds (for horns and pompoms), working in the round and seaming, all manageable for those comfortable with standard crochet techniques.
Materials
- Pull Tabs: 2 large food can tabs (for doubled base)
- Mercerized Cotton Yarn (approx. 1 mm): Colors of your choice (green, red, and/or white recommended)
- Crochet Hook: 1.75 mm
- Scissors
- Tapestry or Yarn Needle
- Silicone Glue (optional; for securing pom-poms)
- Small bells or maracas (optional)
Measurements / Sizing
- Finished size: Approx. 6-8 cm (2.5-3 in) diameter (excluding horns/ears)
- Loop length: ~4-5 cm (1.5-2 in)
- Antlers: Each ~3-4 cm tall
Gauge
Gauge is not critical but aim for tight, consistent stitches to ensure that body, antlers, and ears keep their shape and the finished ornament is sturdy.
Stitch Abbreviations
| Abbreviation | Meaning |
|---|---|
| ch | chain |
| sl st | slip stitch |
| sc | single crochet |
| hdc | half double crochet |
| dc | double crochet |
| edc | elongated double crochet |
| inc | increase (2 sts in 1 st) |
| dec | decrease (sc2tog) |
| MR | magic ring |
Special Stitches
- Elongated Double Crochet (edc): Yarn over, insert into stitch, pull long loop (~1 cm), yo, pull through two loops, yo, pull through last two loops.
- Magic Ring (MR): Adjustable ring for working amigurumi and small rounds (used for pompoms/horns).
- Slip Stitch Edge Joining: Working only in back loops, join two pieces seamlessly by slip stitch.
The Crochet Pattern
Preparing and Covering the Pull Tabs
(Base-Make 2 pieces)
- Place two pull tabs together (doubling for strength).
- Secure thread with a safety start at one end.
- On the first side:
- Round 1: 18 sc worked evenly across.
- On the second side:
- Round 2: 24 sc worked evenly across.
- On the first side:
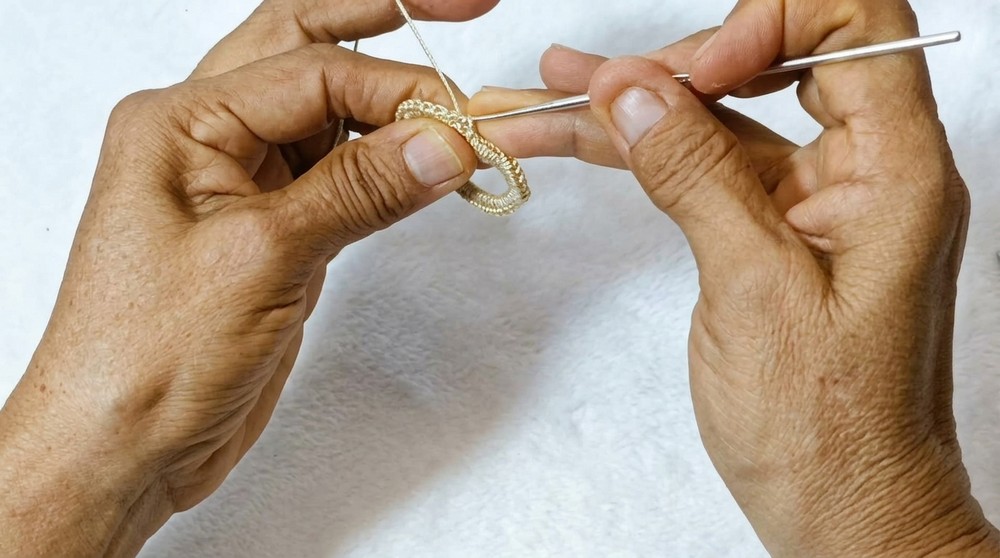
- Form the hanging loop:
- At one end, ch 30, sl st down the chain to form a sturdy loop.
- Top space coverage:
- Round 3: 17-18 hdc worked evenly across the top space (no increases for a flat stretch).
- Shaping outer edges:
- Round 4: Begin edge shaping:
- 2 sl st at end of side.
- Along edges, alternate hdc, dc, and edc as follows:
- (At peak of curve:) Work 3 edc into a single base stitch for distinct shaping.
- Mirror these stitches along each edge.
- Round 4: Begin edge shaping:
- Finish:
- Join with sl st, cut thread with a moderate tail.
- Repeat entire process to create two identical base pieces.
Joining the Two Pieces
- Align both pieces back-to-back, right sides outward.
- With a new yarn strand, join the contour:
- Insert hook into back loops only of both pieces,
- Sl st evenly around the edge for a neat, fully reversible seam.
- Leave a long thread end for ear attachment before cutting yarn.
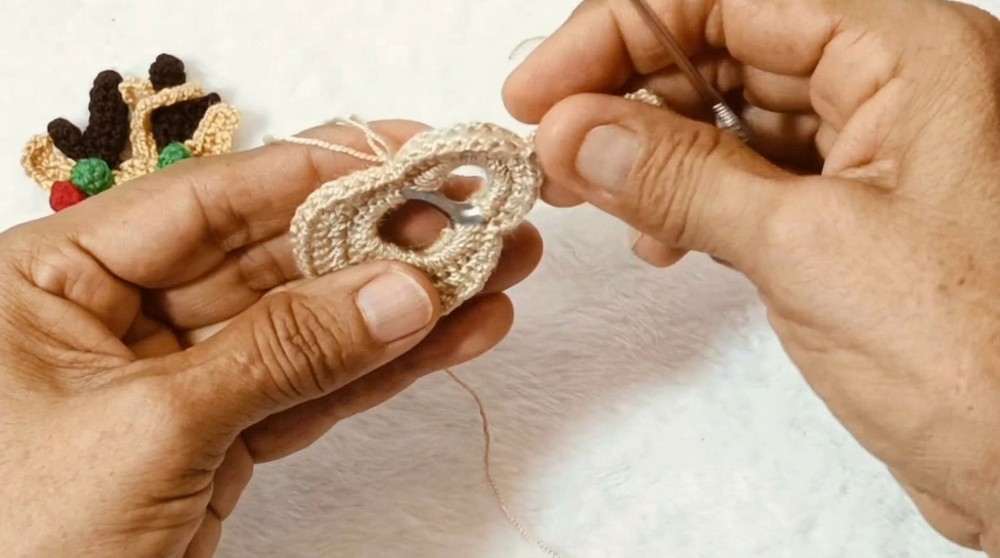
Crocheting the Ears
(Make 2 ears)
- With new yarn, sl st to begin
- Ch 4; then work:
- 1 sc in first stitch,
- 1 hdc in next,
- 1 sc in next,
- Ch 3, sl st into base to form ear tip.
- Continue:
- Work 3 sc down the side, weaving in tail as you go.
- Repeat for second ear.
Crocheting the Antlers
Each antler has two segments: Large upper branch and small side branch.
Larger Horn Piece (Make 2):
- Round 1: MR, 5 sc, close ring.
- Rounds 2-5: 1 sc in each st (maintain 5 sts per round).
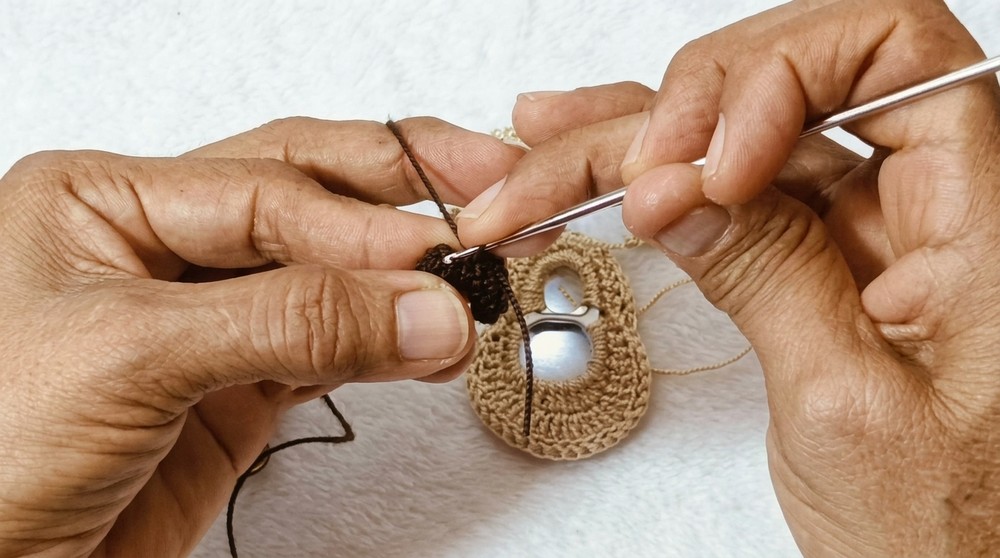
Smaller Horn Piece (Make 2):
- Round 1: MR, 4 sc, close ring.
- Rounds 2-3: 1 sc in each st (4 sts per round).
Joining the Horns:
- Pair one large and one small branch.
- With working yarn:
- Join segments with sc;
- Work 9 hdc in a continuous round (5 from large, 4 from small).
- Next round: 1 sc, 1 dec around (ending with 6 medium sts).
- Final round: 1 sc in each st.
- Cut thread; leave long for sewing.
- Repeat all steps for the second antler.
Pom-Pom Nose & Cheeks
(Make 3 small pom-poms; 1 as nose, 2 as cheeks, in holiday colors):
- Round 1: MR, 6 sc; close ring.
- Round 2: 6 sc, 1 in each st.
- Finish: Close, leave a tail for sewing or gluing.
Assembly & Finished Size
- Attach antlers:
- Sew both antlers side by side to the top of the reindeer, directly next to the hanging loop using the yarn needle.
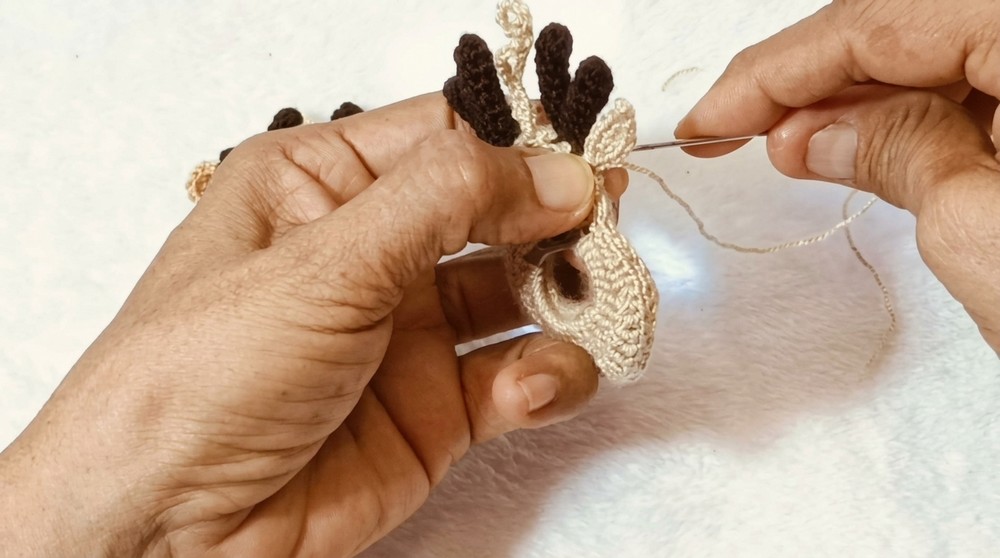
- Attach ears:
- Stitch each ear right beside the antlers, ensuring neatness on both sides. Pull thread tails through gap and secure inside so the body remains tidy.
- Nose and cheeks:
- Sew or glue pom-poms below the antlers and ears: Position the nose in the center and cheeks symmetrically at the sides.
- Optional details:
- Glue on googly eyes, add a small bell or tiny maraca at the base, or tie a festive bow.
- Secure all loose ends inside the hollow body.
Finished size:
- Main body (not counting antlers/ears): ~6-8 cm
- Including antlers: ~10-12 cm tall
- Hanging loop adds another ~4 cm
Conclusion
With each stitch, this delightful reindeer brings sustainability, charm, and a handmade touch to your holiday décor. Thoughtful structuring and well-placed transitions between flat work and three-dimensional features ensure a pleasing, proportional result. This project illustrates how even recycled materials, when paired with basic crochet techniques and careful assembly, can shine as whimsical keepsakes. Adapt color choices or details to your taste, and showcase your ornament on a tree, wreath, or gift. This little reindeer stands as a cheerful reminder of resourcefulness and the creative spirit of the season.