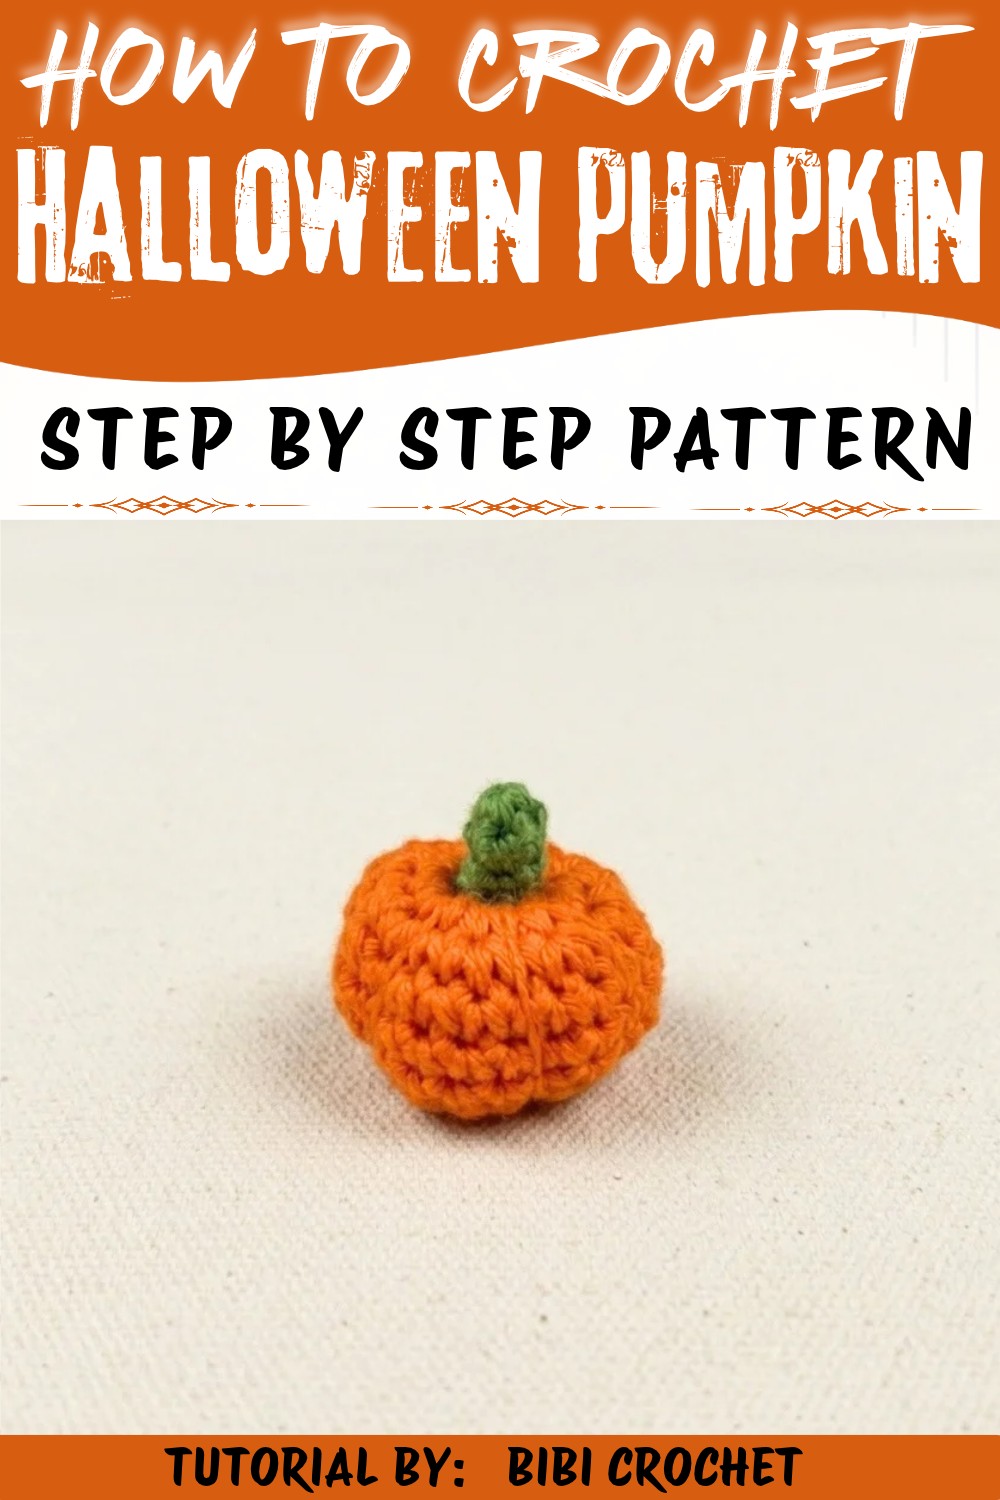
Set a spooky mood with this Crochet Halloween Pumpkin Free Pattern and make a cheerful pumpkin that looks lovely on your shelf or table.
Fall is a special time of year when the air turns crisp, and homes fill with cozy decorations that celebrate the season. Among these, the charming little pumpkin stands out as an icon of autumn. One delightful way to bring this symbol indoors is by making a charming crocheted pumpkin, a project beautifully demonstrated by Bibi Crochet on her YouTube channel. Full credit goes to her for the detailed tutorial and original design that show step-by-step how to create this lovely piece. Using the Crochet Halloween pumpkin pattern from her video, you can create a warm and inviting pumpkin that's perfect for fall décor or as a thoughtful homemade gift.
Simple Crochet Halloween Pumpkin Free Pattern with Autumn Charm
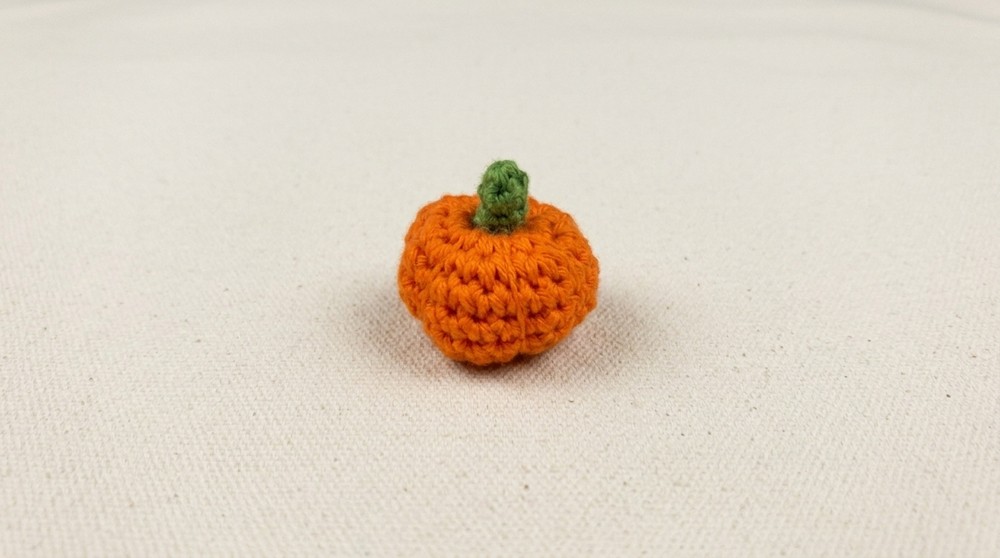
This pumpkin is not just a decoration; it carries a soft and inviting texture thanks to its size 3 yarn and gentle stuffing, making it both pleasant to touch and visually appealing. Its classic round shape is accentuated by carefully crocheted vertical lines that resemble real pumpkin ridges, giving it a realistic and tactile quality. The vibrant orange color paired with a green stem finished in a small, neat ring adds a natural and welcoming touch to any room. The piece's compact size makes it versatile to place on shelves, tables, or mantelpieces, and its soft texture means it's safe to be around children and pets.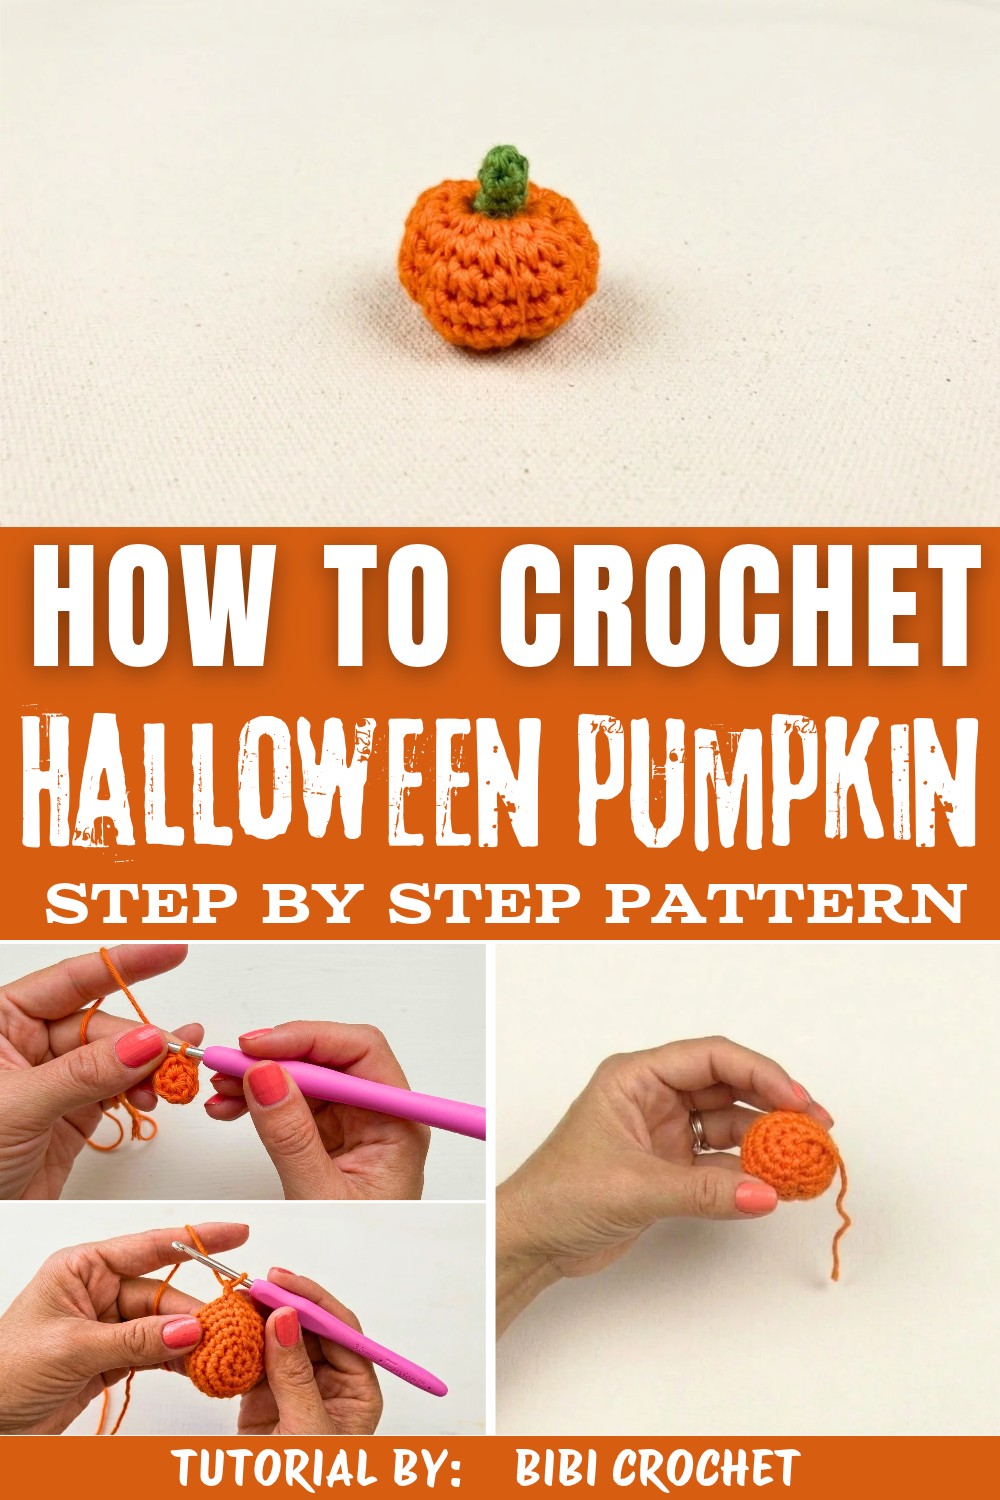
The overall style combines simplicity with charm, capturing the essence of Halloween and autumn in a tiny, handmade treasure. Whether displayed as a seasonal accent, used as a unique party favor, or gifted to friends and family, this crocheted pumpkin offers warmth and creativity perfect for celebrating the festive season. Its standout design features include the subtle contouring with yarn lines that shape the pumpkin and the sturdy, yet delicate, finish of the stem that completes its look. This project is not only enjoyable to make but also a wonderful way to bring a bit of autumn's magic into your home.
Crochet Halloween Pumpkin Free Pattern
The amigurumi pumpkin stands as a classic autumnal project known for its pleasing round shape and rustic charm. This pattern offers a thorough, approachable method for crocheting a compact pumpkin with deep, realistic ridges and a sturdy stem. Through careful shaping and assembly, the finished pumpkin makes an appealing seasonal décor item, playful toy, or festive accent for creative projects. Each instruction has been chosen for clarity and ease, allowing both new and experienced makers to construct a well-formed, durable pumpkin that retains its shape season after season. With each round, you'll see the pumpkin body take form; the final touches encourage creativity while ensuring a robust, polished result.
Quick Overview Of Pattern
- Pumpkin body: Worked in the round, using increases and invisible/front loop decreases for contour.
- Segment shaping: Deep vertical grooves created by threading yarn snugly through the pumpkin to mimic real segments.
- Pumpkin stem: Simple cylindrical stem crocheted separately and sewn on.
- Minimal sewing: Only assembly and shaping require basic seam work.
- Sturdy and compact: Structure supports both decorative and functional uses.
Notes
- Always use a stitch marker to denote the beginning of each round; this is especially helpful when working small rounds or frequent increases and decreases.
- Maintain consistent tension-tight enough to prevent stuffing from showing, but not so firm that stitches are difficult to work.
- For best results, stuff the pumpkin gradually, adding just enough fiberfill to hold shape but not overly distort the rounds.
- The shaping yarn for the grooves should be strong and match the pumpkin body in color to remain unobtrusive.
- The pattern uses front loop only decreases for subtle shaping of the pumpkin's top and bottom.
Skill Level
- Beginner to Intermediate
- Knowledge of magic ring, single crochet, increases, decreases (front loop only), basic sewing, and stuffing.
Materials
- Yarn: Size 3 (DK/light worsted) in orange (body) and green (stem)
- Crochet hook: 3.5 mm
- Stuffing: Fiberfill or cotton stuffing
- Tapestry needle/wool needle
- Stitch marker (or contrasting piece of yarn)
- Scissors
Measurements / Sizing
- Approximate finished size:
- Diameter: 6-7 cm (2.5-2.75 inches)
- Height including stem: 7-8 cm (3 inches)
- Pumpkin ridges (segments) are evenly distributed.
Gauge (and Stitch Pattern, if applicable)
- Gauge: Not critical, but stitches must be tight enough to prevent visible stuffing.
- Main stitch: single crochet (sc) in the round.
- Decreases use the front loop only to promote subtle shaping.
Stitch Abbreviations
| Abbreviation | Definition |
|---|---|
| sc | single crochet |
| inc | increase (2 sc in the same stitch) |
| dec | decrease (single crochet 2 together) |
| FLO dec | decrease through front loop only |
| st(s) | stitch(es) |
| ch | chain |
| MR | magic ring |
| sl st | slip stitch |
Special Stitches
- Magic ring (MR): Make an adjustable loop to begin crocheting in the round.
- Front Loop Only Decrease (FLO dec): Insert hook into front loop of two consecutive stitches, yarn over, pull through both (2 loops), yarn over, pull through last two loops.
- Invisible closing: When sewing the top closed, weave through the front loops of each stitch for a smooth seam.
The Crochet Pattern
Pumpkin Body
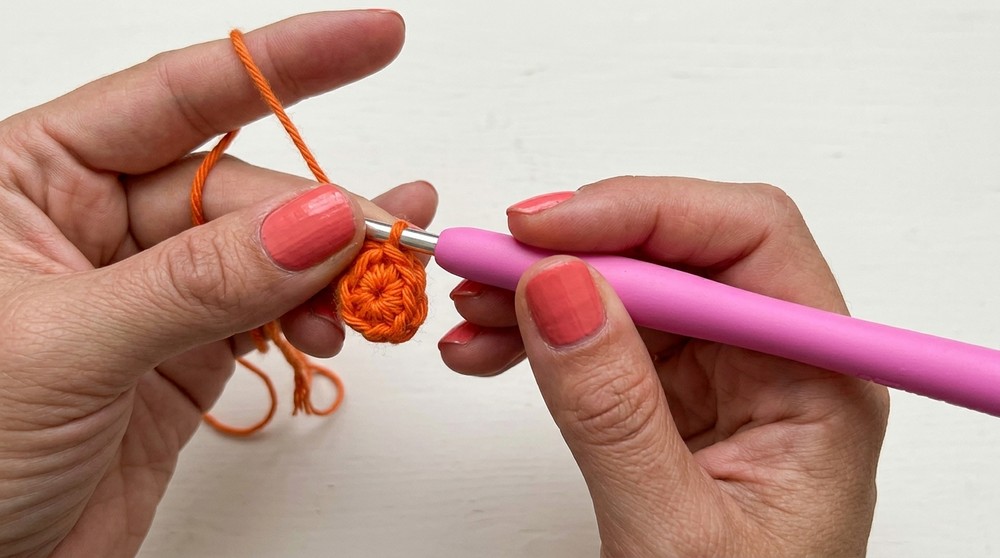
- Round 1:
- Start with a magic ring.
- Crochet 7 sc into ring.
- Join to first sc and tighten loop. (7 sts)
- Round 2:
- Ch 1, work 2 sc in each st around (inc in every st). (14 sts)
- Round 3:
- Ch 1, [1 sc, 1 inc] repeat around. (21 sts)
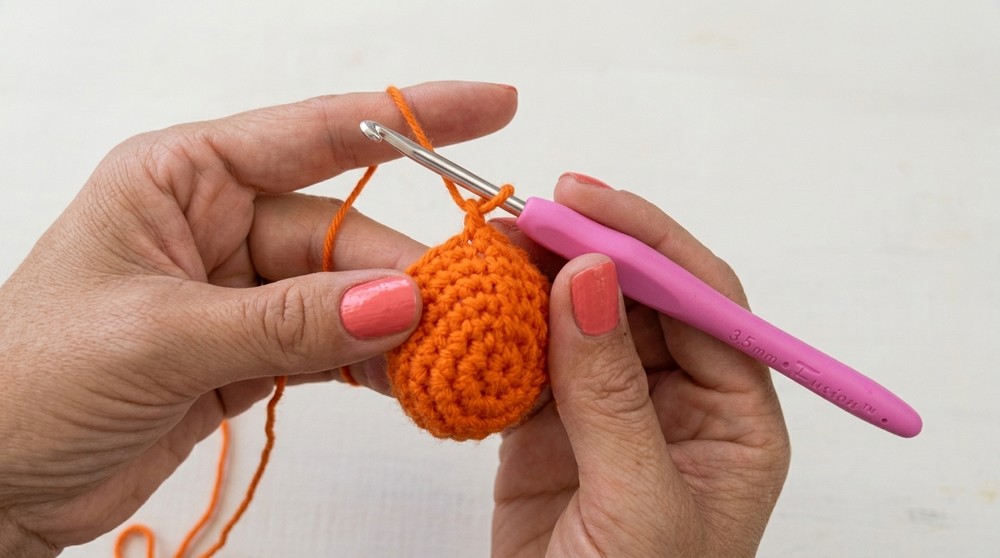
- Rounds 4-7:
- Ch 1, 1 sc in each st around for four rounds. (21 sts per round)
- Round 8:
- Ch 1, [1 sc, 1 FLO dec] repeat around. (14 sts)
- Round 9:
- Ch 1, FLO dec in every stitch around. (7 sts)
- Stuffing:
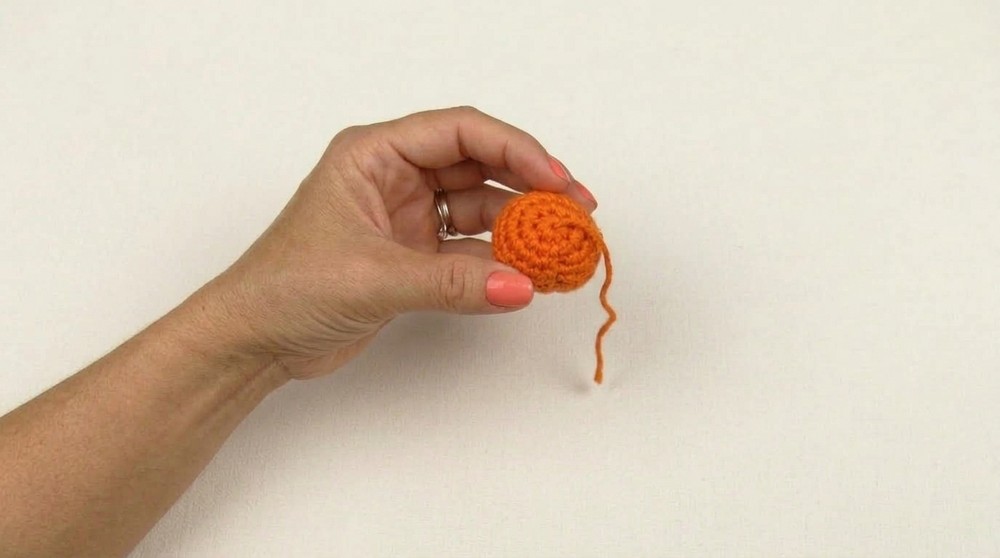
- Insert stuffing firmly through the opening. Break up fiberfill for even distribution. Do not overstuff to maintain the round, slightly flat pumpkin profile.
Closing & Segment Shaping
- Fasten Off:
- Leave a long tail for sewing and shaping.
- Closing:
- Thread tail on tapestry needle.
- Weave through the front loops of remaining 7 sts, pull tight to close.
- Secure with a firm knot.
- Forming Segments:
- Pass needle from the bottom center to the top center, pulling tail through.
- Bring yarn over side and insert needle at bottom, dividing pumpkin roughly in half.
- Pull snug to indent and form a "groove."
- Repeat this process-wrapping and inserting needle through center-approximately 5 times, spacing segments evenly to mimic natural pumpkin ridges.
- Fasten securely, weave in remainder.
Pumpkin Stem
- Round 1:
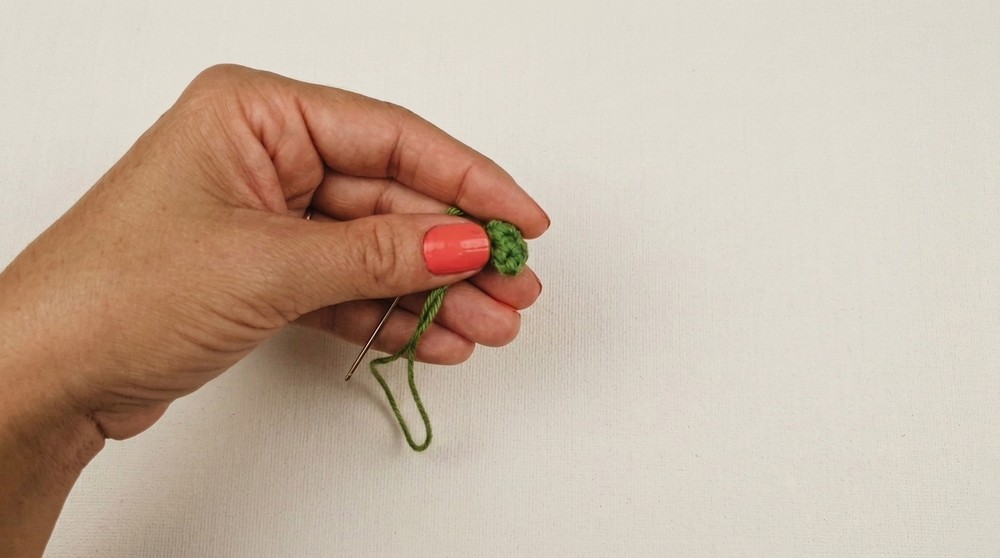
- With green yarn and 3.5 mm hook, form a magic ring.
- Work 4 sc into ring. (4 sts)
- Rounds 2-4:
- Ch 1, 1 sc in each st around for three rounds. (4 sts per round)
- Stuffing Stem:
- Add a tiny bit of stuffing.
- Finishing Stem:
- Fasten off, leaving a tail for sewing.
Assembly & Finished Size
- Attaching Stem:
- Thread the green tail from the stem onto tapestry needle.
- Position at top center of pumpkin (where closing stitches gather).
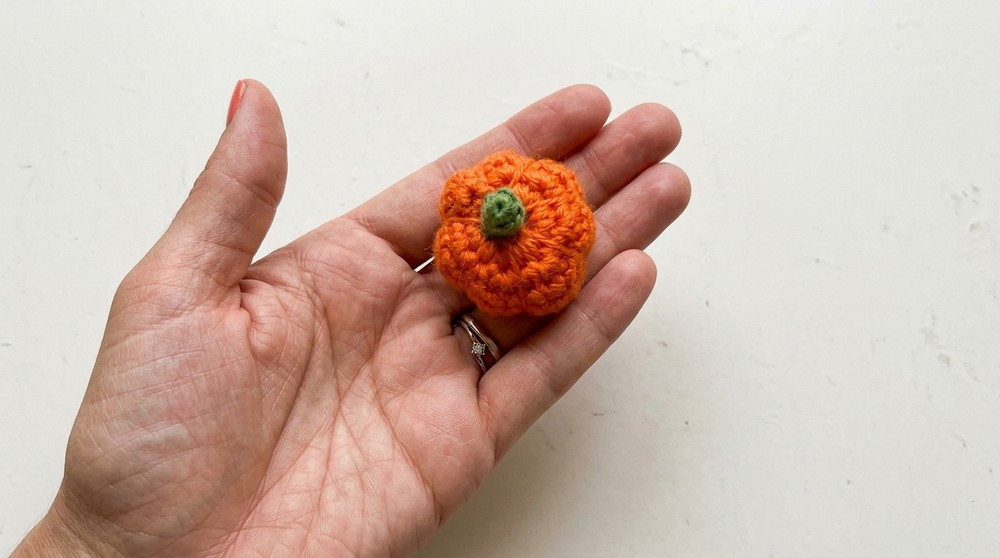
- Sew around the base of the stem, attaching to top of pumpkin with firm, small stitches.
- Secure, weave in end, and cut excess.
- Final Size:
- The completed pumpkin will have a round body, five to six visually pronounced sections, and a compact stem securely fastened on top.
- Optional:
- You may lightly squish the body to flatten top/bottom further or gently roll to shape sides for added realism.
Conclusion and Ending Words
Upon completion, the amigurumi pumpkin displays a charming shape defined by deep, well-placed ridges and a bright, cushioned form. Every round serves a purpose, from foundational shaping to sculpting the distinctive segments by strategic weaving. Carefully selected color and tension will help every pumpkin become a seasonal centerpiece, cheerful keychain, or a playful collectible. Assembling the stem and anchoring it onto the plump base produces a finish that's both practical and visually appealing. The straightforward approach to segment shaping demonstrates how a single tail can reinforce structure and detail. Through attention to each step and mindful placement of stitches, this project results in an appealing, handmade gourd with lasting versatility. One can appreciate the sturdy texture and smooth contours that come from combining elementary stitches with thoughtful assembly, ultimately resulting in a delightful amigurumi accent for seasonal displays or playful arrangements