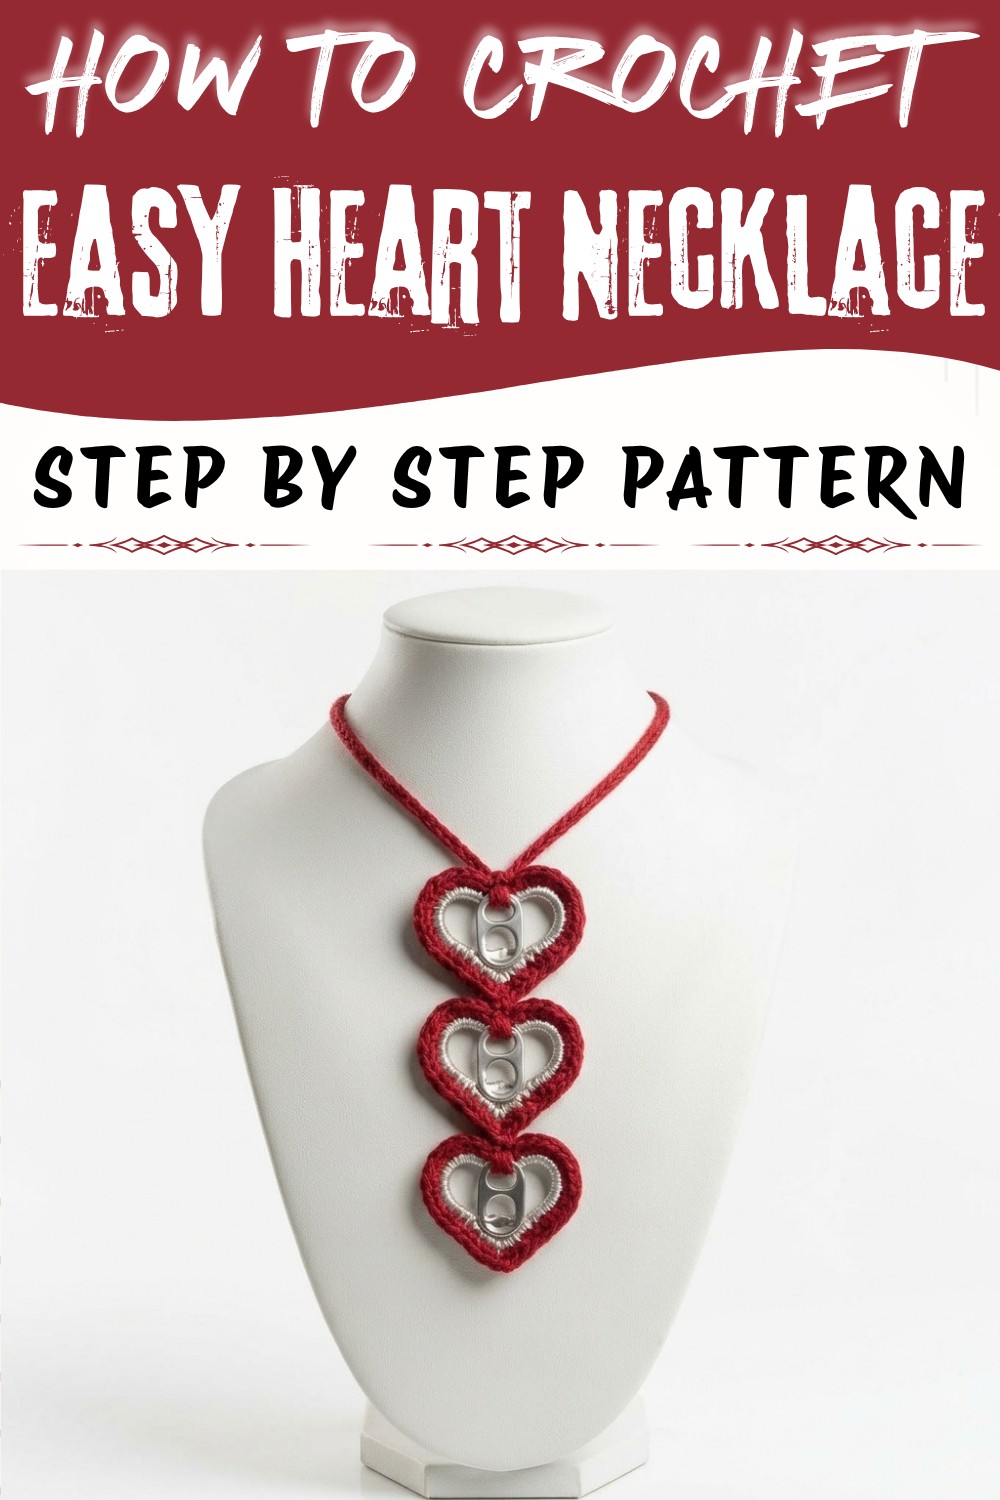
Keep a little love close to your heart with this Crochet Heart Necklace Pattern and enjoy a pretty accessory that adds charm to any outfit.
Jewelry has always been a wonderful way to express creativity and add a personal touch to any outfit. One charming accessory that perfectly blends simplicity with elegance is the Crochet Heart Necklace Pattern, a delightful design shared by Nancy A Crochet, a well-known crochet channel known for its easy-to-follow tutorials. This necklace is more than just an accessory-it's a beautiful piece of costume jewelry that carries the warmth of thoughtful handmade effort, making it an ideal gift for loved ones or a lovely addition to your own collection.
Elegant Crochet Heart Necklace Free Pattern for Handmade Accessory
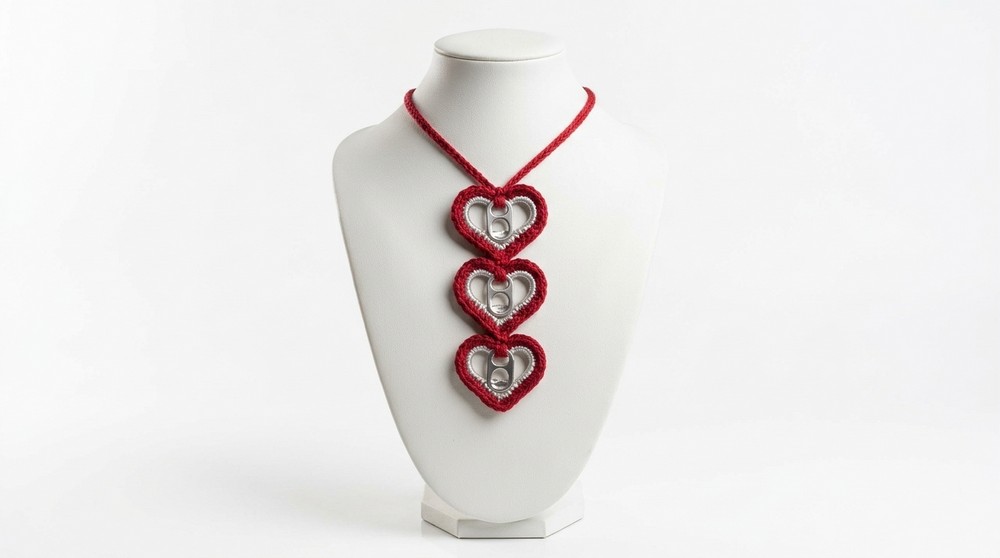
The necklace features interconnected rings made from recycled food cans, wrapped delicately with fine threads to create heart-shaped links. The pattern uses a combination of half double crochets worked in a rhythmic sequence, resulting in a textured, sturdy yet soft surface that feels pleasant against the skin. Each heart link is rhythmically connected through a chain of stitches, giving the necklace a graceful flow and an appealing lace-like effect.
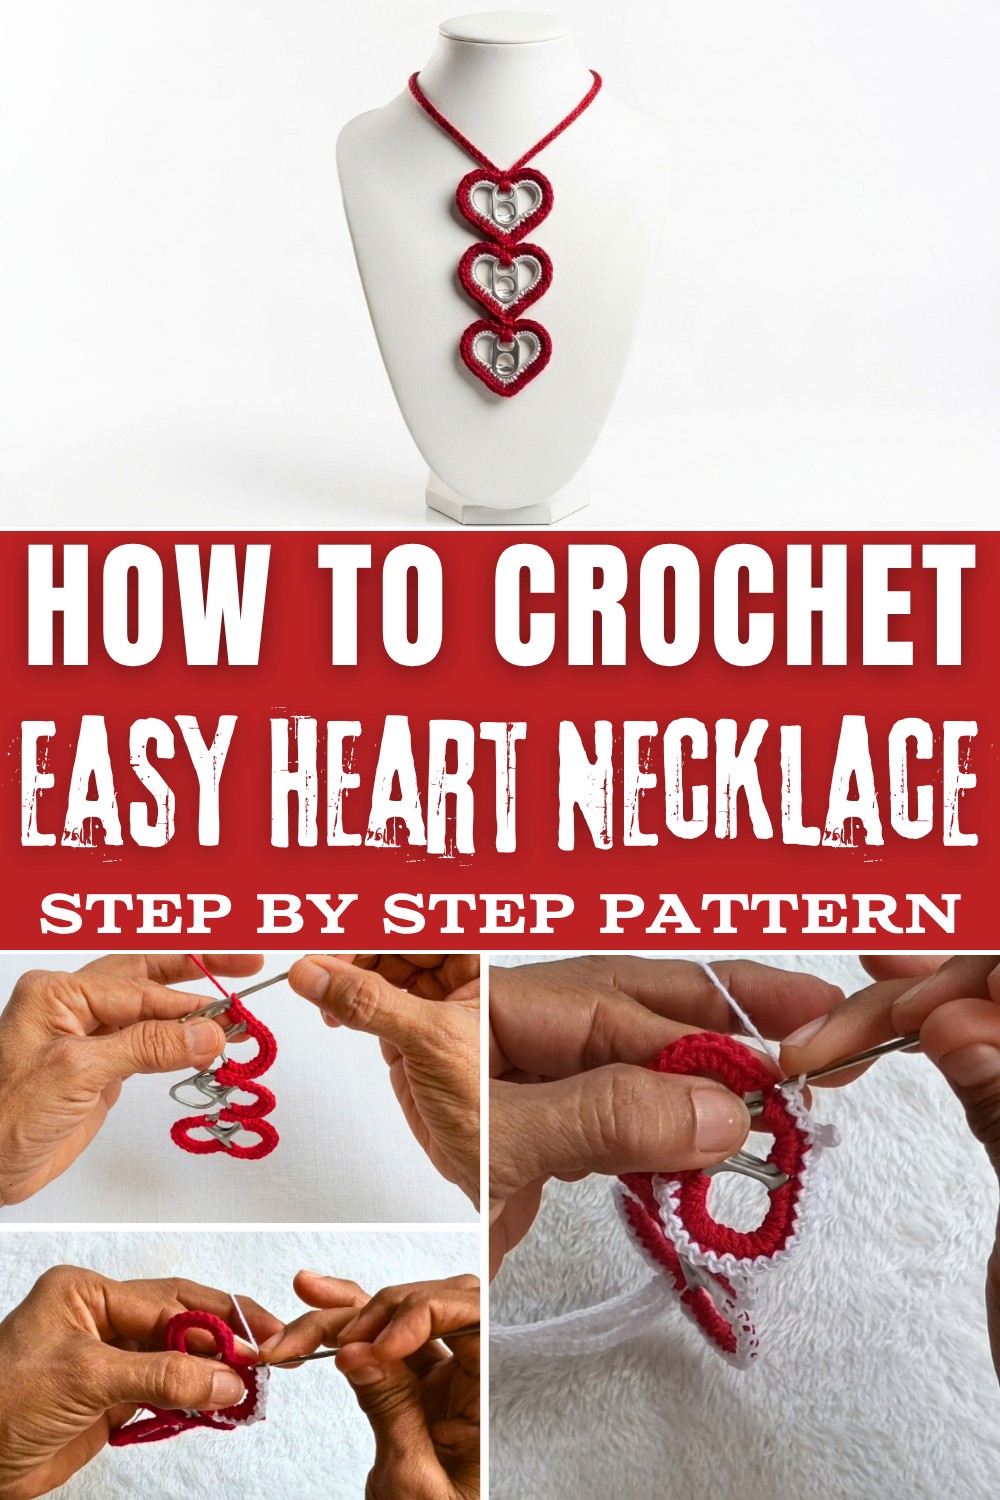
Visually, this necklace stands out with its bold rings enhanced by vibrant thread colors-Nancy combines red and white mercerized cotton to create a striking contrast that adds depth and character to the piece. The heart shapes are defined yet subtle, balanced by the smooth curves formed by the half-moon accents, which can be optionally added to personalize the design further. The finished texture is both delicate and structured, lending the necklace a versatile style that complements casual wear or dressier ensembles.
Beyond its beauty, this necklace pattern is highly practical. The adjustable chain length allows for customized fits, making it suitable for various occasions and styles. Whether worn for everyday charm or special events, this heart necklace brings a touch of handcrafted elegance while embodying warmth and love-a lovely way to brighten up any day.
Can Tab Heart Necklace Crochet Pattern
Utilizing readily available materials in creative ways often results in accessories with striking character. The can tab heart necklace combines six food can rings with mercerized cotton thread to form a distinct pendant. Through single crochet stitches and careful joining, the assembly achieves a heart silhouette, enhanced by alternating red and white threads. Crescent moon beads or miniature crochet roses provide decorative highlights, increasing personalization possibilities. Adjustable tie cords ensure that the necklace can fit a range of preferences and occasions. Consistent stitch placement and precise overlapping of tabs contribute to lasting stability and a harmonious, symmetrical shape. Embellishments chosen for the center or top of the heart further reinforce its visual interest. This approach clarifies each process, offering a stylish, functional accessory shaped by resourceful use and detailed attention.
Quick Overview Of Pattern
- Can Tabs are crocheted together with single crochet, forming a heart.
- Each tab is joined to the next with intermediate stitches and chains.
- Edging is created using chain and slip stitch for a lacy border.
- Adjustable cords are made via chained ties at the heart's top.
- Embellishments are added for visual interest and versatility.
- All steps are presented round by round and phase by phase.
Notes
- Ensure tabs are clean and free of sharp edges for safe handling.
- Place tabs precisely as demonstrated for symmetrical heart formation.
- Pull stitches snugly but not overly tight to maintain structure and drape.
- Seamlessly weave in ends to prevent unraveling and maintain a neat finish.
- Select decorative accents to match or complement thread colors for a cohesive look.
Skill Level
- Confident Beginner to Intermediate
- Required familiarity with single crochet, slip stitch, chain, picot, and simple joining techniques. Comfort working around non-yarn objects is beneficial.
Materials
- Can Tabs: 6 large food can tabs (rings), cleaned and dried
- Crochet Hook: 2.0 mm
- Yarn/Thread: Mercerized cotton thread in red and white, or colors of your choice
- Decorative Accents: 3 crescent moon beads or handmade crochet roses
- Tools: Scissors, silicone glue (optional for embellishments)
Measurements / Sizing
- Pendant Size: Approximately 5-7 cm (2-2.75 inches) wide and tall
- Cords: Customizable; suggested length is 30 cm (12 inches) each for tying
Gauge
- Gauge is not critical as this is a decorative accessory.
- Stitches should be firm and consistent to ensure stability.
Stitch Abbreviations
- ch: chain
- sc: single crochet
- sl st: slip stitch
Special Stitches
- Picot: Chain 3, slip stitch into the second chain from hook, then single crochet back into the tip.
- Security Stitch: An initial single crochet worked to anchor the yarn solidly around the tab before continuing.
The Crochet Pattern
Joining the Can Tabs (Red Thread)
First Pair of Tabs
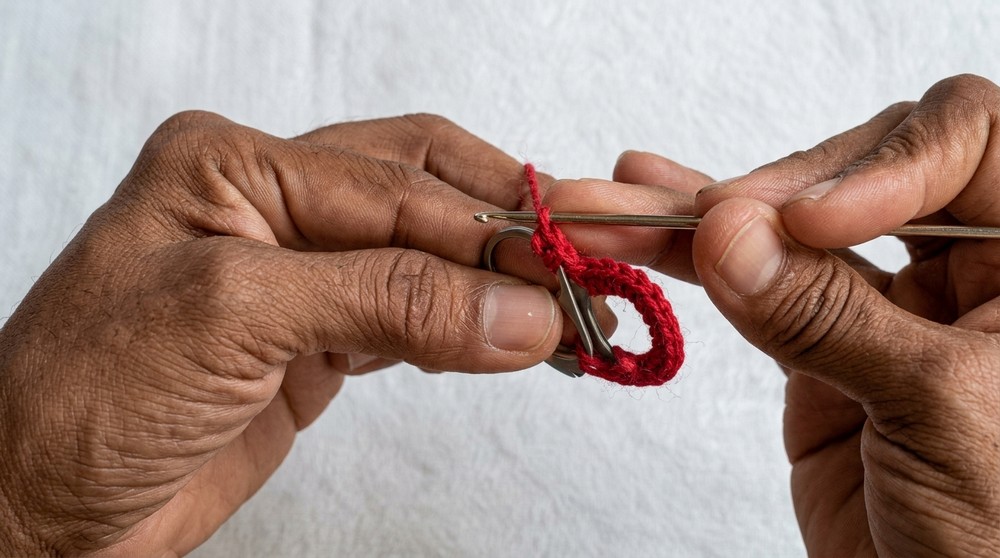
- Place two can tabs together, overlapping the bottom of one onto the other.
- Attach the red thread through both tabs and work 1 security stitch to anchor.
- Into the top loop/section, work 15 single crochets (sc).
- Move across to the adjacent loop/section and again work 15 sc.
-
- This ensures both sides have uniform coverage and the tabs are firmly joined.
Middle Join & Adding the Next Tabs
- At the join section, transition by working 3 sc across the bridge between tabs.
- Chain 1 to allow flexibility before adding the next tab.
- Position a third tab underneath and repeat:
- Work 15 sc across the new top section.
- Again, in the join area, work 3 sc and chain 1.
- Continue this process for each additional tab:
- As each new tab is added, ensure its bottom overlaps under the prior tab, then repeat 15 sc across its top and 3 sc plus chain in the bridge.
Bottom Tip & Second Side
- Place another tab at the base, and work 15 sc as before.
- At the bottom tip, shape the curve of the heart by working either 4 sc or up to 7 sc, depending on your desired heart outline.
- Work 15 sc along the opposite side of the last tab.
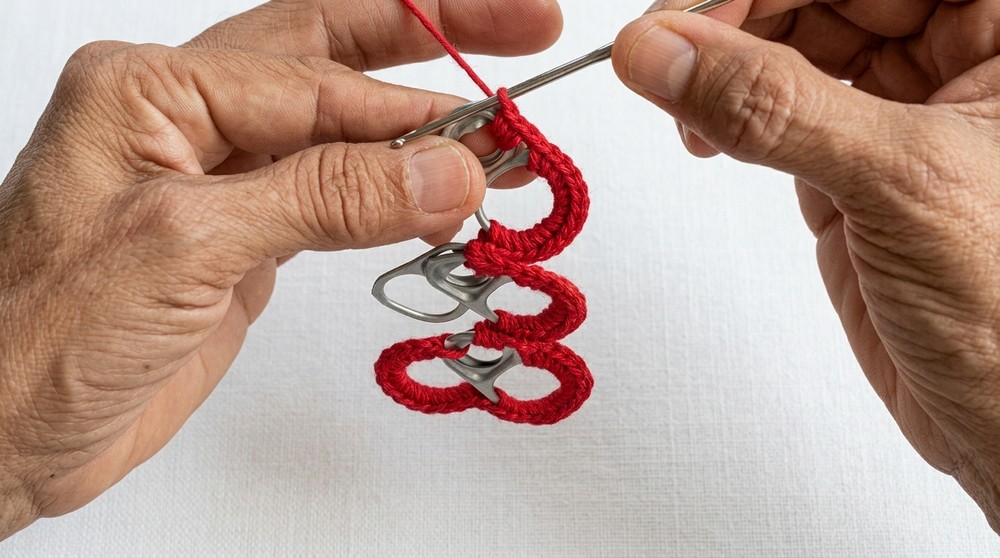
- Slip stitch into the first stitch to secure and join.
- In the chain space, slip stitch again; for a longer pendant, add up to two chains and slip stitch into those spaces as well.
- This creates smoother transitions at joins and helps balance the heart shape.
- Continue to repeat 3-4 sc in each connecting space across remaining joins to reinforce the structure.
- Fasten off the red thread, leaving a small tail. Use the tapestry needle or hook to weave in ends securely.
Border & Adjustable Neck Cord (White Thread)
Edging Pattern
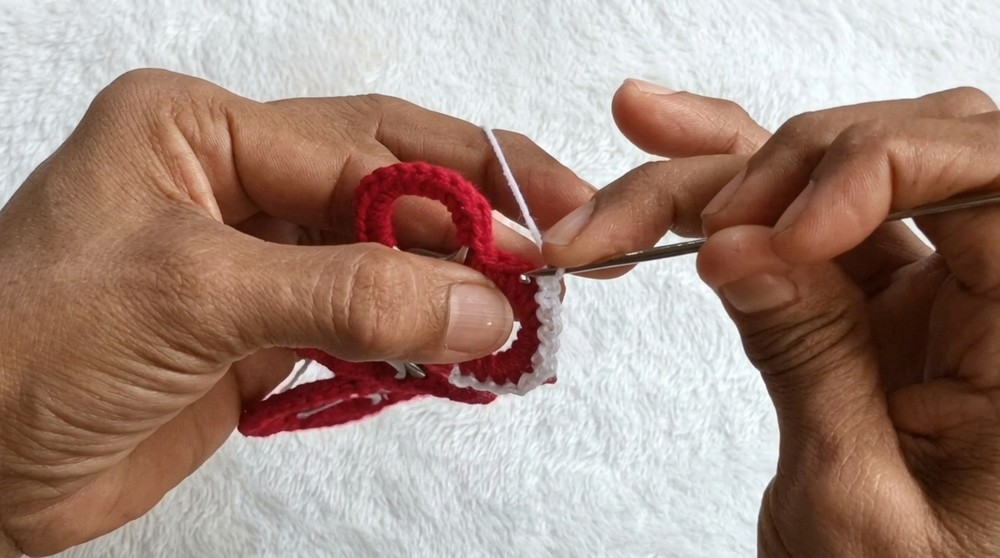
- Attach the white thread at any outer stitch of the heart perimeter.
- Work edging sequence around the entire heart outline:
- [Chain 1, slip stitch in next stitch]
- Continue this pattern throughout, maintaining even tension and working into each available stitch along the outer edge.
- [Chain 1, slip stitch in next stitch]
Hanging Cords
- Upon reaching the top center of the heart, begin tie cords:
- Chain 60 (or your preferred length for necklace ties).
- Slip stitch back down along the chain to return to the heart's center.
- Repeat: Chain another 60 and slip stitch back down for the second cord.
- These chains serve as adjustable cords to tie the necklace.
Bottom Picot Detail
- Continue edging down the second side towards the bottom tip of the heart.
- At the very bottom, create the picot detail:
- Chain 3, slip stitch into the second chain from hook, then single crochet or slip stitch back into the tip.
- This adds a pointed, decorative finish at the heart's bottom.
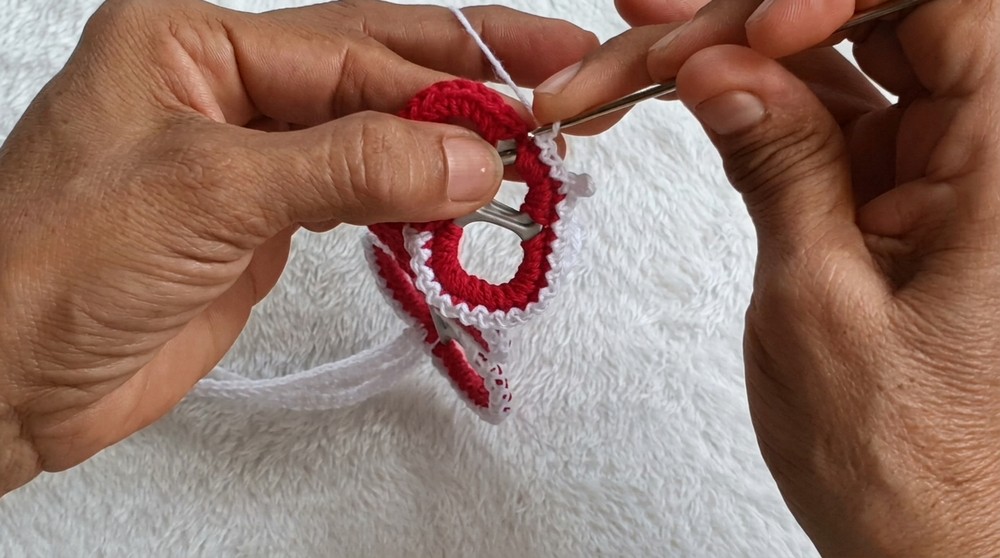
- Resume [Chain 1, slip stitch] edging pattern back up to the top edge, slip stitch to finish and fasten off.
Finishing & Embellishments
- Fasten off and carefully weave in all ends to create a neat, professional finish.
- Use silicone glue sparingly to attach a crescent moon accent at the center of each heart segment.
- If using roses, either crochet miniature flowers or use pre-made embellishments, then glue or sew them at the top center for a personalized touch.
- Ensure accents are firmly attached and allow glue to dry fully before wearing.
Assembly & Finished Size
- Verify all joins are tight, and the pendant maintains a heart shape.
- Attach tie cords securely at the top center for a comfortable, adjustable necklace.
Conclusion and Ending Words
The can tab heart necklace combines creative reuse of materials with detailed crochet techniques. Single crochet joins hold the tabs in place, forming a robust structure, while chain and slip stitch edging provide a refined and delicate finish. The addition of tie cords at the top center enables flexible wear, making this piece suitable for a variety of occasions. Decorative elements-such as crescent moons or roses-allow meaningful customization. Precise joining, strategic stitch placement, and methodical assembly ensure stability and symmetry throughout the project. Every stage, from initial anchoring to final embellishment, is key in achieving a beautiful result. This practical approach yields a handmade accessory that is both visually distinctive and functionally versatile, making it a valuable addition to any collection or an ideal gift for friends and loved ones.