
Jazz up your baby's wardrobe with this Free Crochet Baby Uggs Pattern that's a fun, creative way to wrap tiny toes in style and love.
Keep your little one's feet stylish and cozy with this adorable crochet project. This Free Crochet Baby Uggs Pattern helps you create miniature booties that not only look cute but also keep tiny toes warm. The pattern starts with crocheting the sole using simple techniques like single crochet, half double crochet, and double crochet, creating a sturdy and comfortable base. The sides and toe are then carefully shaped to form the classic Ugg-style boot, complemented by detailed stitching for a polished look.
Free Crochet Baby Uggs Pattern - Perfect for Newborns
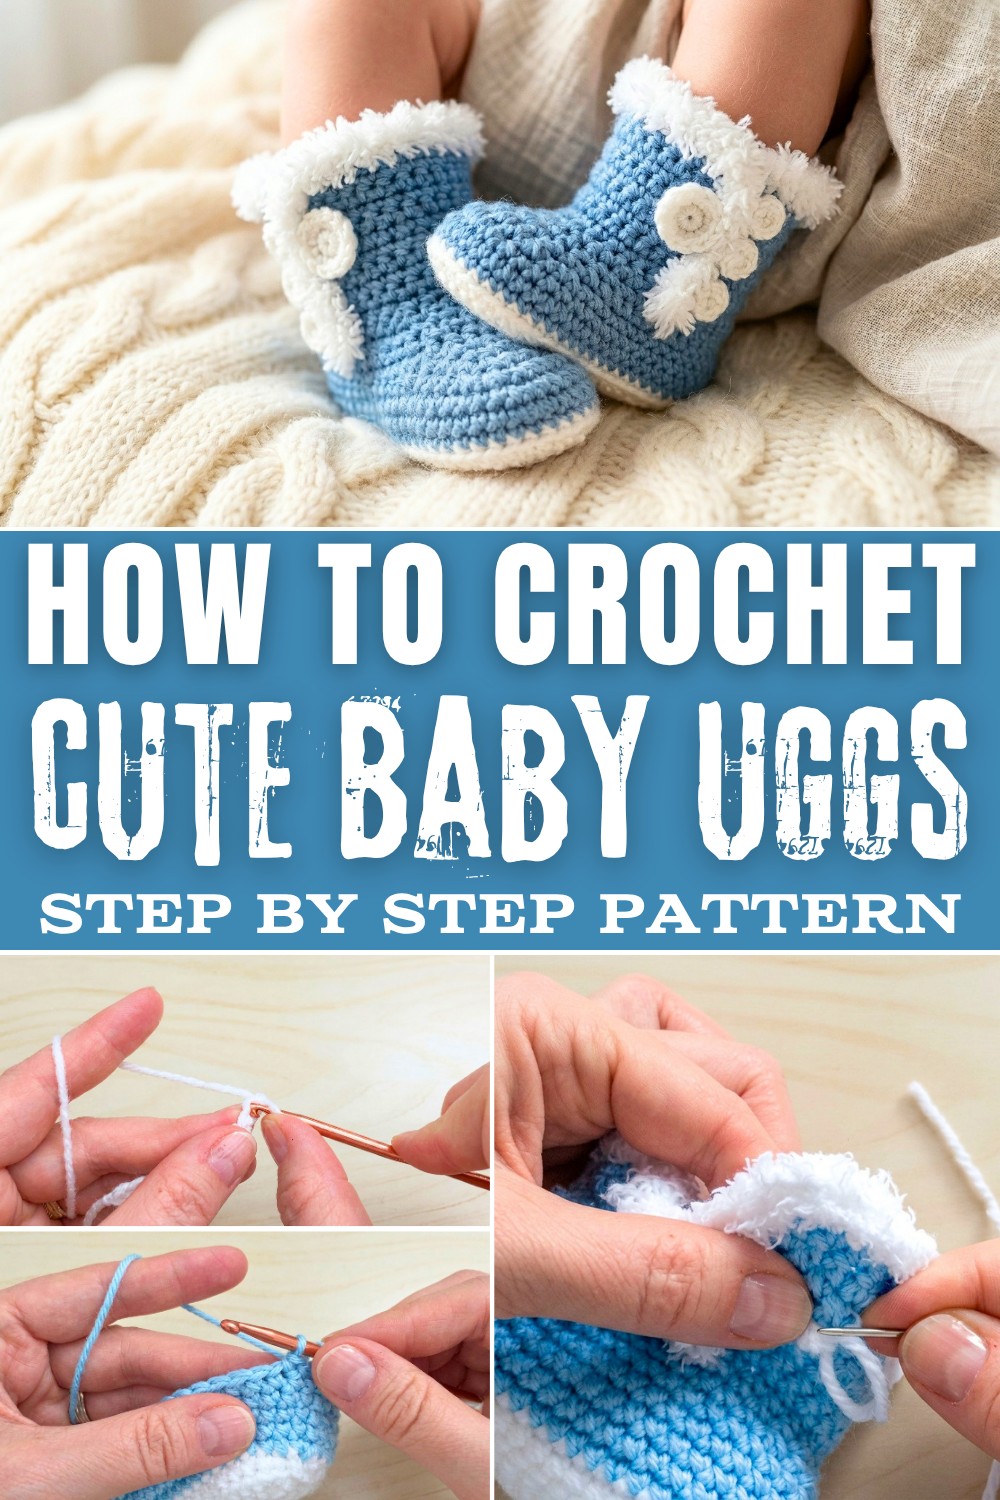
Using two yarn colors gives these baby Uggs a charming touch, making them stand out. The front and back loop crochet technique adds a beautiful texture while forming a snug fit for tiny feet. A decorative flap with a button not only enhances their appearance but also ensures the booties stay securely on. Measuring about 4 inches in size, they're perfect for newborns whether you're making them as a thoughtful baby shower gift or a cute addition to your baby's outfit.
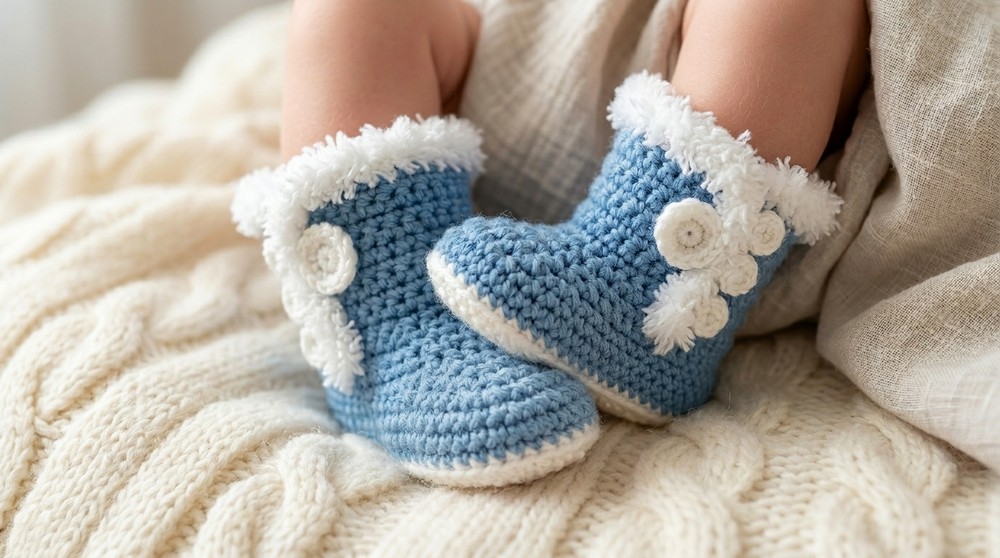
Crochet Baby Uggs Step-by-Step Pattern
Skill Level
Intermediate
Crocheters should be comfortable working in the round, creating increases, performing decreases, and weaving ends for seamless finishing.
Finished Size
Booties measure approximately 4 inches (10 cm) high and are suitable for newborns or infants.
Materials
- Yarn:
- Main Color (MC) - Medium-weight (#4) yarn, approximately 100 yards.
- Contrast Color (CC) (for trim and button accent) - Medium-weight (#4) yarn, approximately 30 yards.
- Crochet Hook:
- 4.5 mm (G hook)
- Notions:
- 1 button per bootie (~0.5 inch/1.2 cm diameter, or preferred size).
- Stitch markers (optional).
- Darning/Tapestry needle.
- Scissors.
Gauge
- 10 rows of single crochet = 2 inches (5 cm).
Key Abbreviations (US Terminology)
| Abbreviation | Description |
|---|---|
| ch | Chain |
| sc | Single Crochet |
| hdc | Half Double Crochet |
| sl st | Slip Stitch |
| st(s) | Stitch(es) |
| 2 sc tog | Single Crochet Two Together (Decrease) |
| inc | Increase (2 sc in one stitch) |
Special Notes
- Invisible Join: The final stitch of several rounds will use the invisible join technique for clean finishing.
- Stitch Placement: Ensure stitches are evenly spaced and placed into designated loops (front, back, or both) for proper shaping.
- Customization: Adjust the stitch count or row count to slightly resize the booties for preemies or older infants.
Pattern Instructions
Step 1: Sole of Bootie
Round 1 (Foundation):
- Begin with a slip knot and ch 11.
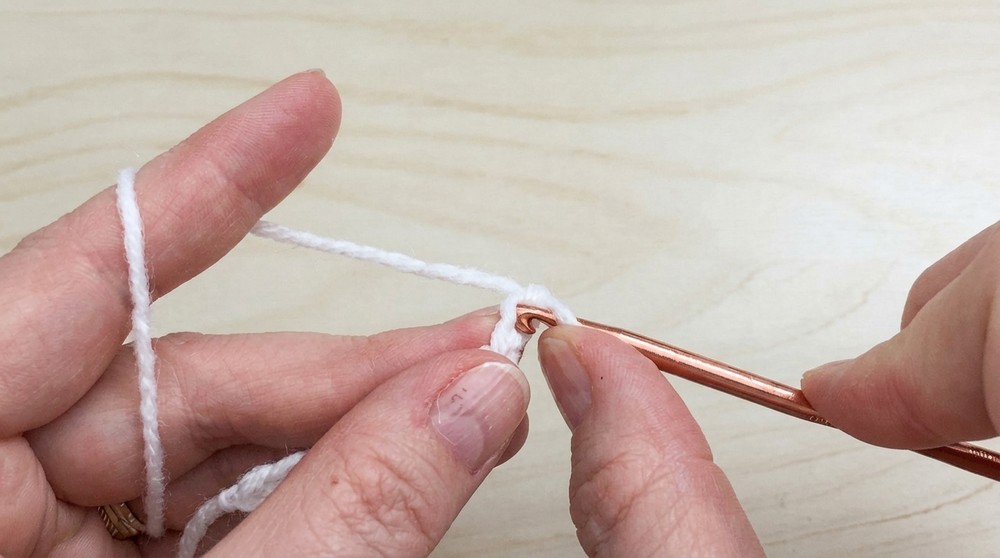
- Work into the second chain from the hook:
- 2 sc.
- Sc in next 4 ch.
- Hdc in next 2 ch.
- Dc in next 2 ch.
- 7 dc in last ch.
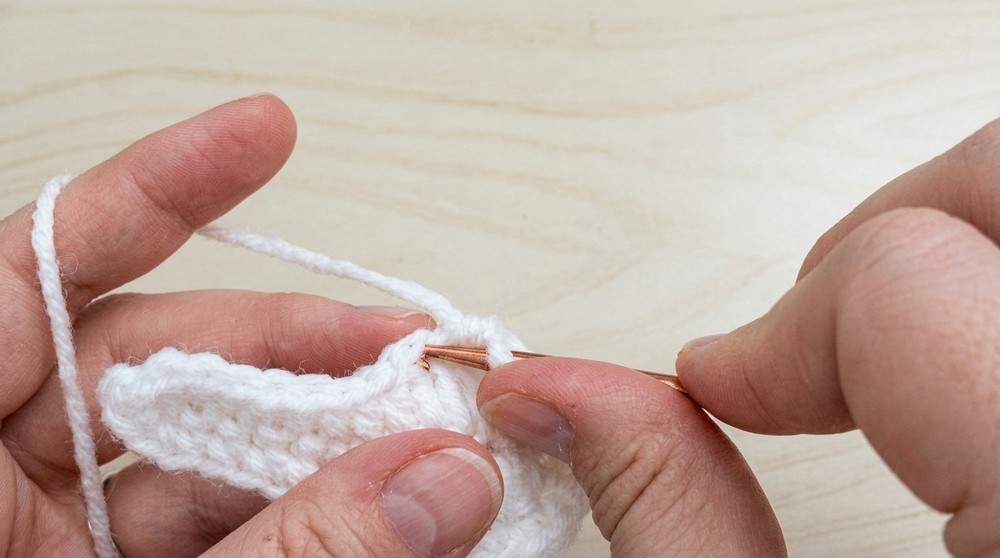
- Working along the backside of the chain:
- Dc in next 2 ch.
- Hdc in next 2 ch.
- Sc in next 4 ch.
- Finish with 2 sc in the same stitch as the first 2 sc.
- Sl st to join into the top of the first sc.
- Stitch Count: 27 sts.
Round 2:
- Ch 1. Work into the same stitch: 2 sc.
- 2 sc in next st.
- Sc in next 9 sts.
- 2 sc in each of the next 5 sts (toe area).
- Sc in next 9 sts.
- 2 sc in next st.
- 2 sc in next st.
- Sl st to join into the top of the first sc.
- Stitch Count: 36 sts.
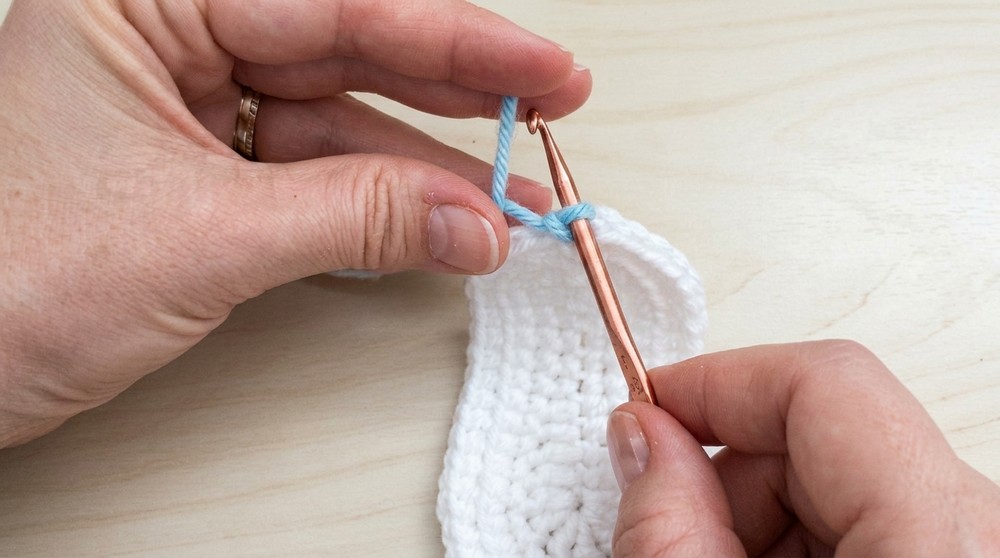
- Stitch Count: 36 sts.
Round 3:
- Ch 1. In the same stitch: sc.
- 2 sc in the next st. Repeat: [1 sc, 2 sc] for 2 times.
- Sc in next 9 sts (side).
- Around the toe area: [2 sc in one st, 1 sc in next st] for 5 times.
- Sc in next 9 sts (side).
- [2 sc, 1 sc] for 2 times.
- Sl st to join into the top of the first sc.
- Stitch Count: 45 sts.
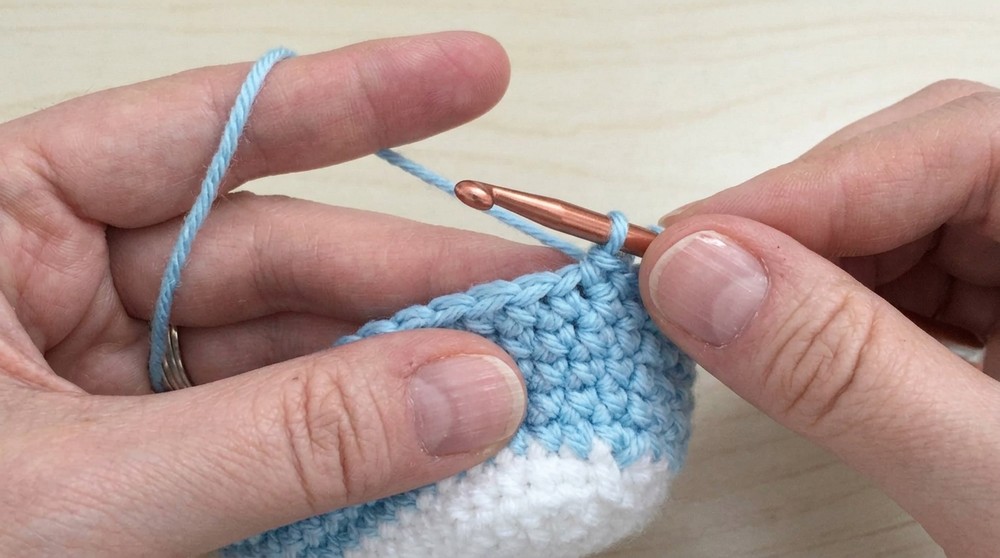
- Stitch Count: 45 sts.
Round 4 (Back Loop Only):
- Ch 1. Work 1 sc in the back loop only of each stitch around.
- Ensure there are 45 sts in total.
- Do not join this round. Cut yarn and pull through.
- Use the invisible close technique:
- Insert needle into the top of the first sc (front to back).
- Insert into the back of the last sc, creating a seamless invisible join.
- Weave in ends. Round 4 measures ~4 inches or 10 cm in length.
Step 2: Sides and Toe
Round 5:
- Attach your contrast yarn (CC) at the center back.
- Ch 1, work 1 sc in the same stitch.
- Sc in each st around, ensuring you work through both loops.
- Sl st to join into the top of the first sc.
- Stitch Count: 46 sts.
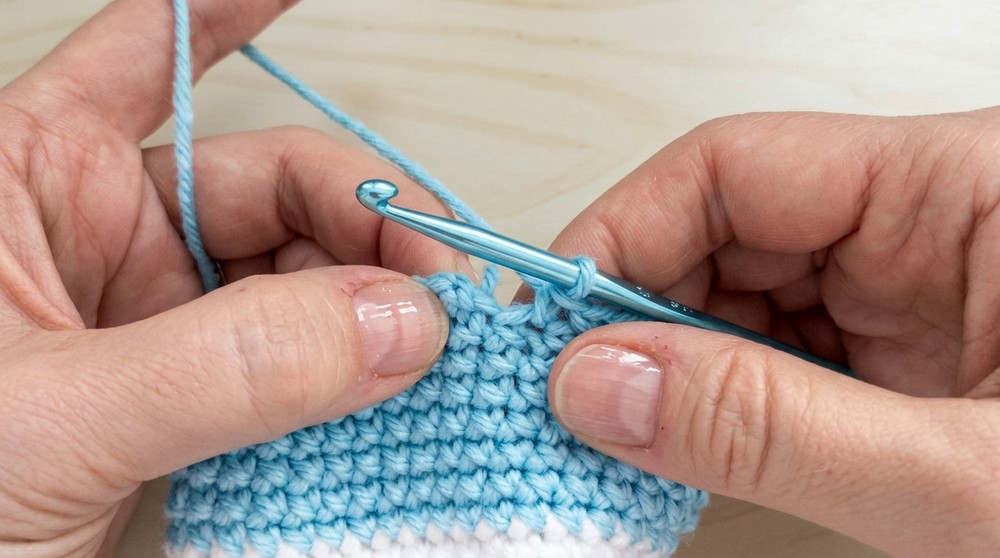
- Stitch Count: 46 sts.
Rounds 6 & 7:
- Ch 1, work 46 sc around.
- Sl st to join into the top of the first sc.
Toe Shaping:
Round 8:
- Ch 1, work 17 sc.
- Around the toe: [2 sc tog, 2 sc], repeat this twice.
- 2 sc tog, and then work 16 sc to finish the round.
- Sl st to join.
- Stitch Count: 39 sts.
Round 9:
- Ch 1, work 14 sc.
- Around the toe: [2 sc tog, 2 sc], repeat twice.
- 2 sc tog, then work 15 sc to finish.
- Sl st to join.
- Stitch Count: 35 sts.
Round 10:
- Ch 1, begin with 2 sc tog (heel shaping). Sc, 2 sc tog.
- Work 7 sc along the side.
- Around the toe: [2 sc tog, 2 sc], repeating.
- Finish with 8 sc.
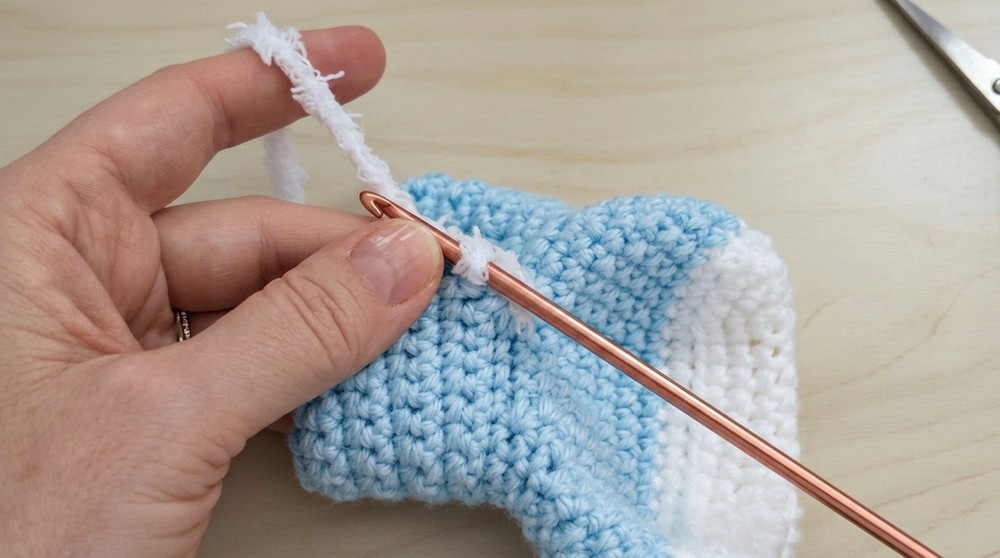
- Sl st to join.
- Stitch Count: 28 sts.
Round 11 (Final Toe Shaping):
- Ch 1, start with 2 sc tog.
- Work 8 sc along the side.
- Around the toe: [2 sc tog, 5 sc, 2 sc tog].
- Finish with 9 sc.
- Do not join the round, cut yarn and pull through.
- Use the invisible close technique to finish.
- Stitch Count: 25 sts.
Step 3: Flap and Overlap
Left Bootie:
- Find the center back and count 6 sts down. Place a marker.
- Attach yarn at the marker.
- Work into the front loop only: 4 sc.
- Work 22 sc through both loops.
- Then work 4 sc into the back loop of the first 4 sc (front loop previously used).
- Continue for 9 rows, working 30 sc in total per row.
- Cut yarn, weave in ends.
Right Bootie:
- Find the center back and count 6 sts down. Start 3 sts over from the marker.
- Join yarn into the back loop of the stitch.
- Work 4 sc in the back loop only, then 22 sc into both loops.
- Finish with 4 sc in the front loop only.
- Continue for 9 rows, working 30 sc in total per row.
- Cut yarn, weave in ends.
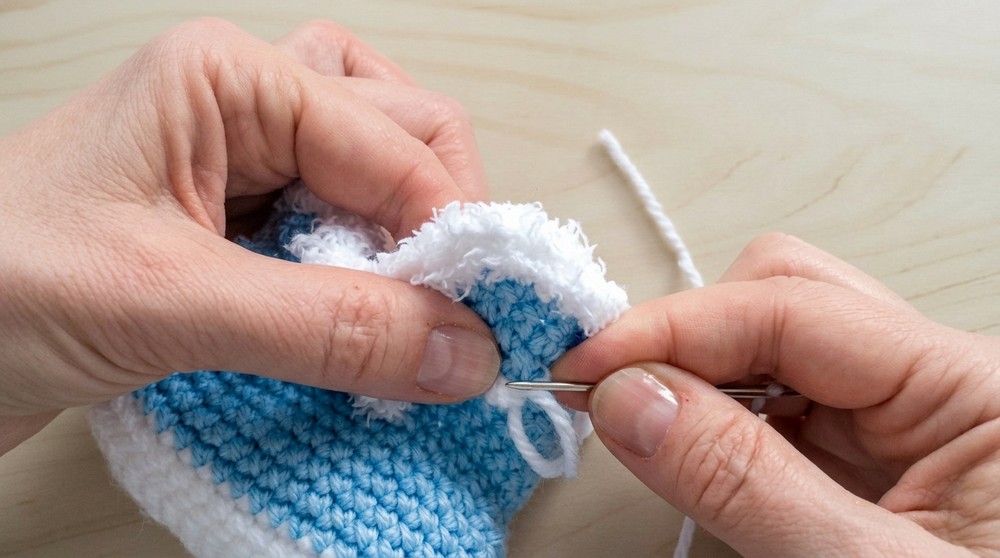
Step 4: Trim
Attach yarn at any point along the edge and work 1 sc in each stitch around. This step adds definition and a polished finish.
Step 5: Button and Loop
Button:
- Create a button by working:
- Ch 2, then 5 hdc into first chain.
- Sl st to join at the top of the first hdc.
- Ch 1, work 2 sc into each st, then sl st to join.
- Cut yarn and weave ends.
Loop:
- Ch 15, join the chain ends.
- Attach loop securely opposite the button.
Conclusion
Your baby booties are now complete! These stylish and functional booties feature a clean trim, button closure, and toe shaping for perfect fit and finesse. With proper attention to invisible joins and a seamless design, your finished booties make thoughtful gifts or adorable keepsakes.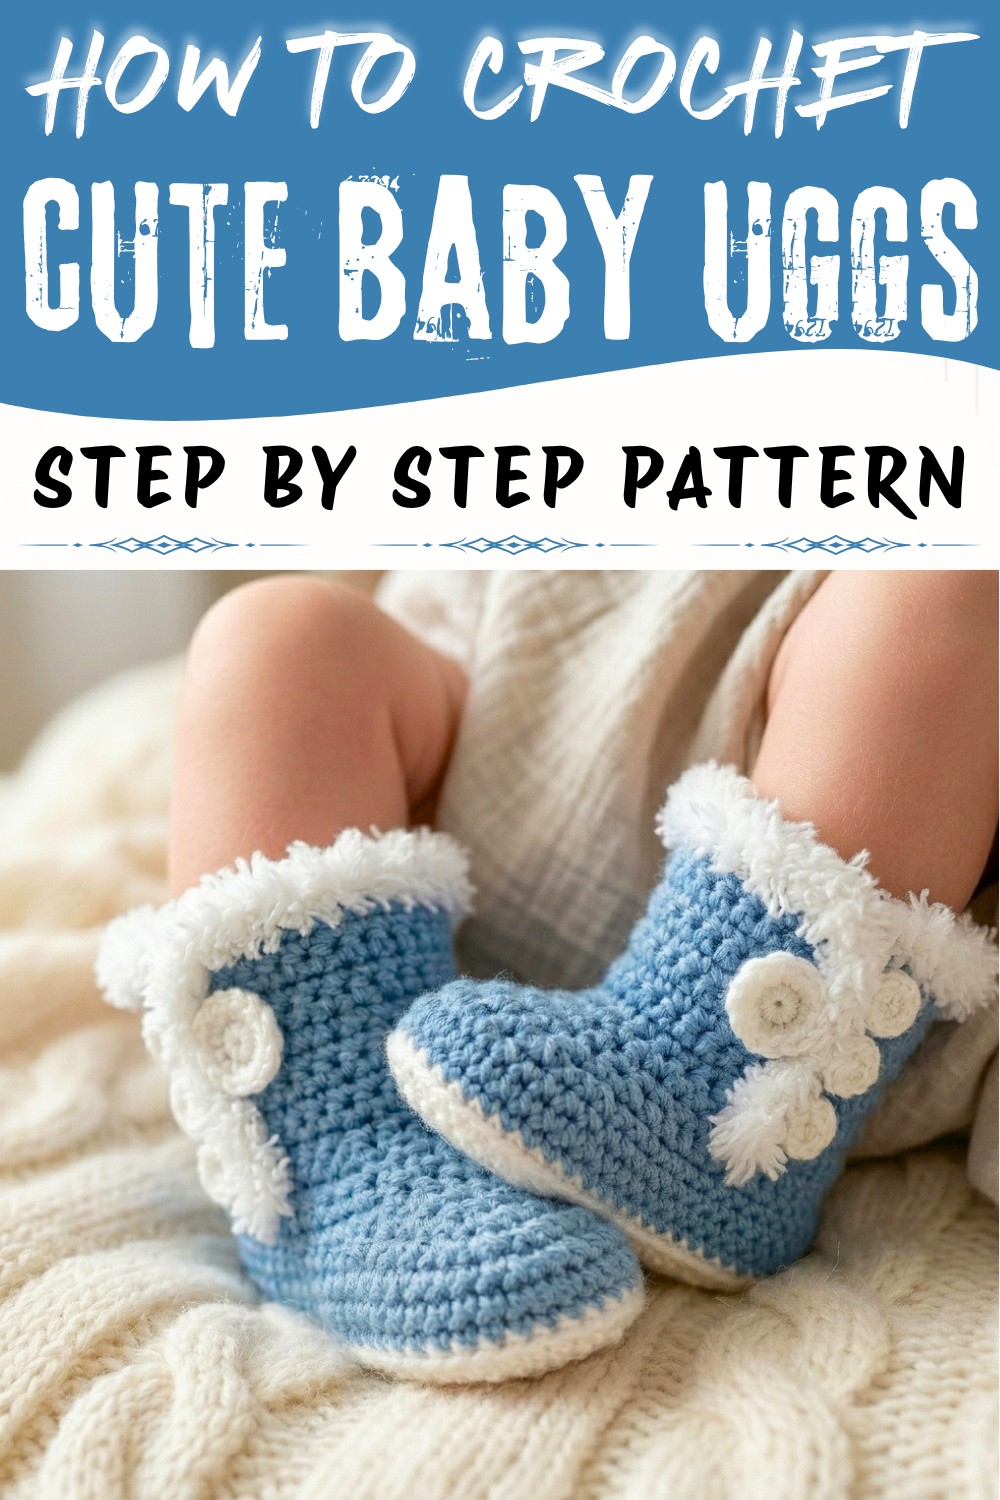
Pattern Corrections
- Ensure stitch counts align after decreases; adjust by adding/removing sc as necessary.
Tips
- Sizing Variations: Adjust yarn weight or hook size for smaller or larger booties.
- Finishing Details: Use contrasting colors for trim and buttons to make the design pop.
- Test Fit: Try on the booties midway through construction to ensure proper proportions.