
Show your love for handmade crochets with this fun and easy crochet cherry keychain pattern that will bring a bright and cheerful touch to your daily accessories.
Do you love cute and colorful things to crochet? The Free Crochet Cherry Keychain Pattern is a perfect project for you. This pattern will help you make a delightful and tiny cherry keychain that is both easy and fun to crochet. These cherries are bright and cheerful, with a soft and neat texture thanks to milk cotton yarn. You can pick any color for your cherries, making them as unique as you want. The keychain has a lovely green leaf and a strong string, letting you attach it easily to your bags, keys, or gifts. It's also lightweight, handmade, and adorable, making it perfect for people who love cute, handmade accessories.
Free Crochet Cherry Keychain Pattern for Your Favorite Accessory
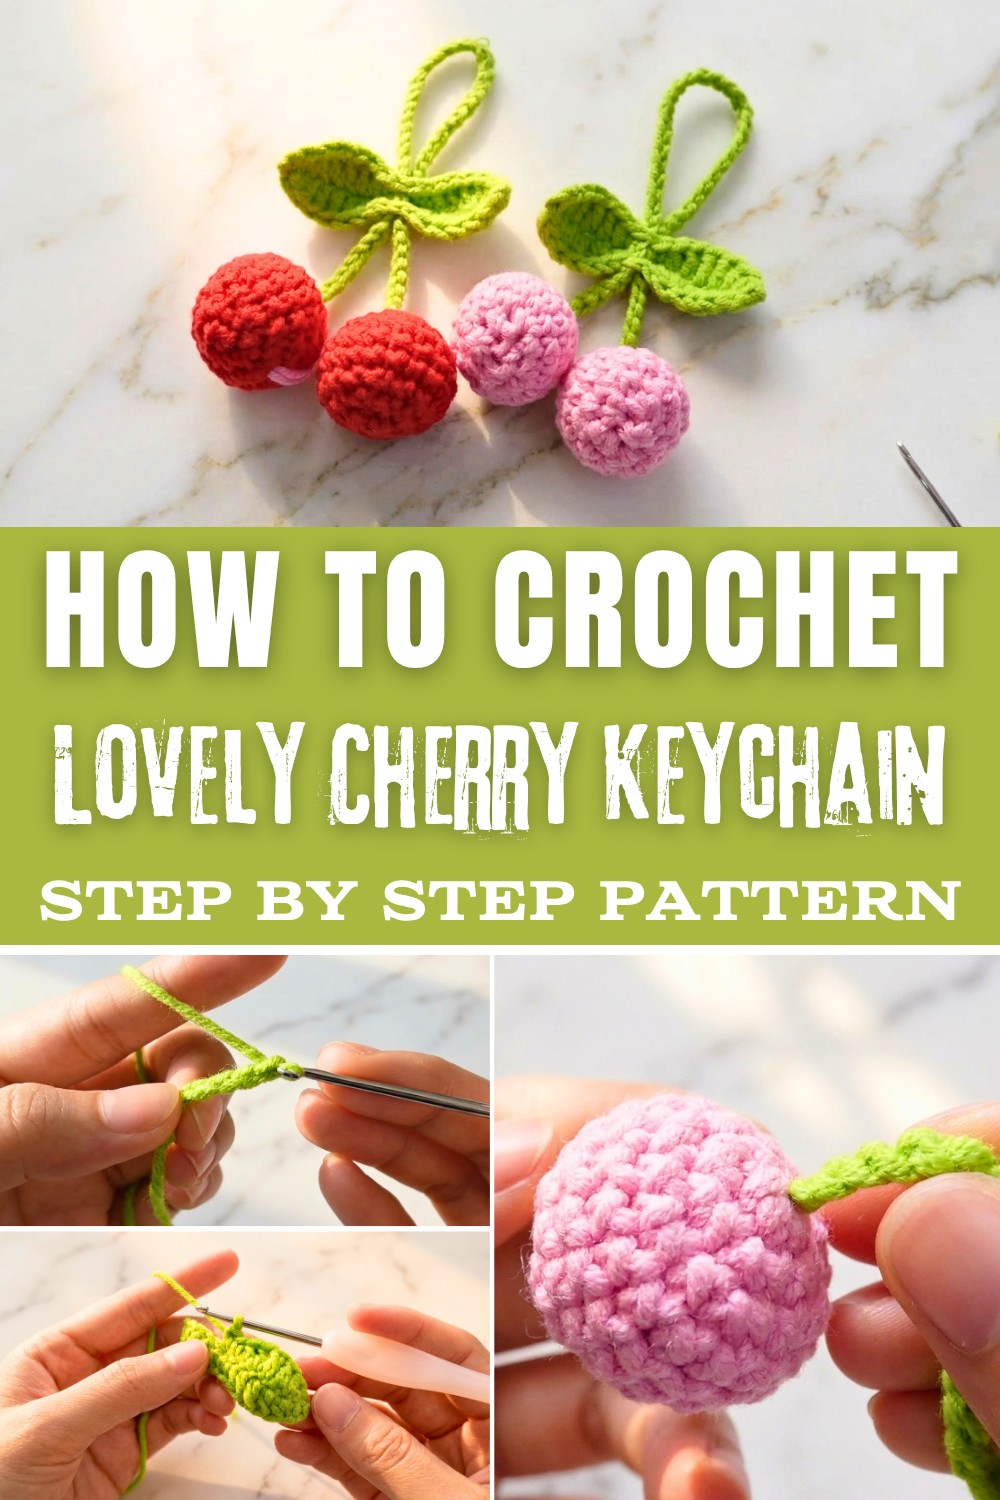
The pattern uses simple stitches like single crochet, double crochet, and a magic ring, letting you crochet this beauty with minimal effort. This pattern is also a great way to build your crocheting skills while adding a pop of charm to your everyday items.
Charming Crochet Cherry Keychain Pattern
Materials Needed
- Yarn: 5 ply milk cotton yarn (choose any color for the cherries and green for the leaf).
- Hook: 2.5 mm crochet hook.
- Stuffing: Cotton or polyester fiberfill for the cherries.
- Darning Needle: For weaving in the ends and sewing.
- Stitch Marker: Optional, but recommended for marking your rounds.
- Scissors: For cutting the yarn.
Special Techniques
- Magic Ring: A method to start crocheting in the round with an adjustable loop.
- Increase: Two single crochets in the same stitch.
- Decrease: Invisible decrease by working two stitches together (explained later).
- Crocheting Across Chains: Working both sides of a chain to create symmetrical shapes, e.g., the leaf.
Pattern Instructions
To make this sweet Keychain Pattern, you will start by forming a long, sturdy foundation with a simple chain of 50 stitches. For the fruit, you will use a magic ring as the base and work in rounds of single crochet to build the plump, round shape. Once your cherries have reached a diameter of 18 stitches, you will carefully attach your long string to the center of each one, ensuring they stay firmly in place before you begin the closing rounds.
1. Making the String
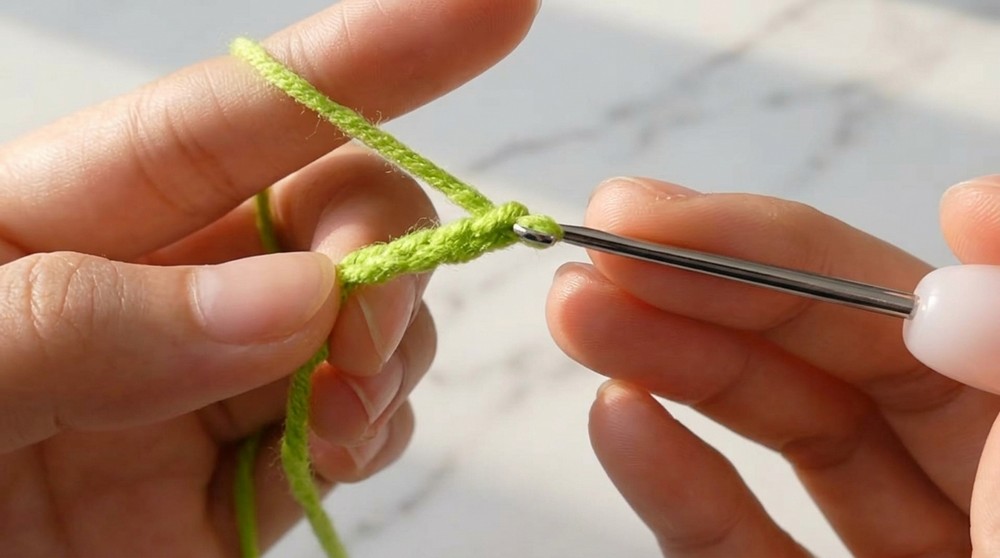
- Start with a slip knot on your hook.
- Chain 50 (or more if you prefer a longer string).
- Cut the yarn and fasten off.
- The string is now complete.
2. Making the Cherry (Make Two)
Round 1:
- Start with a magic ring.
- Make 6 single crochets (sc) into the ring.
- Pull the yarn tail tightly to close the ring.
Round 2:
- Make an increase in each stitch around (2 sc in each stitch).
- You will have 12 stitches at the end of this round.
Round 3:
- Work the pattern: 1 sc in the first stitch, then an increase in the next stitch, and repeat around.
- You will have 18 stitches at the end of this round.
Rounds 4-6:
- Make 1 sc in every stitch around (no increases).
- Each round will have 18 stitches.
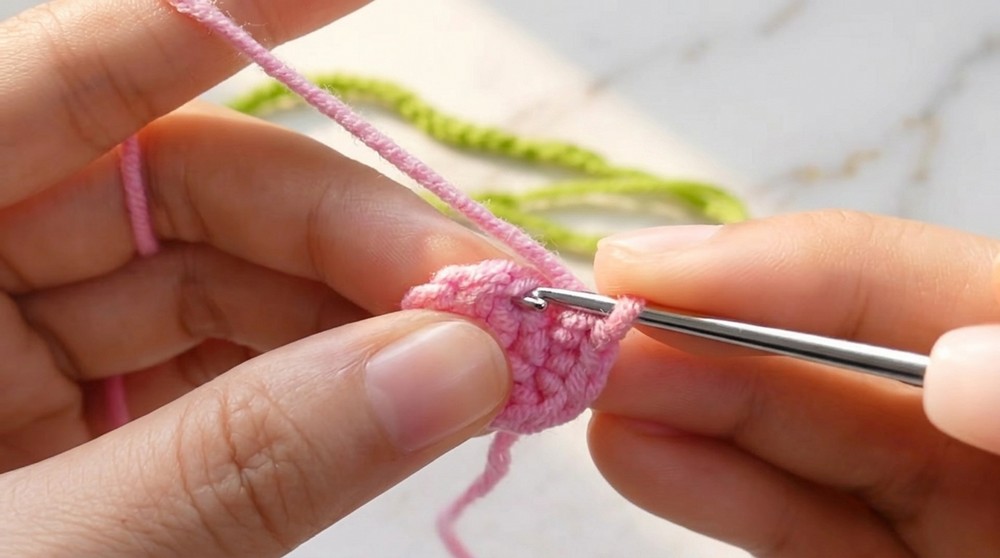
Attach the String to the Cherry:
- Insert your hook through the center of the magic ring (from the inside of the cherry).
- Place the tail of the string on your hook and pull it through.
- Tie the tail of the string and the magic ring together securely.
Round 7:
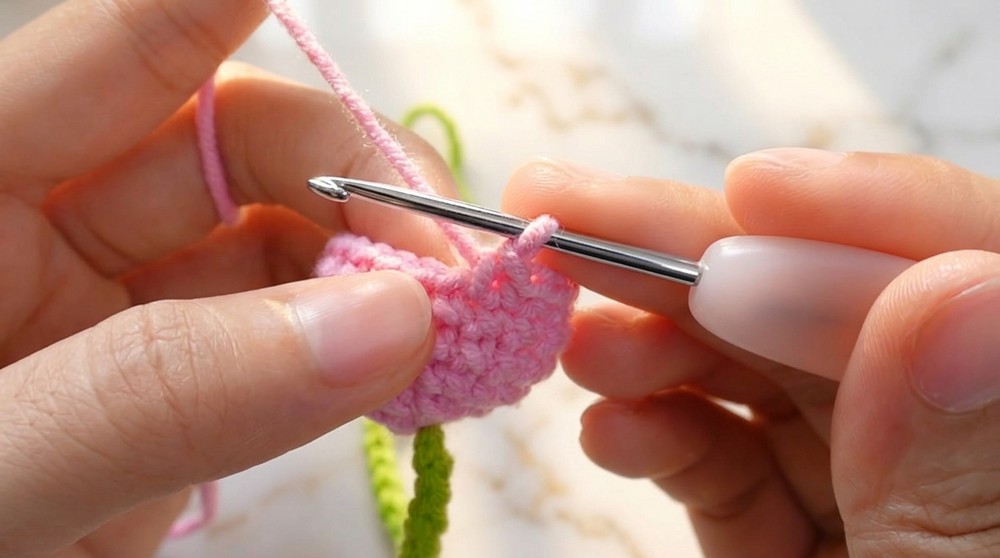
- Work the pattern: 1 sc in the first stitch, then 1 decrease (explained in techniques), and repeat around.
- You will have 12 stitches by the end of this round.
Stuff the Cherry:
- Fill the cherry with cotton stuffing to give it a round and firm shape.
Round 8:
- Work 6 decreases in this round so that the cherry closes up.
- You will have 6 stitches at the end.
Close the Cherry:
- Make a slip stitch in the next stitch to finish the round.
- Cut the yarn, leaving a long tail for sewing.
- Thread the darning needle with the tail and weave it into the front loop of each stitch in this last round.
- Pull tightly to close the opening, then secure the yarn by weaving it through a few nearby stitches.
- Cut the excess yarn.
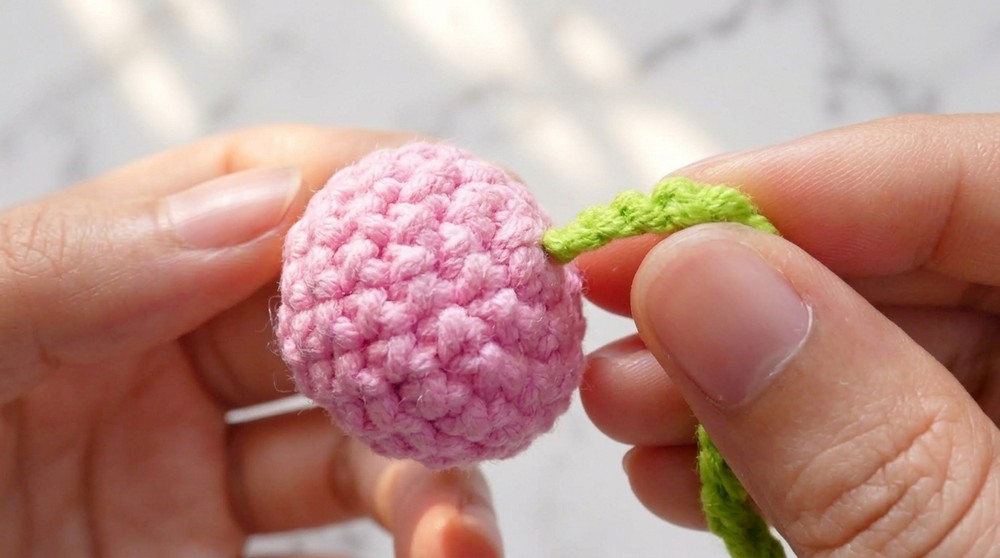
Repeat these steps to make a second cherry.
As you move into the assembly, you will stuff each cherry to give it a firm, rounded look and use decreases to pull the opening closed, creating a seamless finish. To add a splash of nature, you will work the leaf by alternating between single crochet, half double crochet, and double crochet stitches along both sides of a 15-stitch chain. This mix of stitches is the key to achieving that signature pointed leaf shape. Once finished, you simply pull the string through the center of the leaf to secure it at the top of your cherries.
3. Making the Leaf
Step 1: Starting the Leaf
- Make a slip knot and chain 15.
Step 2: First Side of the Leaf
- Skip the first chain and make:
- 1 single crochet (sc) in the second chain.
- 1 half double crochet (hdc) in the next chain.
- 1 double crochet (dc) in the next three chains (3 dc total).
- 1 half double crochet (hdc) in the next chain.
- 1 single crochet (sc) in each of the next two chains.
- Then repeat:
- 1 half double crochet (hdc) in the next chain.
- 1 double crochet (dc) in the next three chains.
- 1 half double crochet (hdc) in the next chain.
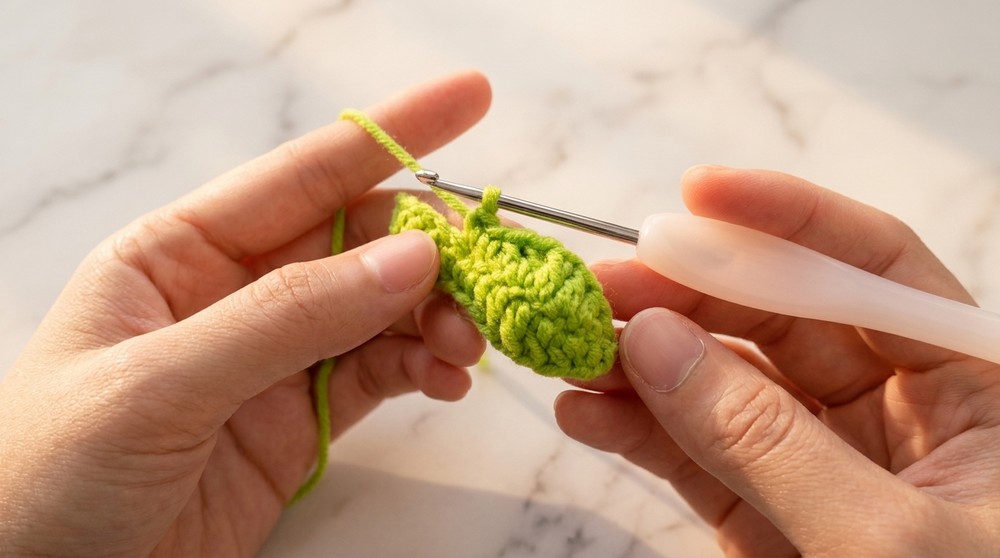
- 1 sc in the last chain.
Step 3: Making the Point of the Leaf
- Chain 2, then make 1 single crochet (sc) in the same chain.
Step 4: Second Side of the Leaf
- Turn your work and crochet into the opposite side of the chain:
- Repeat the same steps you followed for the first side.
Step 5: Finishing the Leaf
- Once you reach the starting point, make a slip stitch into the first stitch.
- Chain 1 and cut the yarn, leaving a tail.
- Use the darning needle to weave in the tail at the back of the leaf.
- Cut off any remaining yarn.
4. Attaching the Leaf to the String
- Insert your hook into the middle of the leaf, between two single crochets.
- Place the string over the hook and pull it through.
- Secure the leaf to the string by pulling it tightly.
The final touches involve hiding your yarn tails with a darning needle to ensure your piece looks polished and tidy. Because this pattern relies on basic techniques like the magic ring, single crochet, and decreases, it is a wonderful choice if you want a project that is quick to assemble.
Whether you are adding a pop of color to your bag or gifting a small token of happiness to someone else, this design is sturdy, eye-catching, and perfectly sized for everyday use. It is a lovely way to spend a little time at your hook while seeing a bright, cheerful result come to life.
Finishing
- Ensure all loose ends are securely woven in.
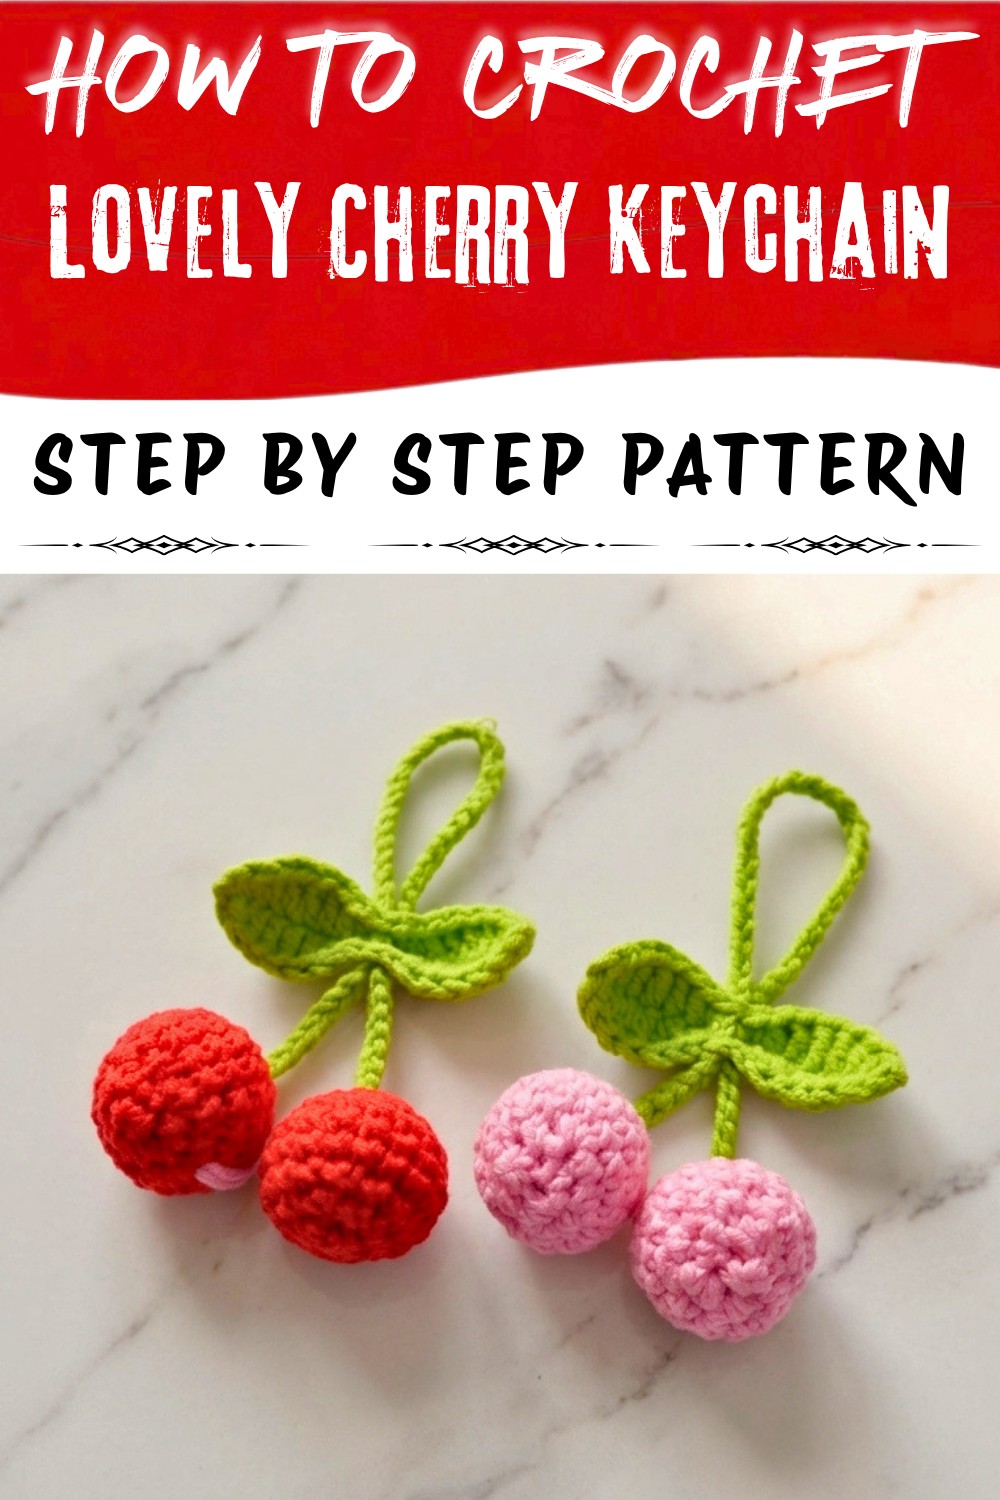
- Inspect your cherry keychain to ensure it is securely assembled and looks neat.
Final Words and Tips
- Yarn Choice: Soft cotton yarn works best for small projects like this, giving a neat look.
- Stuffing: Avoid overstuffing the cherries as it might distort their shape.
- Shape Adjustments: Gently mold the cherries and leaf into their proper shapes after assembling.
- Customization: Experiment with different colors for a unique look or add embellishments like tiny beads or sequins.
Congratulations on creating your adorable Cherry Keychain. It's a delightful mini project, perfect as a handmade gift or an accessory for your bag or keys.