
Unlock your creativity with this Free Crochet Owl Amigurumi Pattern and make adorable handmade gifts or charming home decor with ease.
Who knew a few simple stitches could transform yarn into something so adorable and full of personality? Crocheting an owl amigurumi is a delightful project that not only sparks creativity but also results in a charming handmade keepsake. Perfect for beginners and seasoned crocheters alike, these cute little owls can be used to brighten up a nursery, add character to your living space, or share as thoughtful gifts for loved ones. Using basic stitches like single crochet and techniques such as working in rounds and the magic ring, this pattern is both beginner-friendly and versatile, enabling you to create more than just adorable owls.
Free Crochet Owl Amigurumi Pattern for Adorable Gifts or Decor

Each part of the project offers a chance to learn or enhance your crochet skills. From shaping the owl's round body to stitching on its expressive eyes and tiny wings, this pattern is simple but visually impactful. The step-by-step instructions make it easy to follow along and achieve impressive results, no matter your skill level. Plus, once you master these techniques, you can explore countless other creations using similar methods-think plush animals, cute keychains, or festive ornaments.
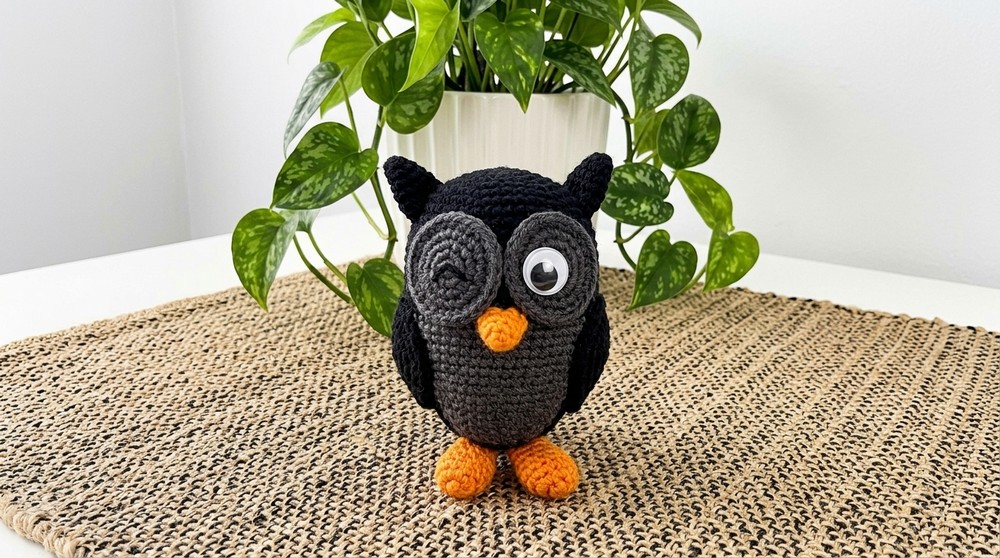
By completing this Free Crochet Owl Amigurumi Pattern, you'll learn:
- How to crochet in seamless rounds to create perfect 3D shapes.
- The magic ring technique, essential for starting amigurumi the right way.
- Detailing with small stitches to add unique personality to your projects.
- New ways to use these versatile skills for creating other toys, charms, or decorative items.
With a project this simple yet satisfying, your crochet journey is about to take flight. Let these charming little owls inspire your next creative adventure!

Crochet Amigurumi Duck Pattern
Materials
- Yarn: 4-ply (sport/DK) yarn in Black (main body), Orange (beak, feet), White/Black (eyes), plus color for wings
- Crochet Hook: 3.0 mm (3/0 or size AA)
- Stuffing: Polyester fiberfill
- Yarn Needle: For sewing and finishing
- Stitch Marker: Highly recommended
- Scissors
- Sewing pins or glue (optional): For attaching small parts
Abbreviations (US Terms)
| Abbreviation | Meaning |
|---|---|
| ch | Chain |
| sc | Single Crochet |
| inc | Increase (2 sc in one st) |
| dec | Decrease (sc 2 together) |
| sl st | Slip Stitch |
| st(s) | Stitch(es) |
| MR | Magic Ring |
| FLO | Front loop only |
Special Techniques
- Magic Ring: Allows for a tight, hole-free start.
- Invisible Decrease: For seamless shaping (work each decrease through the front loops only).
- Stitch Marker Usage: Place a marker at the first st of each round for counting.
Pattern
BODY
With black yarn:
- Round 1: Make a MR, ch 1, work 6 sc in ring. Pull ring tight. (6)
- Round 2: inc in each stitch around. (12)
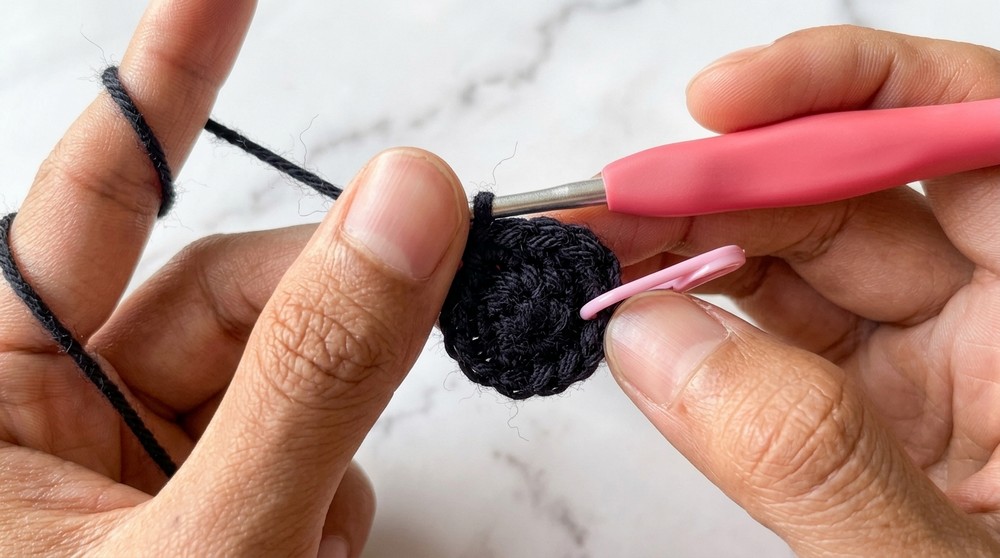
- Round 3: (sc in next st, inc in next st) around. (18)
- Round 4: (sc in next 2 sts, inc) around. (24)
- Round 5: (sc in next 3 sts, inc) around. (30)

- Round 6: (sc in next 4 sts, inc) around. (36)
- Round 7: (sc in next 5 sts, inc) around. (42)
- Round 8: (sc in next 6 sts, inc) around. (48)
- Round 9: (sc in next 7 sts, inc) around. (54)
Rounds 10-17: sc in each st around. (54)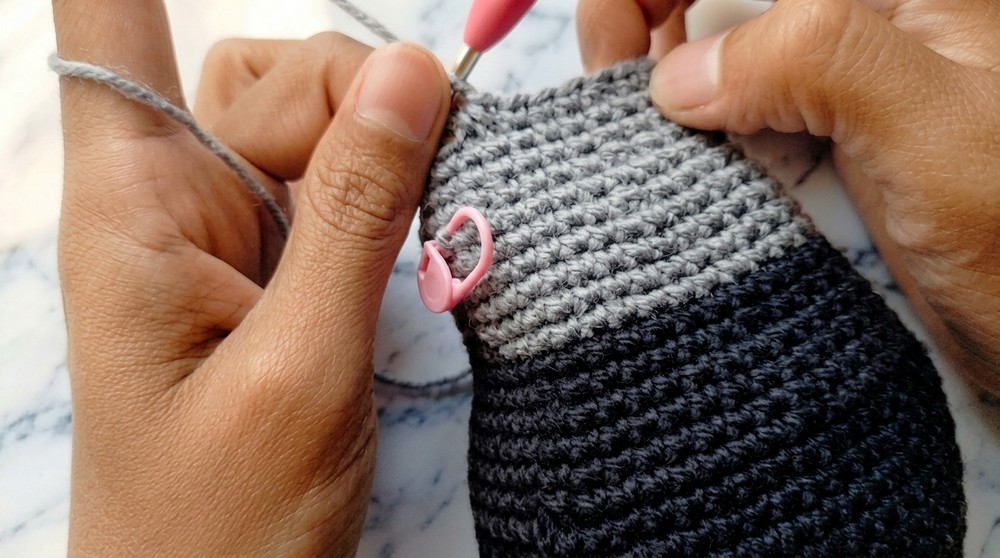
- (Work 8 rounds or until body is desired length.)
Break yarn, fasten off, and weave in ends if making a two-piece body, or leave a long tail for sewing if needed.
Head / Neck (Shaped Taper on Top of Body)
Continue from the body or join new yarn on top center.
- Round 1: (sc in next 7 sts, dec) around. (48)
- Rounds 2-4: sc in each st around. (48; 3 rounds)
- Next: (sc in next 6 sts, dec) around. (42)
- Rounds 5-9: sc in each st around. (42; 5 rounds)
- Next: (sc in next 5 sts, dec) around. (36)
- Rounds 10-11: sc in each st around. (36; 2 rounds)
- Next: (sc in next 4 sts, dec) around. (30)
- Round 12-13: sc in each st around. (30; 2 rounds)
- Next: (sc in next 2 sts, dec) around. (24)

- Round 14: sc in each st around. (24)
Stuff the body and head securely with fiberfill as you go.
Closing the Head
- Next: (sc, dec) around. (16)
- Next: dec around. (8)
- Break yarn, weave through remaining 8 stitches, pull tight, anchor and weave in the end.
WINGS (make 2)
With body color:
- Round 1: MR, ch 1, 6 sc in ring.
- Round 2: 2 sc in each st around. (12)
- Round 3: (sc in next st, inc) around. (18)
- Round 4: (sc in next 2 sts, inc) around. (24)
- Fasten off, leaving a tail for sewing.
- Make a second wing the same way.
- Lightly stuff if desired.
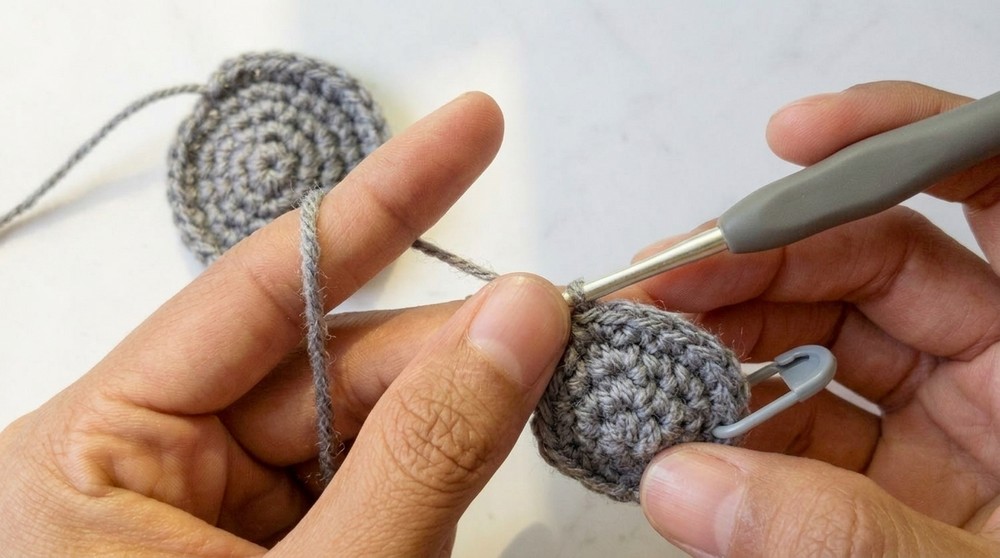
FEET (make 2, in orange)
- Round 1: MR, ch 1, 6 sc in ring.
- Round 2: 2 sc in each st around. (12)
- Rounds 3-5: sc in each st around. (12) (3 rounds)
- Next Round: [sc in next 2 sts, dec] around. (9)
- Rounds 6-7: sc in each st around. (9) (2 rounds)
- Fasten off, leave long tail for sewing.
- Make second foot the same way.
TAIL (in body or contrasting color)
- Ch 4, turn, sc in 2nd ch from hook and across.
- Row 2-3: sc across.
- Fasten off, leave tail for sewing.
BEAK (in orange)
- MR, ch 1, 6 sc in ring.
- Round 2: 2 sc in each st around. (12)
- Round 3: (sc in next st, inc) around. (18)
- Fasten off, leave tail. Sew onto face between eyes.
EYES
- Use safety eyes, black yarn for embroidery, or small black beads.
- Place eyes symmetrically above the beak.
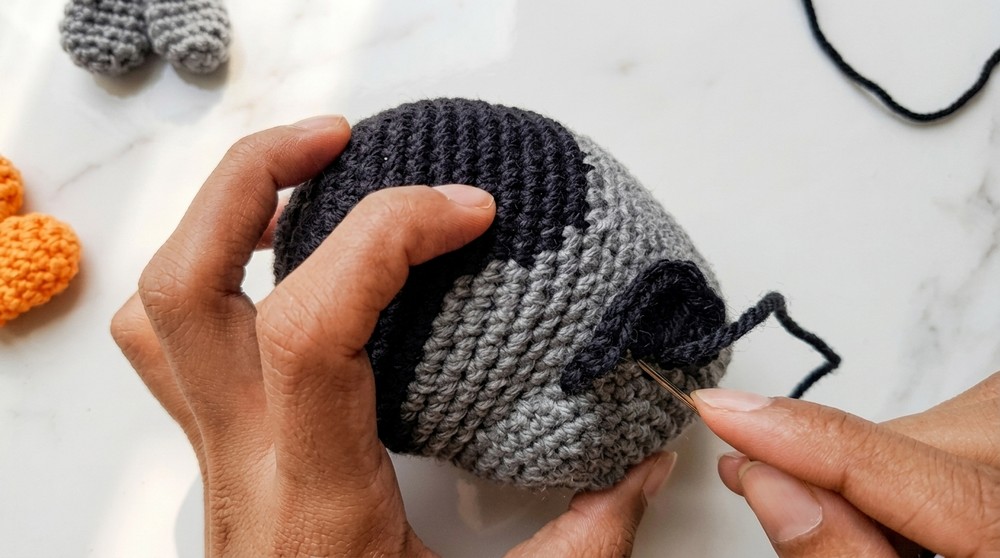
Assembly & Finishing
- Stuff all parts securely.
- Use pins or glue to position wings, beak, feet, and tail.
- Sew securely using a yarn needle and yarn tails.
- Embroider any other facial features.
- Shape the duck carefully with your hands.
Customization and Suggestions
- Embroider eyelashes, add a little hat, scarf, or bow for charm.
- Vary the colors for a unique look (pastel ducks, rainbow wings, etc.).
- To turn into a keychain, attach hardware at the crown with strong sewing thread.
Tips
- Stuff firmly but not so much that stitches stretch.
- Invisible join and decrease techniques give a neat finish.
- Use a contrasting color stitch marker for each round's start.
- Weaving all ends into the inside prevents unraveling.
Finishing and Final Words
After assembly, double-check all pieces are firmly attached.
If using as a child's toy, ensure all small/sewn-on pieces are secure. Gently squeeze and roll the duck to shape it perfectly.
Overcoming Pattern Difficulties
While the pattern is beginner-friendly, it does come with some challenges-especially for those new to amigurumi. One common difficulty is mastering the magic ring, which can feel tricky at first as it requires holding yarn tightly while making precise stitches. Additionally, crocheting small details like the wings or eyes and attaching them evenly onto the owl's body can be time-consuming. But don't worry! The solution lies in practicing your techniques slowly, taking breaks when necessary, and using stitch markers to keep track of your progress. Adding pins to hold the smaller pieces in place while sewing can also make this step much easier. With patience and attention to detail, you'll tackle any hurdles and enjoy the rewarding feeling of completing your project.