
Let your crochet skills shine with the Free Crochet Flounder Fish Pattern, a vibrant design perfect for both beginners and enthusiasts.
I've always thought sea creatures have a certain charm, and when I came across the idea of crocheting a cute flounder fish, I knew it was too fun to resist! This pattern allows you to create an adorable little flounder that's perfect as a unique decoration, a cozy toy for kids, or even a fun addition to an ocean-themed gift basket. The vibrant colors and playful pattern make it a standout project, whether you're keeping it for yourself or gifting it.
Crochet Flounder Fish Pattern for Fun Handmade Gifts
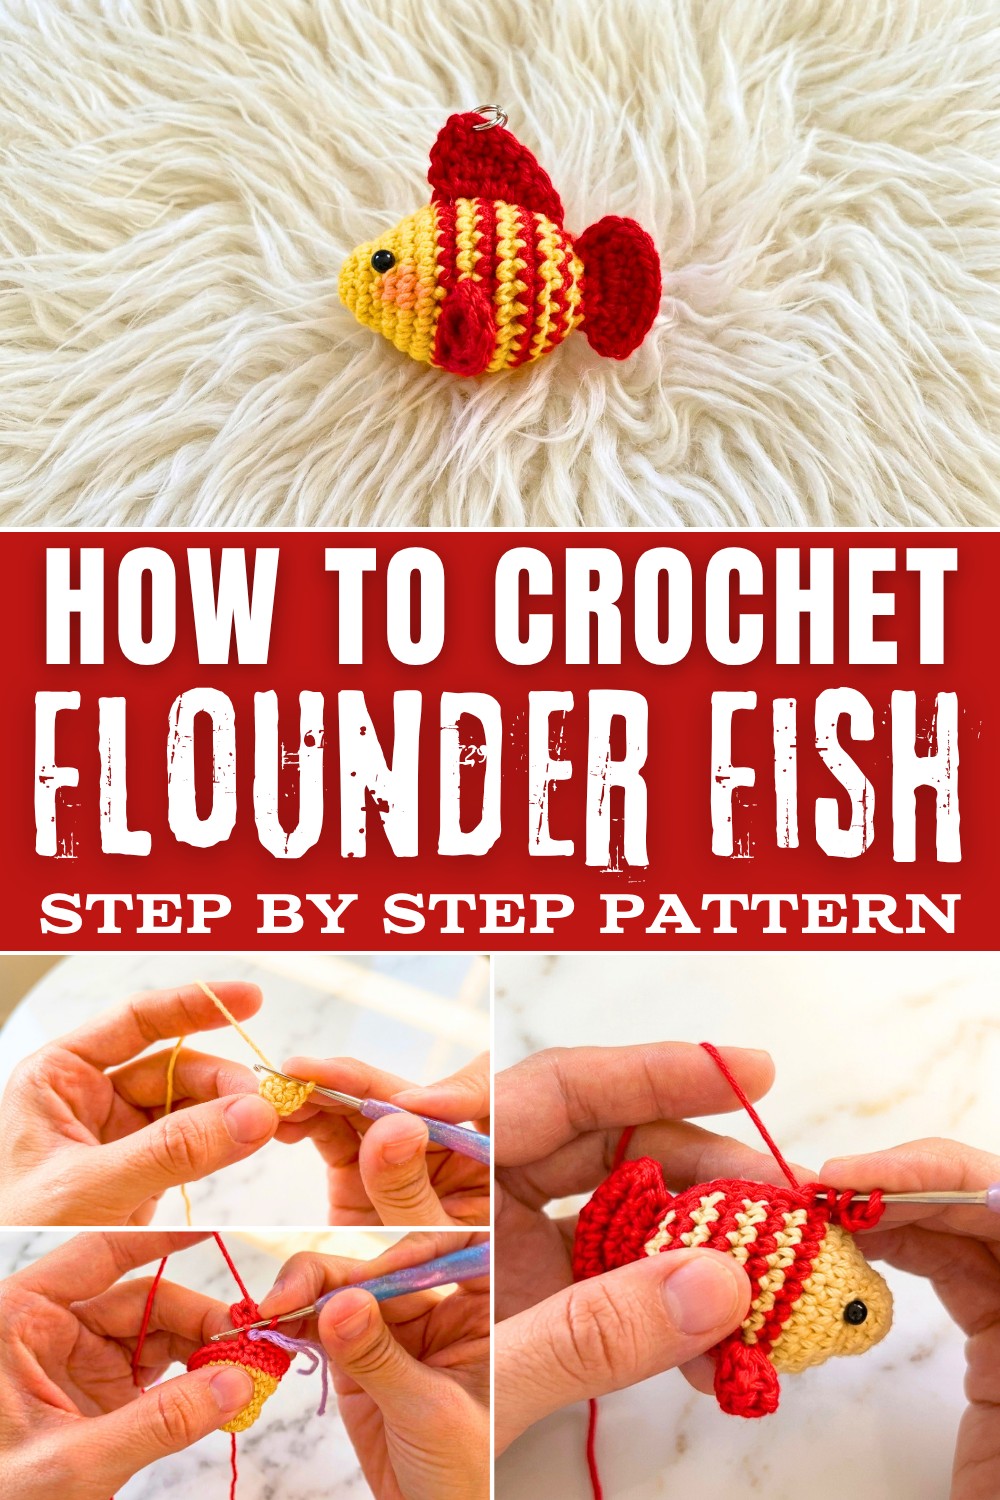
What's great about this pattern is that it's straightforward and beginner-friendly. You'll primarily use basic stitches like the single crochet stitch, along with techniques such as the magic ring and increasing and decreasing to shape the fish. Don't worry if you're new-these stitches are easy to pick up and will open the door to endless other possibilities. Once you've mastered this flounder fish, you'll have the skills to crochet other fun items, like sea turtles, whales, or even small amigurumi characters.
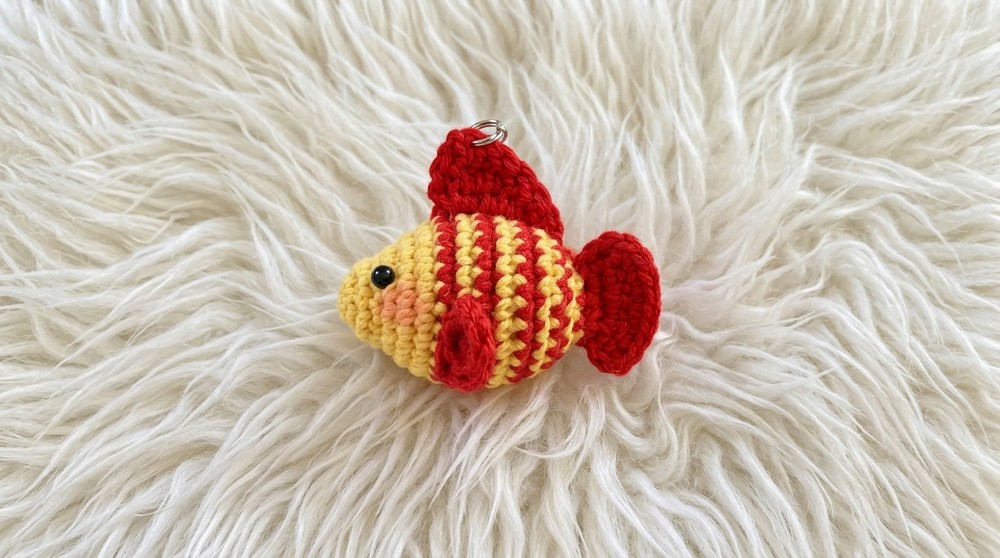
What You'll Learn
This pattern will help you understand the art of crocheting in the round, working with stuffing to create soft, plush textures, and shaping details to bring your project to life. You'll also gain practice in color changes, which is an essential skill for playful and multi-colored projects.
What You Can Make With These Skills
- Cute sea-inspired amigurumi like whales or crabs
- Fun keychains shaped as your favorite animals
- Simple stuffed toys for kids or gifts
- Decorative pieces for ocean-themed nurseries or setups
- Personalized holiday ornaments with creative twists
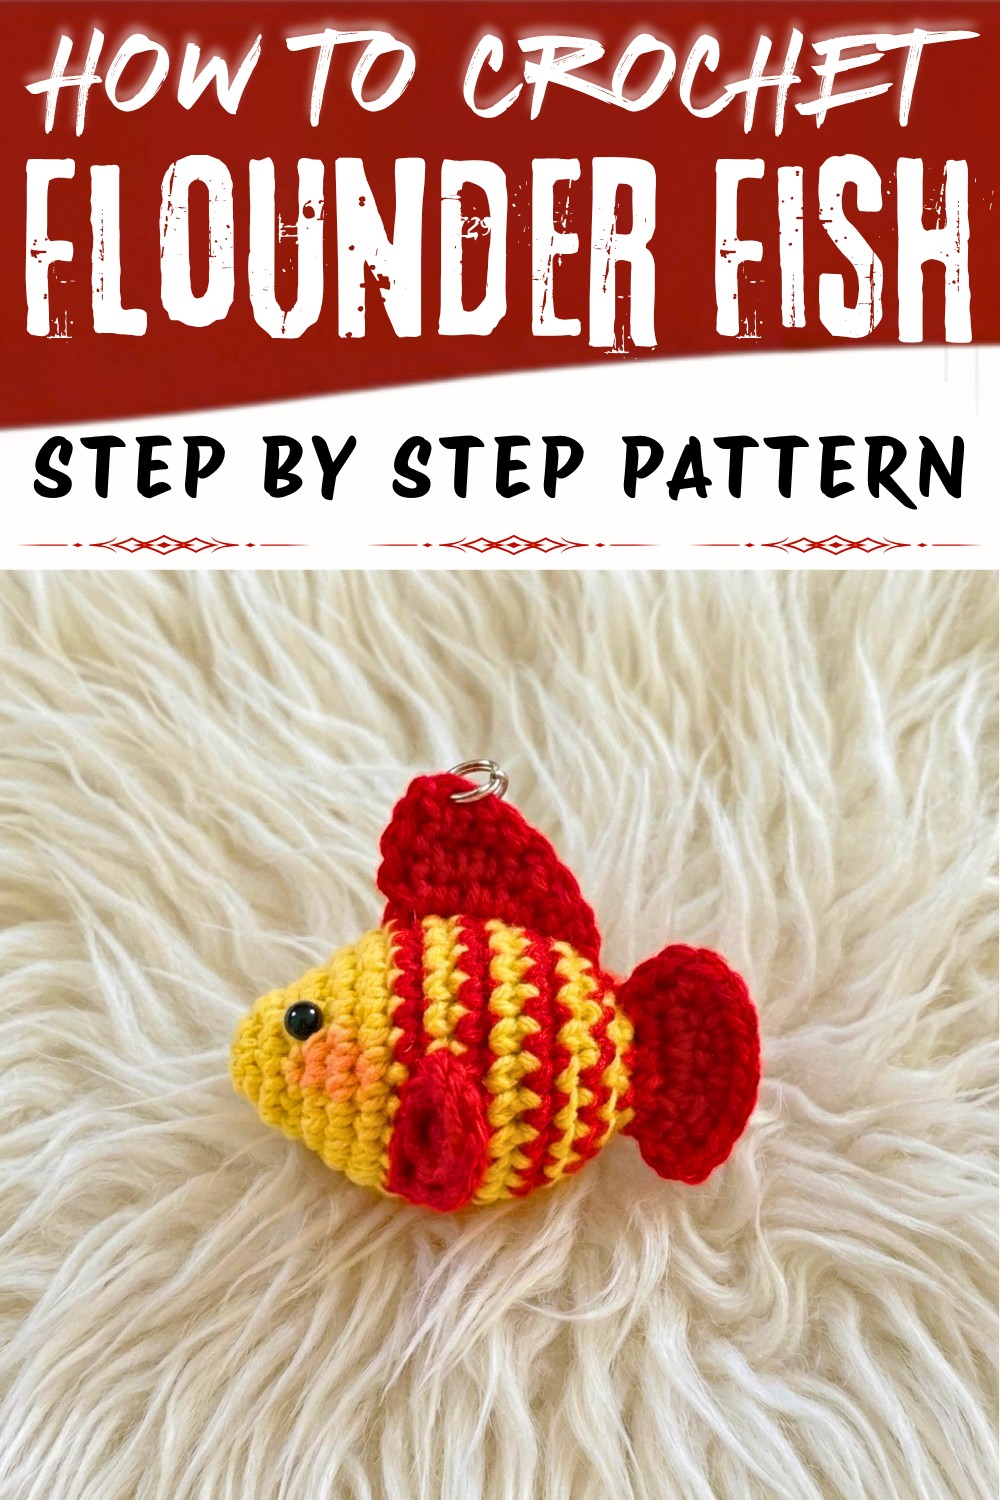
No-Sew Amigurumi Fish Keychain Pattern
Finished Size
- Approximately 6-8 cm long x 5 cm tall, depending on yarn and tension.
Materials
- Yarn: DK or light worsted acrylic/cotton in two colors (sample uses Bright red for the body, yellow for stripes/fins/tail)
- Crochet hook: 2 mm (or size needed for tight fabric)
- Stuffing: Polyester fiberfill or wadding
- 5 mm safety eyes (or embroider/felt as desired)
- Tapestry needle: For weaving in ends and embroidery
- Scissors
- Keyring (for keychain, optional)
- Stitch markers: Optional, but helpful for fin/stripe placement
Abbreviations (US Terms)
| Abbreviation | Meaning |
|---|---|
| MR | Magic ring |
| hdc | Half double crochet |
| dc | Double crochet |
| sc | Single crochet |
| inc | Increase (2 hdc in one st) |
| dec | Decrease over 2 stitches |
| ch | Chain |
| sl st | Slip stitch |
| st(s) | Stitch(es) |
Special Techniques & Suggestions
- Invisible Color Change: For sharper stripes, change to the new color on the last yarn-over of the previous stitch.
- No-Sew Fins/Tail: All appendages are crocheted directly onto the body as you build.
- Marking for Placement: Use different colored stitch markers or scrap yarn to mark where fins attach for symmetry.
- Invisible Decrease: Use the front loops only method for tidier decreases.
Pattern
Fish Body
With main color (bright red):
R1: MR, 6 hdc in ring (6)
R2: 2 hdc in each st around (12)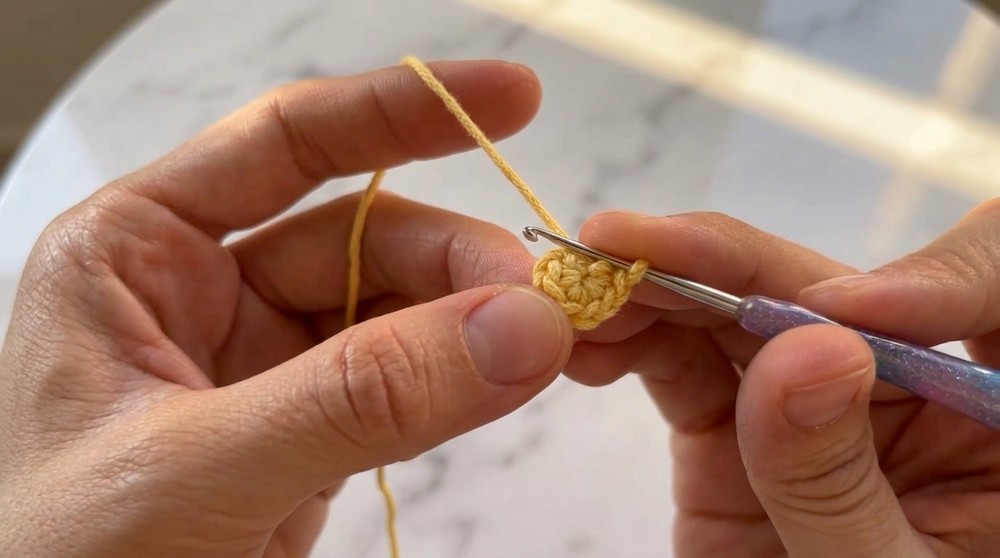
R3-R4: 1 hdc in each st around (12 per round)
R5: 2 hdc in each st around (24)
R6-R7: 1 hdc in each st around (24 per round)
R8: Change to accent color (yellow), last hdc of R7 is closed with yellow yarn. Continue in yellow:
- 1 hdc in each st around (24)
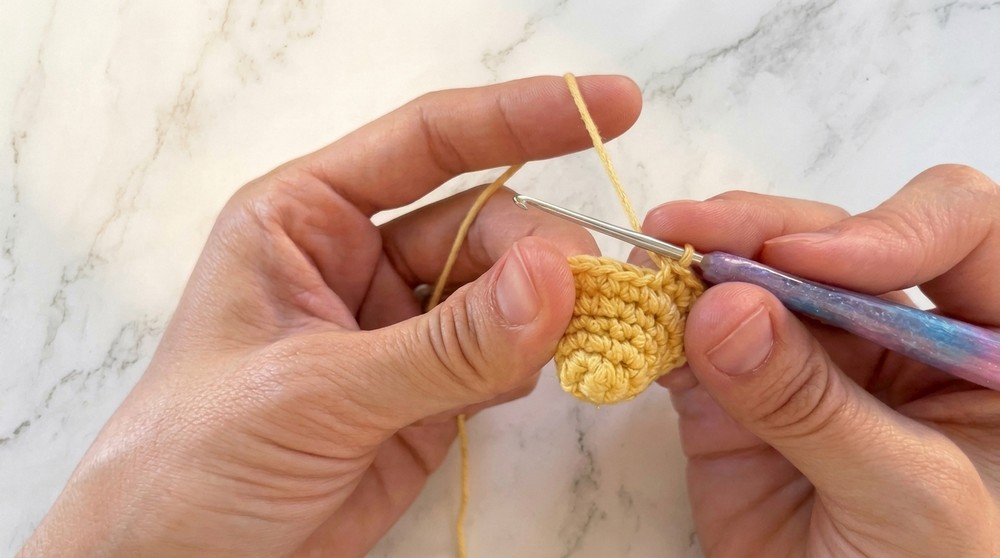
- Add side fins in this round as follows:
- After 5 hdc, work side fin (see below), hdc 14, work second side fin, complete final 5 hdc.
Side Fin (Worked in Place, Both Sides)
- Ch 3
- Work 4 dc into same base stitch (top/front loop)
- Ch 3, sl st into the top of last dc made (this forms a small point at the tip)
- Continue with next hdc of the body
R9: Change color (bright red), last hdc of R8 closed with bright red.
- 1 hdc in each st around (24), working around, keeping the fins to the side.
R10: Change color (yellow) at last stitch.
- 1 hdc in each st around (24)
R11: Change color (bright red) at last stitch.
- 1 hdc in each st around (24)
R12: Change color (yellow) at last stitch.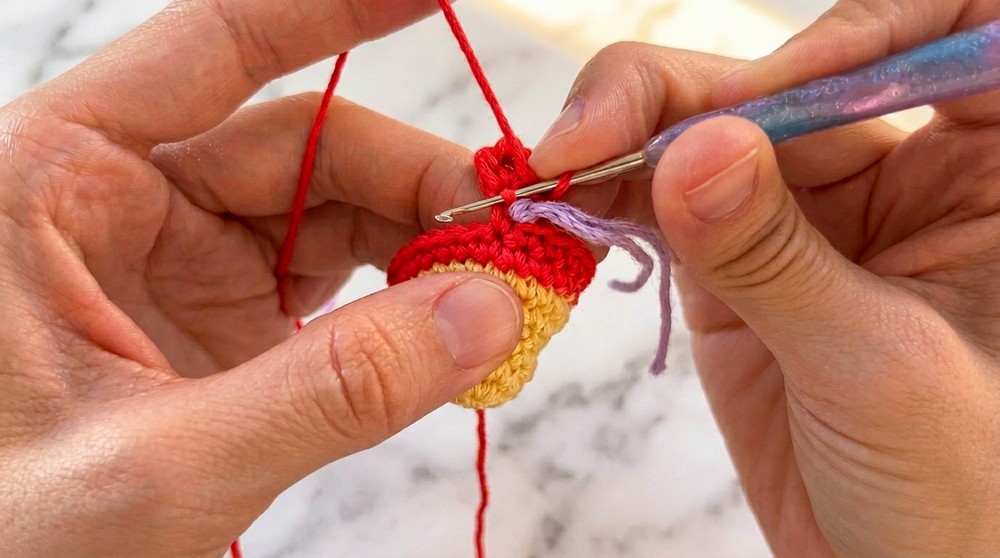
- 1 hdc in each st around (24)
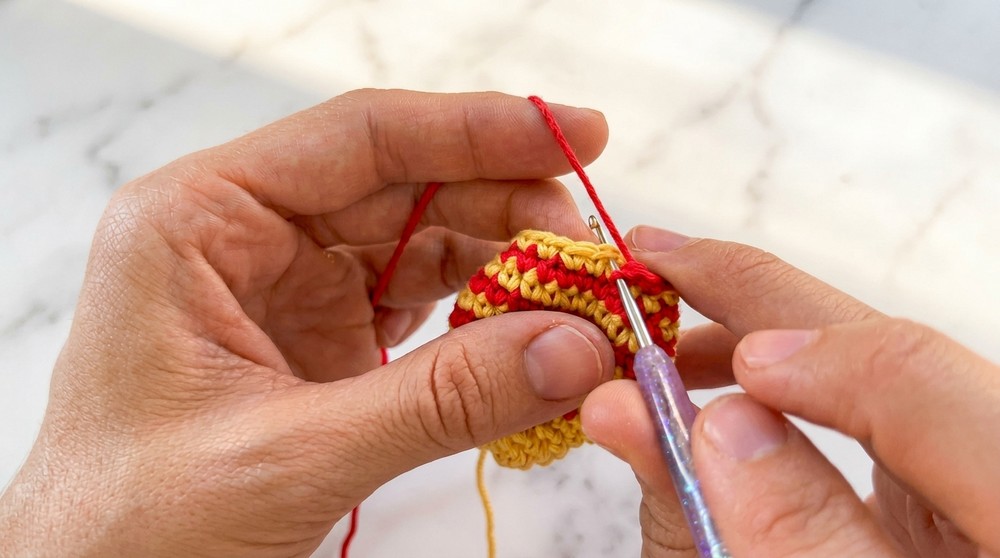
R13: Begin decrease rounds: [dec, 4 hdc] x4 (20)
(Change color as in previous rounds at end of row as desired.)
R14: [dec, 3 hdc] x4 (16)
R15: [dec, 2 hdc] x4 (12)
- Stuff the fish body firmly at the end of this round.
- Fasten off main color (bright red). Tie off and weave any extra bright red tail inside.
R16: (yellow) 6 decreases over 12 sts (6)
- Do not close! Begin working tail fin directly.
Tail Fin (No Sew)
- Flatten opening; you now have 3 paired stitches (one on each side).
- Work through both layers to seam and build tail:
- In first pair of stitches, work [hdc, hdc] (2 hdc in that "side")
- Next pair: hdc
- Next pair: [hdc, hdc] (2 hdc)
(You should have 5 stitches across.)
- Ch 1, turn.
- Row 1: hdc in first st, inc in next, hdc in next, inc in next, hdc in last st (7 hdc)
- Ch 1, turn.
- Row 2: hdc in each st across (7 hdc)
Fasten off, leaving long tail. Weave or hide ends neatly.
Dorsal Fin/Belly "Fringe"
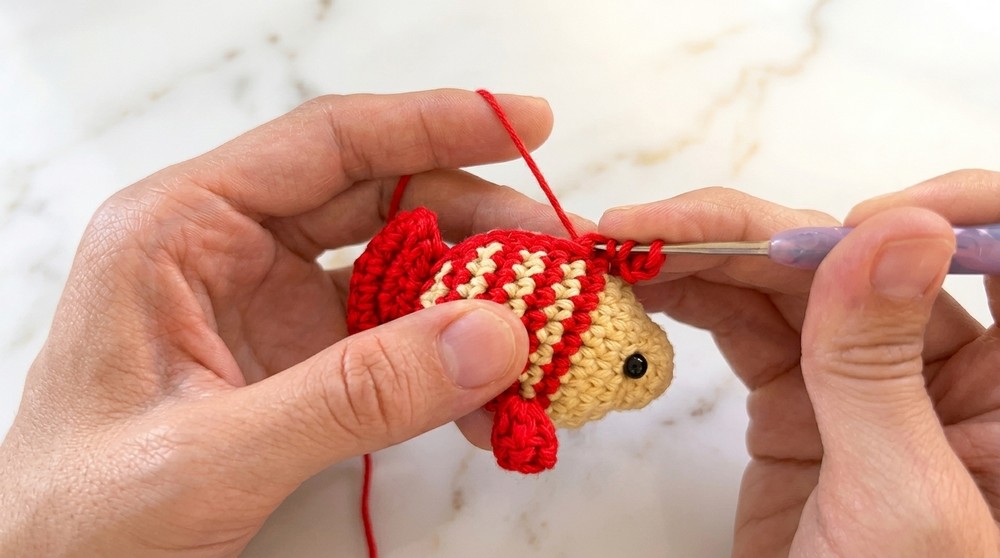
- Begin at the top of the head (right above eyes/stripe), attach yarn as desired (bright red).
- Slip stitch or sc along the dorsal (top), then ch 4, turn, work dc in first next st, 2 dc in each of next 3 sts, hdc in next, sl st in next-end or modify number based on fish's back length and desired "fringe" height.
- Weave end inside and trim.
Face
- Place safety eyes between Rounds 4-5, or embroider as desired.
- Eyes should be spaced approximately 2-3 sts apart and centered between fins.
- Optional: Embroider a small mouth with black or pink yarn underneath eyes.
Assembly & Finishing
- Ensure all yarn tails are woven into the body.
- If making a keychain, securely attach a keyring through the top middle of the body (just behind the dorsal fin).
- Ensure all fins/tail details are adjusted for symmetry.
- Fluff stuffing and shape the fish gently using your hands.
Final Words & Tips
- Stitch Markers: Marking the sides before placing the fins will help ensure symmetry.
- Color Transitions: Changing color on the last yarn-over of the previous stitch creates sharp color boundaries.
- Customization: Use variegated yarn or alternate stripe sequences for unique designs. Add beads, sequins, or embroidered details for extra flair.
- Washing/Care: Hand-wash your amigurumi gently; avoid excessive scrubbing.
Conclusion
Your seamless, double-striped, and beautifully proportioned fish is now ready! This quick and clever project requires no sewing of the fins, is perfect for gifts, decor, or personal charm, and can be endlessly customized. Enjoy crocheting your school of colorful, cheerful fish.
Possible Difficulties and How to Solve Them
While this pattern is fun and beginner-friendly, like any new crochet project, you might face a few challenges along the way. One common difficulty is working with the magic ring-it can feel a little tricky at first, especially if you've never tried it before. The key is to take it slow, watch tutorials if needed, and practice until your fingers get the hang of it. Another aspect that might be challenging for some is managing color changes, especially if you're using multiple shades to make your flounder fish colorful. Keeping your yarn organized and using stitch markers can go a long way in preventing tangling and confusion. Lastly, sewing the smaller details like the fins and tail onto your flounder might take some patience. The best way to handle these is to use a sharp yarn needle and small, tight stitches to secure each piece neatly. Remember, crochet is all about practice, and trying small improvements with every project is part of the fun!