
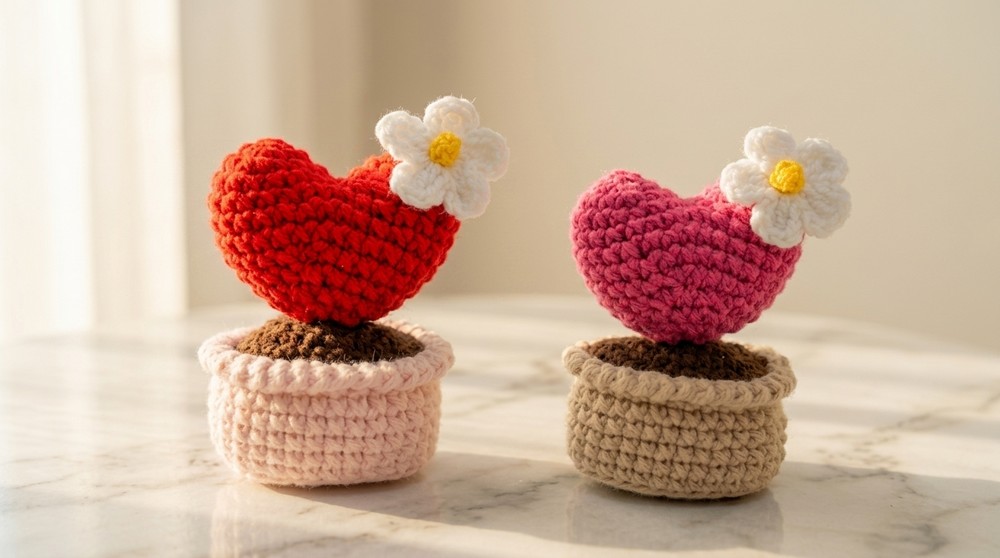
Spruce up your living space with the irresistible Free Crochet Heart Cactus Amigurumi Pattern, a unique decor piece with endless charm.
I've always struggled with keeping plants alive, so when I came across the idea of crocheting a mini heart cactus, I knew it was a perfect match for me. This cute little project is not only completely maintenance-free but also adds an adorable handmade touch to any space. The Free Crochet Heart Cactus Amigurumi Pattern is a delightful way to bring a bit of nature and charm into your home without any of the upkeep.
Fall in Love with This Free Crochet Cactus Amigurumi Pattern
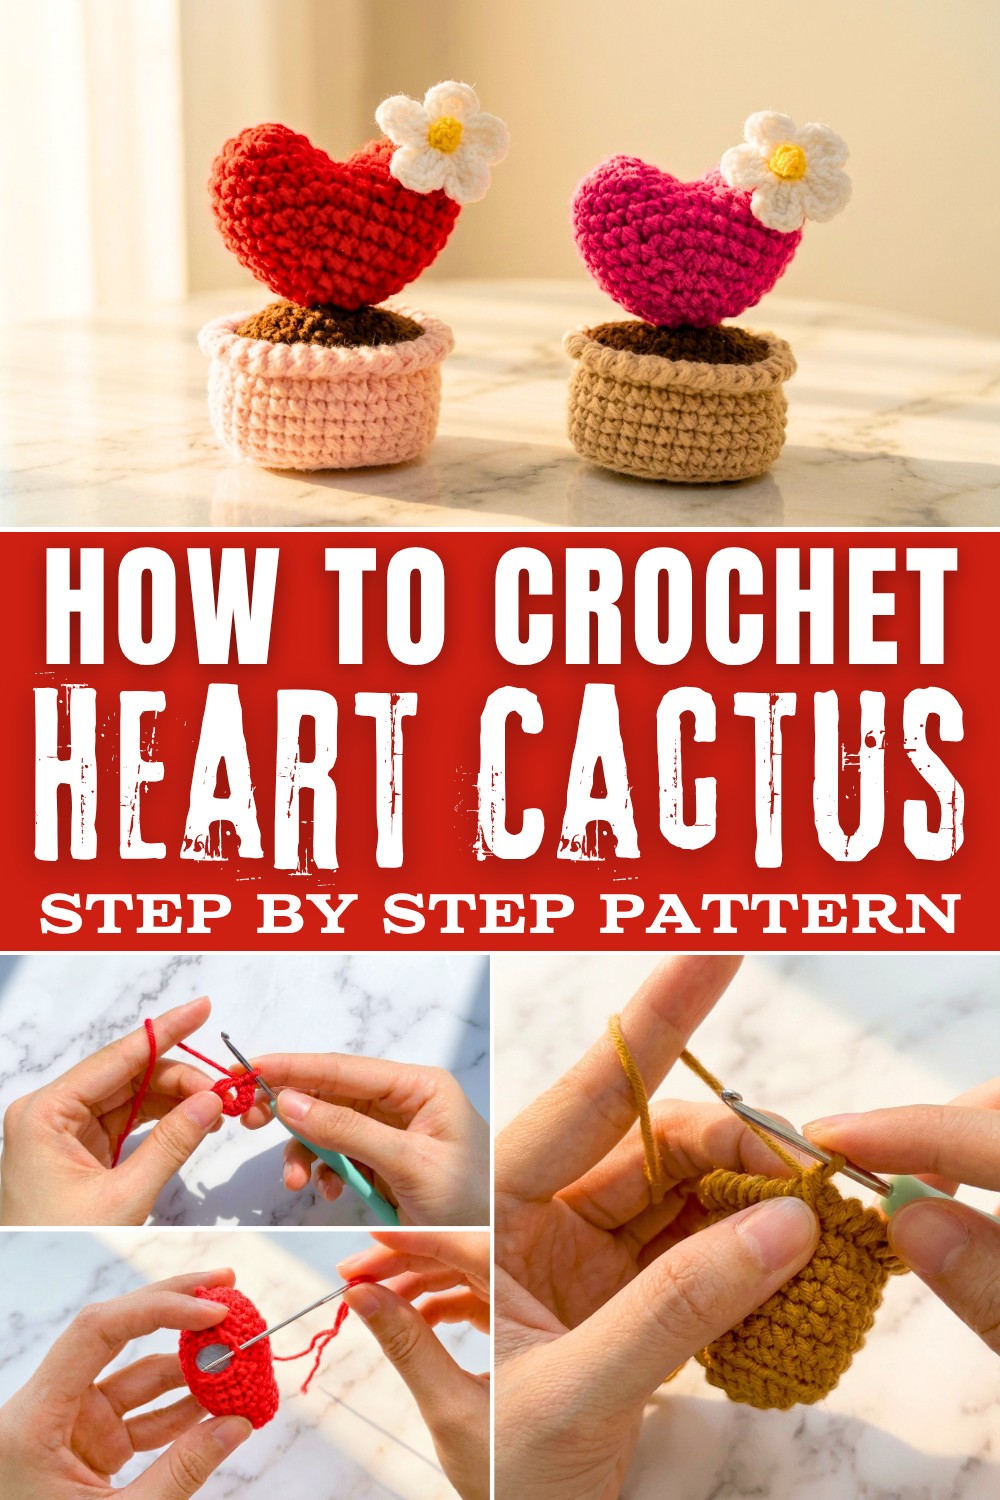
What makes this pattern so special is its heart-shaped top, which feels playful and full of personality. I used bright red for the heart, but you can customize the colors pastels, bold brights, or even contrasting shades all look amazing. The stitches are simple and beginner-friendly, relying on basics like the single crochet stitch and magic ring technique. These skills are core to making the perfect little cactus, but they're also techniques you can use for other projects like crochet toys, keychains, or tiny decor pieces.
What You'll Learn
This pattern will teach you how to create 3D crochet shapes using single crochet stitches. You'll also learn to work in the round, manage fiber stuffing for amigurumi, and shape your design to achieve clean, polished results. By the time you finish this project, you'll feel confident enough to tackle other cute and creative amigurumi ideas.
What You Can Make With These Skills
- Creative stuffed animals and adorable plushies
- Tiny crochet plant friends and mini succulents
- Cheerful keychains and bag charms
- Handmade ornaments for holidays or gifts
- Colorful decor pieces for your workspace or home
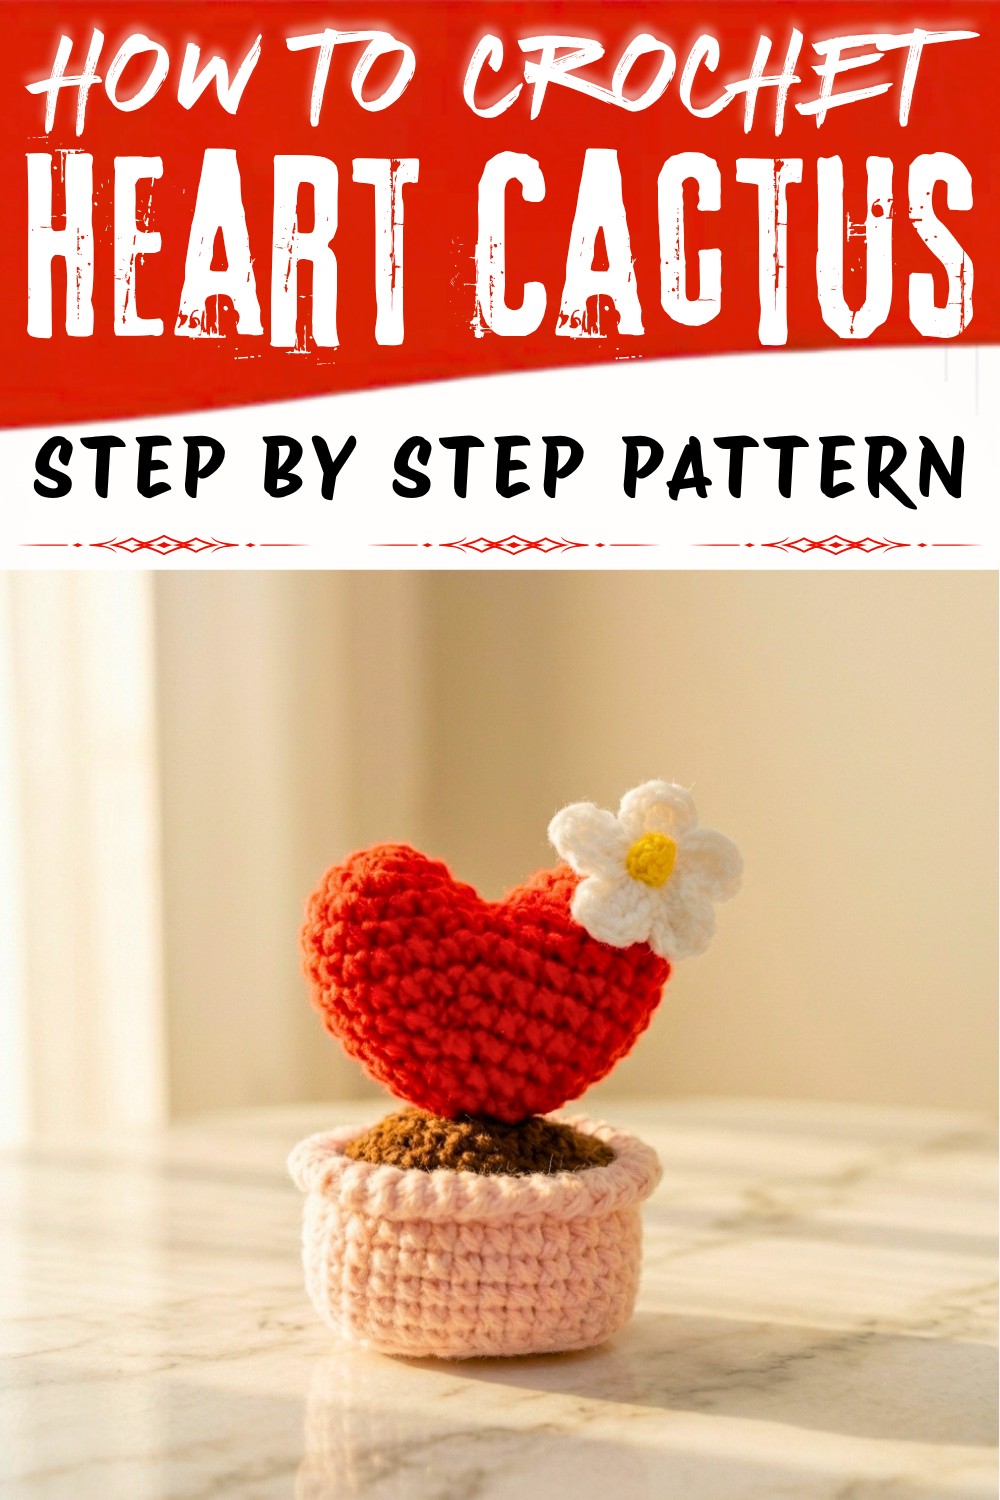
Crochet Heart Cactus Amigurumi Pattern
Finished Size
- Heart Cactus: Approximately 3.5 inches (9 cm) tall
- Pot: Approximately 2.5 inches (6.5 cm) wide
The size may vary slightly depending on your yarn, hook size, and tension.
Materials Needed
- Yarn:
- Five ply cotton yarn in the following colors:
- Red (for the cactus)
- Brown (for the soil)
- White (for the flower)
- Any pot colored yarn (such as terracotta, gray, or beige)
- Five ply cotton yarn in the following colors:
- Crochet Hook: 2.5 mm
- Fiber Fill or Cotton: For stuffing the heart and pot
- Tapestry Needle: For sewing pieces together and weaving in ends
- Stitch Markers: To mark the beginning of rows
- Scissors
- Glue (optional): To secure pieces together if needed
Gauge
Gauge is not critical for this pattern. However, ensure your stitches are tight enough to prevent stuffing from showing through.
Special Techniques
- Magic Ring: Allows you to begin crocheting in the round with a tight center.
- Continuous Rounds: Work without joining; use a stitch marker to note the start of each round.
- Crab Stitch: A reverse single crochet for decorative edging.
- Increases: Two single crochets in the same stitch.
- Decreases: Single crochet two stitches together.
Pattern Instructions
HEART CACTUS
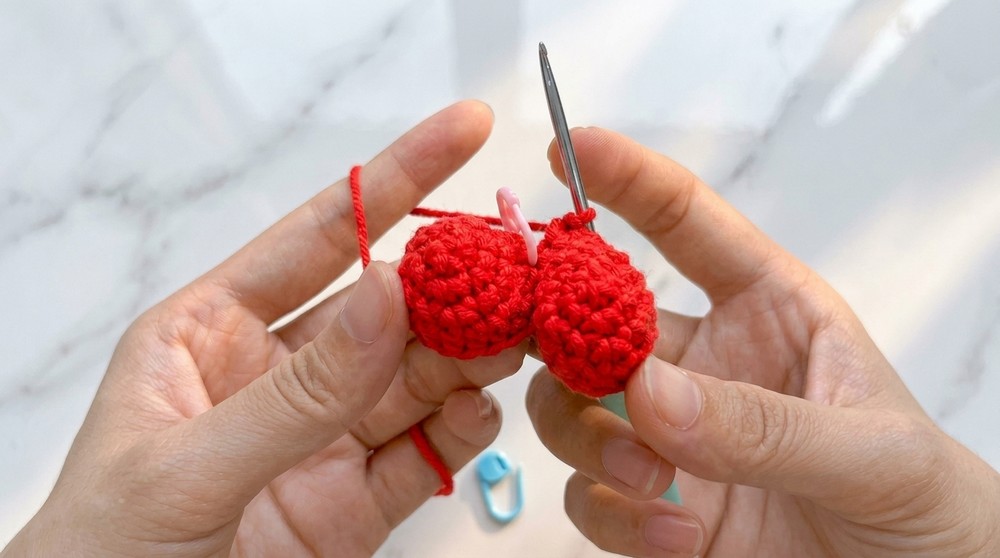
First Half (Make Two):
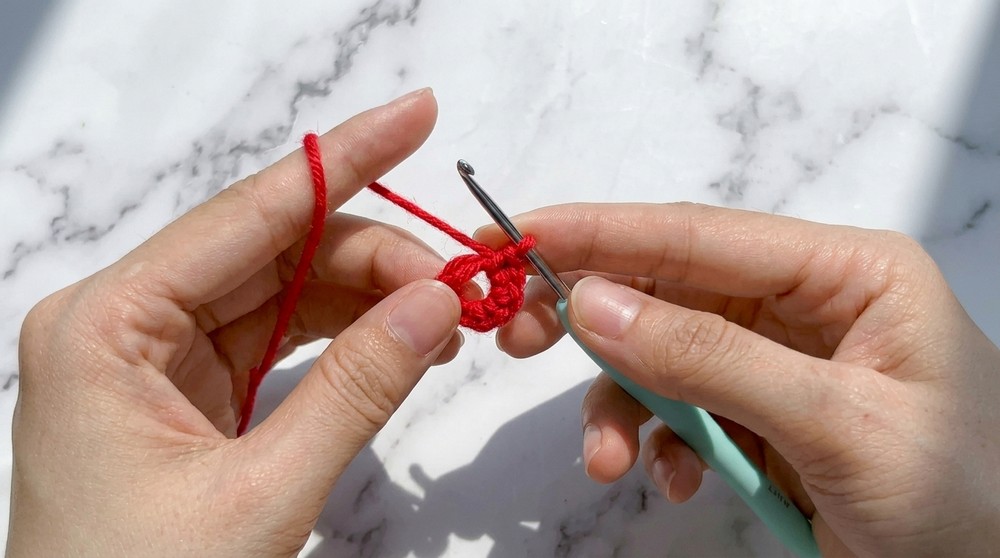
1.Row 1:
- Create a magic ring. Work 5 single crochets (sc) into the ring. Pull the tail tightly to close. (5 sts)
2.Row 2:
- Make 2 sc in each stitch around (increase). Place a stitch marker in the first stitch of the row. (10 sts)
3.Row 3:
- 1 sc, 1 increase - repeat 5 times. (15 sts)
4.Row 4:
- 1 sc in each stitch around. (15 sts)
- Fasten off for the first piece only. For the second piece, do not fasten off.
Connecting the Two Halves:
- Take the two completed halves. Place them together, with the opening edges aligned. Use the working yarn from the second half.
- Insert your hook into the first stitch of the first half. Make 1 sc to join the two halves.
- Work 14 sc around the first half, then continue to make 15 sc around the second half. (30 sts in total for the joined round)
Shaping the Heart:
5.Row 5 to 6:
- 1 sc in each stitch around. (30 sts)
6.Row 7 to 8:
- Work 13 sc, then 1 decrease; repeat once more. (28 sts, then 26 sts)
7.Row 9:
- 5 sc, 1 decrease - repeat 4 times. (24 sts)
8.Row 10:
- 4 sc, 1 decrease - repeat 4 times. (20 sts)
9.Row 11:
- 3 sc, 1 decrease - repeat 4 times. (16 sts)
- Begin stuffing the heart with fiber fill at this stage.
10.Row 12:
- 2 sc, 1 decrease - repeat 4 times. (12 sts)
11.Row 13 (Final Row):
- 1 sc, 1 decrease - repeat 4 times. (8 sts)
- Fasten off, leaving a long tail for sewing.
Closing the Heart:
- Use the long tail and a tapestry needle to weave through the front loops of the remaining stitches. Pull tightly to close the opening. Secure and weave in ends.

Finishing Touch:
- Sew the two halves together at the center to form the heart shape.
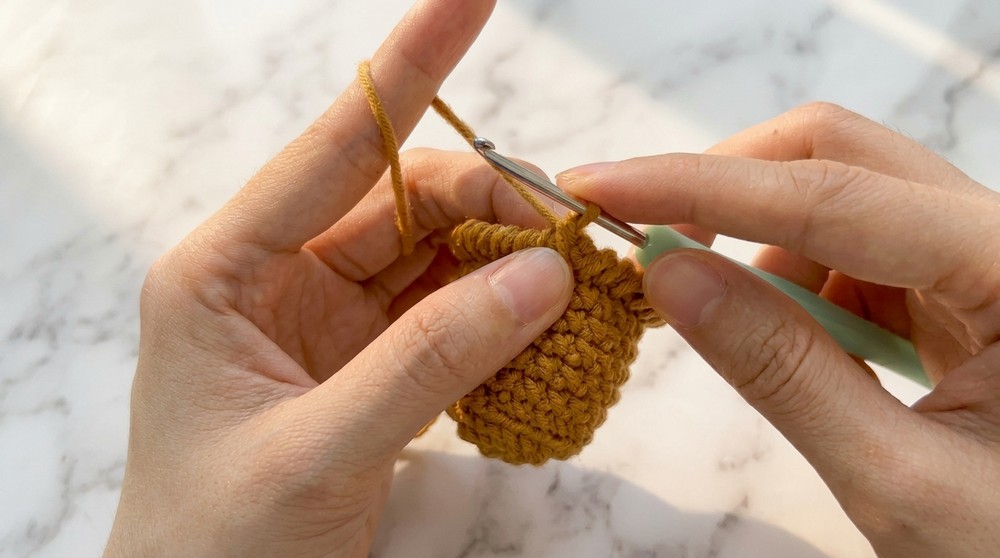
POT
Base:
1.Row 1:
- Create a slip knot and chain 9.
- Starting in the second chain from the hook, make 1 sc in each chain until the end.
- In the last chain, make 3 sc to turn the corner.
- Work along the opposite side of the foundation chain, making 1 sc in each stitch. In the last stitch, make an increase. Join with a slip stitch. (20 sts)

2.Row 2:
- Chain 1. In the first stitch, make an increase. Then, work 1 sc in the next 6 stitches.
- Make 3 increases in the next 3 stitches. Work 6 sc along the opposite side, then make 2 increases in the last 2 stitches. Join. (28 sts)
3.Row 3:
- Chain 1. Work 1 sc, then 1 increase; repeat once. Make 6 sc.
- 1 sc, 1 increase - repeat 3 times. Make 6 sc.
- 1 sc, 1 increase - repeat 2 times. Join. (36 sts)
Pot Walls:
4.Row 4 (Back Loops Only):
- Chain 1. Work 1 sc through the back loop only in each stitch around. Join. (36 sts)
5.Row 5 to 9:
- Chain 1. Work 1 sc in both loops of each stitch around. Join. (36 sts)
6.Row 10:
- Chain 1. Work 1 slip stitch through the front loops only in each stitch around. Join. (36 sts)
7.Row 11 (Crab Stitch):
- Chain 1. Work 1 crab stitch in each stitch around. Join. (36 sts)
- Fasten off and weave in the ends.
SOIL
Follow the first two rows of the pot's base pattern.
- Fasten off, leaving a long tail for sewing.
WHITE FLOWER
Petals:
Row 1:
- Create a magic ring. Chain 2.
- Make 1 double crochet (dc) into the ring. Chain 3 and slip stitch into the magic ring to form the first petal.
- Repeat this pattern 4 more times to create 5 petals in total. (5 petals)
- Fasten off and leave a tail for attaching.
Stamen:
- Using the tapestry needle, form a small stamen in the center of the flower with slip knots.
ASSEMBLING
- Stuff the Pot: Use fiber fill or cotton to stuff it firmly. Sew the soil piece onto the top of the pot.
- Attach the Heart: Secure the heart to the soil using glue or sewing for stability.
- Add the Flower: Glue or sew the white flower to the top corner of the heart cactus.
Customizations
- Experiment with yarn colors to create a variegated cactus or a vibrant pot.
- Add embroidered details, such as small "spines" using white thread or yarn.
- Use beads in the center of the flower for extra embellishment.
Tips for Success
- Use stitch markers to keep track of the rounds.
- Stuff the pieces moderately to maintain shape without overstretching the stitches.
- Pull the magic ring tightly to avoid leaving a gap in the center.
Conclusion
You've now created a charming mini heart cactus in a pot! It's a perfect handmade gift, desk accessory, or decor item. The combination of textures and whimsical design makes it a delightful project for crocheters of all levels. Share your creations and let your creativity bloom.