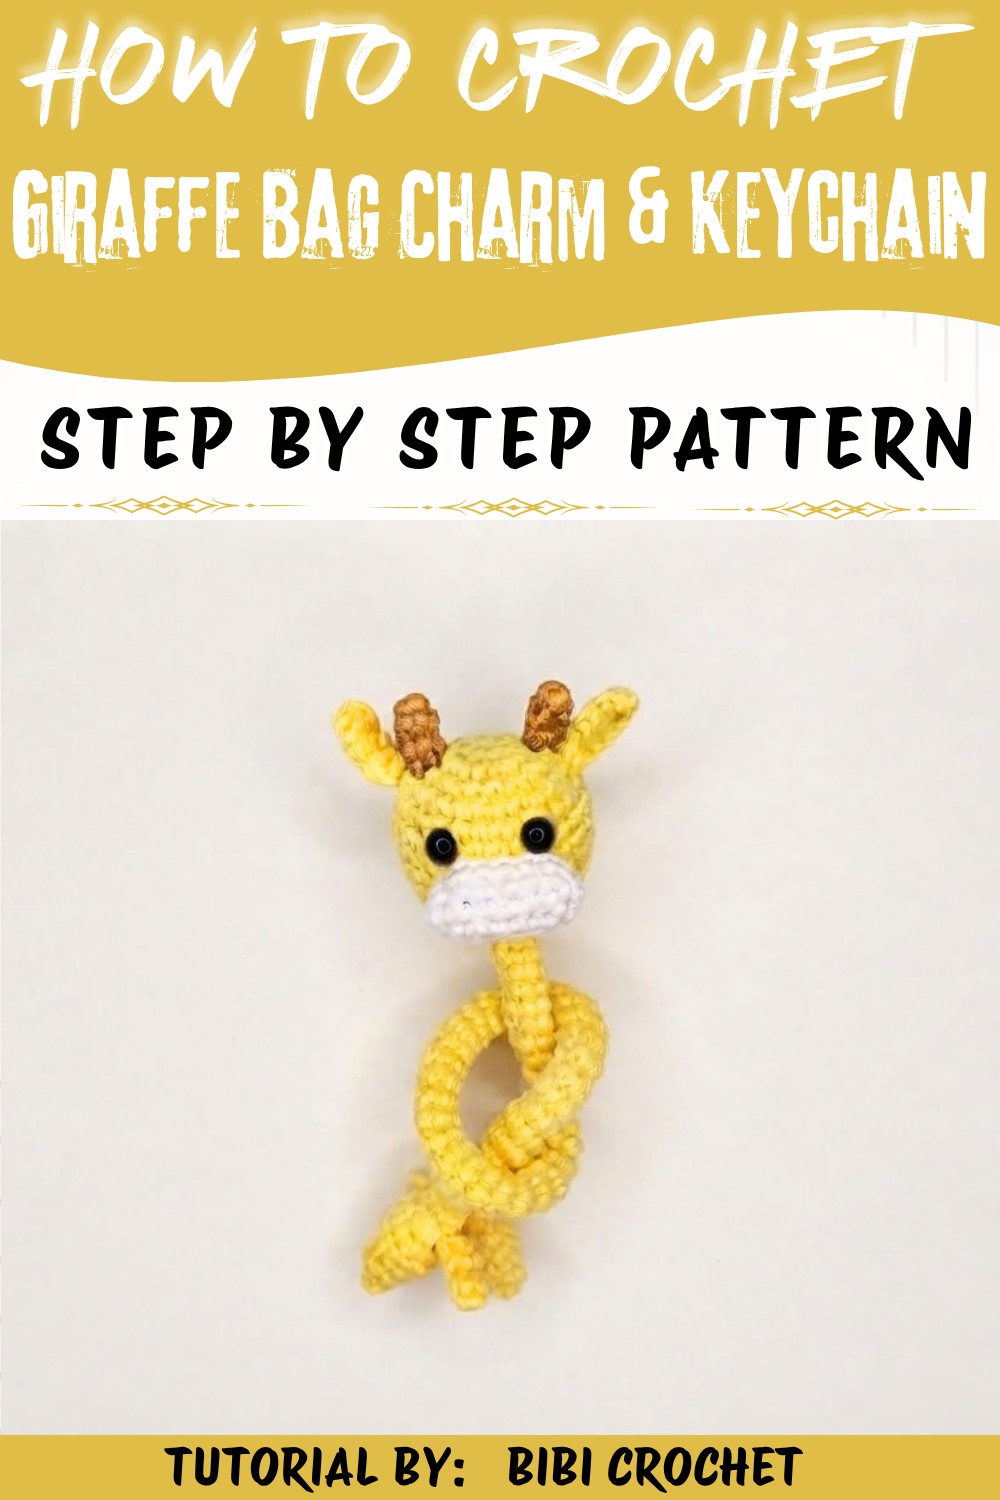
Dress up your backpack using this Crochet Long-Neck Giraffe Bag Charm Free Pattern and enjoy a little giraffe with adorable spots.
A tiny giraffe with an extra-long neck, perfectly sized to hang from your bag, adds a splash of fun and personality to your daily essentials. The Crochet Long-Neck Giraffe Bag Charm Pattern makes this adorable accessory come to life with soft, inviting colors and charming details like little ears, gentle eyes, and a braided tail. Bibi Crochet designed this delightful charm, making it an endearing piece you'll want to carry everywhere.
Sweet Crochet Long-Neck Giraffe Bag Charm Free Pattern for Handbags
This giraffe bag charm is not just cute but also practical. Its lightweight design ensures it won't drag your bag down, and its unique look makes it a great conversation starter. Whether attached to a backpack, purse, or even a set of keys, it adds charm and a playful touch to your belongings. Its tall neck and sweet face instantly bring warmth, making it an instant favorite for those who love animal-themed accessories or creative, personalized items.
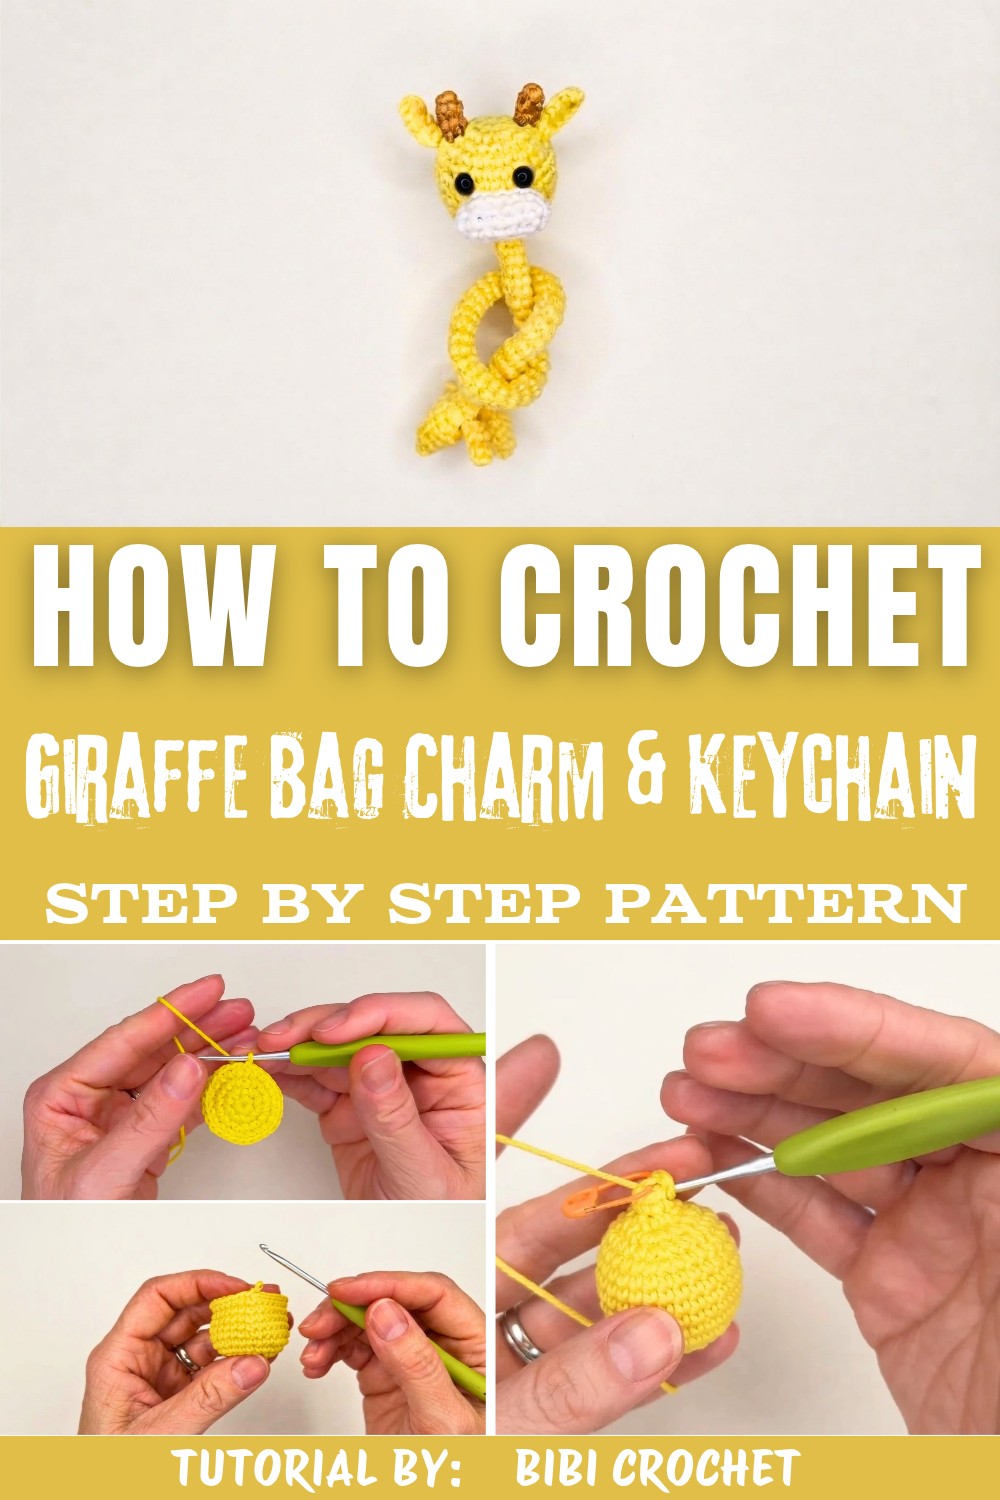
The finished giraffe measures just the right size to be eye-catching without overwhelming your bag. The color palette is gentle and soft, which adds to its charm, making it suitable for both kids and adults. It's a wonderful way to express your personality or to gift someone a little smile. Adding this giraffe to your collection of bag charms can brighten your day, serve as a lucky charm, or simply be a cute reminder of your creativity.
Beyond its pretty appearance, this pattern encourages a relaxing, enjoyable experience. It's designed to be approachable for crocheters of varying skill levels, allowing you to create a beautiful and detailed piece without frustration. Plus, each stitch adds to the love and care that will make your giraffe truly special. Bring a little joy to your daily routine with the Crochet Long-Neck Giraffe Bag Charm Pattern-it's an easy and satisfying way to make a charming companion. Check out the free pattern and start creating your own sweet giraffe today.
Crochet Long-Neck Giraffe Bag Charm Free Pattern
This detailed guide presents clear instructions for crocheting a long-neck giraffe amigurumi with a distinctive knotted neck and charming features. Each component-from the seamless neck to the sculpted snout and movable limbs-has been broken down into manageable stages, making it easy to maintain the correct sequence and proportions. With each section written in a clear, step-by-step format, this pattern takes you smoothly from the foundation ring to the final assembly, ensuring that both decorative detailing and structural durability are achieved. Simple rounds and easy-to-count stitches form the backbone of the process, while strategic placement of safety eyes, stuffing techniques, and thoughtful assembly yield a finished figure that is both playful and practical, suitable for attaching to bags, curtains, or gifting with confidence.
Quick Overview of Pattern
- Body and Neck: Begin at the bottom of the head, work upward in rounds, elongate the neck for knotted flexibility, then widen for the base.
- Features: Shape a rounded snout, embroider nostrils, and construct simple ears and horns separately.
- Limbs and Tail: Crochet short, cylindrical front and back legs; fashion an elongated, fringed tail.
- Assembly: Attach all pieces securely, sew using long yarn tails, and finalize with finishing touches for personality and practicality.
Notes
- Use a stitch marker throughout to indicate the beginning of each round.
- Ensure stuffing is distributed evenly to maintain shape, especially in the narrow neck.
- Safety eyes should be inserted securely before completing the head for safest and best placement.
- Adapt yarn colors and details to match personal preferences or decor.
- The pattern is crocheted in continuous rounds unless specified otherwise (no turning chains except where noted).
- Take care in the final stitch closure to conceal all yarn tails inside the figure for a polished finish.

Skill Level
- Confident Beginner-Intermediate
- Some experience with magic ring, continuous spiral rounds, increases, decreases, and simple assembly is beneficial, but each main technique is carefully explained so that even less experienced crocheters will find clear guidance.
Materials
- Yarn: Cotton yarn in yellow or light brown (main body) and brown or accent shade (spots, horns, and tail)
- Crochet Hook: Size matched to your yarn, typically 2.5-3 mm for firm amigurumi
- Notions: Yarn/wool needle, sharp scissors, stitch marker
- Safety Eyes: 5 mm diameter (or glue-on eyes and hot glue gun)
- Stuffing: Polyester fiberfill or cotton
Measurements / Sizing
- Final Height: Approx. 16-20 cm (6-8 in), depending on yarn and tension
- Schematic: The neck is designed long enough to facilitate tying a decorative knot, and body is rounded for playful proportions
Gauge
- Gauge: Not critical; ensure stitches are tight so stuffing does not show through.
- Stitch Pattern: Single crochet in continuous spirals. Occasional half double crochet used for ears.
Stitch Abbreviations
| Abbreviation | Meaning |
|---|---|
| ch | chain |
| sc | single crochet |
| inc | increase (2 sc in 1 st) |
| dec | decrease (sc2tog) |
| hdc | half double crochet |
| sl st | slip stitch |
| MR | magic ring |
| st(s) | stitch(es) |
Special Stitches
- Magic Ring (MR): Create a loop, crochet specified number of stitches into the loop, then pull tight.
- Increase (inc): 2 sc in one stitch.
- Decrease (dec): sc2tog (single crochet 2 together).
- Half Double Crochet (hdc): Yarn over, insert hook, yarn over, pull through, yarn over and pull through all loops on hook.
The Crochet Pattern
Head and Body (Long Neck Giraffe)
- Round 1: MR, 7 sc into magic ring. [7]
- Round 2: 2 sc in each st around (inc in every stitch). [14]
- Round 3: [1 sc, inc] repeat around. [21]
- Round 4: [2 sc, inc] repeat around. [28]

- Rounds 5-10: 1 sc in each st around for six rounds. [28 per round]

- Round 11: [2 sc, dec] repeat around (2 sc, then sc2tog). [21]
- Safety Eye Placement: Insert 5 mm safety eyes securely between Rounds 9 and 10, spaced evenly apart.
- Round 12: [1 sc, dec] repeat around (1 sc, then sc2tog). [14]
- Round 13: dec in each st around (sc2tog around). [7]

Long Neck
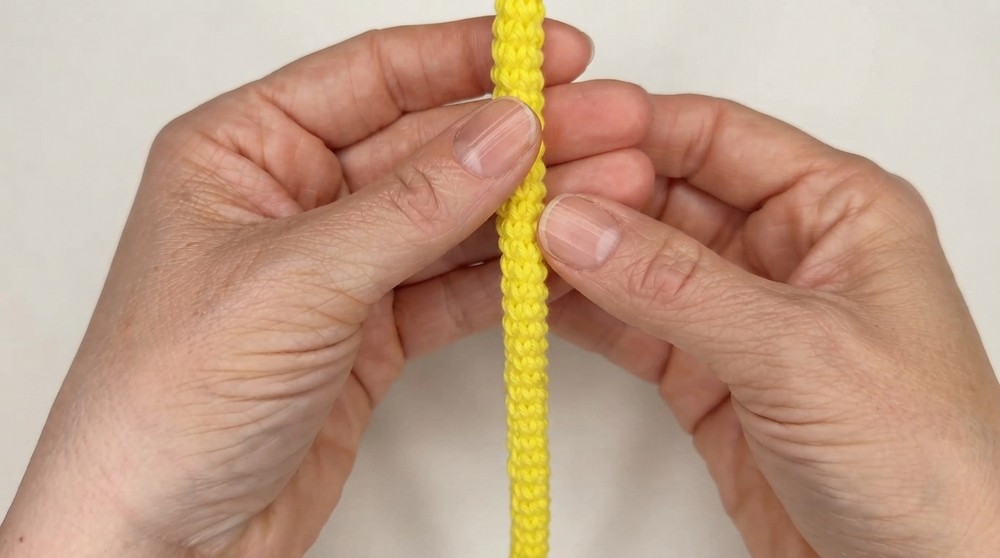
- Rounds 14-63: 1 sc in each st around continuously for 50 rounds, without joining or turning. Use a stitch marker and record rows as you go. This long tube forms the flexible neck, suitable for tying a small knot if desired.
Base Expansion
- Round 64: sl st to join, ch 1, inc in every st around (2 sc in each st). [14]
- Rounds 65-69: 1 sc in each st around for five rounds. [14 per round]
- Round 70: dec in each st around (sc2tog around). [7]
- Finishing: Firmly stuff the main body and neck with fiberfill. Cut yarn, thread wool needle with end, weave through front loops of last 7 stitches, pull tight to close. Knot securely and hide end inside.
Facial Features & Horns
Snout/Muzzle
- Foundation: MR or slip knot, ch 7.
- Row 1: 6 sc back along chain.
- Turning: Turn to opposite side of chain, 1 sc in end st, then 6 sc along underside.

- Round 2: inc in end stitch, then 1 sc in each across.
- Round 3: inc at opposite turn, then 1 sc in each st to complete oval.
- Assembly: Lightly stuff muzzle, pin to lower head, sew around all edges with yarn/wool needle.
Horns (Make 2)
- Form with a simple, small tube or follow instructions for narrow, pointed shapes. Attach each horn to top of head, sewing around with wool needle until secure and upright.
Ears (Make 2)
- Foundation: MR, ch 5.
- Row 1: 4 hdc back along the chain.
- Finishing: Cut yarn leaving tail. Fold base double, sew securely to side of head just below the horns, using several firm stitches for positioning.
Limbs & Tail
Front Legs (Make 2)
- Round 1: MR of 4 sc [4]
- Rounds 2-3: 1 sc in each st around for two more rounds. [4 per round]
- Assembly: Sew at front, upper body in line with neck attachment, stitching all around the base.
Back Legs (Make 2)
- Round 1: MR of 4 sc [4]
- Round 2: 1 sc in each st around (single round). [4]
- Assembly: Attach at lower-rear body, sewing around base for security.
Tail
- Foundation: Slip knot, ch 8.
- Finishing: Cut yarn leaving long tail, attach between rear legs at back, tying knot to secure. Trim to preferred length and carefully fray/split strands for tassel effect typical of giraffe tails.
Assembly & Finished Size
- Stuff and Close: Ensure entire giraffe is filled evenly for firmness and shape, paying special attention to narrow neck.
- Sew Features: Attach muzzle, horns, ears as indicated, ensuring symmetrical placement.
- Attach Limbs & Tail: Position limbs for balance, tailor tail to desired length and fluffiness.

- Final Details: Secure all yarn tails inside work. The finished giraffe should measure 16-20 cm tall, with a soft flexible neck for decorative knotting.
Conclusion and Ending Words
The long-neck giraffe described here highlights the charm of amigurumi through simple techniques and strategic assembly, resulting in a figure that is both whimsical and practical for home décor or as a charming accessory. Careful joining and stuffing ensure the neck stands up to gentle play or repeated knotting. Limbs and features are attached with attention to balance and character, while subtle details like the frayed tail lend authenticity. Sturdy construction and secure stitching throughout offer durability and refinement, allowing this giraffe to serve as a unique accent or heartfelt gift. By following these structured instructions, crocheters are empowered to develop their skills and add a touch of playful personality to their finished piece.