
Refresh your style with the Free Crochet Cord Purse Pattern and crochet a simple, trendy purse that suits every outfit effortlessly.
Creating something unique out of everyday materials always excites me, and this crochet cord purse is a perfect example of how simple supplies can lead to stunning results. I was amazed to see how affordable this project is. It uses crochet twine, easily found at a dollar store, combined with a single button for closure. The twine's soft, natural look gives the little purse a charming rustic vibe, and the flexibility makes it a great canvas for experimenting with colors. You could stick to neutral shades for a classic look or try bold tones to match your personal style. Whether you use the finished purse as a clutch, a handbag, or even gift it to someone, it's a functional yet stylish accessory.
Simple Easy Crochet Cord Purse Pattern for Quick Handmade Bag
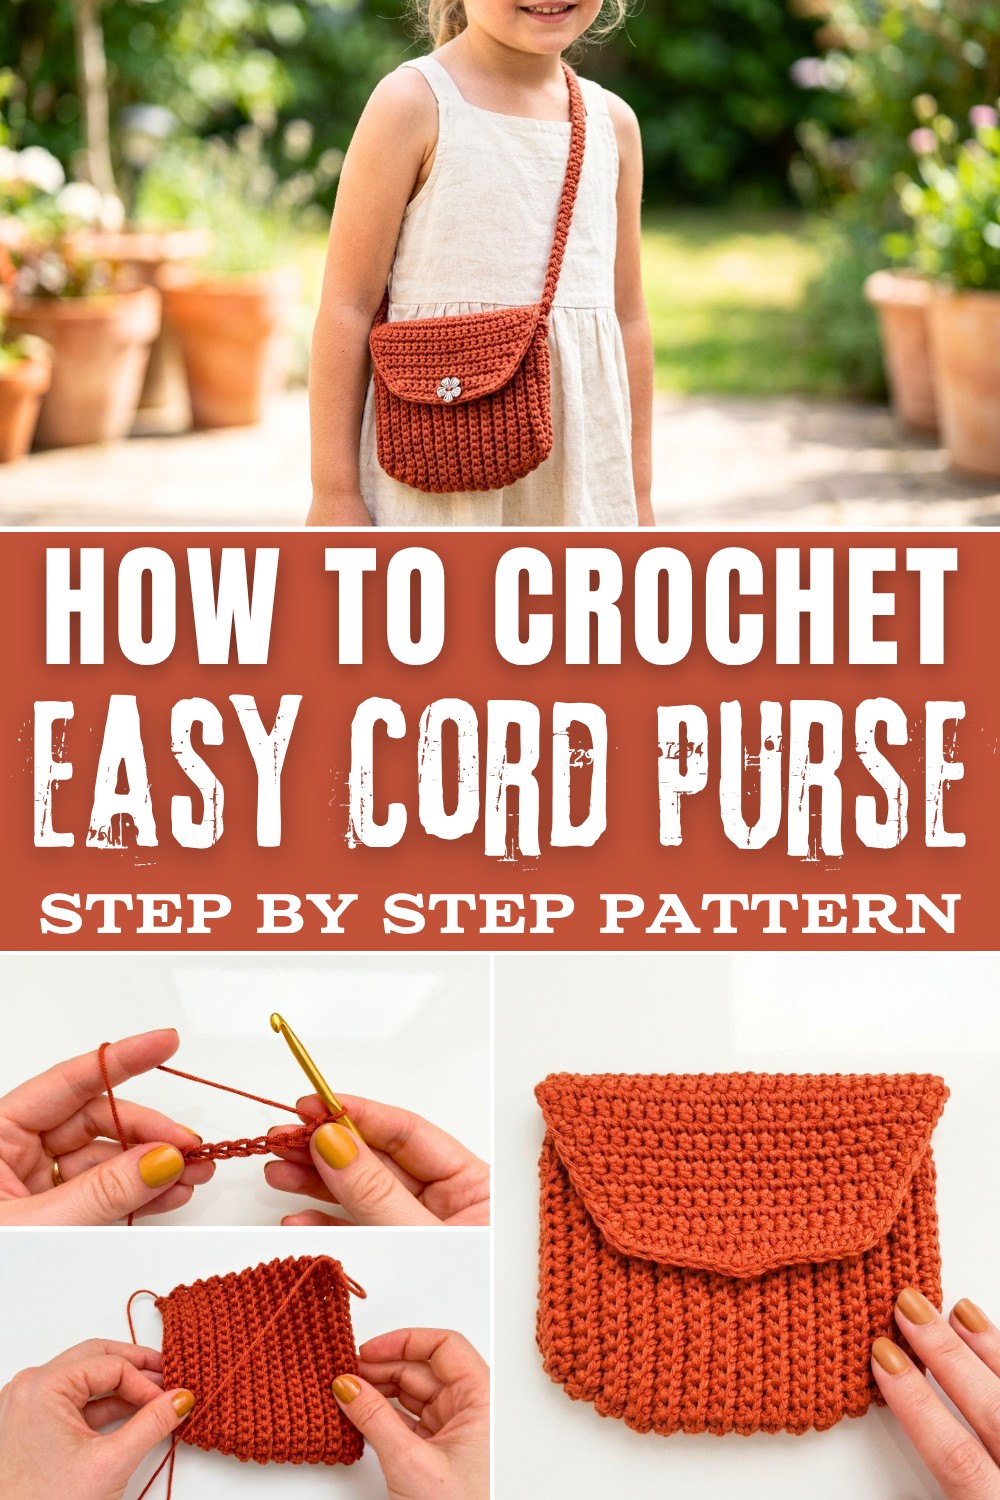
The beauty of this pattern lies in its simplicity. Using single crochet stitches throughout, you'll master techniques like working in the back loop for texture and shaping rows for a custom fit. What's fascinating is how this single crochet technique is also used for the strap, called the Romanian point lace cord, which adds an elegant detail that takes the pattern to the next level. If you're new to crochet, don't worry. This project is beginner-friendly and lets you practice basic stitches while working with a slightly different material like twine.
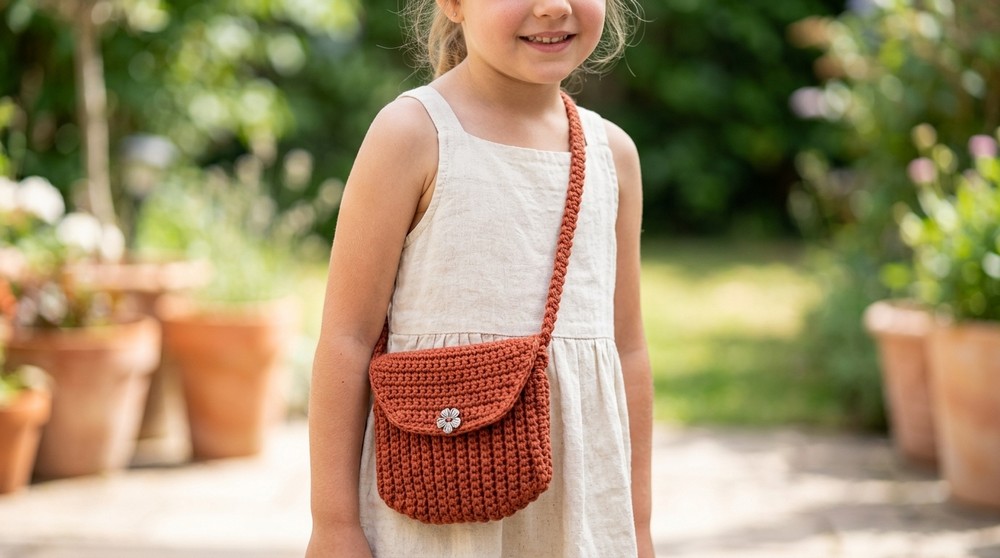
What You'll Learn and Crochet
By following this pattern, you'll gain a variety of crochet skills and learn how to:
- Work in back loops to add texture and detail.
- Increase and decrease single crochet rows to shape your designs.
- Sew seams neatly using a simple stitching technique.
- Create the Romanian point lace cord for straps, which can also be used for belts, headbands, or handles on other bags.
- Adapt the purse flap to make other accessories like small pouches or even wallets.
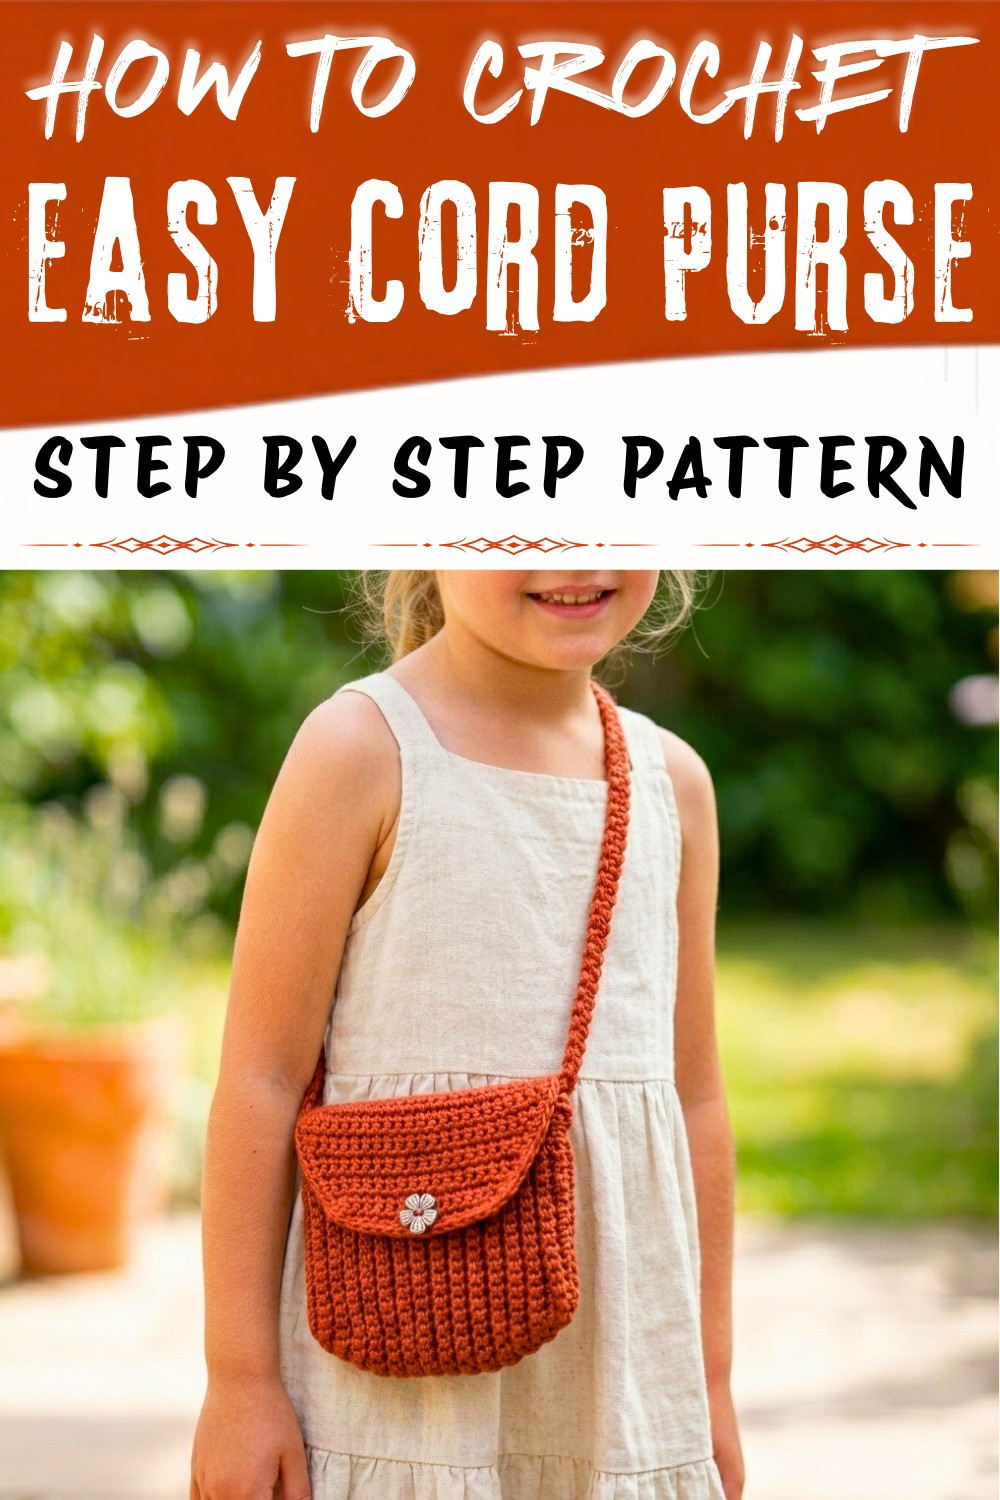
Crochet Cord Purse with Romanian Lace Strap
Materials
- Yarn: Crochet twine (approx. 2 mm thickness) or any similar stiff cord material. Yarn color used is Terracotta.
- Amount: ~150 meters (approximately one spool of twine).
- Hook Sizes:
- Primary: 5.0 mm
- Secondary (for tighter sections): 3.75 mm
- Notions:
- Scissors
- Darning needle (for sewing seams and weaving in ends)
- Stitch markers (optional)
- Button (large enough to fit through a chain-3 hole for flap closure)
Skill Level
- Intermediate to Advanced: The pattern includes working with a stiff material (twine), slip stitching, single crochet decreases, and the Romanian Point Lace Cord technique.
Key Abbreviations
(All terms are based on US Crochet Terminology.)
- ch: Chain
- sc: Single Crochet
- sl st: Slip Stitch
- sc2tog: Single Crochet Decrease (Single Crochet 2 Together)
- st: Stitch(es)
Special Notes
- Stiffness of Twine: Crochet twine is harder on the hands than regular yarn. Take breaks and, if necessary, switch to smaller sections.
- Hook Recommendation: Start with a 5.0 mm hook and switch to a 3.75 mm for tighter areas like the flap and strap.
- Gauge: Approximately 4 stitches = 1 inch (2.5 cm) in single crochet, but exact gauge is less crucial.
- Seams and Edges: Working in the outside loops of stitches creates a neater closure for side seams.
- Romanian Cord Technique: Ensure consistent tension and take your time. This technique creates a sturdy, decorative strap.
Pattern Instructions
1. Main Body (Purse Base)
Step 1: Foundation Chain
- Leave a 12" (30 cm) tail for sewing.
- Make a slip knot and chain 30. Try to keep it loose.
- Approximate measurement: 9 inches (23 cm).
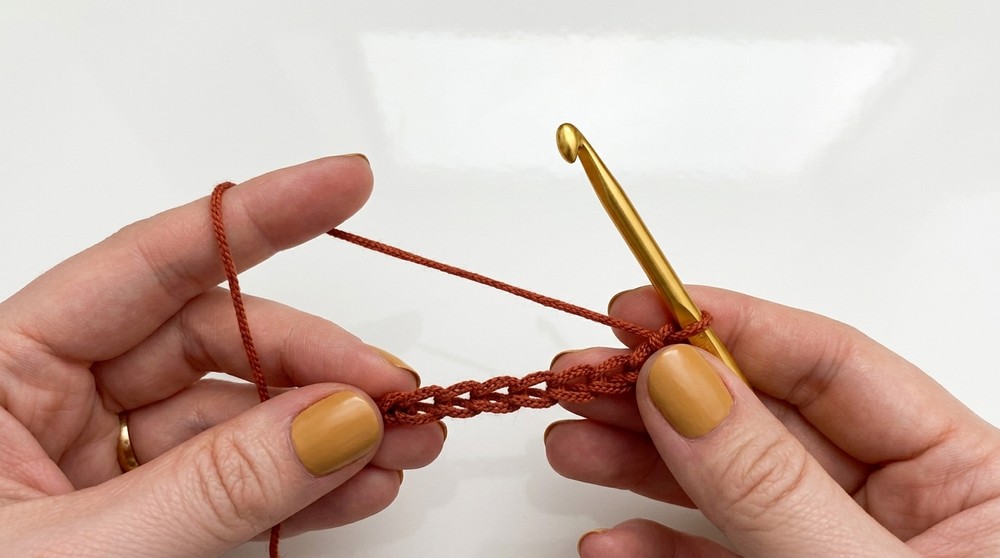
- Approximate measurement: 9 inches (23 cm).
Step 2: Row 1 (Set-Up Row)
- Work in the back loop of each chain.
- Starting in the second chain from the hook, work 1 sc in each chain across.
- Stitch count = 29 sc.
Step 3: Row 2 (First Increase Row)
- Ch 1, turn.
- Work in the back loop only for this row:
- 13 sc.
- 2 sc in each of the next 3 stitches (increase section).
- 13 sc to finish the row.
- Stitch count = 32 sc.
Step 4: Row 3
- Ch 1, turn.
- Work 1 sc in the back loop only of each stitch across.
- Stitch count = 32 sc.
Step 5: Row 4 (Next Increase Row)
- Ch 1, turn.
- Work in the back loop only:
- 14 sc.
- (2 sc in next stitch, 1 sc in the next 2 stitches) x 2.
- 14 sc.
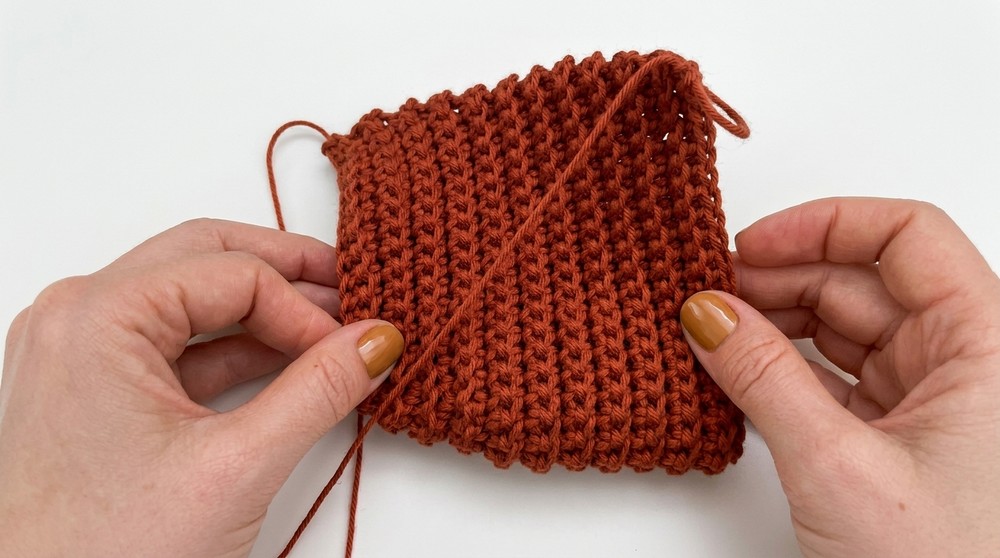
- Stitch count = 34 sc.
Step 6: Row 5 (Even Row)
- Ch 1, turn.
- Work 1 sc in each stitch across.
- Stitch count = 34 sc.
Row Progression Summary
| Row | Action | Stitch Count |
|---|---|---|
| 6 | Increase: 15 sc, 2 increases, 15 sc | 36 |
| 7 | Even: 1 sc in each stitch | 36 |
| 8 | Increase: 17 sc, 2 increases, 17 sc | 38 |
| 9-22 | Even: 1 sc in each stitch | 38 |
By Row 22, your purse base will be a rectangular shape, ready to fold into a bag.
2. Shaping the Top (Decreasing Rows)
Here, you'll gradually reduce row widths to shape the top of the bag.
- Row 23:
- Ch 1, turn.
- Back loop only: 17 sc, 2 sc2tog, 17 sc.
- Stitch count = 36 sc.
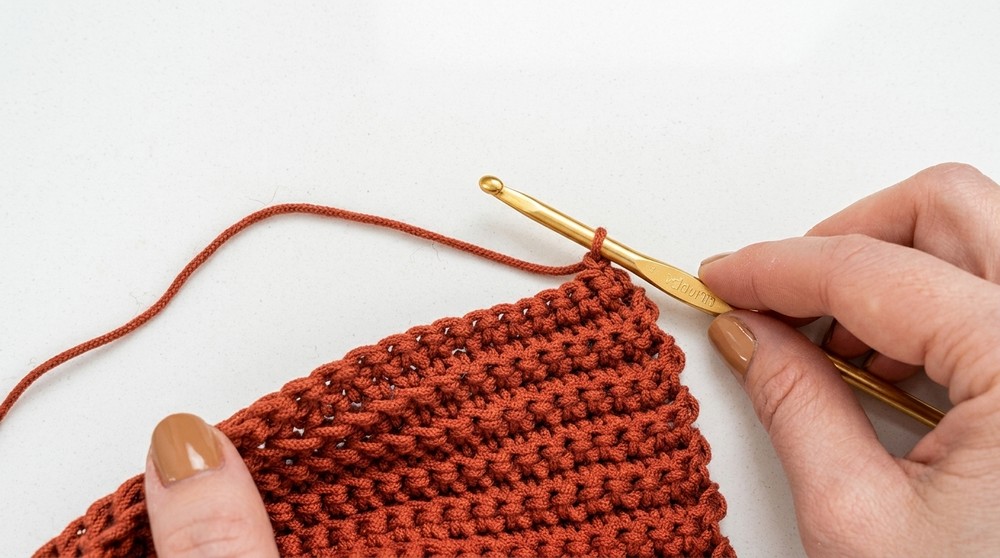
- Row 24:
- Work 1 sc in each stitch.
- Stitch count = 36 sc.
- Continue decreasing:
| Row | Action | Stitch Count |
|---|---|---|
| 25 | 15 sc, 1 sc2tog, 2 sc, 1 sc2tog, 15 sc | 34 |
| 26 | Even: 1 sc in each stitch | 34 |
| 27 | 14 sc, 1 sc2tog, 2 sc, 14 sc | 32 |
| 28 | Even: 1 sc in each stitch | 32 |
| 29 | 13 sc, 3 sc2tog, 13 sc | 29 |
| 30 | Even: 1 sc in each stitch | 29 |
3. Side Seams
- Fold the rectangle in half so the decreases form the bag's top edge.
- Using the 12" (30 cm) starting tail, sew the side seams closed:
- Use a darning needle and work into the outer loops of each edge for a neat seam.
- Repeat for both sides, knot securely, and weave in ends.
4. Flap
- Attach Yarn: Start at one edge of the back top.
- Work across 28 stitches (place markers to mark boundaries).
Flap Rows
- Row 1: Ch 1, 1 sc in each stitch. Stitch count = 28 sc.
- Row 2: Ch 1, skip 1 st (decrease), work 27 sc.
- Each row decreases by 1 sc until Row 14, where it narrows.
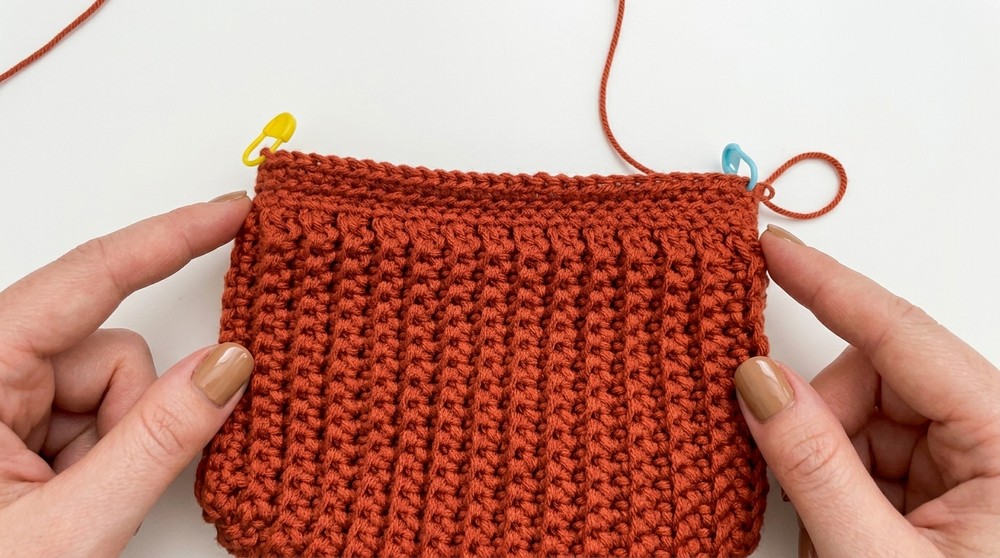
Row 15 (Buttonhole):
- Ch 1, turn.
- Work 6 sc, ch 3 (button loop), skip 2 st, 6 sc.
5. Edging and Button
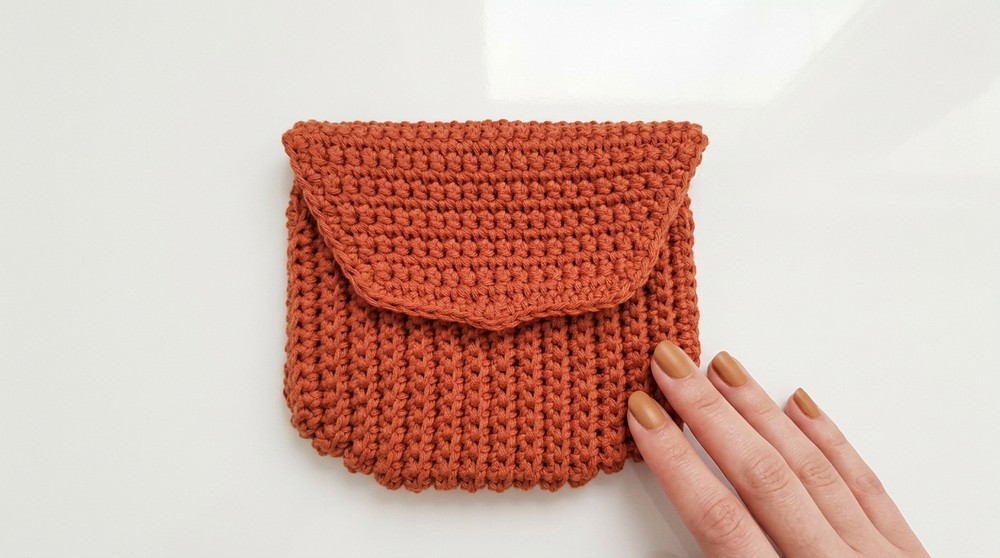
- Work 1 sc around the flap edge, including 3 sc in the button loop.
- Attach the button to the front panel, ensuring a snug fit through the buttonhole.
6. Romanian Point Lace Strap
- Attach Yarn: Leave 12" for sewing strap ends.
- Foundation: Ch 3.
- Cord Steps:
- Row 1: Sc in 2nd ch, sl st in 1st ch.
- Turn, find back loop, sc, and sl st in the next loop.
- Repeat, turning and alternating sc and sl st until the strap is the desired length.
Tip: Check the strap length against your bag style (handheld or shoulder).
- Sew strap ends securely to the purse sides.
Conclusion
You've completed a stylish and durable crochet purse with a beautiful Romanian lace strap! Perfect for casual outings or as a handmade gift, this project proves that even humble materials like craft twine can create something uniquely elegant.
Pattern Corrections / Tips
- Twine Adjustments: If the twine is too stiff or hurts your hands, substitute with macrame cord or sturdy yarn.
- Hook Adjustments: Switching between 5.0 mm and 3.75 mm hooks ensures the best tension for various sections.
- Romanian Lace Cord: Practice this technique beforehand to build confidence.
Care Advice
- Spot-clean or gently hand wash if necessary.
- Avoid overloading the bag to prevent overstretching the flap or strap.
Difficulties and Solutions
Like any project, this pattern comes with its own challenges, but they are easy to overcome with a little patience. Working with crochet twine, for example, may feel stiffer compared to regular yarn, which can make it harder for beginners to crochet smoothly. To solve this, I recommend taking breaks if your hands feel strained and keeping your stitches slightly loose so the twine doesn't become difficult to pull through. Another challenge is shaping the purse flap evenly, as following the right stitch count is crucial for a neat look. A quick solution is to use stitch markers at key points to keep track of your rows and ensure symmetry. Once you get the hang of these steps, the project flows easily, and the results are worth it.