
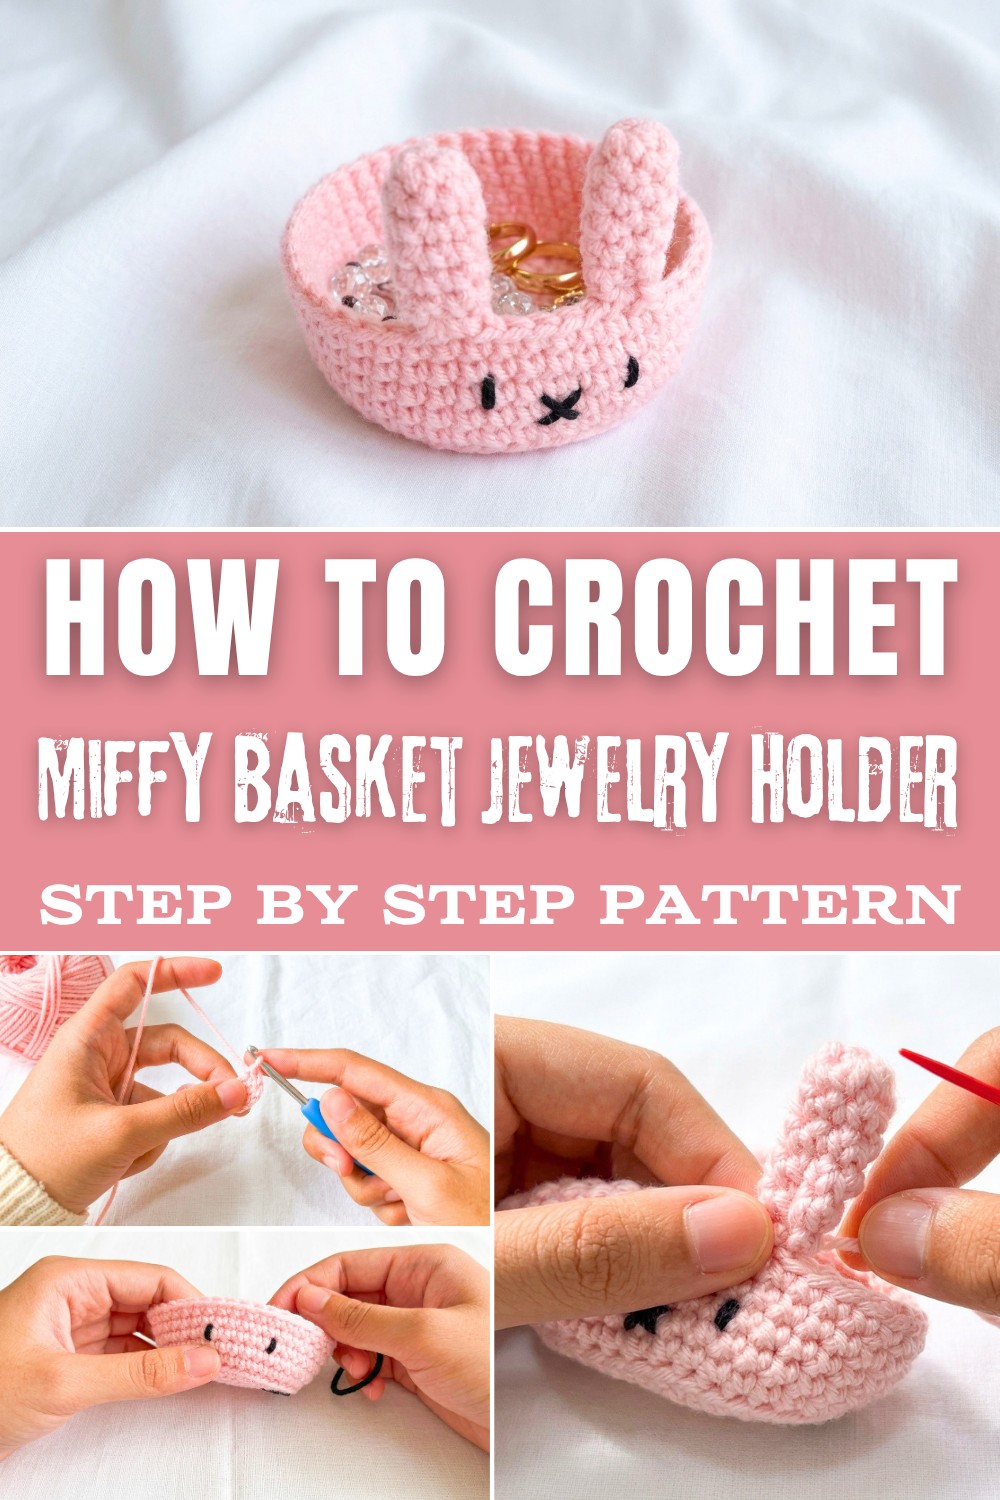
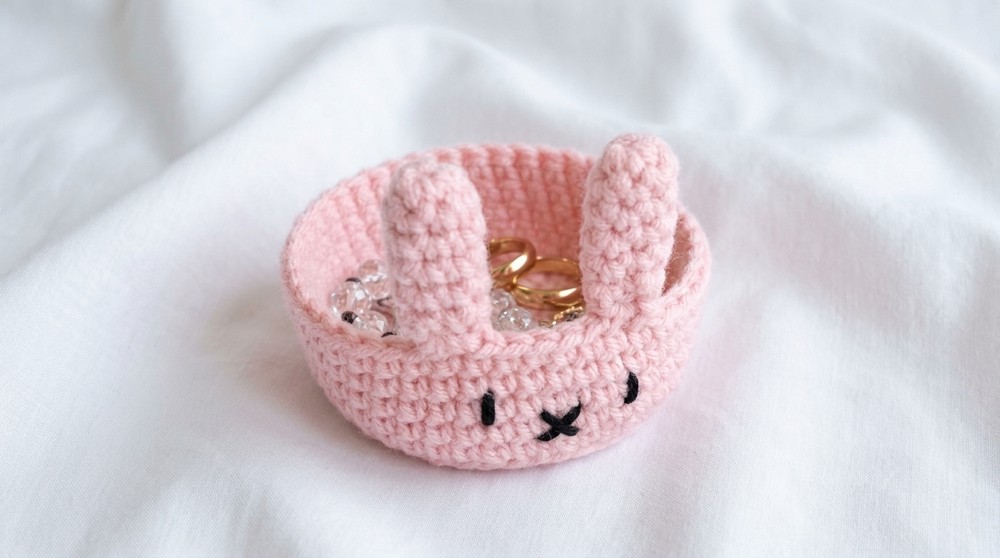
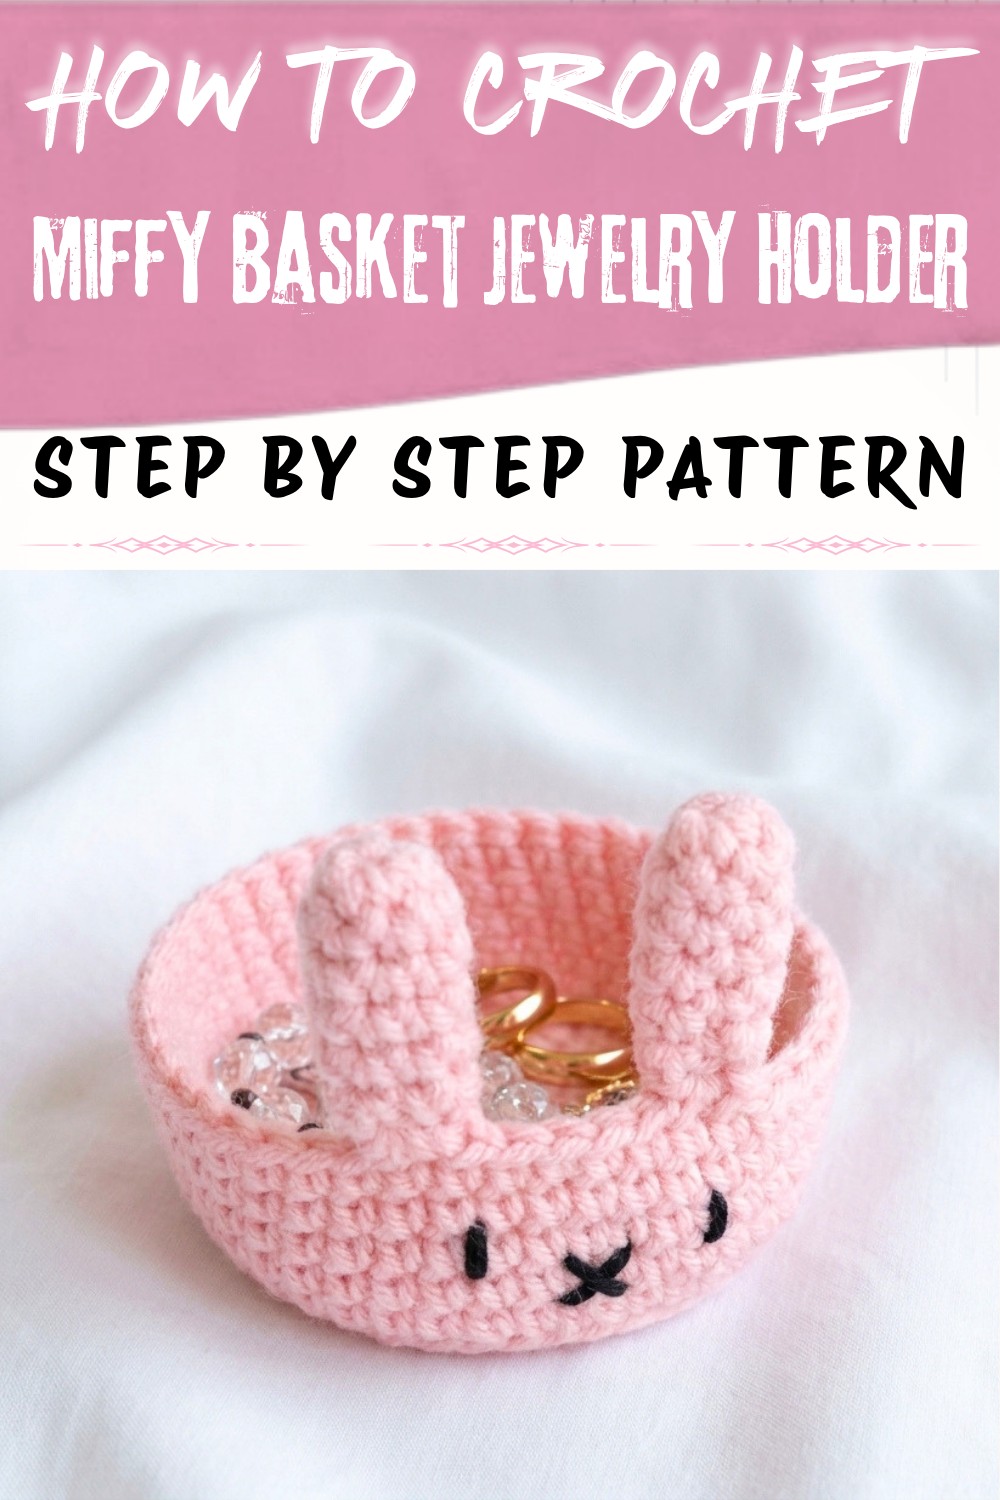
Tidy up your space while adding charm with this free crochet Miffy basket jewelry holder pattern, combining functionality and cuteness.
When I first came across this crochet project, I was instantly charmed by its simplicity and functionality. This Miffy Basket Jewelry Holder Pattern combines practicality with an adorable aesthetic that feels timeless. Its beautiful pattern includes a sturdy base, crocheted in soft neutral tones like light pink or beige, which pairs perfectly with the playful black and pastel accents used for Miffy's face and ears. The overall look is minimalist yet cute, making it ideal for organizing jewelry or small items while doubling as delightful home décor.
Free & Fun Crochet Miffy Basket Jewelry Holder Pattern for Everyday Use
The pattern starts with basic single crochet stitches and uses the magic ring technique to form the base. If you're a beginner, fear not-the magic ring may seem tricky, but it's worth mastering for this and future projects like amigurumi, coasters, or small baskets. A round-by-round increase builds the basket's shape beautifully while incorporating back loop only single crochets to add height and stability. These stitches are a versatile base for crafting larger items like hats, bags, or even plant holders.
What You'll Learn
This pattern will teach you:
- How to master the magic ring for circular crochet work.
- Techniques for smooth increases and working in the back loop only.
- Precise sewing and finishing touches for polished designs.
Beyond this pattern, these skills will help you crochet projects like simple baskets, cute amigurumi characters, or decorative coasters.
What You Can Make With These Skills
Once you've mastered the techniques in this pattern, a world of creative possibilities opens up! Here are just a few ideas for what you can make with these skills:
- Adorable Amigurumi Characters: Use the magic ring and shaping techniques to create plush toys or animals.
- Storage Baskets: Expand the size and make larger crochet baskets for home organization.
- Cute Coasters: Apply the back loop-only stitches to design textured and stylish coasters.
- Custom Plant Holders: Adapt the basket shape to create trendy plant pots for succulents and small plants.
- Decorative Wall Hangings: Use similar techniques to create hanging organizers or intricate crochet art.
The skills you develop here can inspire endless handmade treasures!
Mii-Inspired Jewelry Holder Crochet Pattern
Materials
- Worsted weight (medium) yarn:
- Main color for base and ears light pink used
- Black yarn or embroidery floss for facial features
- Crochet hook: 3.5-4.0 mm (US E or G), or size appropriate for your yarn
- Darning/yarn needle: for sewing and embroidery
- Stitch marker
- Scissors
Gauge
- Not critical for this project; use a hook that produces firm stitches with your yarn to create a stable base.
- Finished base size: About 4" (10 cm) diameter if using worsted yarn and 4.0 mm hook.
Special Techniques
- Magic ring (MR)
- Back loop only (BLO) single crochet for vertical sides
- Slip stitch join
- Counting stitches and using a stitch marker
Pattern
Jewelry Holder Base
1:
- Begin with a magic ring.
- Chain 1 (does not count as a stitch).
- 8 single crochet (sc) in the ring.
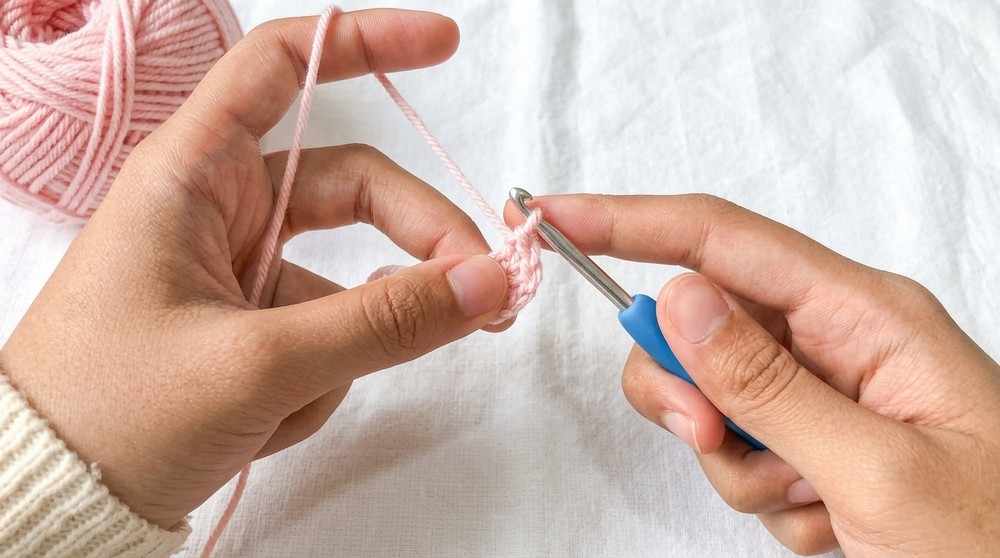
- Pull yarn tail to close the ring tightly.
- Slip stitch (sl st) to first sc to join.
2:
- Chain 1.
- Place stitch marker in first sc.
- In same stitch, work 2 sc.
- Repeat 2 sc in each stitch around (increase in every stitch).
- Finish round: 16 sc.
- Slip stitch to first sc to join.
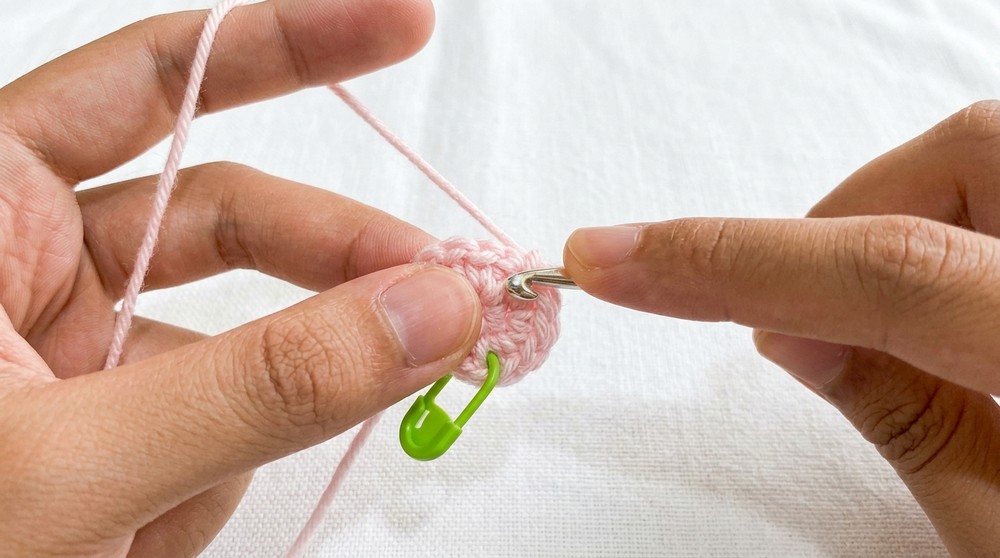
3:
- Chain 1.
- Place stitch marker.
- Pattern: [1 sc in next stitch, 2 sc in next stitch] repeat around.
- Should alternate 1 sc, inc, 1 sc, inc, etc.
- At end: 24 sc.
- Slip stitch to first sc to join.
4:
- Chain 1.
- Place stitch marker.
- Pattern: [1 sc in next stitch, 1 sc in next stitch, 2 sc in next stitch] repeat around.
- Should alternate 1 sc, 1 sc, inc, 1 sc, 1 sc, inc, etc.
- At end: 32 sc.
- Slip stitch to first sc to join.
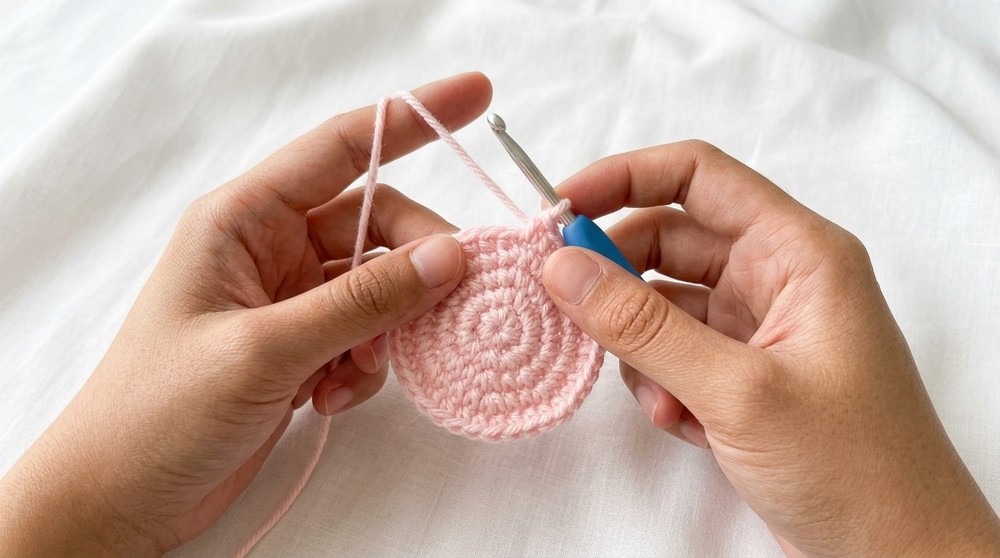
5:
- Chain 1.
- Place stitch marker.
- Pattern: [1 sc, 1 sc, 1 sc, 2 sc in next stitch] repeat around.
- At end: 40 sc.
- Slip stitch to first sc to join.
6 (Forming Side Walls - Back Loop Only):
- Chain 1.
- Place stitch marker.
- Work sc in BLO (back loop only) of each stitch around-this creates a sharp edge and starts the vertical sides.
- At end: 40 sc.
- Slip stitch to first sc to join.
7-10 (Build Height):
- For every round, chain 1, sc in BLO around.
- Place stitch marker at start of each round.
- Repeat for a total of 4 rounds.
- At end of each round: 40 sc.
- Slip stitch to first sc to join at end.
- If taller sides are preferred, add more rounds as desired.
Finish:
- After final round, cut yarn and pull through last stitch.
- Weave in end with yarn needle.
- Set aside.
Mii Jewelry Holder Ears (Make 2)
1:
- Magic ring.
- Chain 1.
- 4 sc in ring.
- Pull to close.
- Slip stitch to first sc to join.
2:
- Chain 1.
- [1 sc in next stitch, 2 sc in next stitch] repeat around.
- At end: 6 sc.
- Slip stitch to first sc to join.
3:
- Chain 1.
- 1 sc in each stitch around (6 sc).
- Slip stitch to first sc to join.
- Repeat as needed for desired ear height (6-9 additional rounds).
Tip: For longer ears, add more rounds.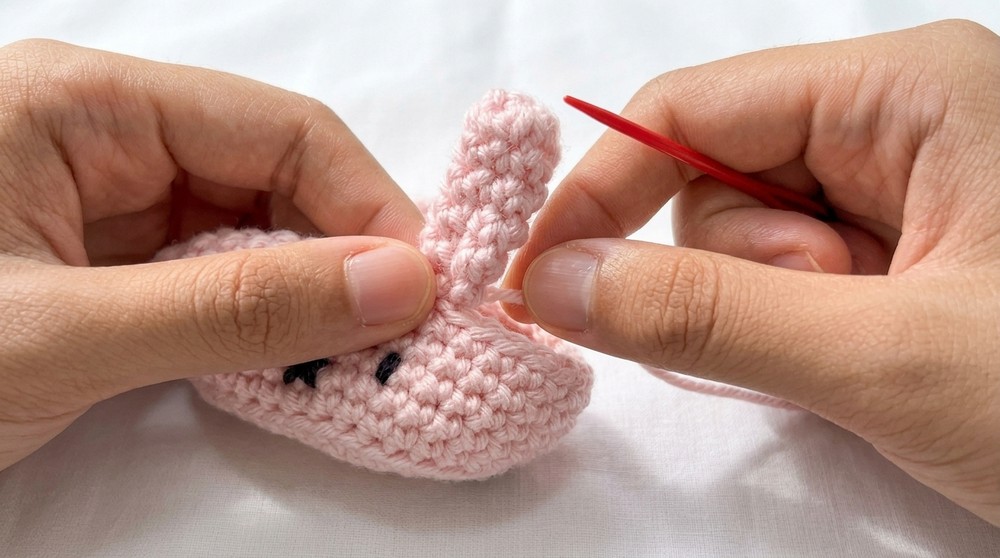
Finish:
- Cut yarn, leaving a long tail for sewing.
- Use yarn needle to sew ears closed along the edges, if desired, and shape before attaching.
Face Embroidery
- Use black yarn, embroidery floss, or thread.
- Eyes:
- Count 2 rounds down from top edge of holder.
- Insert needle at appropriate position for first eye, skip one round down for lower part of eye, repeat for second eye (space them evenly, about 5 stitches apart).
- Secure yarn at back of work.
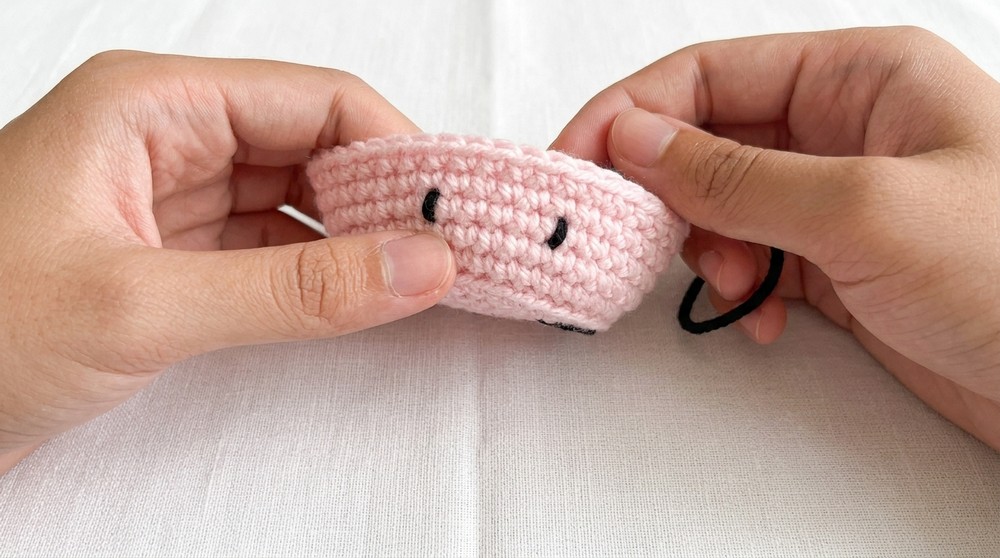
- Mouth ("Cross"):
- One round below eyes, create a small "x" or cross shape.
- Adjust to ensure it is centered and visible.
- Secure yarn at back and cut any excess.
Assembly
- Sew each ear to holder above the eyes (centered horizontally).
- Use stitch marker or pins to test placement before sewing.
- Securely stitch through both ear and base, going back and forth a few times.
- Weave in yarn tails and trim excess.
Tips & Customization
- Height Adjustment: To increase or decrease holder height, add or subtract side rounds.
- Color Variation: Try pastel, bold, or striped colors for personalization.
- Ear Shape: Make ears longer or rounder by increasing or decreasing rounds or adding shaping.
- Usage: This holder is ideal for rings, earrings, or small trinkets-add a little padding for pin storage if desired.
Finished Size
- Base: Approx. 4" (10 cm) diameter
- Height: Approx. 1.5-2" (4-5 cm)
- Ears: Proportional to base, about 1.25" (3 cm) long
- Size may vary depending on yarn and hook choice.
Conclusion & Remarks
This jewelry holder is simple yet adorable, resembling a classic Mii character with joyful ears and charming embroidered features. The sturdy walls and base form a perfect place for storing jewelry or small items, and the project can be completed in a short time. Adjust for your favorite colors or modify features for unique personalities!
Challenges and How to Overcome Them
Don't worry if you face a few tricky parts while working on this pattern-it's all part of the fun! The magic ring might feel a bit confusing at first, but here's a tip: keep your loop loose and gently tighten it as you go. Shaping Miffy's ears can be a little fiddly, but going slow and counting your stitches carefully makes it much easier. Attaching the ears and adding the embroidery might seem tricky, but using pins to hold things in place before sewing will help a lot. Take your time, enjoy the process, and see how everything comes together step by step!