
Solve dull decor dilemmas with this Free Crochet Rose Coaster Mini Bouquet Pattern, combining charm and function for any table setting.
I recently came across this beautiful crochet project, and I couldn't resist trying it out-it's a stunning rose coaster that doubles as a charming mini bouquet. The pattern combines a delicate rose flower with a base that looks like leafy petals, making it a creative yet functional piece of crochet art. What stood out for me is the delightful color scheme: a soft milk color forms the base, a lush green yarn creates the leaves, and a vibrant purple. This combination can be customized to match any decor, making it easy to add your personal flair. For the project, you'll be using common stitches, like double crochet (dc), single crochet (sc), and chain stitches, along with a magic ring to start. These versatile stitches are perfect for beginners and can also be used to create other decorative items like flowers, appliqués, or elegant table decor.
Free Crochet Rose Coaster Mini Bouquet Pattern for Home Projects
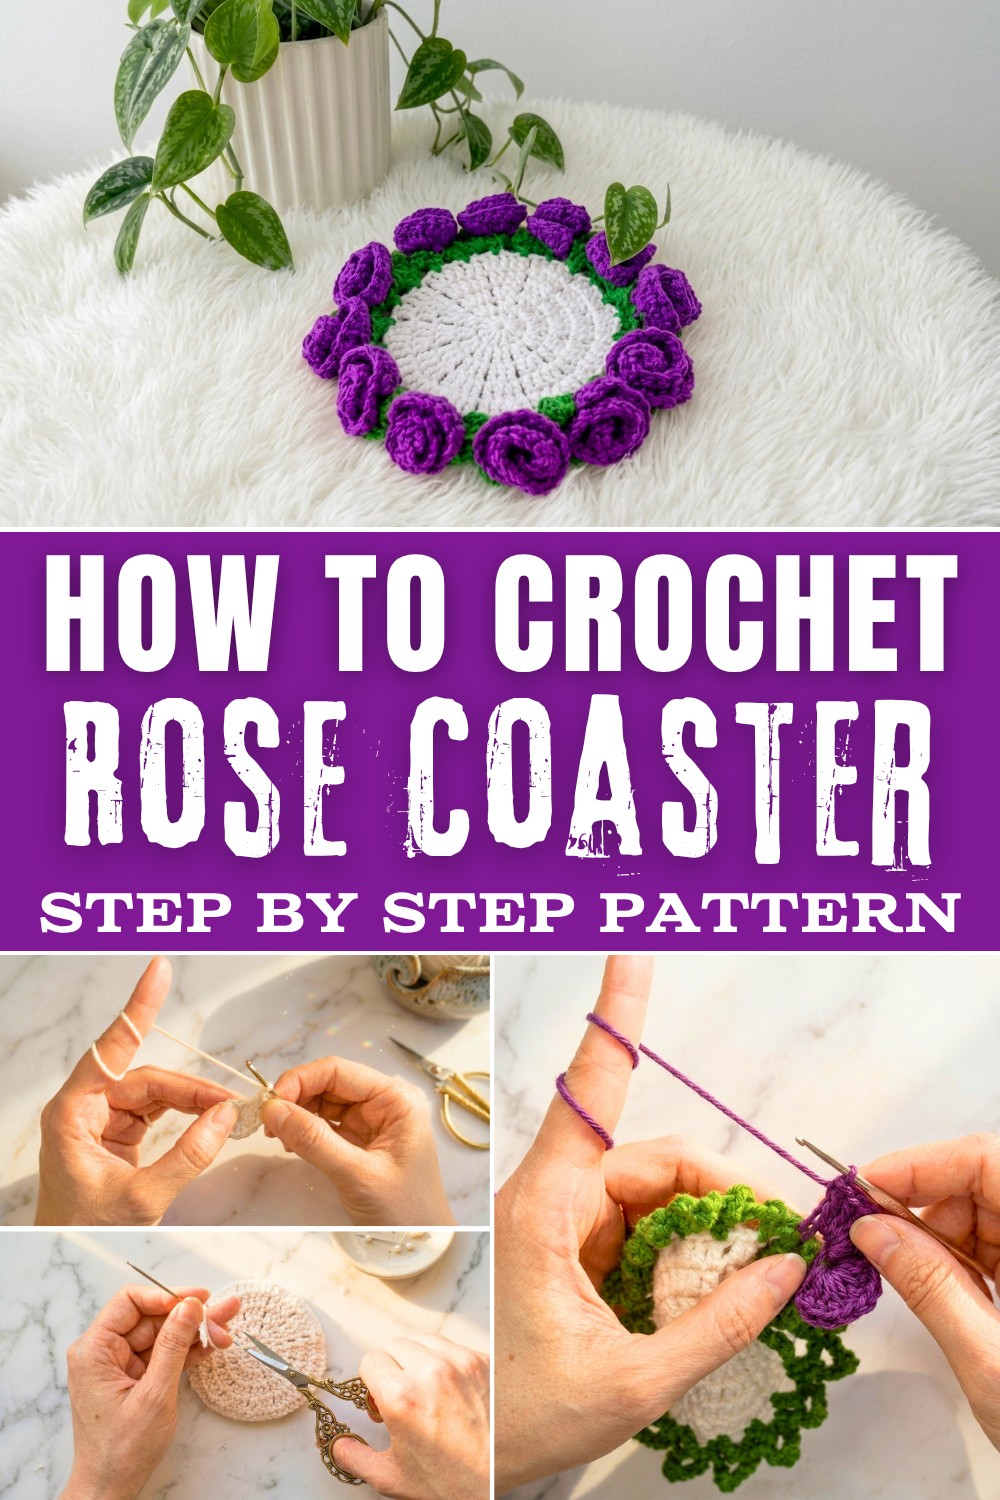
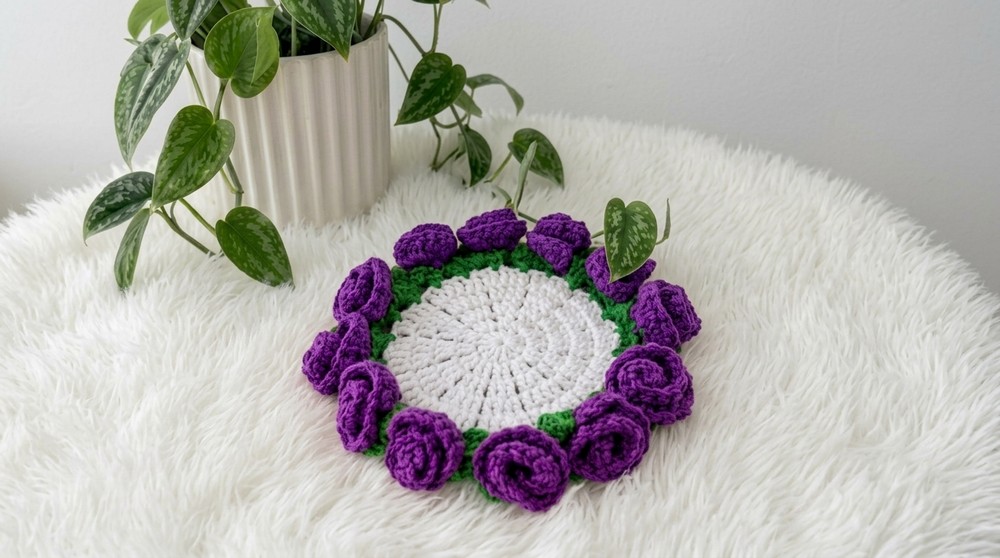
One of the best parts about this pattern is how flexible it is! You can adjust the size of the coaster by using different hook sizes or adding extra rounds, giving you full creative control. The project serves multiple purposes-it can act as a coaster for drinks, a decorative table centerpiece, or even a handmade gift if folded and tied as a mini bouquet. The petals and flowers work together beautifully to bring a three-dimensional effect, making the final piece look almost too pretty to use.
What You Will Learn
- How to crochet a magic ring: This is the foundation for many circular projects.
- Using double crochet and single crochet: These stitches combine beautifully to create the base and flower petals.
- Shaping objects: Learn to create realistic leaves, petals, and flowers with simple techniques.
- Adjusting sizes: Gain skills to vary the size of your work based on hooks and yarn tension.
What You Can Make With These Skills
- Decorative coasters with floral or geometric patterns
- Bouquets for weddings or special occasions
- Embellishments for home decor, such as pillow covers or blankets
- Floral appliqués for hats, bags, or clothing customization

What I loved about this pattern is that it teaches you how to shape objects like leaves and flowers, which opens up the door to so many creative possibilities. Once you've mastered these techniques, you can use them to crochet floral wreaths, brooches, embellishments for bags, or accents for clothing. It's amazing how much you can learn from one cute little project!
What You Need (Materials)
- Yarn:
- Base: Light "milk" color
- Leaves: Green
- Flowers: Cotton yarn in "Purple" (or chosen rose color; avoid too thin yarn for flower)
- Crochet Hook: 2.25 mm (3mm or 3.5mm also works for larger size)
- Scissors
- Tapestry needle (for weaving/sewing ends)
You can experiment with various yarn weights and hook sizes to create different sized coasters. Cotton yarn is recommended for crisp stitch definition.
Finished Size
- Approx. 10-13 cm (4-5 inches) across (will vary by yarn and hook)
Pattern Overview
-
- Make a solid, round coaster base
- Edge with crocheted "leaves"
- Add layered, spiral roses for a bouquet effect
- The finished piece can be a gift, coaster, applique, or attached to cards!
Crochet Rose Coaster & Mini Bouquet Pattern Steps
1. Coaster Base
Round 1 (Magic ring & Center):
- Make a magic ring.
- Chain 2 (does not count as a stitch).
- 12 double crochet (dc) in the ring.
- Pull ring to close.
- Slip stitch in first dc to join.

This round creates a neat, flat center for your coaster. Always count your stitches for a smooth circle.
*If you're new: To make a magic ring, loop yarn into a circle, work 12 double crochet inside the circle, then pull tail tightly to close.
Round 2 (Increase):
- Chain 2.
- [2 dc in each stitch, chain 1] around (2 dc, ch 1 in every dc).
- At end, slip stitch in first dc to join.
- (36 stitches: 24 dc, 12 ch-1 spaces)
This round starts to build the size of your coaster and creates spaces for the leaves.
Tip for beginners: Work two double crochet in the same space, then chain one, repeating all the way around.
Round 3 (More Increases):
- Chain 2.
- [1 dc in next stitch, 2 dc in next stitch], chain 1-repeat for each segment around.
- Skip all chain-1 spaces from the previous round.
- After the last group, chain 1, slip stitch into first dc to close.
- (48 stitches total)
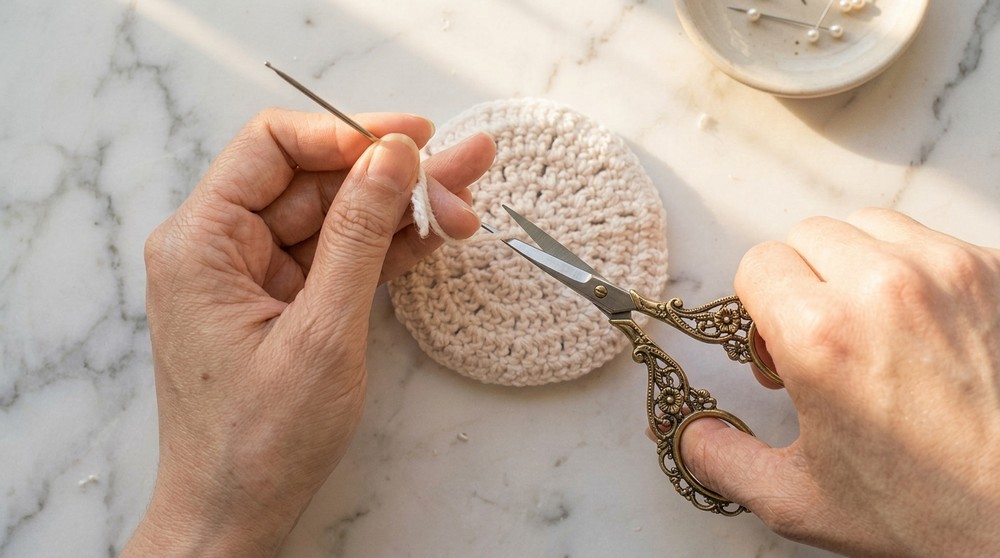
Alternating single and double crochets widens the circle without making it curl. Chain-1 spaces are skipped; focus only on double crochets of the previous round.
Round 4 (Increase every third stitch):
- Chain 2.
- [dc in next 2 stitches, 2 dc in next], chain 1-repeat around.
- Slip stitch to first dc to close.
- (60 stitches)
This method continues to expand the base while keeping it flat. If you get a ripple, you may need a larger hook or looser tension.
Round 5 (Increase every fourth stitch):
- Chain 2.
- [dc in next 3 stitches, 2 dc in next], chain 1-repeat around.
- When you reach the end, slip stitch to the first dc to close.
- (72 stitches)
Increasing every few stitches keeps the circle growing. Chain-1 between each group is key for structure.
To make your base larger: Continue as above, increasing every fifth, then sixth stitch per new round until desired size.
2. Leafy Border
Attach green leaf yarn to any dc group:
- Insert hook from the back under any dc stitch.
- Pull up green yarn and chain 1 to secure.
- Single crochet (sc) in same stitch.
- Chain 4.
- Skip next 2 dc, sc in following dc.
- Repeat [ch 4, skip 2, sc] around.
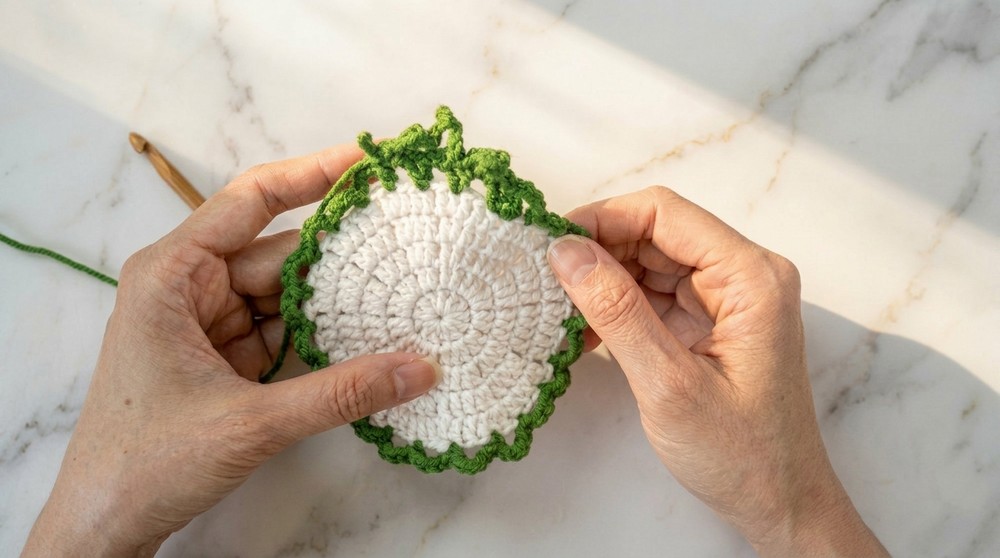
- At end, slip stitch into first sc, chain 1.
You're making "spokes" (base for leaves) around the edge-the spaces where your leaves will grow from!
3. Leaf Calyx:
Around:
- In first chain-4 space: sc,
- [Chain 4, slip stitch into second chain from hook, chain 3, sc in same chain space]
- Repeat for each chain-4 space all around coaster.
- At end, slip stitch and fasten off, weave in ends.
This makes the 'leafy' decorative points that will surround your flowers and give the effect of a bouquet.
4. Purple (Flowers)
For each flower:
- Insert hook under two top loops of a "leaf" single crochet base (between leaves, on coaster rim).
- Pull purple yarn through from back and secure.
- Chain 12.
- In 4th chain from hook, work 3 dc in same chain.
- In each remaining chain (total 8 times): 3 dc per chain.
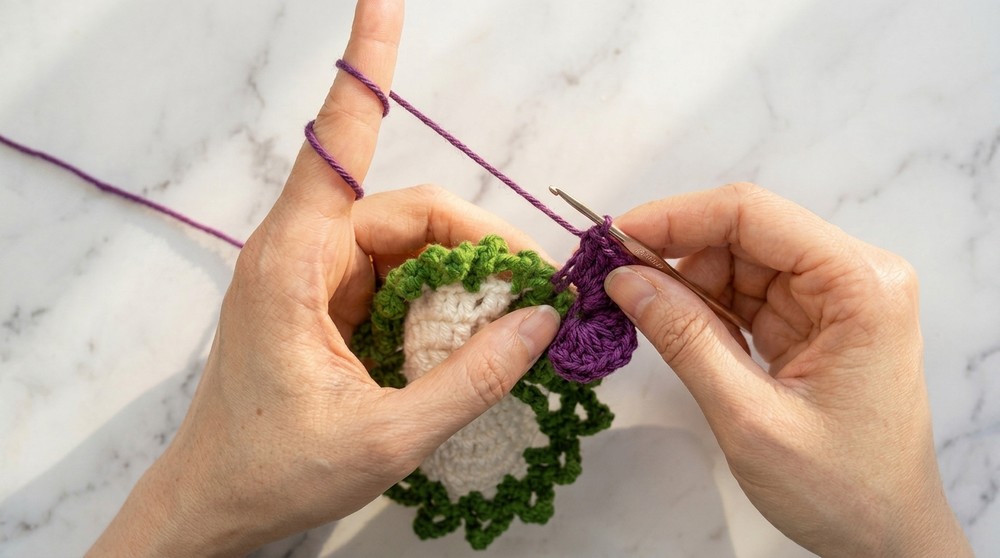
- For last chain, chain 3, then slip stitch in same chain.
- Trim yarn, pull up, and arrange flower in a spiral shape.
- With hook, weave the working end through several "petals" from front to back (helps hold shape), then slip stitch to the back loops at flower's base on the coaster to hold in place.
- Fasten off, hide ends on the back.
- Repeat skipping two leaf points between each rose, until you have gone all the way around
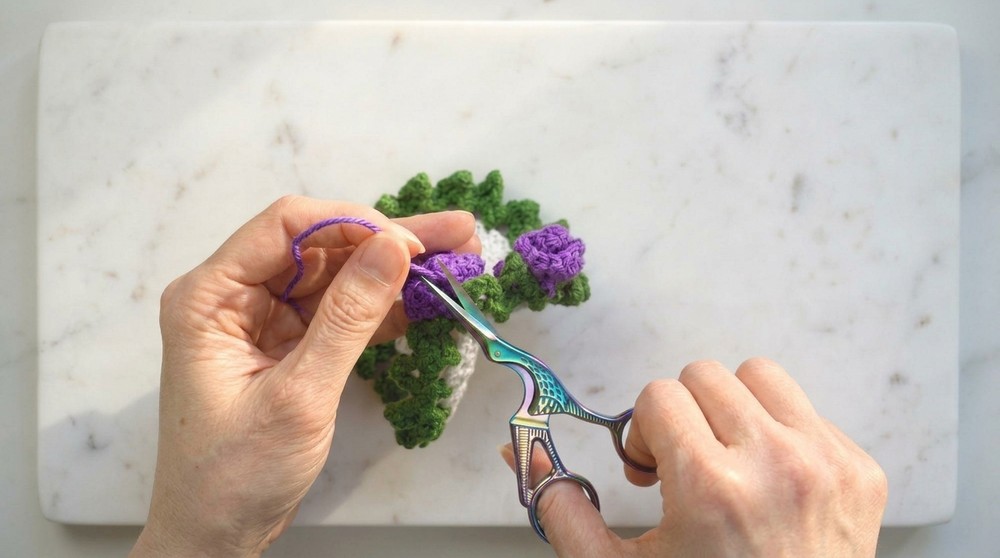
This spiral, layered rose shape sits atop the green base, making it pop. Arrange the spiral as you like for more or looser petals.
Beginners' hint: Each flower is a spiral of 30+ double crochet stitches. Wind it into a loose coil and secure by working a slip stitch through center and base of rose.
Finishing
- After all flowers are placed, check the back to hide all yarn tails with a tapestry needle.
- Flatten coaster gently and shape the flowers.
- To make a mini bouquet, fold in half and twist two large flowers together as desired.
Customization Ideas
- Use variegated yarns for multi-colored flowers.
- Make only the base and leaves as a regular coaster.
- Vary the number or size of spirals for custom bouquets.
- Add beads to rose centers for a sparkly touch.
- Crochet roses in other shades and use as brooches or headbands!
Special Techniques & Tips
- Magic ring gives a closed, neat center.
- Increasing every round keeps your circle coaster flat.
- If base ruffles, use a bigger hook or skip an increase round.
- Carry yarn tails along stitches to minimize weaving.
Common Challenges and Solutions
One of the trickiest parts of the pattern might be maintaining consistent tension, especially when working with small, tight stitches. If you struggle with gaps in your work or uneven shapes, try switching to a smaller hook size or practice making tighter chain stitches. For those who find the magic ring daunting, remember to pull the yarn tail gently but firmly to get a perfect close for the ring.