
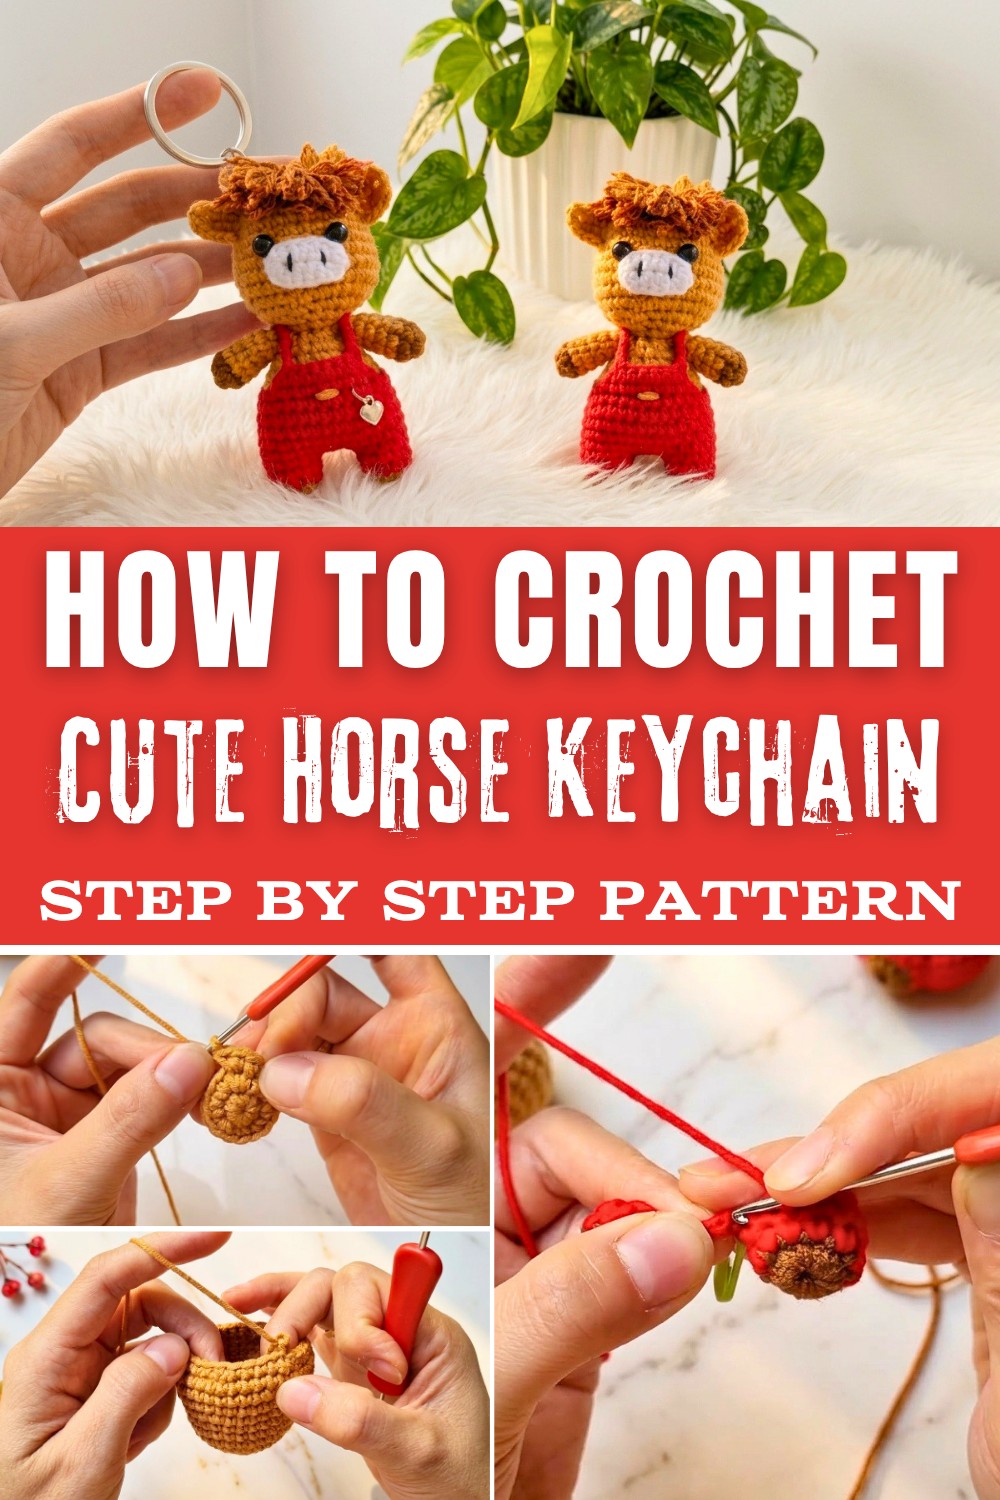
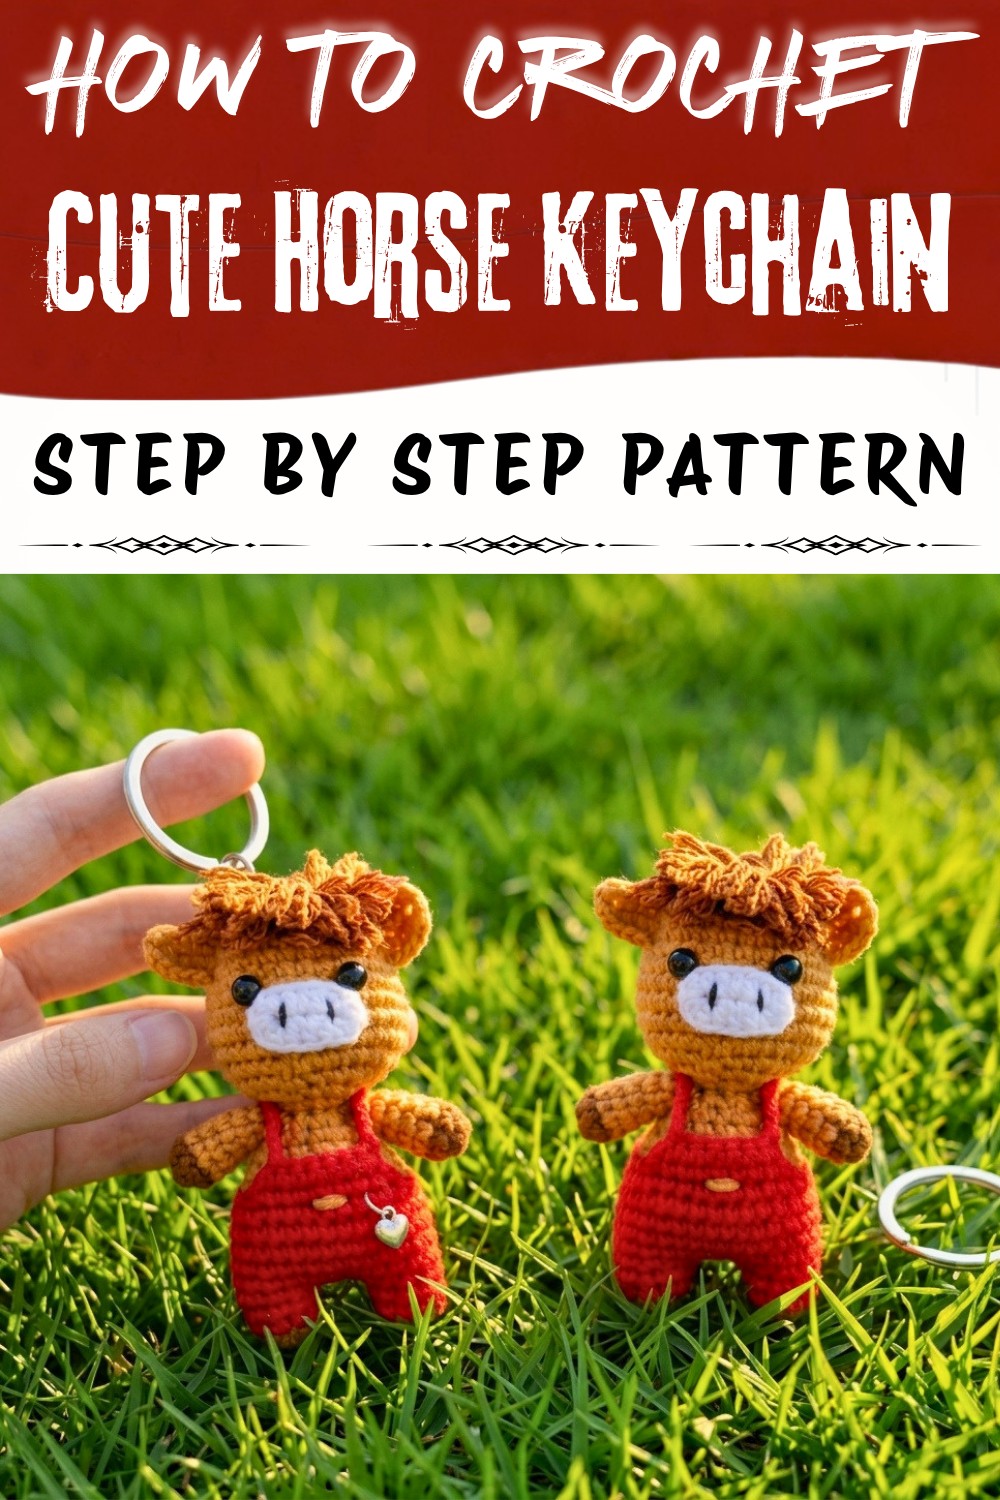
Create something cute with this Free Crochet Horse Keychain Pattern that's an easy and fun project for horse lovers to personalize their keys or bags.
Meet your new little friend, a crochet horse that loves to travel wherever you do! With the Free Crochet Horse Keychain Pattern, you can shape a soft and cheerful horse in your favorite colors. This horse is small and sweet, with a round face, bright button eyes, a smiling mouth, and a fluffy mane. It is just the right size to ride along on a set of keys, hang from a backpack, or hide in a pocket.
Unique Free Crochet Horse Keychain Amigurumi Pattern
There are many ways you can use this cute horse. Turn it into a keychain, a charm for your bag, or a lucky gift for someone special. The pattern lets you change colors, so your horse can be brown, white, black, or even pink and blue. Switch the yarn to sparkle or make the mane extra long for some silly fun!
This pattern uses a 2.0 mm crochet hook and soft cotton yarn for a strong, smooth finish that lasts a long time. The most important stitch is the magic ring, which helps the horse's head and body become round and firm. Making the legs and mane is easy and you can add decorations like beads or small ribbons if you wish.
You can use this pattern to design horse keychains, bag charms, or even sweet little desk buddies. Each horse is unique, full of color, and ready to gallop off on many adventures with you.
Amigurumi Little Horse Pattern
Take delight in crafting this charming and versatile little horse amigurumi, perfect as a keychain or decorative piece. This thorough, step-by-step pattern guides you through each stage with plain language explanations following every section. Even if reading traditional crochet patterns feels daunting, you will find this guide approachable.
Skill Level
Intermediate
Because this pattern requires increasing, decreasing, joining legs and body, shaping, sewing parts, and basic embroidery, some prior amigurumi experience is recommended.
Materials & Tools
- Yarn: 2-3 colors of cotton or acrylic yarn (DK/light worsted weight suggested; e.g., brown/cream for body, a contrast for bib, mane, and tail)
- Hook: 2.5 mm (or suitable size to get a firm fabric)
- Stuffing: Polyester fiberfill
- Yarn needle: For sewing and embroidery
- Embroidery floss/yarn: Black or brown for stitching nostrils and eyes (or use safety eyes)
- Scissors
- Stitch marker
- Comb or small brush: For fluffing mane and tail
- Keychain ring (optional for keychain finish)
- Glue (optional, for securing mane/tail)
Key Abbreviations
| Abbreviation | Meaning |
|---|---|
| MR | Magic ring |
| ch | Chain |
| sc | Single crochet |
| inc | Increase (2 sc in same st) |
| dec | Decrease (sc 2 together) |
| sl st | Slip stitch |
| hdc | Half double crochet |
| FO | Fasten off |
| st(s) | Stitch(es) |
All instructions are in US crochet terms.
Special Notes
- Work in continuous rounds unless specified.
- Mark the first st of each round for easier counting.
- Keep stuffing firm but not over-packed for proper shaping.
- Adjust colors and mane/tail as desired for a unique touch.
Finished Size
Approx. 12 cm (4.75 in) high when using suggested yarn and hook.
PATTERN
HEAD
R1: MR, 8 sc (8)
R2: inc in each st around (16)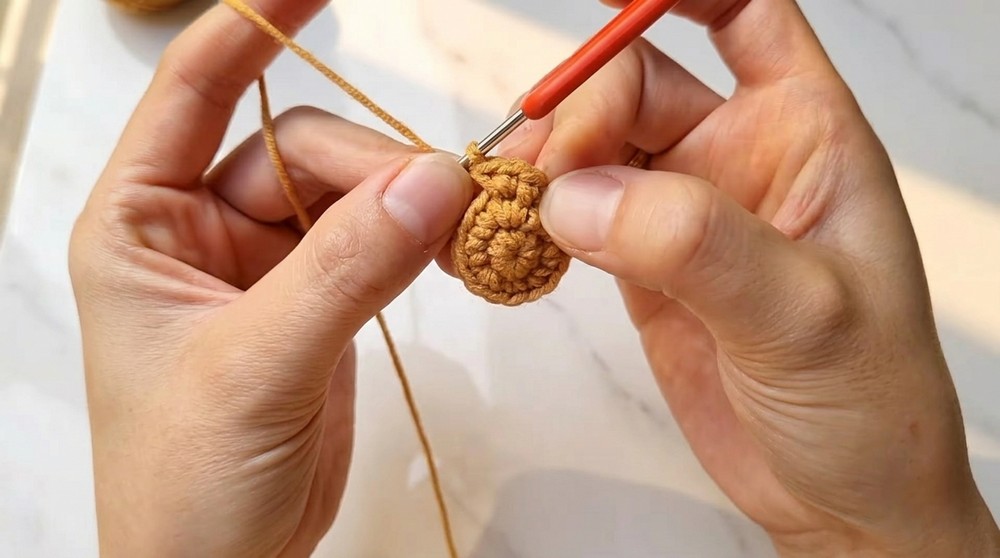
R3: (sc, inc) around (24)
R4: (3 sc, inc) around (30)
R5-7: sc in each st (30 per round, 3 rounds)
R8: (4 sc, inc) around (36)
R9-11: sc in each st (36 per round, 3 rounds)
At this stage, you have a rounded base for the horse's head. Working steady rounds makes the cheeks full and cute.
R12: (4 sc, dec) around (30)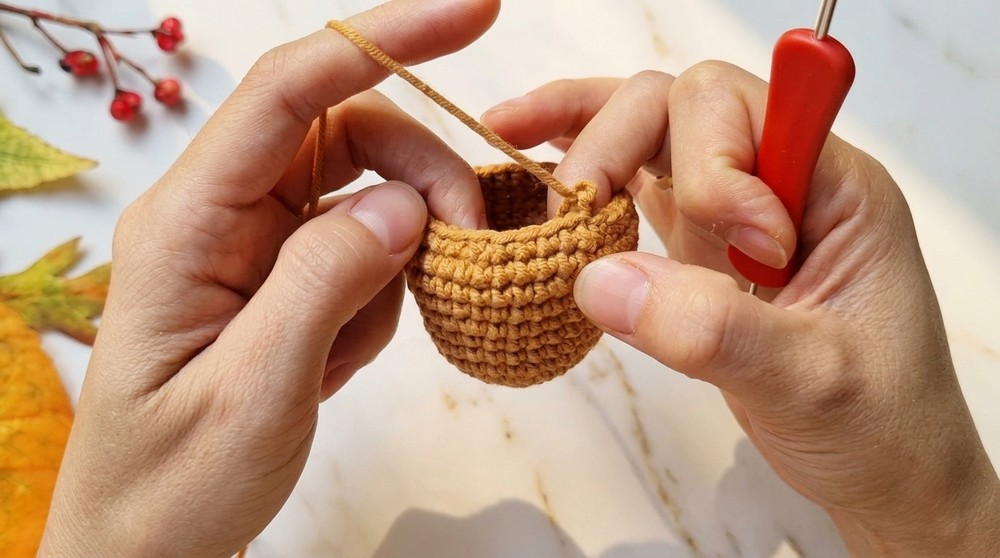
R13: (3 sc, dec) around (24)
R14: (2 sc, dec) around (18)
Stuff head firmly, shaping as you go.
R15: (sc, dec) around (12)
R16: dec around (6)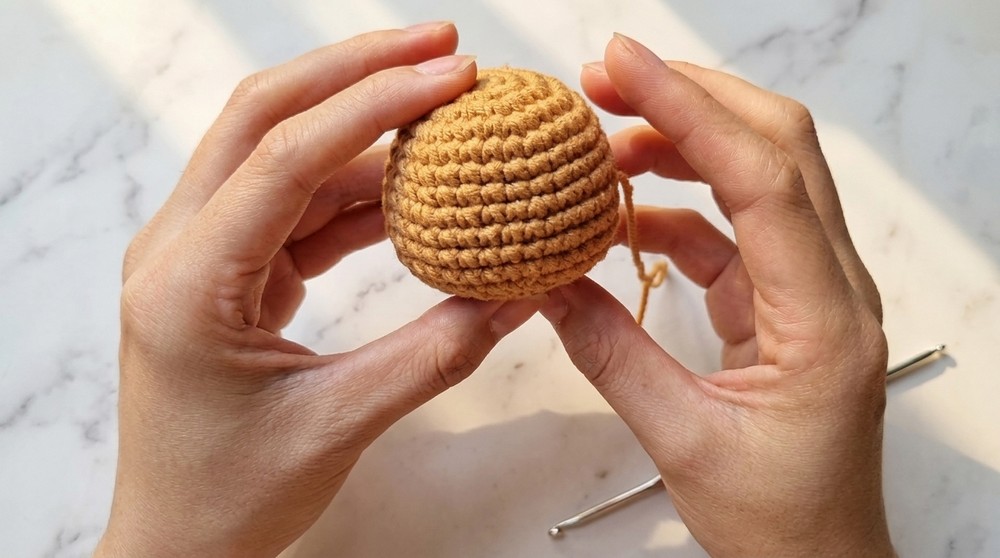
FO, leaving a tail. With a needle, weave tail through the front loops of last 6 sts, pull tight to close. Weave in end.
The head is the most expressive part! Take your time stuffing evenly and shaping as you go for the cutest result.
BODY & LEGS (Made Bottom Up, Legs First and Joined)
Hind Legs (Make 2)
R1: MR, 10 sc (10)
R2-3: sc in each st (10 per round, 2 rounds)
Change color for hooves/bib at this stage if desired.
*FO 1st leg and cut yarn. For 2nd leg, do not cut after R3.
Joining Legs & Forming Body
- With 2nd leg, ch 3, sl st into last st of 1st leg to join, then ch 1 to turn.
- Continue to sc around 1st leg (10 sc), along ch chain (3 sc), around 2nd leg (10 sc), along ch chain (3 sc). (Total: 26 sc)
- Place stitch marker in first sc of round.
R4-8: sc in each st (26 per round, 5 rounds)
Stitch count should stay consistent. You now have a long, round base for the horse-stuff as you go.
Body Shaping
Change to contrast color for bib (if desired) at R9.
R9: (3 sc, dec) around (21)
R10: sc in each st (21)
R11: (2 sc, dec) around (16)
R12: sc in each st (16)
Stuff the body firmly for support before closing.
*FO and leave a long tail for sewing to head.
Body and leg assembly is essential for a sturdy, standing horse! Make sure joins are secure and the stuffing is smooth.
FRONT LEGS (Make 2)
R1: MR, 8 sc (8)
R2-8: sc in each st (8 per round, 7 rounds)
Change color for top leg after 2 rounds as desired. Stuff lightly, FO with long tail for sewing. Flatten open end and sew to sides of body at shoulder level.
These short, firm tubes become the horse's sturdy front legs-be sure they are the same length for balance.
EARS (Make 2)
R1: Ch 5. Starting from 2nd ch from hook:
- sc in next ch,
- hdc in next 2 ch,
- 2 sc in last ch.
Rotate work to continue on the opposite side of chain:
- 2 sc in first ch opposite (same stitch as last sc),
- hdc in next 2 ch,
- sc in last ch.
FO with a tail for sewing. Pinch narrow end and sew atop the head with curve facing forwards.
Shaping the ear with increases and stitches of varying heights makes an adorable, pointed ear!
SNOUT/NOSE
R1: Ch 5. Starting from 2nd ch from hook:
- hdc in next 3 ch, 2 sc in last ch.
Rotate and work into the other side of chain:
- 2 sc in first st, hdc in next 3 ch.
FO leaving a long tail for sewing. Attach to the front of the face, and embroider two nostrils with black or brown thread.
The snout gives the horse character. Stitch nostrils close together and center under the eyes.
MANE
- Wrap brown yarn around two fingers 8-12 times (depending on thickness desired).
- Slide off, tie center tightly, and cut opposite side to create a bundle.
- Attach to crown/top of head and back, using a needle or glue.
- Fluff and trim for wild, soft hair effect.
The mane is what gives this horse its fun and recognizable look!
TAIL
- Ch 7-10 (length as desired).
- Sl st back along chain. FO and leave a tail.
- Add 4-5 lengths of yarn to the end by folding and lark's heading them through the last chain; trim even.
Attach firmly to lower back of body, just above hind legs, and fluff out the tail strands for volume.
ASSEMBLY & FINISHING
- Sew body to head.
- Sew ears to top of head.
- Sew snout center front, just under where the forehead would be.
- Attach legs to body, evenly spaced for stability.
- Sew or embroider eyes (or use safety eyes) even with base of ears for best appearance.
- Attach mane and tail. Fluff with a comb if desired.
- If you wish to make your horse a keychain: attach a ring securely to top of ear or head.
This assembly process brings your horse to life! Arrange all parts before sewing to be sure you like the positioning.
Conclusion
Congratulations! You've created a charming amigurumi horse, perfect as a keychain or table decor. This project developed your skills in shaping, joining, surface embroidery, color changes, and creative finishing. The playful mane, tiny ears, and expressive face are delightful and customizable.
Pattern Corrections & Tips
- Corrections: Double-check stitch counts, especially at joining steps and decreases.
- Tips:
- Always use a marker when working in a spiral.
- Try safety eyes for a neat finish, securing them before final stuffing.
- Make sure limbs and ears are symmetrical before sewing.
- Fluff the mane/tail gently with a comb or a soft brush for more realism.
- Adjust proportions as needed for bigger or smaller horses by increasing or reducing each round's stitches.