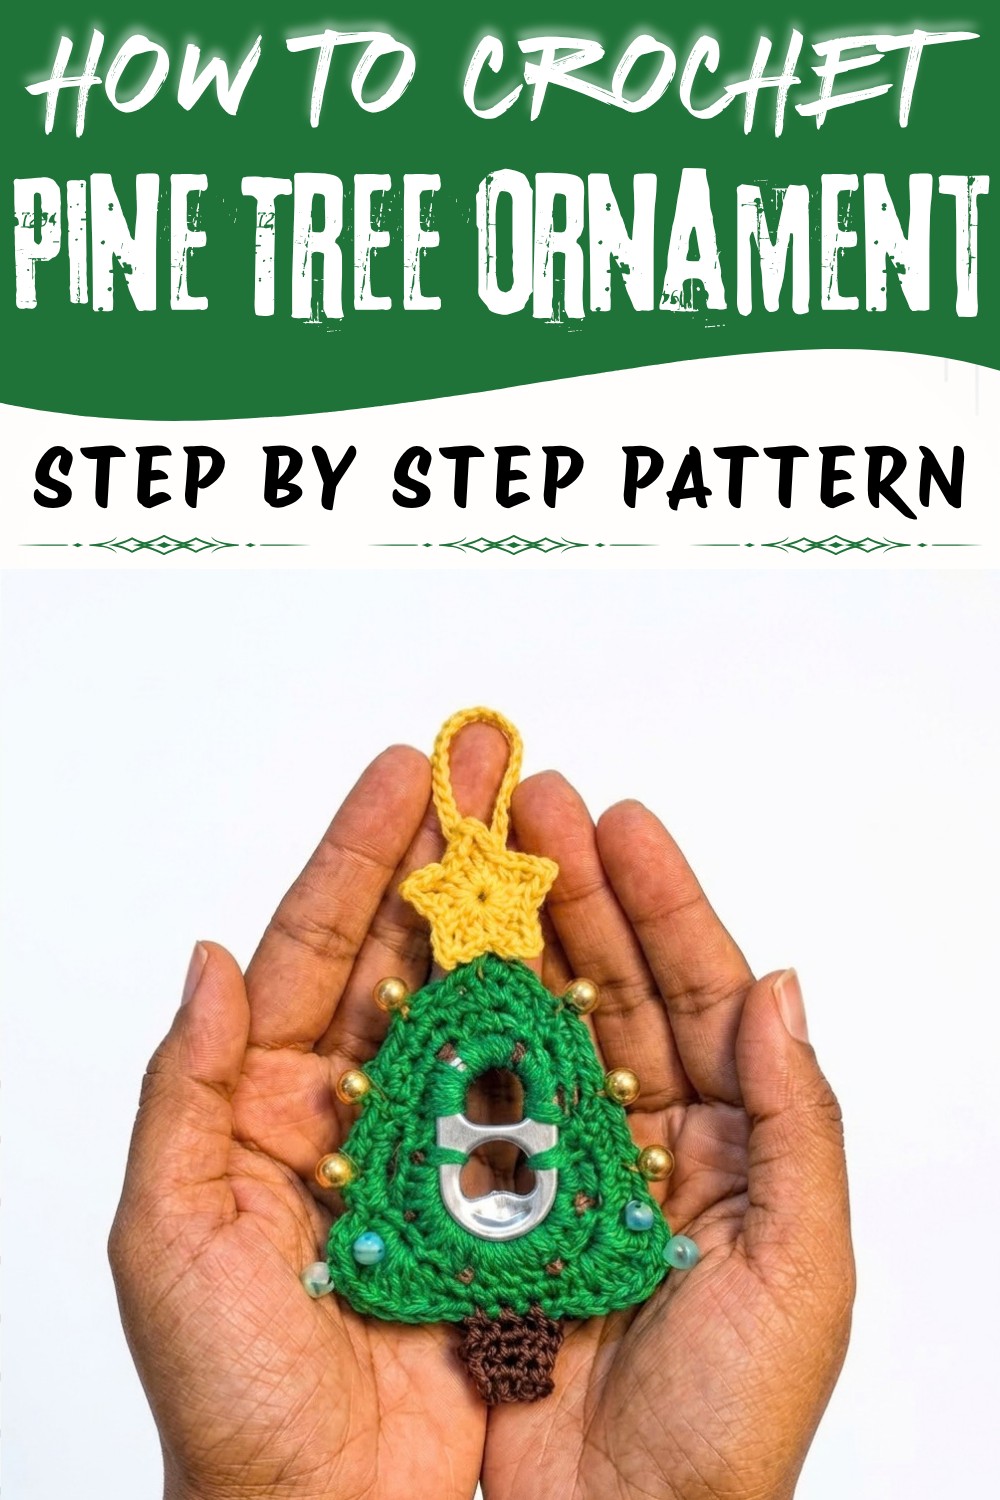
Share holiday cheer with the Crochet Pine Tree Ornament Free Pattern, a tiny decoration that looks lovely on branches and gift wrapping.
There's something truly special about adding a handmade touch to your holiday décor, and a tiny pine tree ornament can bring just the right amount of charm and coziness. These delicate little trees capture the spirit of the season in miniature form, making them perfect for hanging on your Christmas tree, adorning gift packages, or even brightening up your home year-round. For those who love creating with yarn, this delightful project offers a sweet balance of simplicity and festive flair. Full credit goes to Nancy from the YouTube channel "Nancy a crochet" for the wonderful tutorial and design that inspired this project.
Mini Crochet Pine Tree Ornament Free Pattern for Holiday Gifts
The crochet pine tree ornament pattern features a beautifully textured finish that mimics the layered branches of a real pine tree, offering a fun play of shape and dimension. Its compact size makes it a versatile decoration and a fantastic way to practice stitches that create volume and depth without being overwhelming. Whether you prefer natural green tones or want to get adventurous with metallic or pastel yarns, this little tree can be easily customized to suit your holiday color palette. Its charming triangular silhouette is instantly recognizable, bringing a little woodland magic wherever it hangs.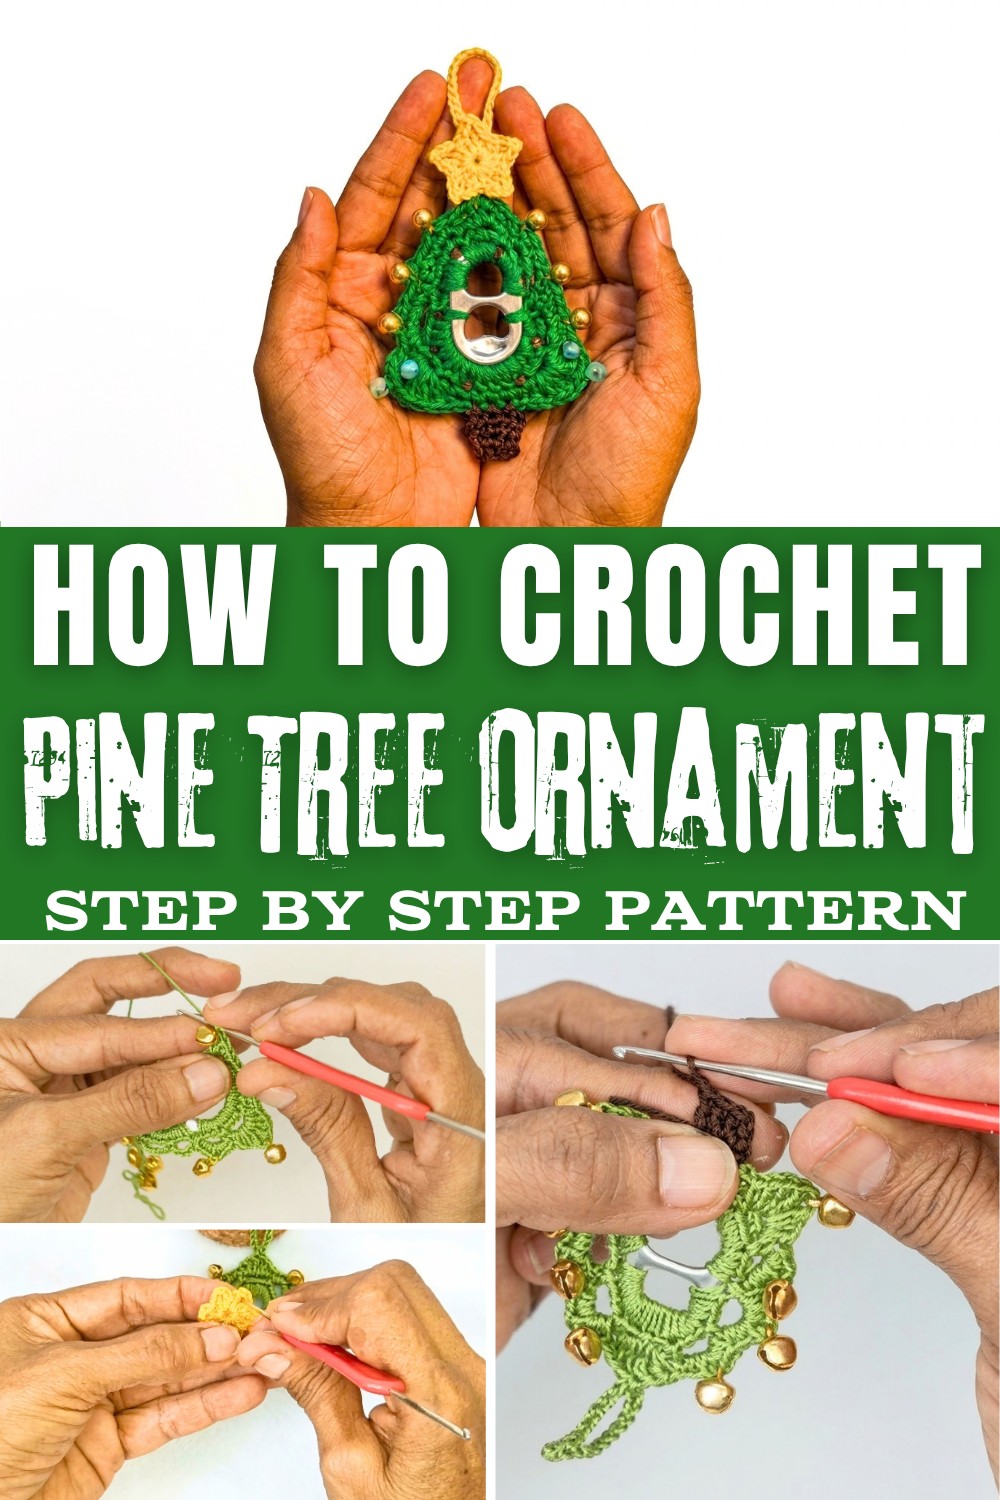
This project is perfectly suited for beginners eager to follow different stitch textures, while also providing experienced makers a quick and satisfying project to add to their seasonal decorations. Along the way, you'll gain confidence in shaping three-dimensional pieces and learn how to create decorative edges that give the ornament its distinct pine tree look.
If you're looking for a cheerful, approachable project to celebrate the season, you'll enjoy making this crochet pine tree ornament. It's a satisfying way to add handmade joy to your holiday and makes a thoughtful gift for fellow yarn lovers. Ready to get started? Check out the free pattern and tutorial to bring this festive little tree to life.
Christmas Crochet Pine Tree Ornament Free Pattern
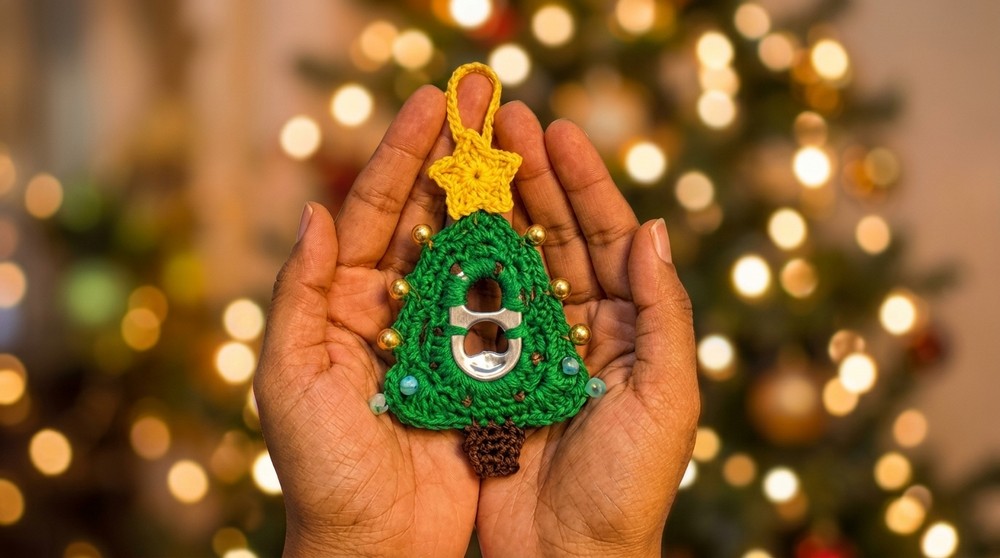
Soda can tabs find renewed purpose within this festive ornament, serving as both the foundation and a creative nod to sustainable decor. The project draws its appeal from the interplay of delicate mercerized cotton in classic holiday hues and sparkling accents such as beads or bells. Each section, from the sturdy tree trunk to the whimsical star at the top, highlights skillful stitchwork and thoughtful design, tailored for those who appreciate the charm of handmade details. The tree takes shape through precise rounds, gradually evolving from a simple base to a richly textured centerpiece. Utilizing everyday materials, the ornament offers both visual delight and an environmentally mindful approach to seasonal decorating. Its compact size and light weight ensure versatility, whether displayed on gift packages or hung as a cheerful addition to the holiday tree. This accessory radiates warmth and artistry, celebrating traditional techniques alongside inventive reuse.
Quick Overview Of Pattern
- Cover a soda can tab with half double crochet stitches to form the stable tree body.
- Build tree branches with chains and half double crochets, shaping tiered boughs and the upper tip.
- Work beaded and bell accents into the third round to add festive sparkle and dimension.
- Shape a hanging loop for easy display.
- Crochet a central star with simple points and a tidy, closed center.
- Finish the tree with a sturdy, squared trunk for a classic holiday silhouette.
Notes
- This project uses upcycled and minimally-sized materials, perfect for scrap yarn use and reducing waste.
- Take care to space stitches evenly around the tab for the most symmetrical foundation.
- Beads or bells can be replaced with other small festive accents for personalization.
- If you use a different yarn or hook size, maintain proportion so the star fits at the top and the trunk balances the tree.
- Weaving in ends as you go helps keep the ornament neat and secure.
- This is a quick make, ideal for craft fairs or last-minute handmade gifts.
Skill Level
Confident Beginner to Intermediate
Required techniques include working tightly around rigid objects, simple stitch shaping, and handling small decorative elements like beads, as well as working in the round and forming simple chains and picots.
Materials
- Soda can tab (clean, any standard size)
- 1 mm mercerized cotton yarn in:
- Green (tree body & branches)
- Brown (trunk)
- Yellow (star)
- 1 mm crochet hook (adjust to suit your yarn)
- Jingle bells, pearls, or seed beads for decoration
- Scissors
- Yarn needle (tapestry needle)
Measurements / Sizing
- Tree height: 7-10 cm (including trunk and hanging loop)
- Tree width: 4-6 cm at the widest tier
- Star: 2-2.5 cm across
- Trunk: ~1 cm wide x 1.5 cm tall
Gauge
Gauge is not critical for this pattern. However, a firm tension is recommended to keep the ornament structure neat and upright, especially as you crochet around the soda can tab.
Stitch Abbreviations
| Abbreviation | Definition |
|---|---|
| ch | chain |
| sl st | slip stitch |
| sc | single crochet |
| hdc | half double crochet |
| dc | double crochet |
| tr | treble crochet |
| MR | magic ring |
| st(s) | stitch(es) |
| inc | increase (2 sts in 1 st) |
| dec | decrease (2 sts together) |
Special Stitches
- Picot:
Chain 3, sl st into first ch to form a small tip (used for points). - Tall/Extended dc:
Yarn over, insert hook, pull up a loop higher than usual, finish as standard dc. - Adding beads/bells:
When directed, slide bead or bell onto your yarn and secure by working it into a ch, then continue crocheting as normal.
The Crochet Pattern
Preparing and Covering the Base Ring
(First Round-Green Yarn)
- Attach green yarn to the soda can tab with a secure knot.
- Work 22 sc around the ring's curved edge.
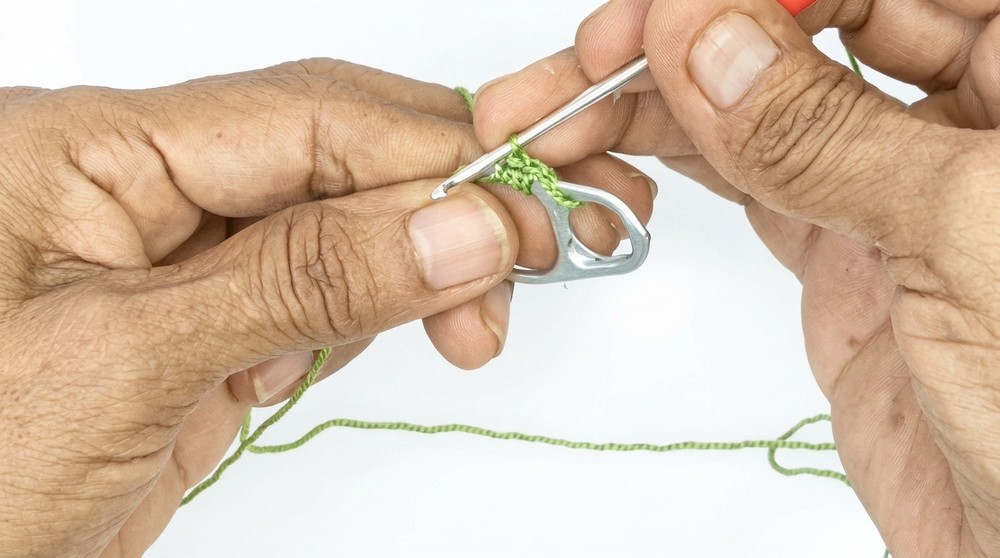
- Continue along the remaining curve, adding 15 more sc for full coverage (total: 37 sc around entire contour).
- Join with sl st to first stitch to complete the round.
Creating the Branch Framework
(Second Round-Green Yarn Continued)
- Ch 4, skip 3 sts, then sc in the 4th st (forms first arch).
- Ch 4, skip 3 sts, sc in next (second arch).
- Work 6 sc evenly along the next section (side of the tree).
- Ch 4, skip 4 sts, sc in next (third arch).
- Ch 4, sc in following st (fourth arch on this side).
- Repeat the above branching sequence symmetrically on the opposite side.
- Form the top tip:
- Ch 5, sc at topmost point.
- Ch 4, enter center, sc to anchor.
- Ch 4, sl st into center to finish the branch shape.
- Result: four branched sections per side, symmetrical with a defined tip.
Adding Decorations & Branch Details
(Third Round-With Beads/Bells, Green Yarn)
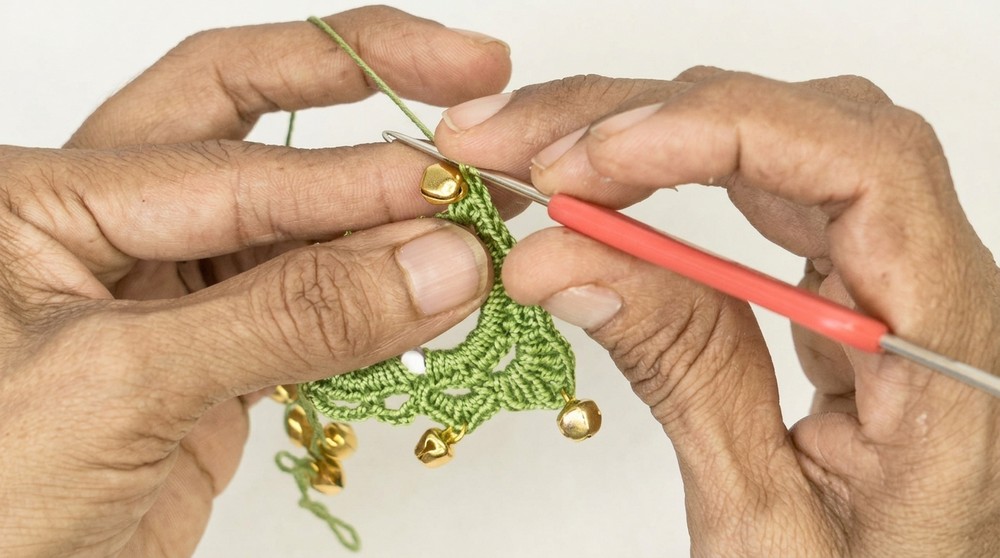
- As you crochet this round, add beads/bells as directed.
- On each side arch:
- Work 3 hdc, ch 1 (add bead or bell here), ch 1, 3 hdc.
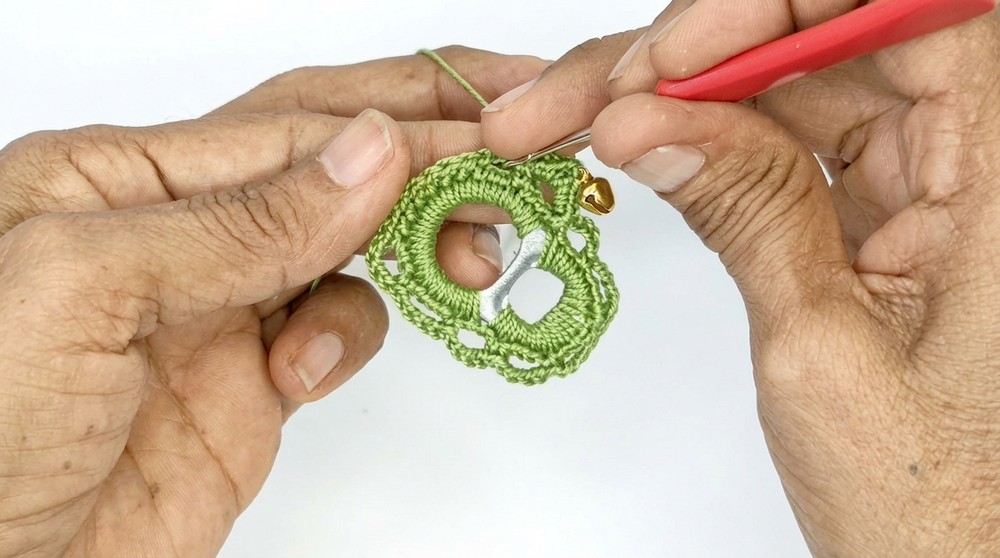
- At each tree tip:
- 1 hdc, 1 hdc, 1 tall/extended dc, ch 1 (add bead/bell), 1 tall/extended dc, 1 hdc, 1 hdc.
- Repeat for all main branches and tips.
- Continue alternating standard hdc sections and beaded/belled sections for a textured, festive look.
Creating the Hanging Loop
- At the ornament's top, after finishing third round and reaching tip:
- Ch 25 (or desired length for hanging loop).
- Sl st back to base of chain to secure the loop.
- Continue in pattern, working down opposite side to maintain symmetry.
- Add decorative hdc branches and bells/beads as for opposite side.
Crocheting the Star
(Yellow Yarn)
- Start with MR.
- Into the ring:
- For each of 5 points:
- hdc, dc, ch 2
- Yarn over, insert hook for tall/extended dc, work as directed.
- Next, work: mdc (medium dc), sc, dc
- Ch 2, hdc back into the ring.
- For each of 5 points:
- Complete 5-point sequence for star symmetry.
- Cut yarn, pull tightly to close the ring.
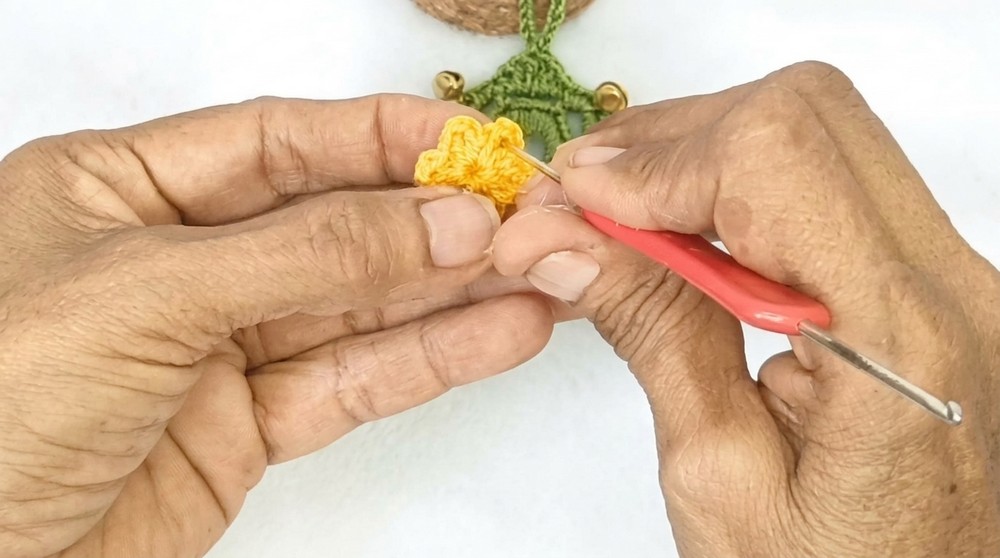
- Shape the star's points: Use needle to pull out points and weave in excess yarn.
Tree Trunk
(Brown Yarn)
- Attach brown yarn at center bottom of the tree's base.
- Work 3 hdc as a small row.
- Turn, 3 hdc. Continue for 4-5 rows, building the trunk's length.
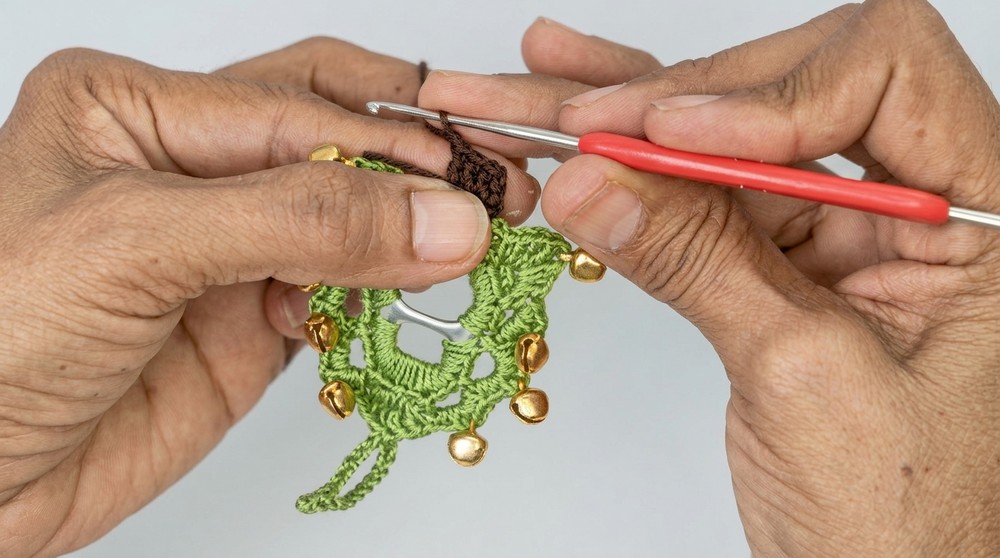
- For a finished look: Ch 3, cut yarn, and weave in the ends securely.
Assembly & Finished Size
- Stitch the star to the top of the tree, centering it at the uppermost tip.
- Make sure the trunk aligns with the tree's center bottom.
- Add any additional decorations or tidying to strands and ends.
- The finished ornament will be 7-10 cm tall, 4-6 cm wide, and features a neat, dimensional tree with hanging loop and sparkling beaded highlights.
Conclusion
This ornament embodies festive spirit and ingenuity, combining recycled elements with classic crochet techniques. The finished tree, adorned with beads and crowned by a star, represents mindful craftsmanship and a commitment to eco-friendly celebration. Its structured form is balanced by decorative touches, making it a standout addition to holiday displays. Each round and shape contributes to the ornament's durability and charm, ensuring longevity throughout the holiday season and beyond. The assembly process encourages attention to detail, resulting in a neatly finished piece that can be personalized with various colors and accents. This design captures the essence of handmade decoration, offering a simple yet impactful way to highlight resourcefulness. From its glimmering branches to the sturdy trunk, the ornament stands as a testament to both creativity and sustainability-an invitation for others to bring renewed meaning to their own festive traditions.