
Carry your water in a colorful and handy crochet Water Bottle Holder that is lightweight and perfect for school, outings, or daily activities.
Have you ever noticed how carrying a water bottle can turn into a juggling act when you're on the go? That's exactly what made me fall in love with this crochet water bottle holder pattern. It's such a clever and stylish solution for staying hydrated during walks, hikes, or errands. The best part is how customizable it is. You can choose soft, neutral shades for an understated look, bright, cheerful colors for a fun statement piece, or earthy greens and browns to blend in with nature. The pattern features a stretchy, open texture created with the beautiful v-stitch, which not only adds visual charm but also makes the holder flexible enough to snugly fit bottles of various sizes. The sturdy strap, worked with a reinforced stitch, ensures it will last for all your adventures.
What You'll Learn in This Pattern
- How to use the magic ring to start a circular project.
- Creating single crochet increases to shape flat bases.
- Mastering the v-stitch for stretchy, decorative designs.
- Reinforcing straps using back-loop single crochet for durability.
- Joining rounds neatly and finishing your project cleanly.
Eco-Friendly Free Crochet Water Bottle Holder Pattern Guide
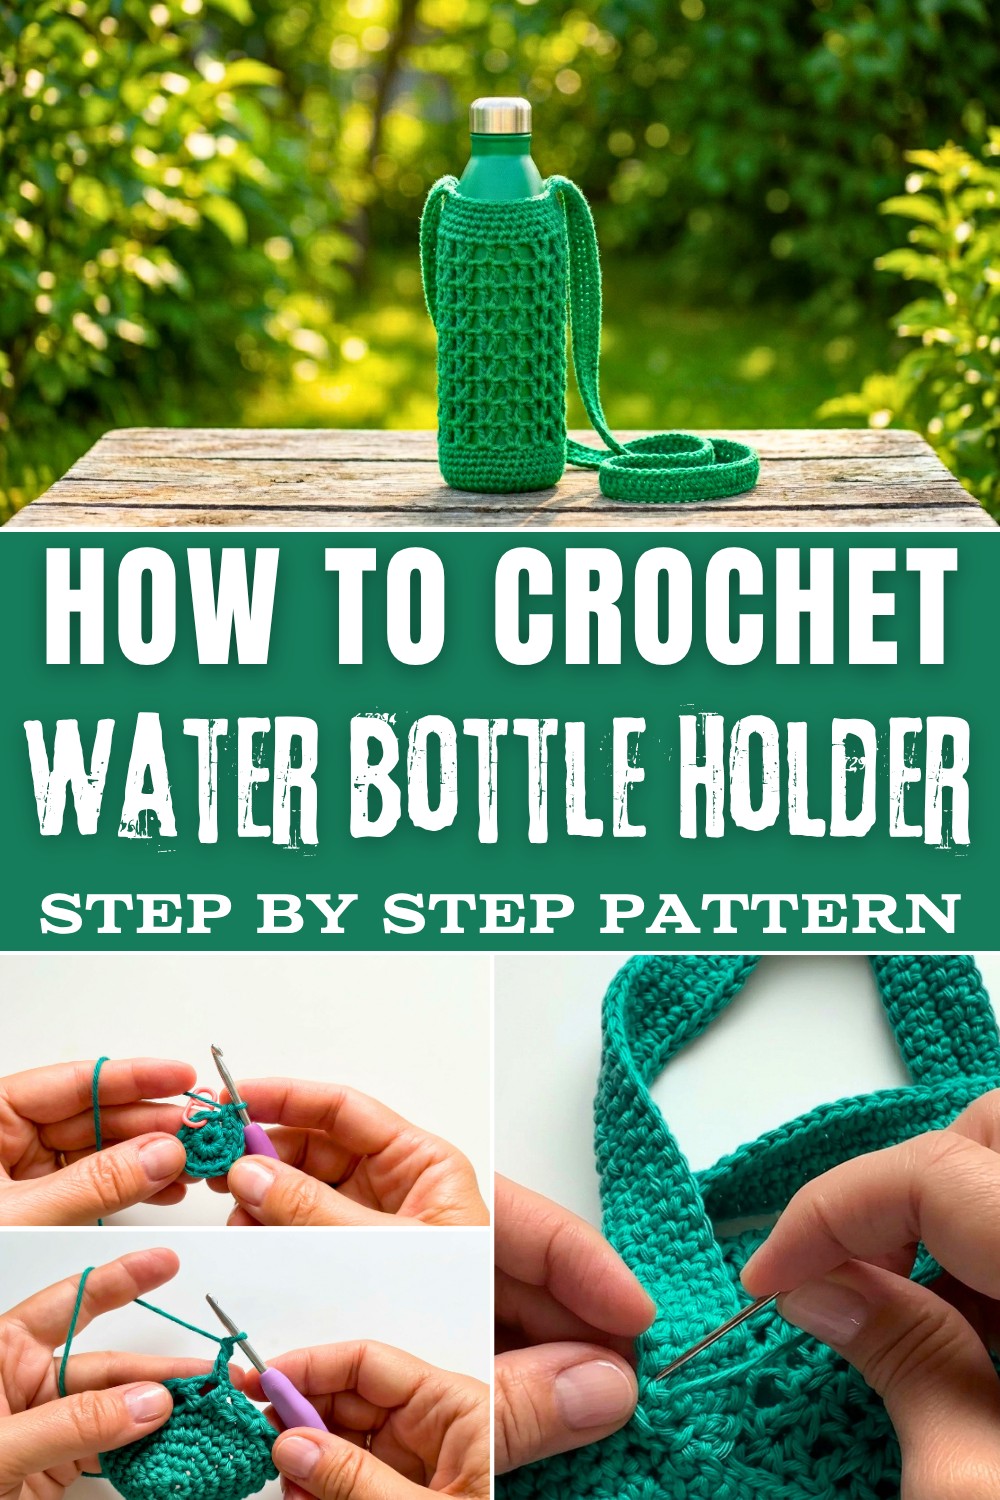
The pattern starts with a magic ring, a beginner favorite for creating circular projects with a tidy center. You'll work through single crochet increases to build a flat, steady base before moving on to the breathable v-stitch rounds for the body. This stitch combines double crochets and chain spaces to create an airy design. For the strap, you'll use back-loop single crochet, a technique that adds strength and stretch to your final product. The simplicity of the steps, combined with the elegance of the final product, makes this project perfect for beginners looking to stretch their skills while creating something practical and gorgeous.

What You Can Make With These Skills
- Versatile crochet water bottle holders.
- Stylish tote bags and market bags with textured patterns.
- Elegant plant hangers for your home décor.
- Decorative jar covers perfect for gifts or storage.
- Small pouches or lightweight evening bags.
- Handy baskets to organize crochet supplies.
With just a bit of yarn and some patience, you'll have an accessory that's functional, stylish, and completely customized to your taste. Let this project be the start of many creative adventures!
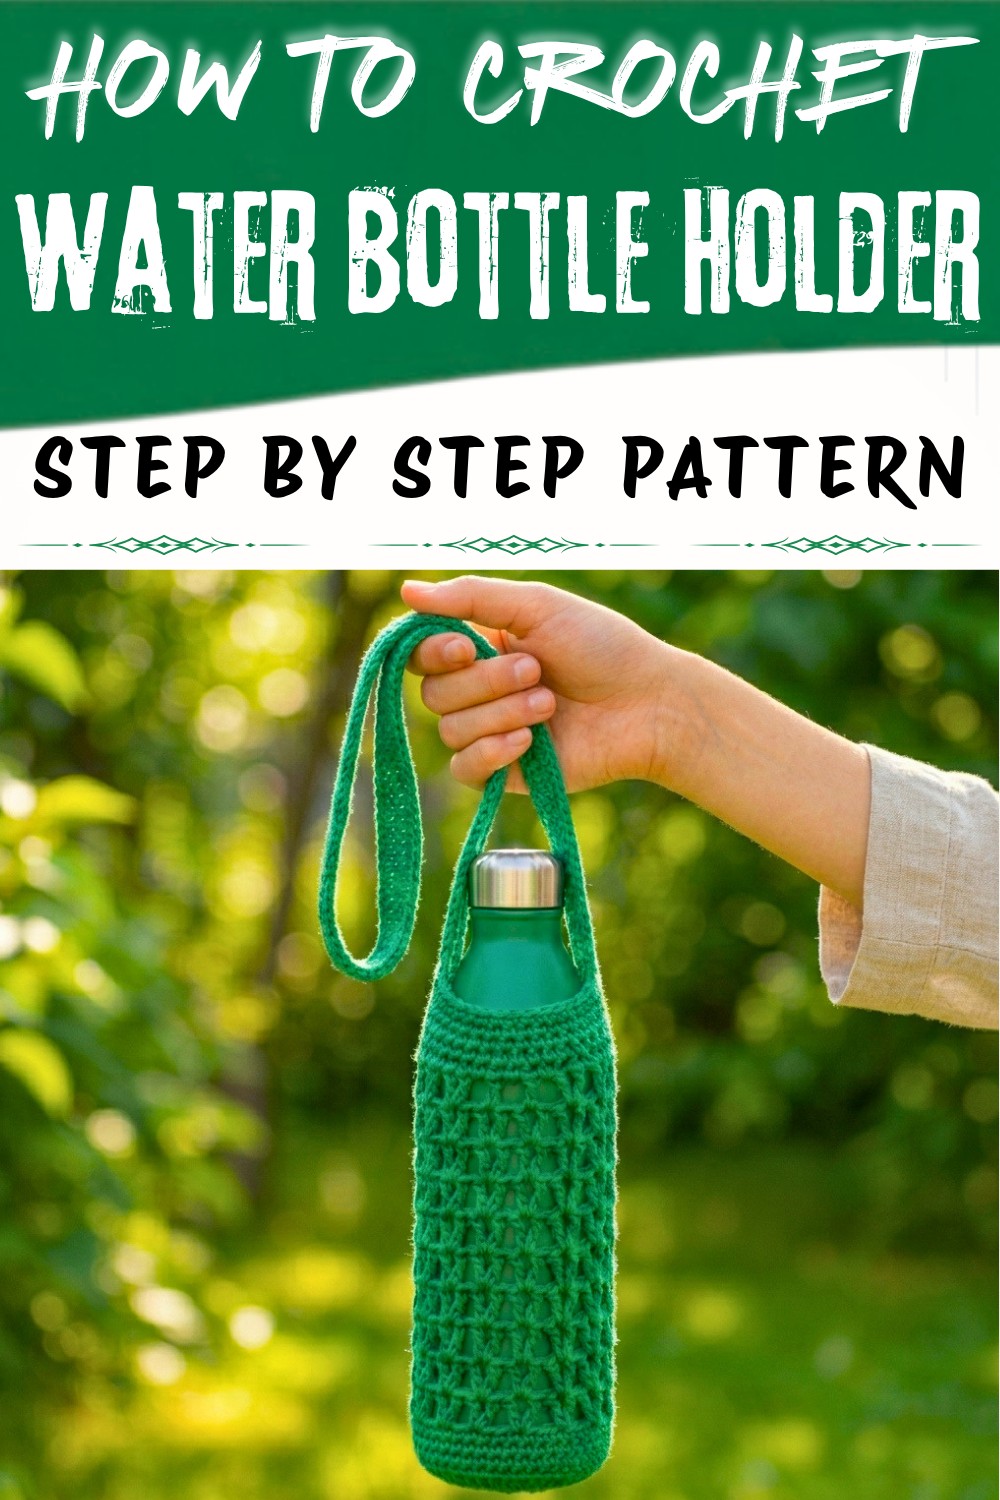
Water Bottle Holder Crochet Pattern
Materials Needed
- Yarn: 50 grams (approximately 75 meters or 82 yards) of 100% cotton yarn (e.g., Hobie cotton yarn). Teal Green color yarn used. Cotton is recommended for its durability and easy maintenance.
- Crochet Hook: 4 mm (G-6) crochet hook.
- Scissors
- Darning Needle: For weaving in ends.
- Stitch Marker: To mark the first stitch of each round.
Gauge (Optional)
- Gauge isn't crucial for this project since crochet stretches; however, approximately 4 single crochet (sc) by 4 rows equals a 1-inch square using cotton yarn and a 4 mm hook.
Finished Size
- Base Diameter: Approximately 6 cm (2.5 inches).
- Height: Reaches about ¾ of the height of a standard water bottle.
(Note: The crochet will stretch to fit snugly around the water bottle when in use.)
Abbreviations
The pattern uses the standard US crochet terminology:
- ch: Chain
- sc: Single Crochet
- dc: Double Crochet
- sl st: Slip Stitch
- st(s): Stitch(es)
Pattern Instructions
Step 1: Create the Base
- Start with a Magic Ring:
Create a magic ring by forming a loop, inserting your hook, pulling up the yarn, and chaining 1. - Round 1: Make 6 single crochet (sc) into the magic ring. Pull the ring tight and close with a slip stitch (sl st). (6 sts)
- Round 2: Place a stitch marker in the first stitch to mark the beginning of the round. Work 2 single crochet into each stitch around. (12 sts)

- Round 3:
- Work 1 sc in the first stitch, place the stitch marker, then 2 sc in the next stitch.
- Repeat the pattern (1 sc, 2 sc) around. (18 sts)
- Round 4:
- Work 1 sc in each of the first 2 stitches, then 2 sc in the next stitch.
- Repeat the pattern (1 sc, 1 sc, 2 sc) around. (24 sts)
- Round 5:
- Work 1 sc in each of the first 3 stitches, then 2 sc in the next stitch.
- Repeat the pattern (1 sc, 1 sc, 1 sc, 2 sc) around. (30 sts)
This completes the base, which measures approximately 6 cm (2.5 inches) in diameter. If you need a larger or smaller base, adjust the number of rounds accordingly.
Step 2: Begin the Sides
- Round 6: Work 1 sc into each stitch around (30 sts). This creates an edge to transition from the base to the sides.
- Round 7: Start with a chain 2 (counts as the first dc).
- In the same stitch, work [(dc, ch 1, dc)] to create the first v-stitch.
- Skip 2 stitches, then [(dc, ch 1, dc)] in the next stitch.
- Repeat this pattern (skip 2, v-stitch in next stitch) around. You will have 10 v-stitches in total.
- Join the round by slip-stitching into the second chain from the start.
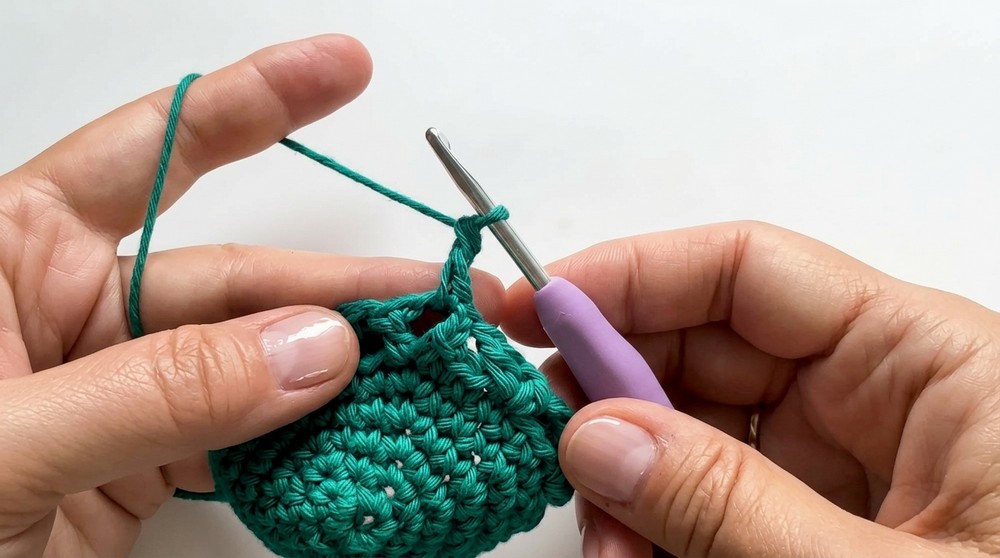
- Round 8 and Onwards: Continue with v-stitches. To maintain alignment:
- Slip stitch into the center of the v-stitch from the previous round.
- Start a new v-stitch ([dc, ch 1, dc]) in the same space. Continue this pattern around.
- Repeat Round 8 until you have 10 rounds of v-stitches.
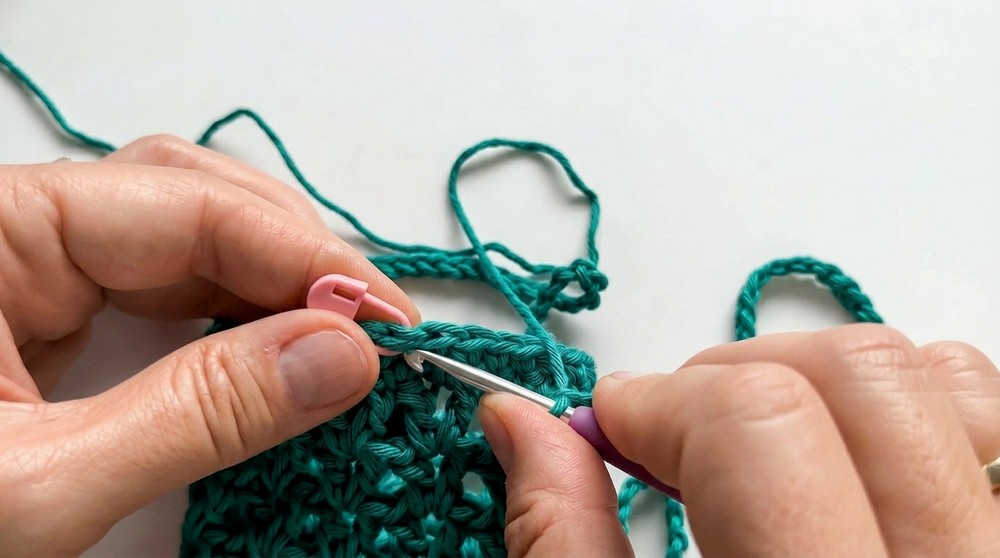
Step 3: Finish the Top Edge
- Round 18:
- Chain 1, then work 1 sc in each stitch and chain space around (30 sts).
- Join to the first stitch with a slip stitch.
- Round 19: Repeat Round 18 for an additional round of single crochet.
Step 4: Create the Handle
- Chain for the Handle:
- Chain 120 (or approximately 30-35 inches / 76-89 cm).
- Locate the midpoint on the opposite side of the bottle holder and attach the chain using a slip stitch.
- Reinforce the Handle:
- Work back along the chain in single crochet, stitching into the back bump of each chain for added strength. Continue until the chain attaches back to the bag. Slip stitch to join.
- Add Extra Rows to Handle:
- Single crochet back and forth on the handle two more times on one side and two times on the other side of the handle. This creates a sturdy, durable handle.
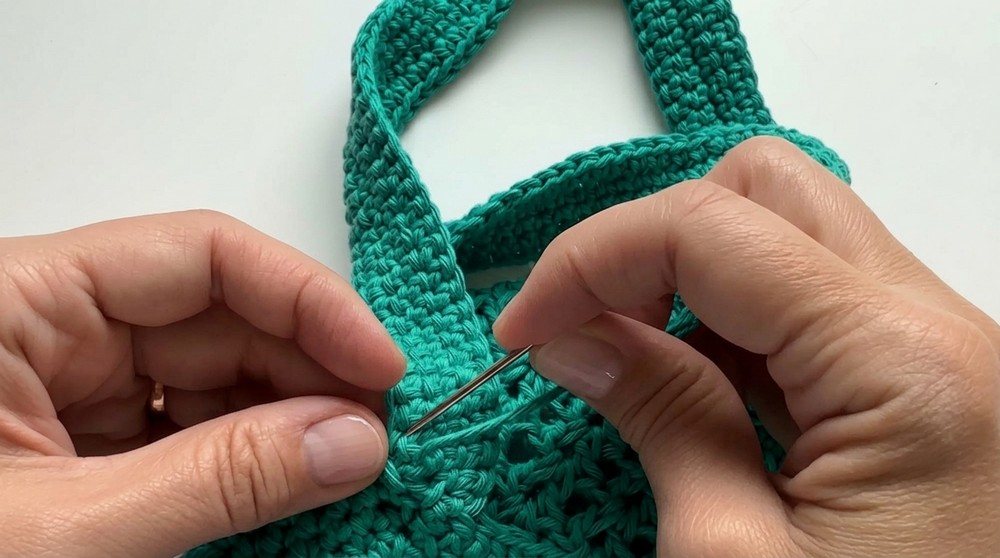
- Single crochet back and forth on the handle two more times on one side and two times on the other side of the handle. This creates a sturdy, durable handle.
Finishing
- Weave all loose ends into the stitches using a darning needle.
- For a clean finish, use a slip stitch and an invisible join technique at the final round of the handle.
Additional Tips for Customization
- Adjusting Size: For taller or wider bottles, add more rounds to the base and extend the sides (increase v-stitch rows).
- Color Variations: Experiment with multiple colors for the base, sides, and handle. Stripes or gradient yarns look especially appealing.
- Embellishments: Attach appliqués, buttons, or beads for added flair.
- Durability: Use a thicker yarn or double strands for a more robust handle.
Conclusion and Final Look
This charming crochet water bottle holder combines beauty and practicality, offering an eco-friendly and stylish solution for carrying bottles on the go. The v-stitch pattern creates a breathable and stretchy design, while the reinforced handle ensures comfort and durability. Once completed, it will snugly fit around a standard-sized water bottle and can stretch to accommodate larger bottles.
Important Remarks: Cotton yarn is highly recommended for projects like this as it stretches less than acrylic, maintains durability, and provides a polished look.