
Let your style bloom with this Free Crochet Zara Flower Tie Pattern easy steps shape a bright and pretty tie for daily wear and happy moments.
I always find it so fulfilling to create accessories that are both stunning and functional, and this Zara-inspired crochet flower tie is no exception! When I first tried this project, I was amazed by how elegant the flower looked when complete, with its layered petals and soft, voluminous shape. It's the kind of hair accessory that easily stands out, whether in a casual messy bun or a polished updo. The beauty of this project lies in its versatility; you can make it in soft pastel shades for a delicate look or bold and vibrant tones for a striking, statement piece. The tutorial suggests yarn that blends cotton and acrylic, which gives the tie both flexibility and durability, but you can experiment with other fibers too.
How to crochet a Zara Flower Tie using a detailed and free pattern for bold style
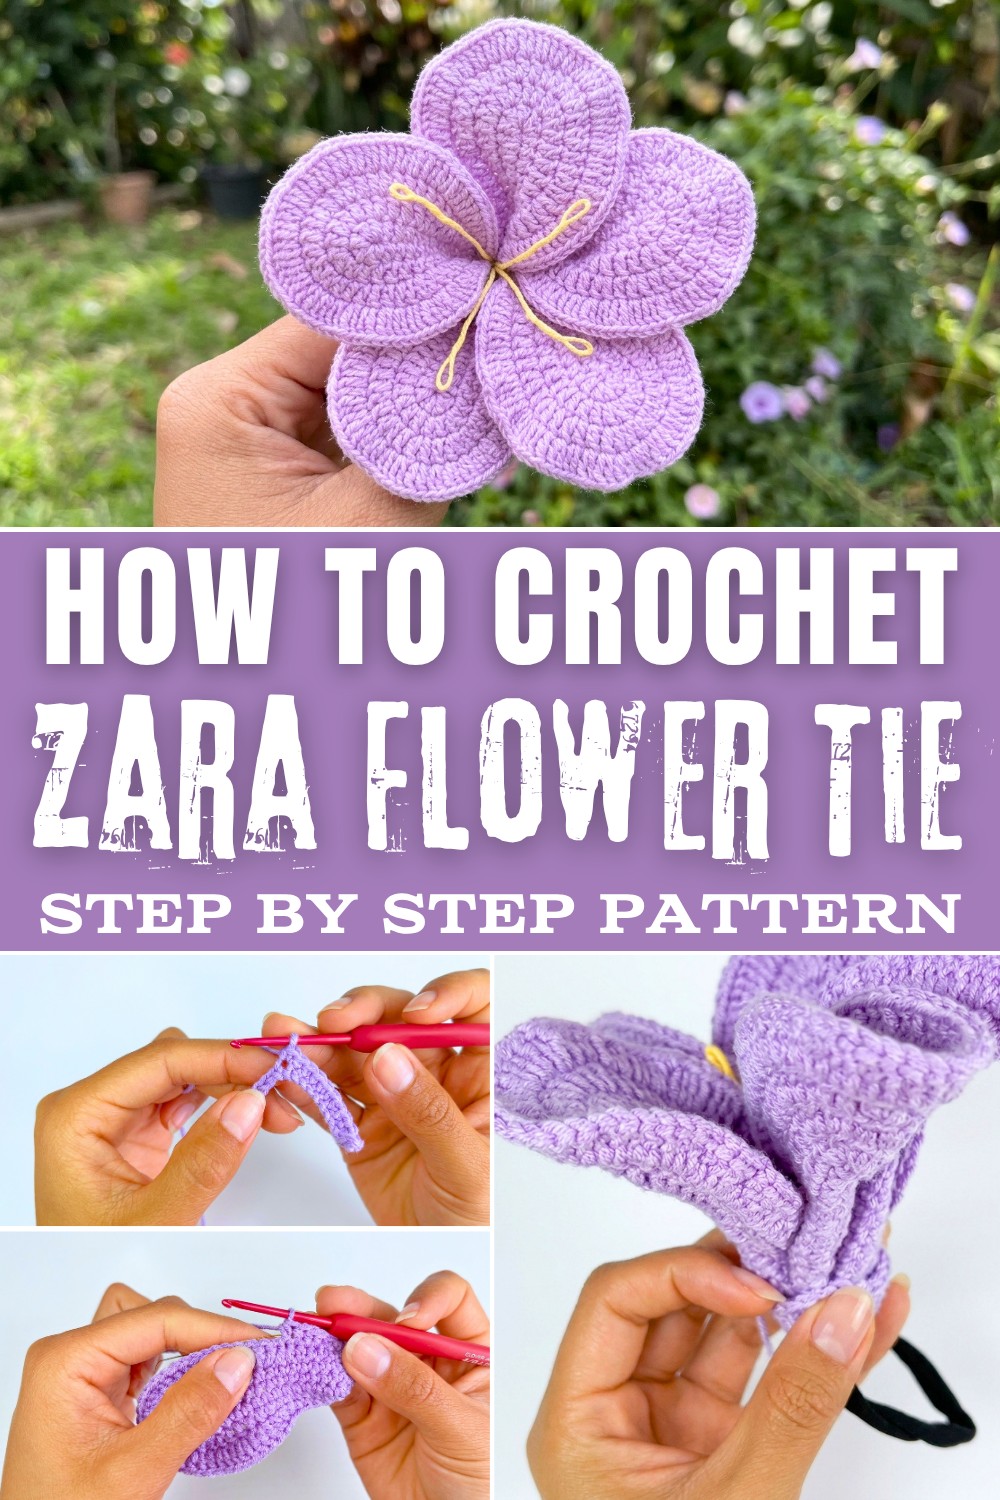
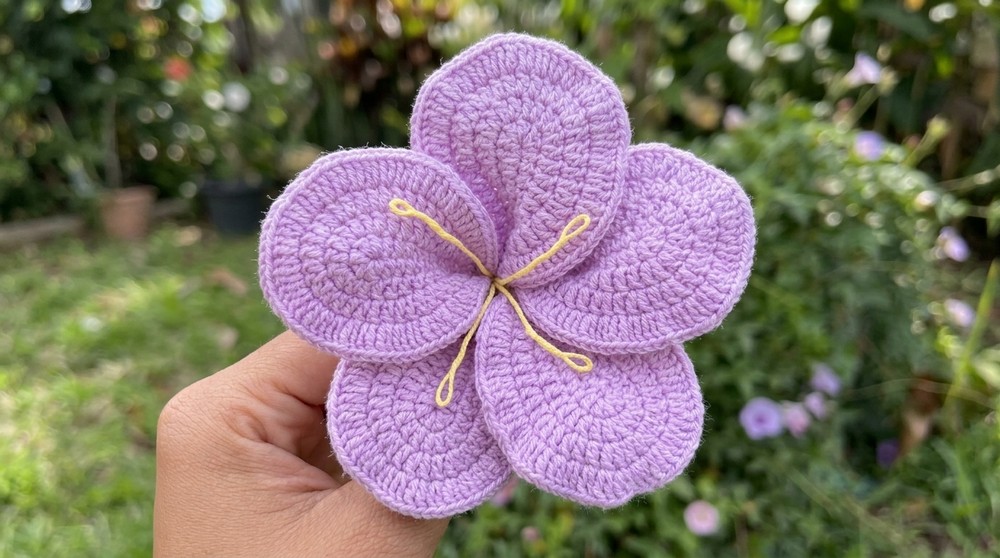
The pattern of the petals is fascinating. They use single crochet, half double crochet, and double crochet stitches, which alternate to give a natural, ruffled texture. To add structure and shape, a thin metal wire is worked into the outer edge of the petals-this part is both creative and fun! The flower wraps perfectly around an elastic band, making it not only a fashionable accessory but a highly practical one too. Whether you're using it as a hair tie or simply as a decorative touch on a bag or gift, it's a great way to showcase your skills.
What You'll Learn and Create
This pattern is perfect for beginners looking to practice foundational stitches while learning a few handy techniques, such as:
- Crocheting structured petals using wire for stability.
- Mastering increases and working in the round.
- Combining stitches like single crochet, half double crochet, and double crochet for texture.
- Assembling multiple pieces into one cohesive design.
- Using the same pattern or concepts to make brooches, hair clips, or decorative garlands!
Once you complete this project, you'll have a beautiful, handmade flower tie that's sure to turn heads, and plenty of skills to carry into future crochet creations!
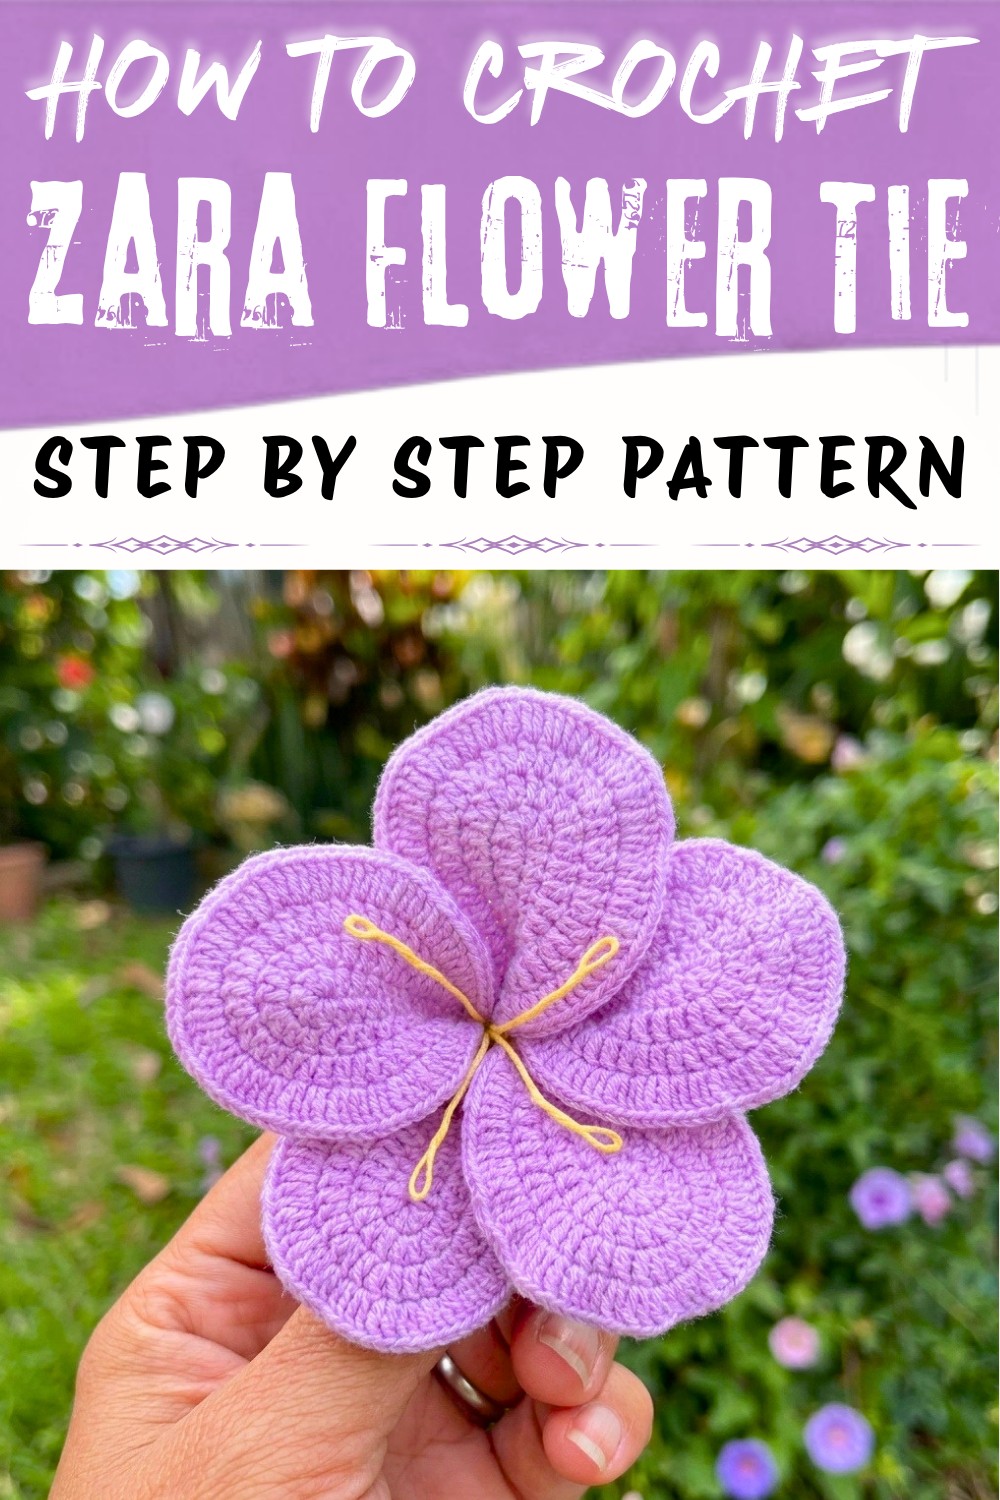
Cheerful Free Crochet Zara Flower Tie Pattern
Skill Level: Intermediate
This pattern will guide you step by step to crochet a trendy maxi scrunchie inspired by the Zara brand. This hair accessory combines yarn, wire, and an elastic band to create petals with stability and structure.
Materials Required
- Yarn:
- 50% Acrylic, 50% Cotton yarn (approximately 2.5mm thick)
- Suggested Colors: Lilac color is used in pattern or any your prefered color.
- Hooks and Tools:
- Crochet hook: 2.5mm
- Scissors
- Stitch markers
- Hot glue gun
- Stabilizing Wire:
- Craft or jewelry wire (approx. 1mm thick)
- Other Materials:
- Elastic hair band
- Lighter (optional, for acrylic yarn finishing)
Gauge
While precise gauge is not critical for this project, ensure the following gauge for consistency:
- Gauge Swatch: 16 single crochet by 22 rows = 4" (10cm).
Check after completing the first petal. If the fabric feels too stiff or loose, adjust hook size accordingly.
Finished Size
- Petal Diameter: Approx. 3.5" to 4" (depending on yarn tension).
- Scrunchie Diameter: Approx. 5.5" to 6" when assembled.
Tips for a Better Result
- Use vibrant colors for a garden like appearance.
- Tighten slightly while crocheting the edges to prevent loose petals.
- Burn acrylic yarn lightly with a flame to seal ends and remove frizz (be cautious).
- For larger scrunchies, make an extra round of petals.
Customization Ideas
- Colors: Attempt gradient yarns for multicolored petals or complement your wardrobe using monotones.
- Wire Shape: Experiment with shaping wires into soft curves or angular flower petals.
- Additional Embellishments: Add small beads or sequins for added texture.
Pattern Instructions
Special Techniques:
- Magic Ring: Used to begin the central disk.
- Slip Stitch: To join rounds and finish off.
- Increase: Place two stitches into the same base stitch to expand the round.
Step by Step Instructions
Petal Pattern
Note: Use wire to stabilize petal edges while crocheting.
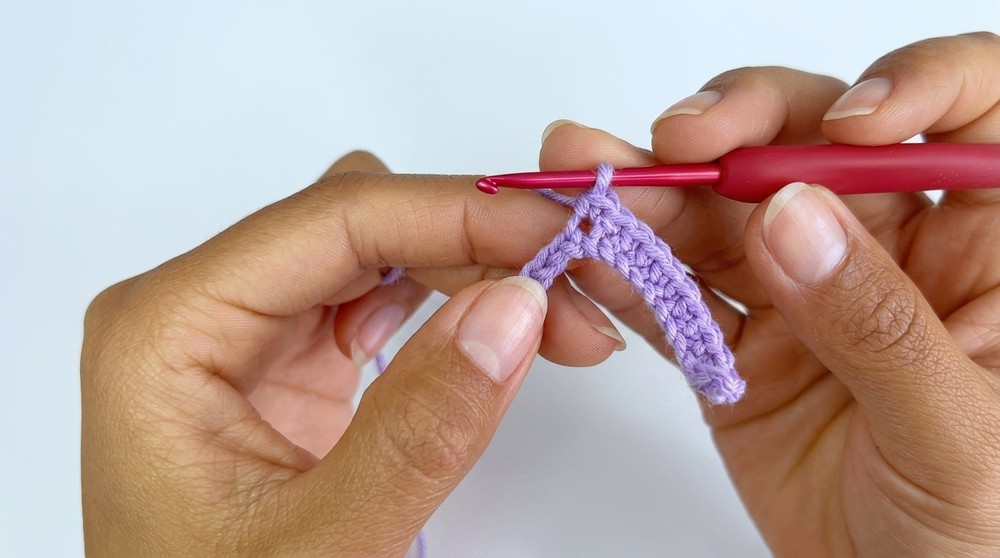
- Foundation Chain:
- Start with a slip knot.
- Chain 16 chains; this will form the base of the petal.
- Row 1:
- Start in the second chain from the hook.
- Crochet 11 single crochets (1 in each chain).
- Crochet 3 half double crochets, followed by 5 double crochets in one chain stitch.
- Mirror the work: Proceed down the opposite side with 3 half double crochets and 11 single crochets.
- Close the row with a slip stitch into the first single crochet.
- Row 2:
- Chain 1; mark this first stitch.
- Single crochet 8 stitches.
- Crochet 3 half double crochets and 3 double crochets.
- At the center 5 double crochets from Row 1, work an increase (2 double crochets in each stitch).
- Mirror the work: Crochet 3 double crochets, 3 half double crochets, and 8 single crochets.
- Finish with a slip stitch.

- Row 3:
- Chain 1. Mark the first stitch. Begin with 5 single crochets.
- Crochet 3 half double crochets.
- Start a sequence of 1 double crochet, 1 increase and repeat 11 times (end with a single double crochet).
- Mirror the work: Crochet 3 half double crochets and 5 single crochets.
- Close the round.

- Row 4 (Wire Stabilized):
- Insert wire alongside the yarn before beginning.
- Work 5 single crochets, 3 half double crochets, and 34 increases in double crochet around each stitch of the petal.
- Mirror with 3 half double crochets and 5 single crochets.
- Use hot glue to secure the ends of the wire after cutting.
- Knot and cast off.
Repeat 5 petals for the full flower.
Stamens:
- Cut 12cm wire per stamen.
- Wrap the wire with yarn, continuously twisting to secure.
- Create small loops at the ends of the wire for added flair.
- Finish by burning acrylic yarn or using hot glue to seal ends.
Center Disk:
- Magic Ring: Begin with 7 single crochet stitches within a ring; pull tight.
- Round 2: Crochet 7 increases, resulting in 14 stitches.
- Round 3: Alternate 1 single crochet, 1 increase, ending with 21 stitches.
- Round 4: Insert the elastic band and crochet around it for stability. Ensure the elastic is enclosed.
- Round 5 to 7: Work stitch by stitch in single crochet, ensuring 28 stitches by the end of Round 6.
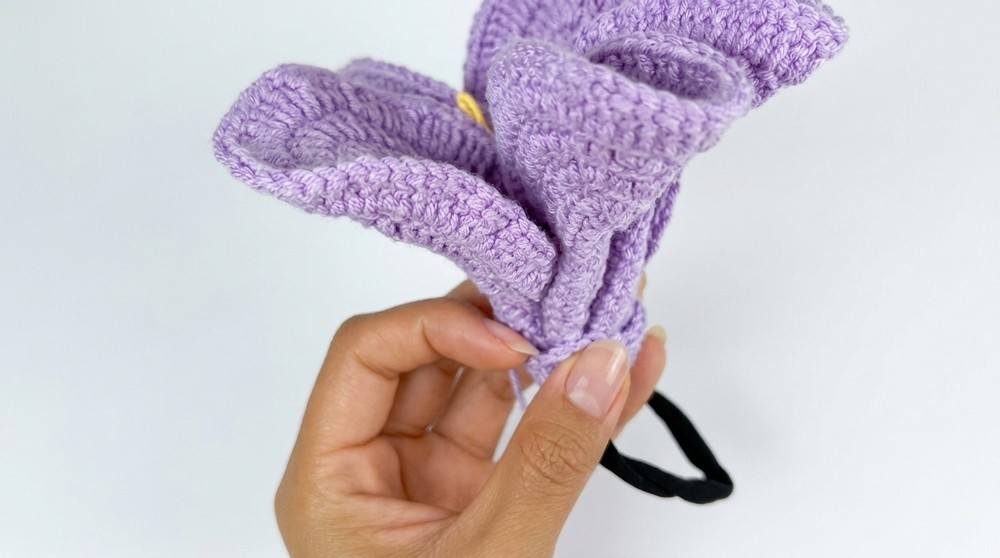
Assembly
- Position Petals: Arrange the 5 wire petals around the center disk.
- Add Stamens: Place the stamens within the center, ensuring they stand upright.
- Secure all pieces with hot glue.
- Use fuchsia colored yarn to wrap and hide joining wires at the base.
- Attach the elastic hair tie securely with glue. Check for firmness.
Final Look
This maxi scrunchie features artistic petals stabilized by wire, creating a structured yet soft allure. The added stamens and vibrant colors give it a flamboyant, boutique aesthetic.
Conclusion and Important Remarks
- This pattern ensures a sturdy and well designed accessory that aligns with trends.
- Apply optional finishing touches (e.g., lint burning or added embellishments) for uniqueness.
- The scrunchie complements casual and semi formal looks and serves as a gift idea.
Possible Difficulties and Simple Solutions
Some users might face challenges in shaping the petals neatly or working the stitches around the elastic band while maintaining consistent tension. The addition of wire can also seem tricky at first, especially when trying to secure it evenly around the edge. An easy solution is to take your time when attaching the wire and use small, careful stitches to ensure it stays in place. If tension feels uneven, try working with slightly larger stitches or holding the yarn more loosely. Blocking the petals after crocheting can also help you achieve the perfect shape and texture.