
Turn your hairstyles with a charming crochet flower hairclip! This delightful project combines creativity and practicality, letting you craft an accessory that's as unique as you are. A crochet flower hairclip pattern is a step-by-step guide to creating vibrant, textured floral designs that can be attached to clips, barrettes, or even headbands.
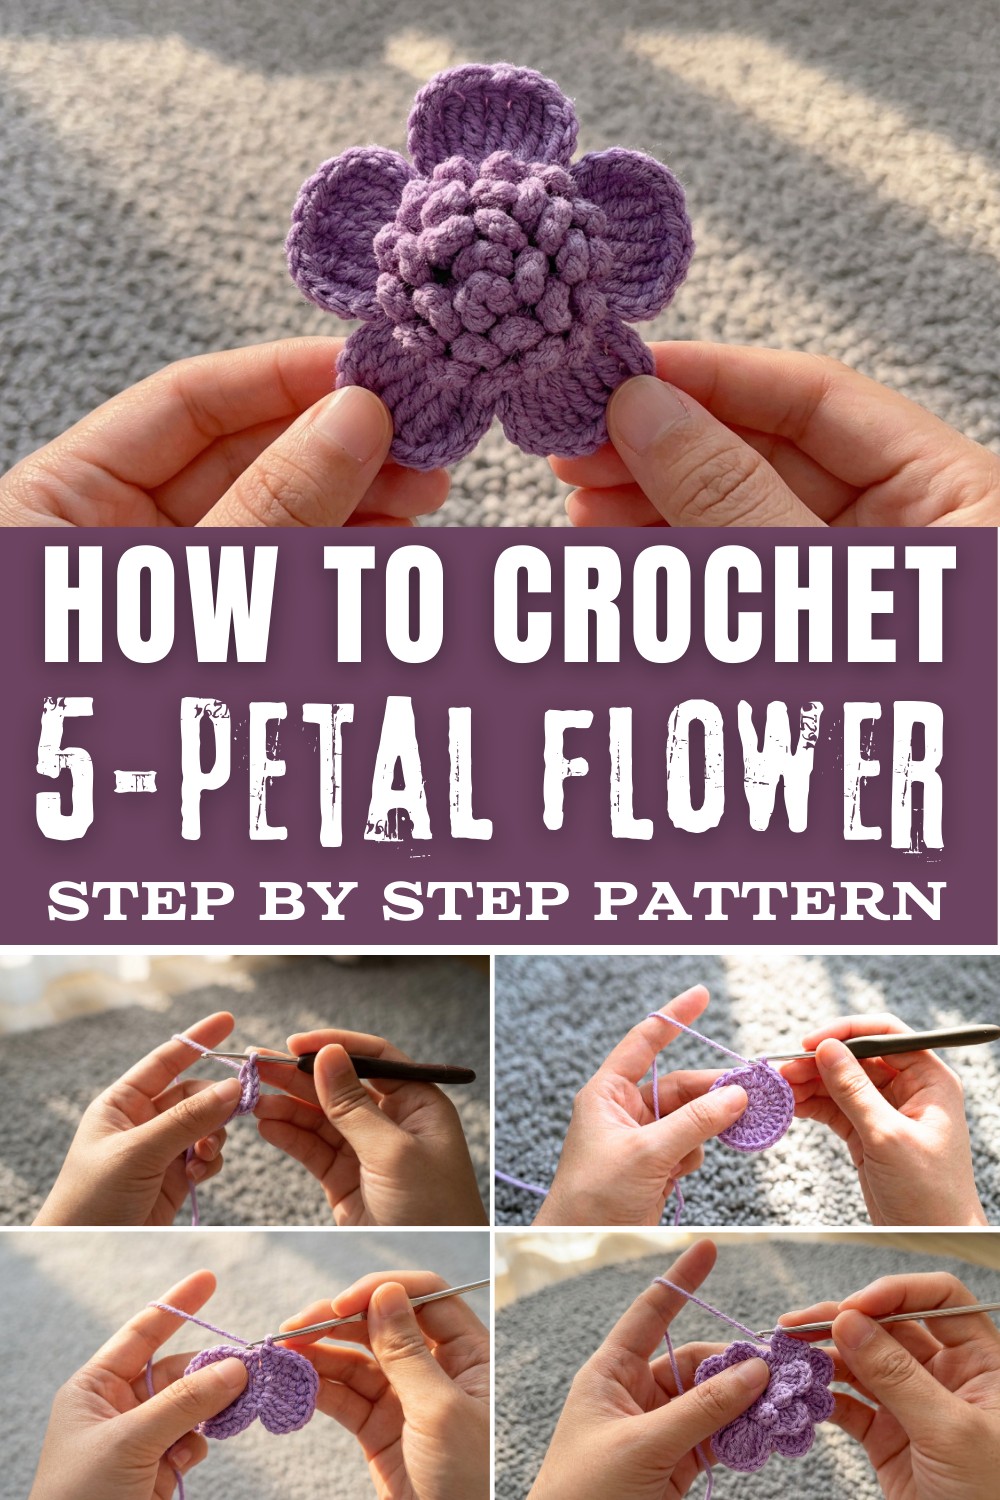
Perfect for beginners and seasoned crafters alike, it's quick to make and a fantastic way to use up scrap yarn. Beyond hairstyling, these crochet flowers can double as brooches, bag embellishments, or even gift toppers. With endless possibilities for color combinations and petal designs, it's a playful way to add a handmade touch to everyday looks.

Materials Required
- Yarn:
- 4-strand or 5-strand yarn in two colors, e.g., a base color for the flower and a contrasting color for the final outline.
- Crochet Hook:
- Use the hook size suitable for the yarn type, typically 3mm - 5mm hooks for medium-weight yarn.
- Scissors:
- For trimming excess yarn.
- Tapestry Needle:
- For weaving in the ends neatly.
- Hairclip Accessory (optional):
- A simple clip or barrette to attach the flower.
Abbreviations
- ch = chain stitch
- sl st = slip stitch
- sc = single crochet
- dc = double crochet
- tr = treble crochet
- dtr = double treble crochet
Special Techniques
- Magic Circle (Magic Loop):
- To create a tight center for the flower, wrap the yarn around your fingers to form a loop. Work your stitches into this loop, then pull the tail to close it.
- Cluster Formation:
- A combination of different height stitches (sc, dc, tr, and dtr) in one stitch, repeated for petal formations.
Step-by-Step crochet flower hairclip Instructions
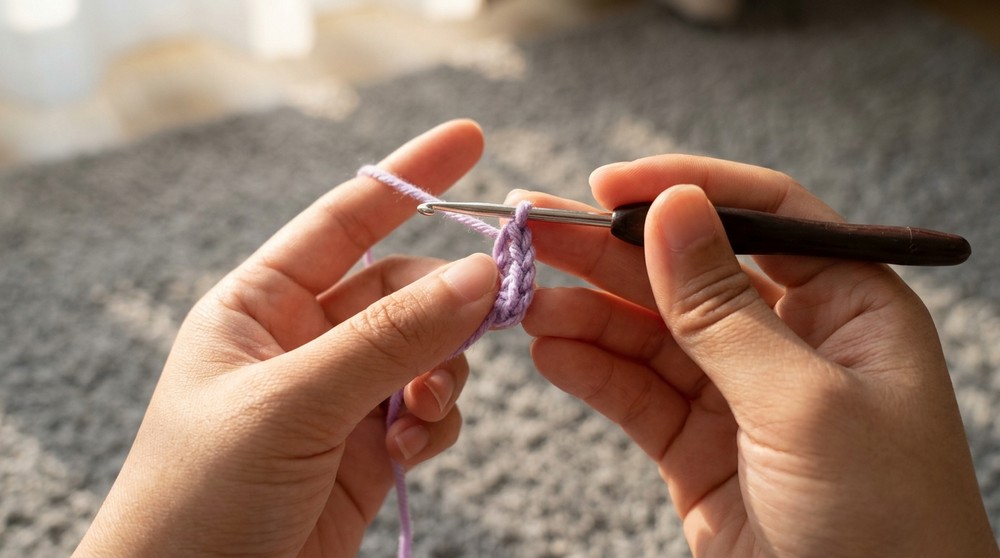
Step 1: Flower's Center
- Begin with a magic circle.
- Crochet 5 single crochet (sc) stitches into the magic circle.
- Pull the yarn tail tight to close the circle.
- Insert a slip stitch (sl st) into the first single crochet to close the round.
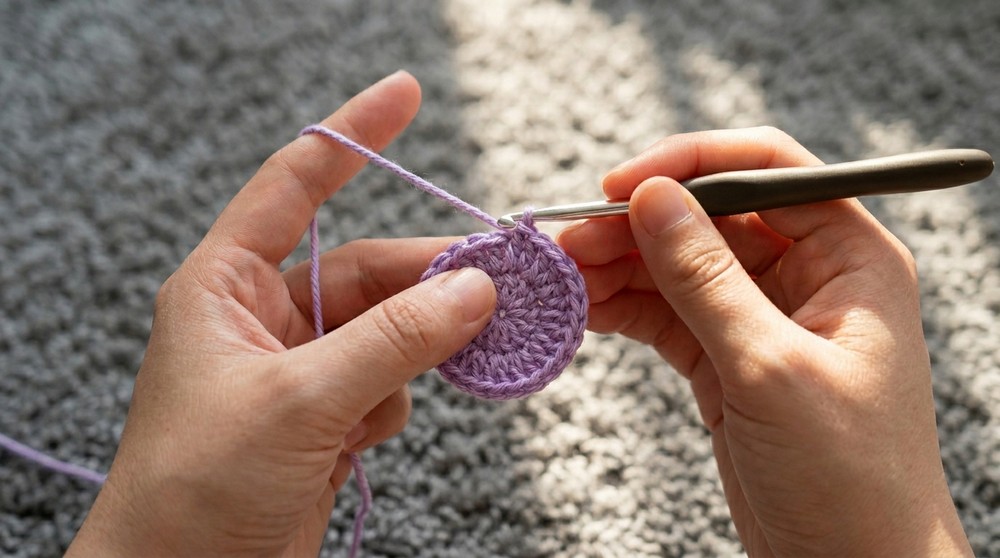
Step 2: First Round of Increases
- Chain 1 (ch 1).
- For Row 2, increase the number of single crochets:
- Crochet 2 sc stitches into each stitch around (total 10 sc stitches).
- Close the round with a sl st into the first sc.
Step 3: Second Round of Increases
- Chain 1 (ch 1).
- For Row 3, alternate single crochets and increases:
- Work 1 sc into the first stitch, and then 2 sc into the next stitch.
- Repeat this pattern around to form 5 clusters.
- Close this round with a sl st.
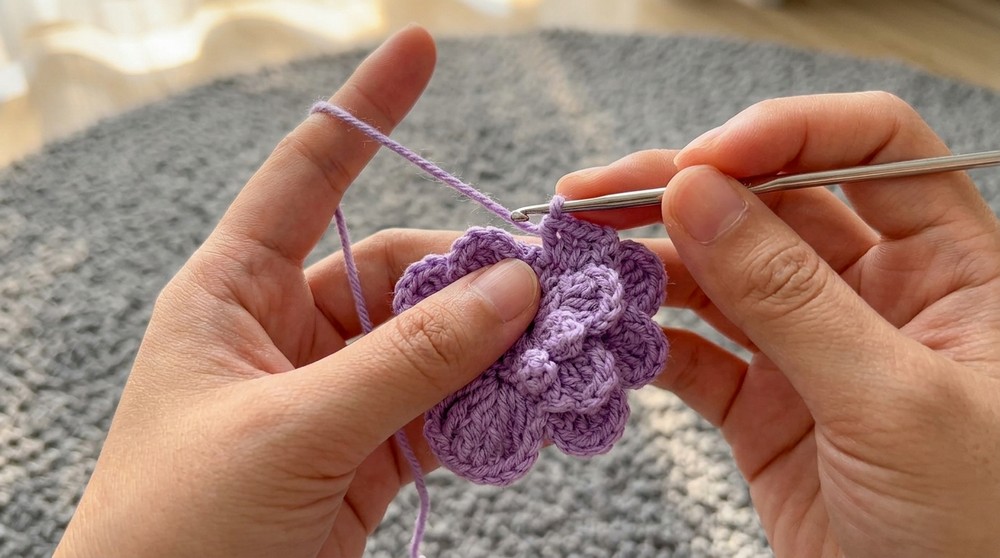
Step 4: Petal Formation
- Begin the petals by chaining 4 ch stitches.
- Work into the same base stitch:
- Yarn over twice and crochet 1 double treble (dtr) into the same stitch.
- Yarn over three times and work a triple double (tr).
- Yarn over four times and crochet another dtr.
- Yarn over three times and work another triple double (tr).
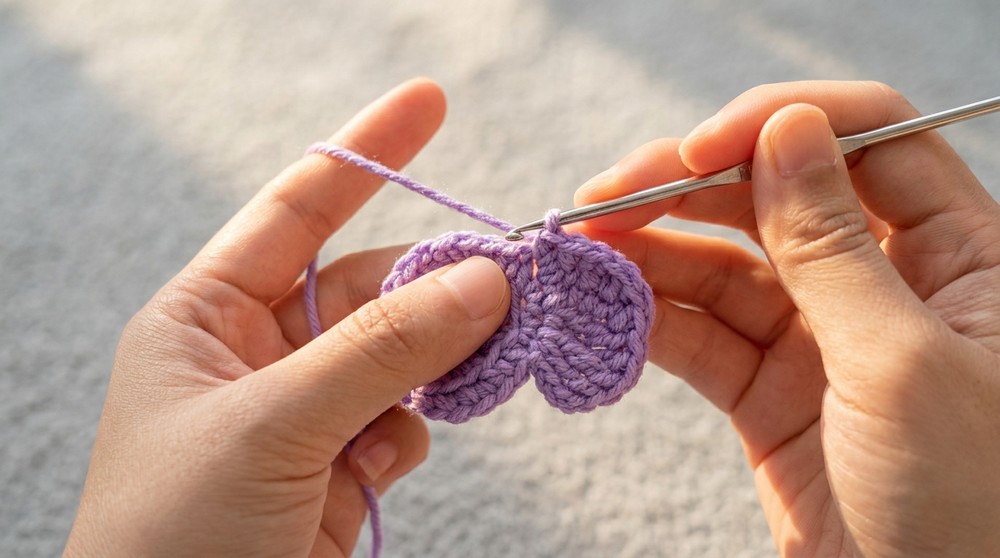
- Finish with 1 dc (double crochet).
- Chain 4 ch stitches; sl st into the next base stitch.
- Repeat this petal pattern for the next stitches until you have formed 5 petals. Close the round with a sl st.
Step 5: Adding Outer Detailing (Optional)
Switch to a contrasting yarn color to highlight the outer edges.
- Attach the contrasting yarn to the edge of a petal using a slip knot.
- Chain 8 stitches to form the outer loops.
- .Work these stitches:
- Wrap yarn and crochet into the outer loops of previous petals.
- Secure with slip stitches to create an overlay texture around the flower.
- Continue this method around to finish the outer detailing of the flower.
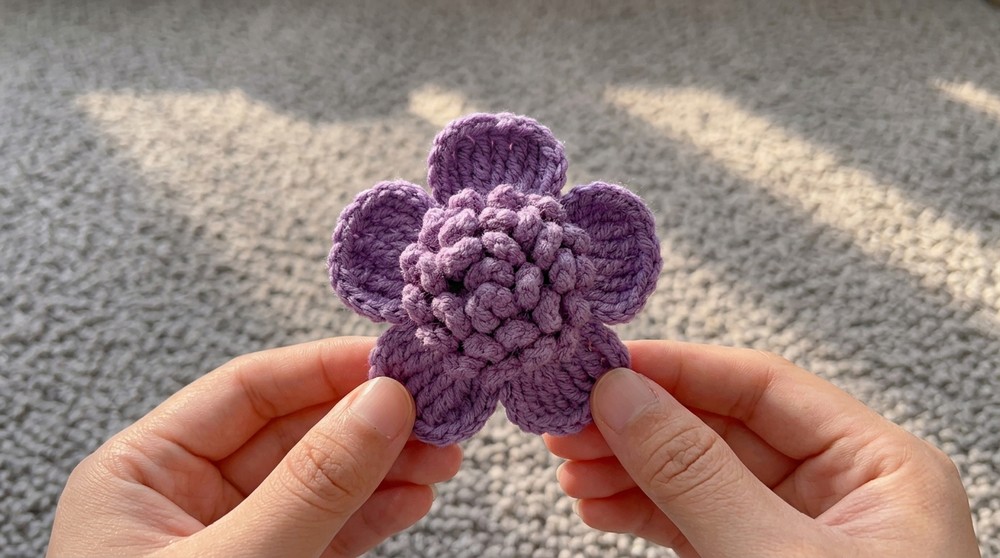
Finishing the Flower
- Once your flower is complete, pull the final yarn tail through the last stitch and trim the excess yarn.
- Use the tapestry needle to weave in all loose ends securely.
Attaching the Flower
- If turning this into a hairclip, stitch or glue the back of the flower onto your chosen clip or barrette.
- Allow time to dry if using glue.
Final Words and Tips
- Tips to Maintain the Pattern:
- Wash yarn flowers gently by hand to prevent them from losing shape.
- Stiffen petals for durability by spraying a fabric stiffener lightly.
- Craft Suggestions:
- Experiment with different yarn colors to create unique two-tone flowers.
- Add bead accents or rhinestones to the center to make the hairclip more decorative.