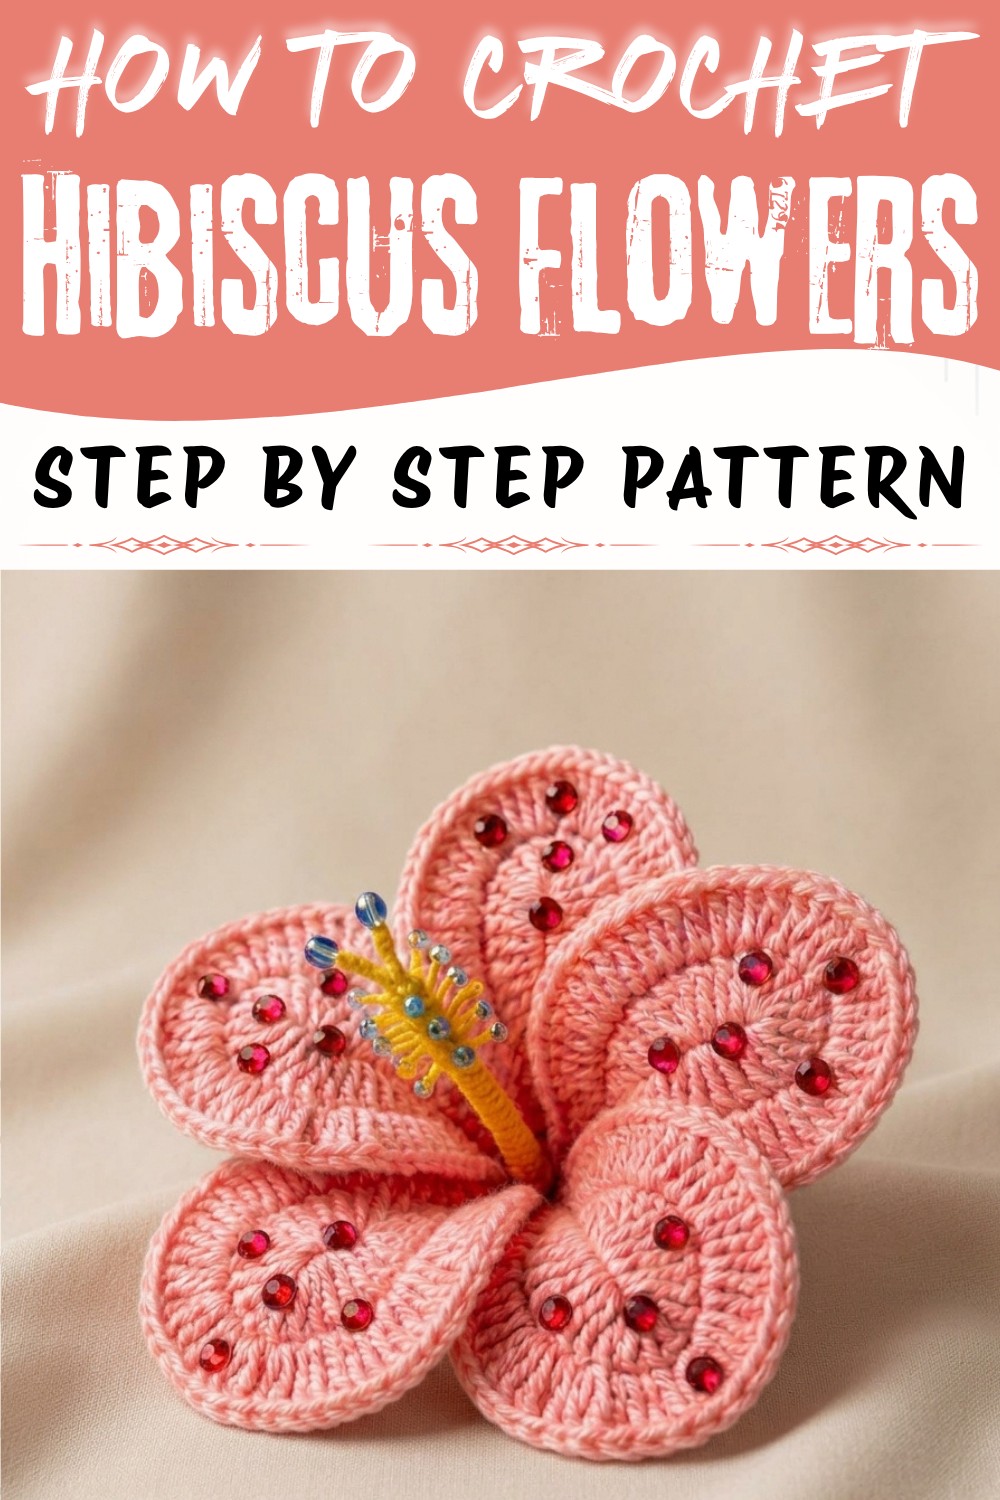
Bring a fresh floral touch to your projects with this Crochet Hibiscus Flowers Pattern, featuring pretty blooms for decor, bouquets.
Have you ever dreamed of brightening your space with tropical charm? This lovely pattern creates soft, colorful hibiscus blossoms that look just like the real thing. Whether placed in a vase, used as cheerful appliques, or turned into fun accessories, these flowers add a fresh, island feel to any room or outfit. The Crochet Hibiscus Flowers Pattern brings that vivid beauty right to your fingertips with easy-to-follow steps. Thanks to Nancy a crochet's clear and friendly instructions available on her YouTube channel, anyone can create these stunning blooms.
Colorful Crochet Hibiscus Flowers Free Pattern with Layered Petals
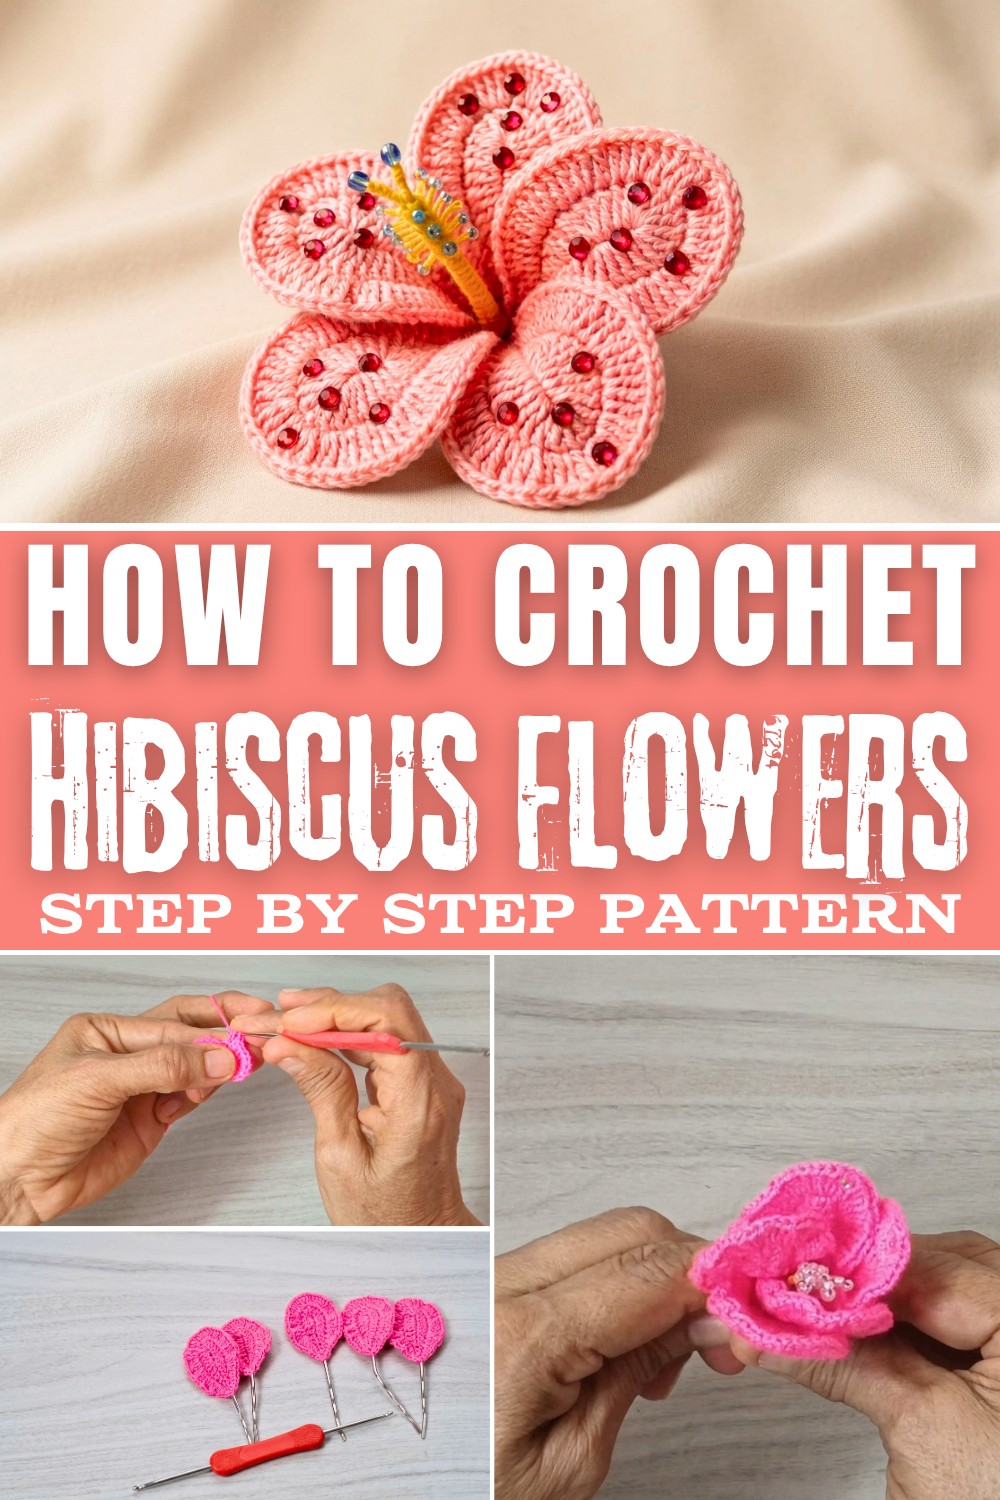
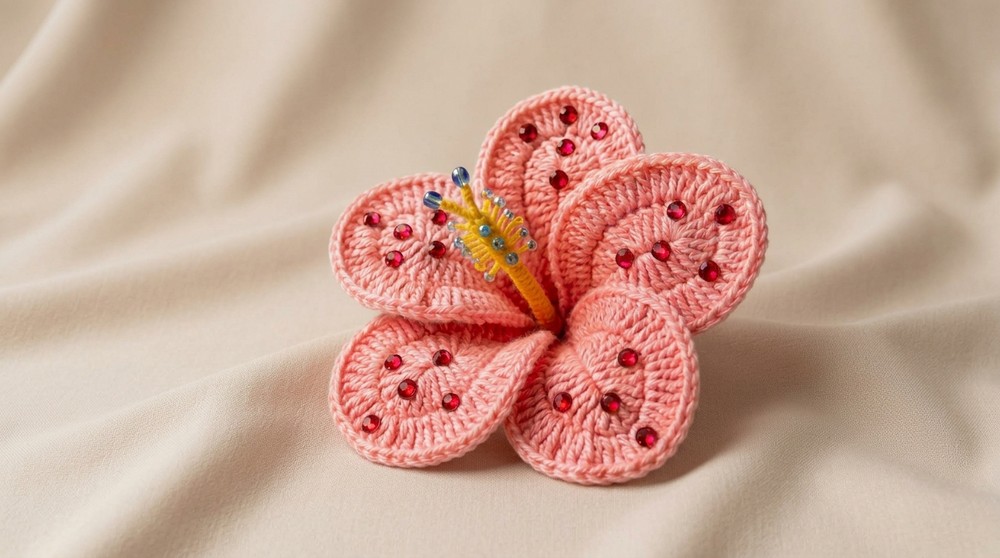
Each flower features large, rounded petals with a gentle curl, making them full of life and warmth. Their bright shades and delicate shapes capture the sunny spirit of the hibiscus, making them perfect for decorating summer parties, gifts, or even as unique home décor. The size and style of these flowers make them versatile, letting you use them anywhere from keychains to wall decor.
The finished flowers are not only beautiful but also last forever, giving you long-term enjoyment without wilting or fading. Ready to bring a touch of sunshine into your everyday life? Check out the free Crochet Hibiscus Flowers Pattern. It's a delightful project that welcomes all skill levels and fills your space with bright smiles.
Crocheted Hibiscus Flower Pattern
In this pattern, you will learn how to create an elegant and detailed crochet hibiscus flower using mercerized cotton and craft wire for shaping. Each petal features a sculpted border, while beaded stamens and brilliant rhinestone accents bring realistic depth and shine to your project. Follow each carefully detailed round and step as you crochet five lifelike petals, wire them together, and finish with sparkling embellishments-resulting in a beautiful handmade flower suitable for creative display, jewelry, or decorative projects.
Quick Overview Of Pattern
- Begin by crocheting five identical petals with a foundation chain and sculpted edge.
- Attach thin craft wire to the edge of each petal for shape and support.
- String seed beads onto short wire lengths and wrap with yarn to form stamens.
- Add rhinestone accents to petals with a soldering iron for sparkle.
- Assemble petals and stamens securely into a finished floral formation with neatly curved edges.
Notes
- This project uses small hooks and fine cotton for tight, precise stitches.
- Craft wire is inserted during the outer border to give petals adjustable shape and support.
- Seed beads and rhinestones replicate the hibiscus stamen and enhance the flower's aesthetic.
- Take care to mirror stitches exactly on each side for petal symmetry.
- For safety, supervise the use of a soldering iron and use tweezers for rhinestone application.
- Wet blocking petals before final assembly can help maintain shape.
Skill Level
- Intermediate: Involves basic and intermediate stitches, wire handling, beading, and assembling with fine details.
Materials
- Mercerized cotton yarn: desired petal color, plus yellow and/or white for stamens
- 1.5 mm crochet hook
- Thin craft wire: flexible enough for shaping but sturdy for support
- Seed beads or small stones/rhinestones: for stamen
- Self-adhesive rhinestones: for petal accents
- Soldering iron (for applying adhesive stones)
- Scissors
- Tweezers
Measurements / Sizing
- Each petal: Approx. 5-7 cm long (may vary with materials used)
- Finished flower: Approx. 10-12 cm diameter
Gauge
- Not critical for this motif; however, use a tight tension to keep stitches neat and wire concealed.
Stitch Abbreviations
- ch - chain
- sl st - slip stitch
- sc - single crochet
- hdc - half double crochet
- dc - double crochet
- inc - increase (2 or more stitches in the same base stitch)
- tr inc - triple increase (3 stitches in one base stitch)
Special Stitches
- Double Crochet Increase: Work two double crochets into the same stitch.
- Triple Crochet Increase: Work three stitches (usually double crochets) into the same stitch to create a rounded curve.
- Wire Insertion: Hold craft wire along the working edge and crochet over it to anchor the wire securely within the stitches.
The Crochet Pattern
Petal Creation
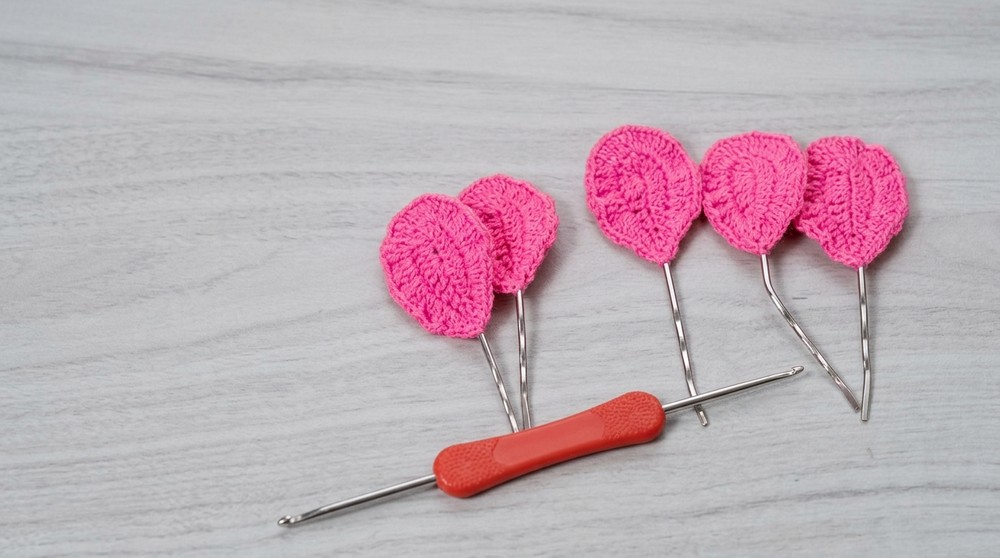
Make 5 identical petals.
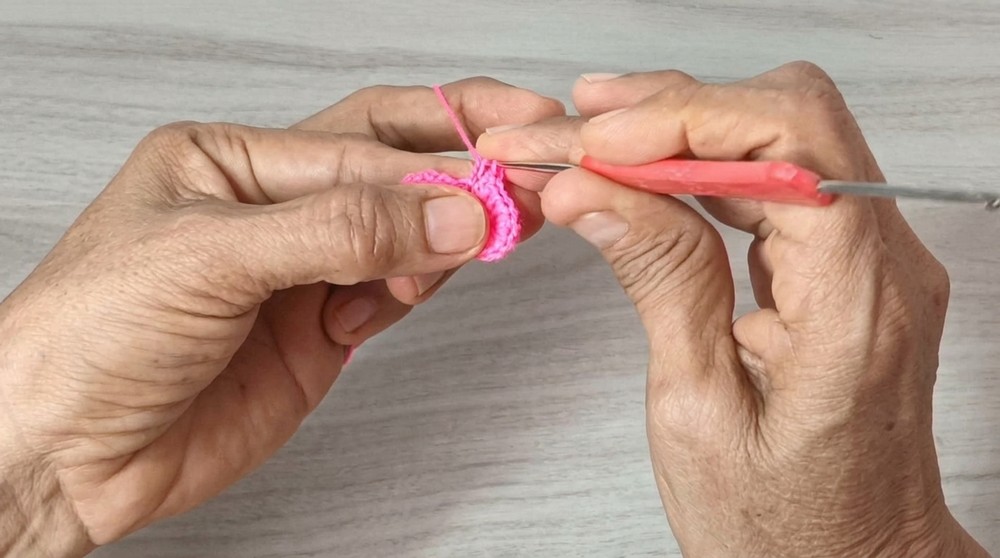
Round 1: Foundation and Base Shaping
- Start: With petal color yarn, make a slip knot.
- ch 11 to form the petal base.
- Work back along the chain:
- In the 3rd ch from the hook: sc
- Next ch: sc
- Next 2 chs: hdc in each (2 hdc)
- Next 2 chs: dc in each (2 dc)
- Next 2 chs: dc inc in each (total of 4 dc over 2 chs)
- Last ch: 5 dc all into this stitch (creates the petal tip)
Round 2: Mirrored Base (Opposite Side of Foundation Chain)
- Continue working along the unworked side of the starting chain:
- Next 2 chs: dc inc in each (total of 4 dc)
- Next 2 chs: dc in each (2 dc)
- Next 2 chs: hdc in each (2 hdc)
-
- Next 2 chs: sc in each (2 sc)
- sl st to base to close round.
- Fasten off if making all petals separately first; otherwise, proceed to border.
Attaching the Wire & Outer Border
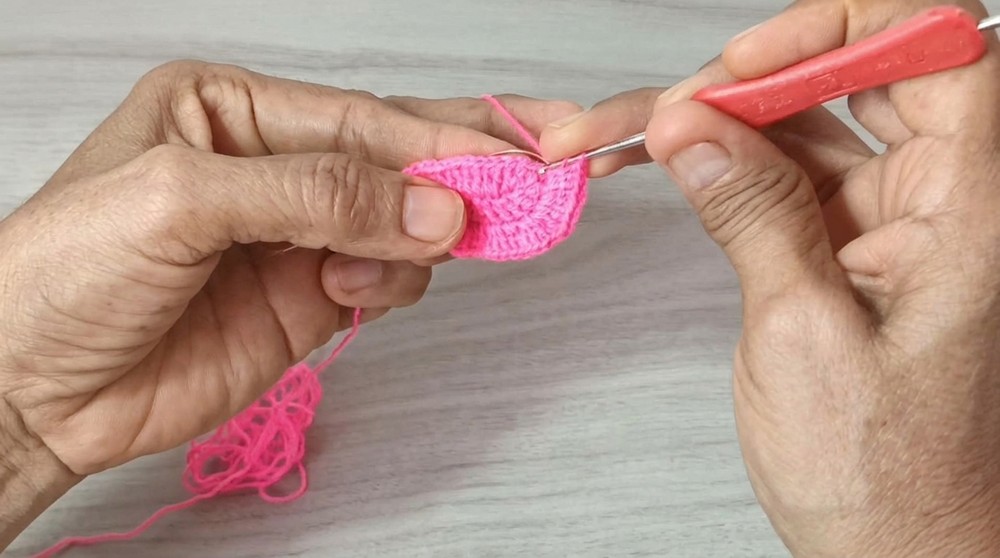
Round 3: Wire Border Shaping
- Join wire:
- With yarn and petal color, ch 1 at starting point of petal, insert thin wire so that it follows the petal's outer edge.
- sc over the wire at the petal base.
- Measure and cut wire so it matches the complete petal circumference.
- 1 additional sc over the wire.
- Edge shaping (along petal curve):
- 2 consecutive hdc increases (work 2 hdc in each of the next 2 stitches).
- Around the petal tip curve:
- 19 triple increases (work 3 sc into each of the next 19 stitches)-this roundness gives the petal its distinctive hibiscus flare.
-
- Down the mirrored edge:
- 2 hdc increases
- 2 sc
- At base: sl st, fasten off, and gently pull the yarn end through to secure.
- Down the mirrored edge:
- Shaping:
- Shape the wire now if desired for a soft curve.
- Wrap remaining tail yarn neatly around any exposed base wire for a smooth, finished appearance.
- Repeat Rounds 1-3 for all 5 petals.
Creating the Beaded Stamens
Step 4: Bead & Yarn Stamens
- Cut a short length of thin wire per stamen (approx. 8-10 cm).
- String 9-10 seed beads onto the wire.
- Bend wire and twist it below the beads to form a tiny loop (representing the stamen tip).
- Wrap yellow (or white) yarn tightly around remaining wire stem.
- Repeat to make 4-5 stamens.
Adding Rhinestone Accents
Step 5: Attach Rhinestones
- With tweezers, place adhesive rhinestones carefully on the petal edges or tips as desired.
- Apply gentle heat with a soldering iron to set the stones in place (ensure adhesive is melted and stone is fixed).
- Repeat as needed for all five petals.
Assembly & Finished Size
Step 6: Final Assembly & Shaping
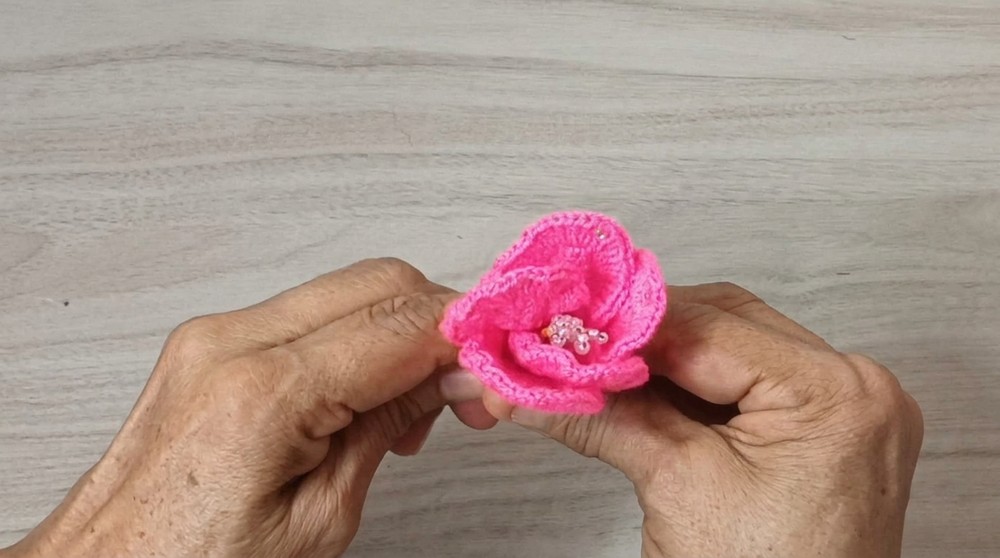
- Arrange the five petals in a natural circle, slightly overlapping at their bases.
- Insert beaded stamens so the loops project at the center of the assembled petals, slightly higher.
- Firmly bind all wire stems at the base using petal yarn or matching thread.
- Knot securely and trim any excess yarn.
- Curve and shape the petals and stamens as desired, using the wire for realistic effect.
- Optional: Damp-block flower for perfect shaping.
- Finished Size:
- Flower measures approx. 10-12 cm in diameter, each petal 5-7 cm long (size may vary with materials).
Conclusion and Ending Words
With its vibrant petals, lifelike beaded stamens, and sparkling rhinestone embellishments, this crocheted hibiscus flower is truly a showpiece. The structured rounds and wire-reinforced border allow for lasting shape and graceful curves, while the carefully arranged stamens and accents add a professional level of finish. Whether you plan to use this motif for decorative arrangements, wearable art, or as a truly unique accessory, the clear step-by-step pattern ensures a rewarding crocheting experience. Every round and stitch plays a crucial role-so take your time, follow each section closely, and enjoy the process as your beautiful hibiscus blooms in your hands. Happy crocheting.