
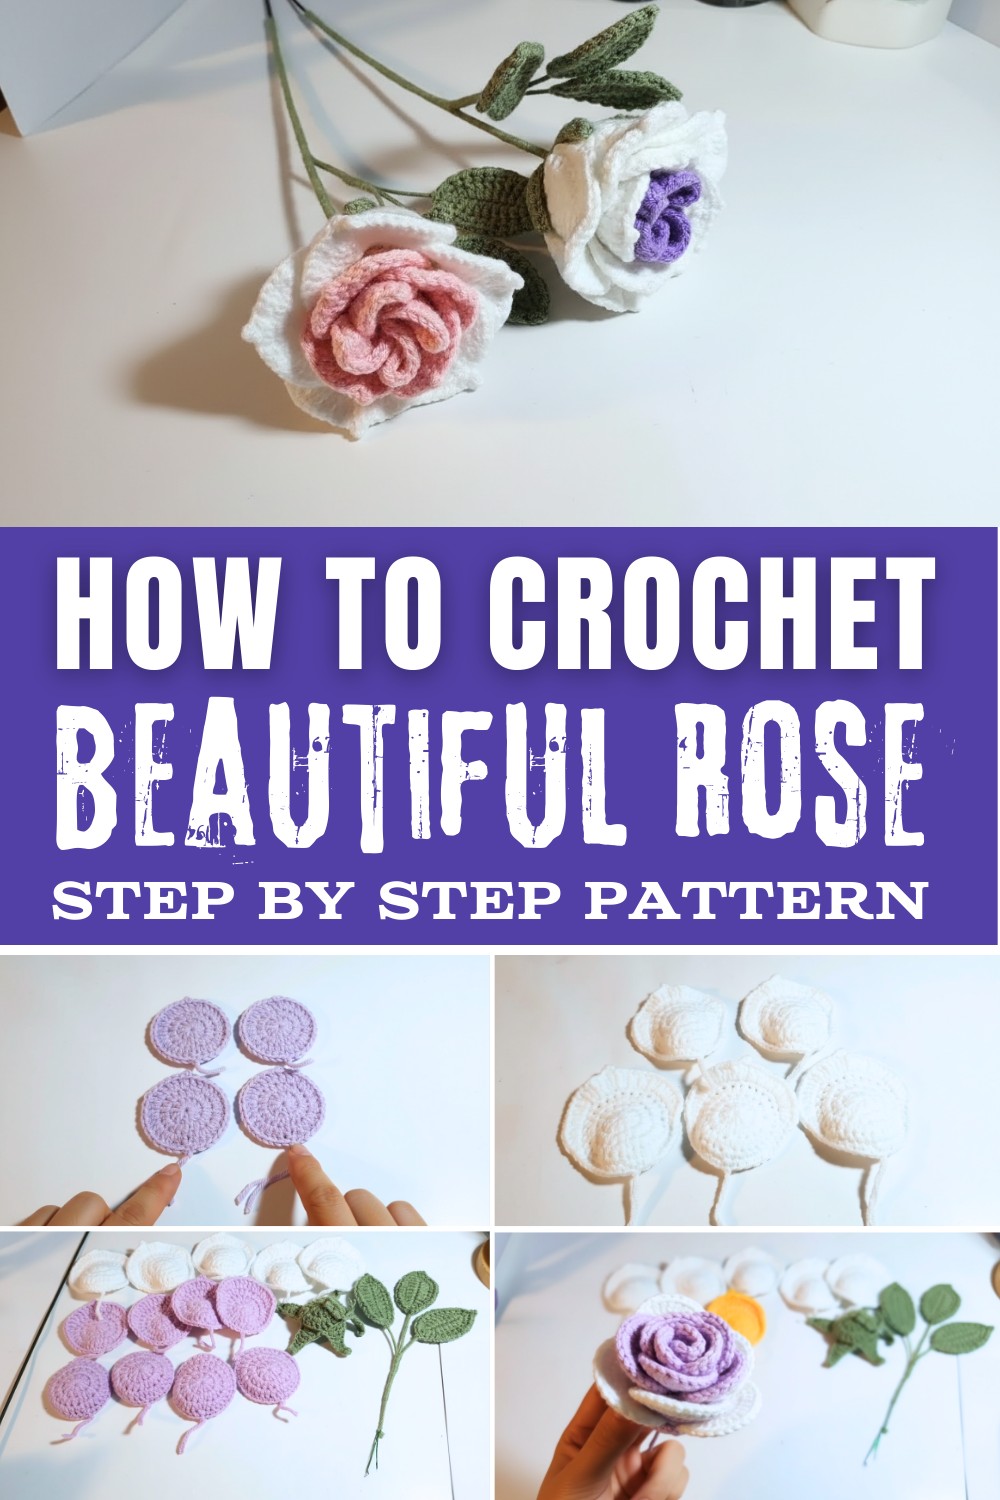
Renew your décor instantly using the Free Crochet Rose Pattern for stunning, petal-perfect flowers that never fade or droop.
A rose that never fades, crocheted entirely by your own hands-what could be more special? This crochet rose pattern combines simplicity and charm to create flowers that look elegant and lifelike. With petals that flow beautifully in layers, you can create these roses in rich reds, soft pinks, warm yellows, or even a mix of vibrant shades for something unique. Whether you use them for home décor, gift embellishments, or personal accessories, these handmade roses will bring beauty and joy wherever they go.
Free Step-by-Step Crochet Rose Pattern With Easy Directions
Beginners will love this pattern as it introduces versatile techniques like the magic circle, half-double crochet stitches, and single crochet increases. These foundational stitches are easy to grasp and essential for shaping the rose petals and creating depth. You'll also learn how to crochet realistic leaves for added contrast, making each flower stand out. As you go step-by-step, you'll see how small details like color choice and petal layering come together to create a stunning finished piece.
Other Things You Can Crochet From This Pattern
- Floral hair accessories like pins, clips, or headbands.
- Decorative garlands for walls, parties, or special occasions.
- Bouquet arrangements for weddings or gifts.
- Gift toppers for a memorable handmade touch.
- Wreaths with mixed flower designs for festive décor.

Reasons You'll Love This Pattern
It's beginner-friendly and easy to follow.
Allows unlimited creativity with color combinations.
Perfect for gifts, accessories, and home décor.
Quick and rewarding to make, using minimal yarn!
Materials Needed
- Yarn:
- Lilac: For Layer 1 (center petals).
- Lilac: For Layer 2 (middle petals).
- White: For Layer 3 (outermost petals).
- Green (optional): For leaves.
- Crochet Hook: 3.5 mm or suitable for your chosen yarn.
- Tapestry Needle: For weaving in ends.
- Scissors.
- Stitch Markers (optional): To mark the beginning of each round.
- Wire or Floral Tape (optional): To create stems if making floral arrangements.
- Pliers: For shaping wire (optional).
Gauge
Gauge is not essential for this pattern, but to achieve a cohesive layered look:
- Each layer of petals increases slightly in size, starting at ~4 cm (1.5 in) and increasing outward.
If your petals seem too large or small, adjust your hook size or yarn weight as needed.
Finished Size
- Overall Diameter: Approx. 10-12 cm (4-5 in) from edge to edge after completing all layers.
Pattern Notes
- This pattern uses US crochet terminology.
- Abbreviations:
- ch: Chain.
- sc: Single crochet.
- hdc: Half double crochet.
- dc: Double crochet.
- sl st: Slip stitch.
- inc: Increase (stitch twice into the same stitch).
- dec: Decrease (combine two stitches into one).
- Techniques Used:
- Magic Circle.
- Layered assembly of crochet flower petals.
- Customize colors for versatility. Here, lilac shades create a gradient effect.
What You'll Learn From This Pattern
- Craft the rose's base using the magic circle technique.
- Shape the layers of petals with simple half-double crochet stitches.
- Assemble the rose and leaves into a balanced, eye-catching design.
- Practice foundational crochet skills you can use in future projects.
Lovely Crochet Rose Pattern for Fun
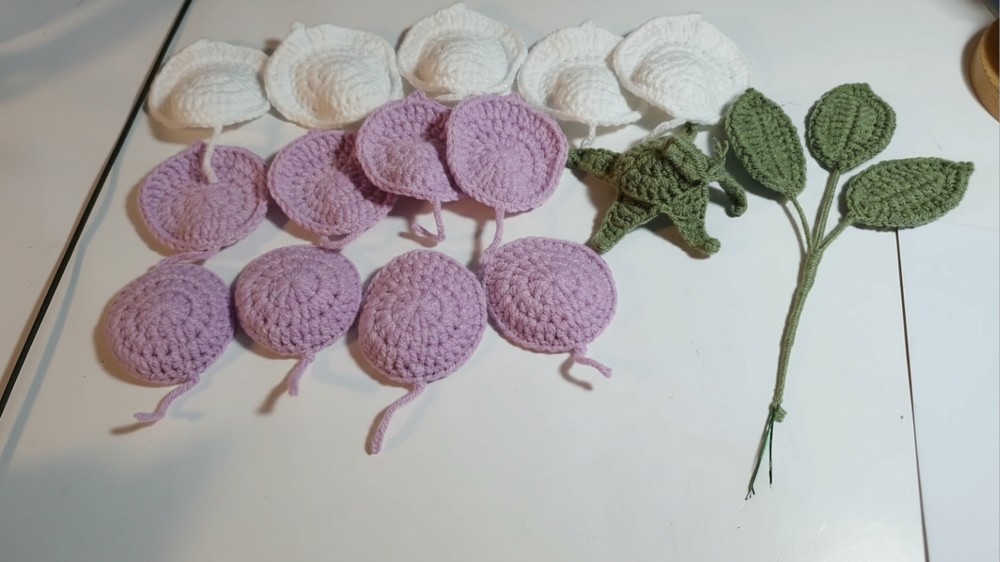
This crochet pattern provides detailed steps for creating a three-layered flower in different shades of lilac. The completed flower makes for a stunning embellishment on clothing, bags, hair accessories, or home decor projects. Customizable in size, you can easily adapt the layers or colors for your specific needs.
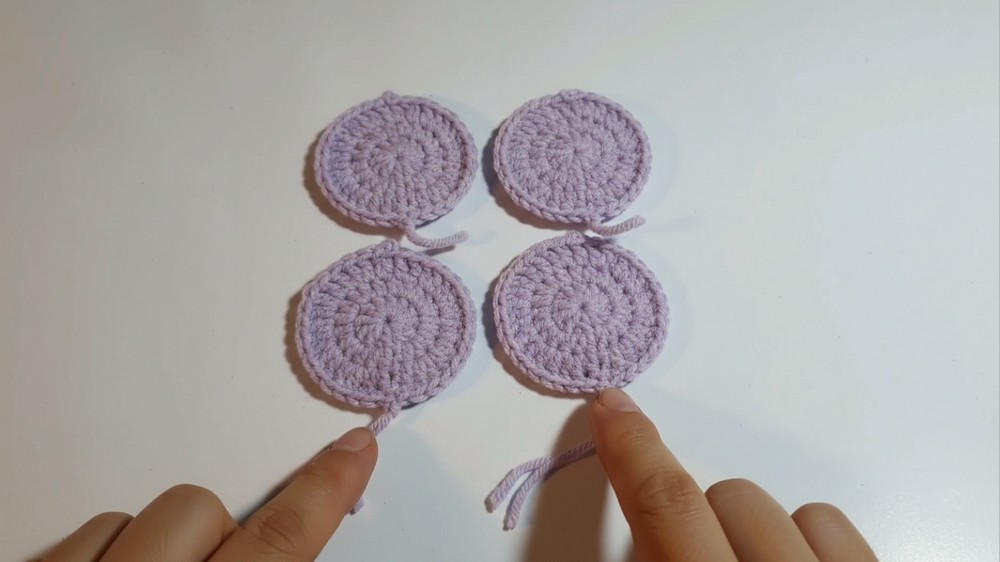
Layer 1: Inner Petals (Lilac)
Step 1: Create the Base
- Magic Circle:
- Start with a magic circle, or chain 4 and join with a sl st to form a ring.
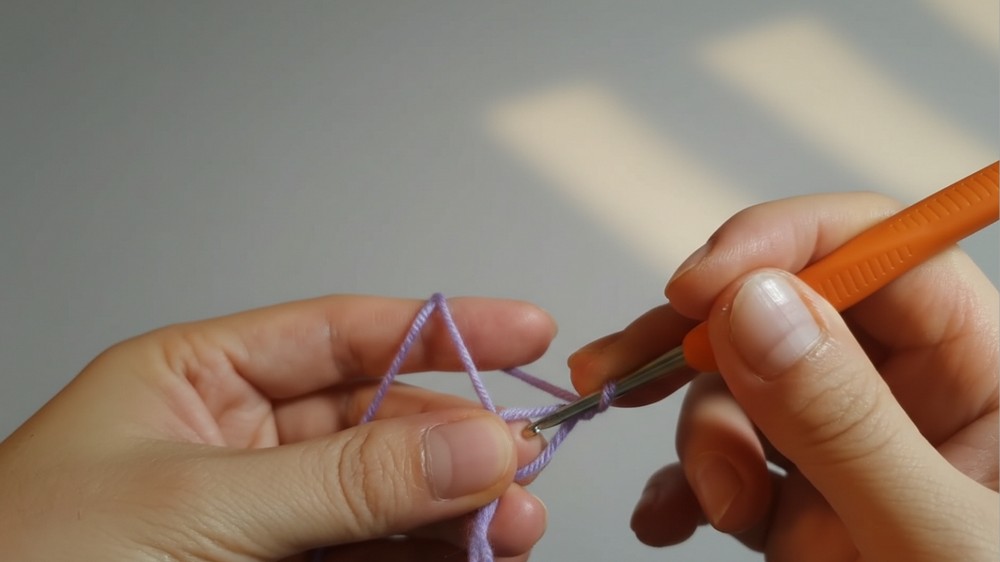
- Start with a magic circle, or chain 4 and join with a sl st to form a ring.
- Round 1 (10 sc):
- Chain 1, make 10 sc into the ring. Pull the ring tight to close.
- Slip stitch to the first sc to join.
- Round 2 (20 hdc):
- Chain 1, make 2 hdc in each stitch around (inc in every stitch).
- You should have 20 hdc at the end of the round.
- Slip stitch to the first hdc to join.
Step 2: Form the Inner Petals
- Round 3 (1 hdc, inc):
- Chain 1, hdc in the first stitch, 2 hdc in the next stitch (inc). Repeat (1 hdc, inc) around.
- You should have 30 hdc by the end.
- Slip stitch to join.
- Round 4 (Petal Row):
- Chain 1.
- Work 1 sc into each of the first 9 stitches.
- In the 10th stitch, crochet 1 hdc, 2 hdc (inc). Repeat the sequence (9 sc, hdc, inc) four times.
- Slip stitch to the first sc to complete the round.
- Fasten off and weave in ends.
Layer 2: Middle Petals (Lilac)
Step 1: Base Creation
- Repeat Rounds 1-3 from Layer 1 to create the base for the middle layer.
- Round 4 (Modified Petal Formation):
- Chain 1.
- Make 9 sc in the first 9 stitches, then make the following in the next stitch: 2 hdc, 1 hdc.
- Continue with 9 sc, [1 hdc, 2 hdc], and repeat the sequence.
- Slip stitch to the first sc at the end of the round.
- Fasten off, leaving a long tail for sewing.
Layer 3: Outer Petals (White)
Step 1: Base Creation
- Repeat Rounds 1-3 from Layer 1, this time using white yarn for the outermost layer.
- Round 4 (Modified for Larger Petals):
- Work 1 sc into the first 5 stitches.
- In the next 2 stitches, work 1 hdc, 2 hdc (inc), 1 hdc. Continue repeating this sequence around:
- 5 sc, 1 hdc, 2 hdc (inc), 1 hdc.
- At the end of the row, you should see larger, broader petals forming.
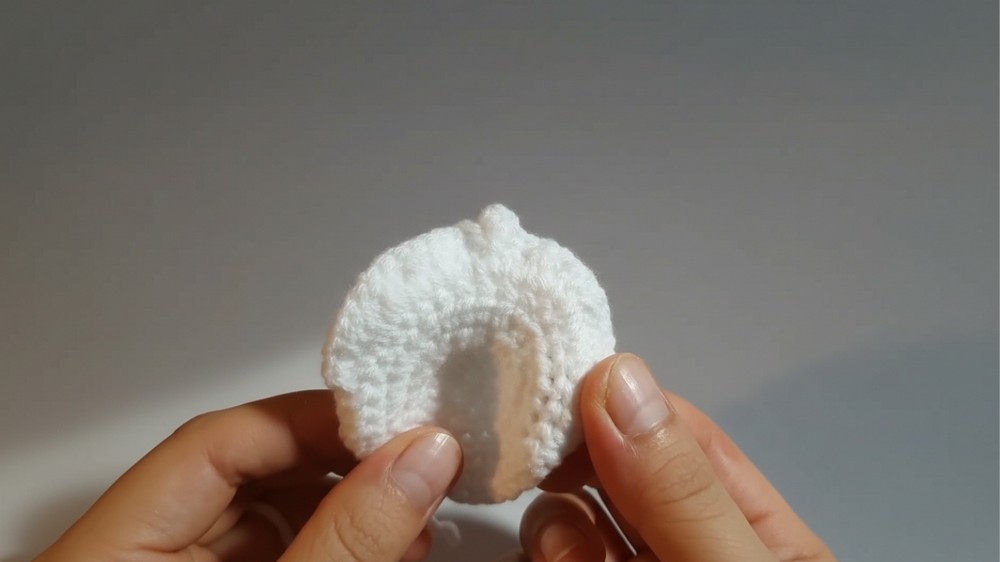
- Slip stitch to join.
- Round 5:
- Extend the petals by adding more height:
- Work 10 sc in each petal, or add extra hdc or dc for a fluted edge if desired.
- After completing each petal, slip stitch to secure and move onto the next.

- Extend the petals by adding more height:
- Fasten off and weave in any loose ends.
Assembly
- Lay out the petal layers starting from the smallest (Layer 1) to the largest (Layer 3).
- Align the centers, then sew or glue the layers firmly together at the base.
- Use the long tail left from Layer 2 for sewing.
- Fluff and adjust the petals for a natural, layered appearance.

Optional: Adding Leaves
Leaf Pattern
- Magic Circle:
- Chain 10.
- Shaping the Leaf:
- Work sc into the 2nd chain from the hook, hdc in the next 2 stitches, dc in the next 3 stitches, and work a treble crochet (tr) in the following stitch for the peak.
- Reverse the pattern symmetrically down the opposite side of the chain.
- Slip stitch at the end for a rounded finish.
- Make 3-4 leaves and attach to the flower base.

Customization Tips
- Add Texture: Use puff stitches or picots along the petal edges for depth.
- Beads or Sequins: Add to the flower center for extra detail.
- Change Colors: Experiment with pastel gradients or bright, contrasting colors to suit your project.
- Make it a Bouquet: Use floral wire to create stems. Wrap with green floral tape for a realistic look.
Final Look and Remarks
This lilac-layered flower exudes elegance and charm, making it a versatile addition to your crochet repertoire. Whether used as a standalone piece, part of a floral arrangement, or as an embellishment, its timeless design ensures endless creative possibilities.