
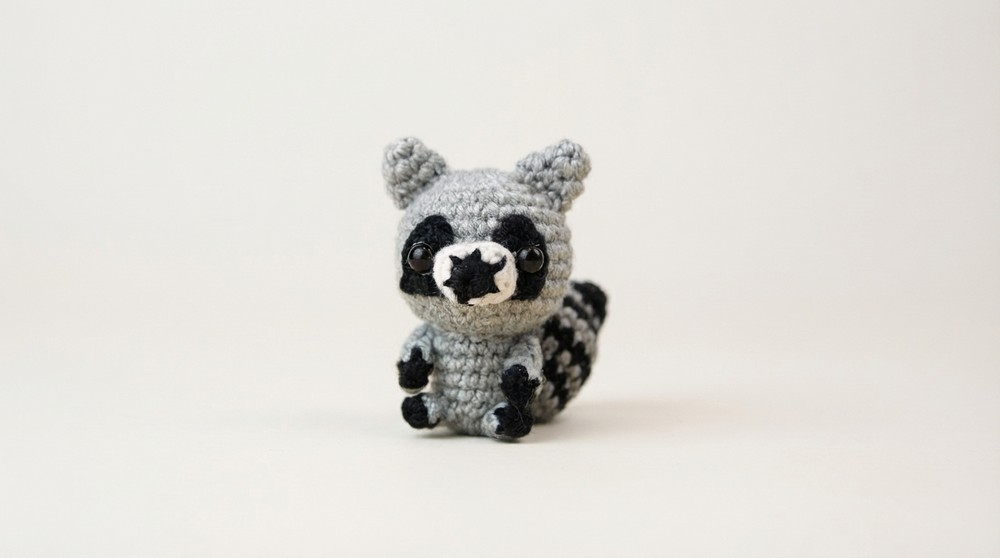
Celebrate your love for animals with this Crochet Raccoon Amigurumi Free Pattern and make a playful raccoon full of personality.
Find the delightful world of amigurumi with the charming raccoon design brought to life by Bibi Crochet's expert tutorial and creative vision. This adorable handmade creation embodies a perfect blend of playful style and cozy appeal, making it an ideal project for adding a touch of whimsy to your home decor or gifting to loved ones. Whether nestled on a shelf during the chilly fall months or brightening up a springtime nursery, it brings warmth and cheer year-round. The Crochet Raccoon Amigurumi Pattern offers fans and makers an engaging and satisfying project to bring this lovable character into their lives.
Cute Crochet Raccoon Amigurumi Free Pattern with Woodland Charm
The pattern offers not only a visual treat but also a tactile delight. Its compact size fits comfortably in your hands, making it a wonderful companion or a standout decorative piece. The project is versatile enough to be paired with other woodland-themed amigurumi creations or displayed solo for a minimalist charm.
Texture plays a significant role in elevating the raccoon's character-the soft, dense yarn provides a plush feel, inviting gentle touch and long-lasting resilience. What truly sets this design apart are its carefully shaped facial features and detailed markings that capture the raccoon's mischievous expression without overwhelming its simple silhouette. Thoughtful touches such as the delicately crocheted ears and the striped tail add layers of personality, bringing this little creature to life in an enchanting way.
Perfect for gifting during holidays, baby showers, or simply as a cute addition to your own collection, this pattern stands out not only for its visual beauty but also for its comforting presence. Dive into this rewarding project and let your creativity soar with the complete Crochet Raccoon Amigurumi Pattern-your new favorite companion awaits.
Crochet Amigurumi Raccoon free Pattern
This amigurumi Raccoon is a delightful project, worked in seamless rounds and thoughtful components for a lively, expressive result. The construction process covers each stage in detail, from shaping the charming head and body to sculpting distinctive features such as ears, tail, and patches. Through strategic color changes and straightforward shaping, the design develops both softness and structure. Guidance includes the addition of eye patches, muzzle, and precise placement of details using safety or glue-on eyes to bring character to the final figure. The ease of assembly, coupled with carefully used stuffing and finishing tips, supports successful results for those with foundational crochet skills. Each section is organized for efficient progress and a satisfying finish, especially suitable for seasonal decor or heartfelt gifts.
Quick Overview Of Pattern
- Worked in spiral rounds from the top down for the head and body
- Small base and appendages joined for stability
- Key details added with simple assembly steps
- Color changes in yarn create a multi-tonal effect
- Suitable for beginners to intermediate crocheters
Notes
- Use a stitch marker to identify round starts, as the work proceeds in a continuous spiral.
- When changing colors, always pull new yarn through the last loop of the previous stitch.
- Stuff the body and head firmly but evenly to maintain the shape.
- All increases (inc) and decreases (dec) are worked as single crochet unless otherwise stated.
- For safety eyes, insert and secure before closing the head as specified.
- Invisible decreases are recommended for a neater finish on rounding off shapes.
Skill Level
- Beginner to Intermediate. Comfort with magic rings, working in the round, single crochet, increasing, decreasing, changing colors, and basic hand sewing is assumed.
Materials
- Cotton yarn in Grey, Black, and White
- Crochet hook: 2.0 mm
- Stuffing: Fiberfill (cotton or polyester)
- Eyes: Safety eyes or glue-on eyes (size appropriate for your project, typically 6-8mm)
- Tapestry needle (for sewing and weaving in ends)
- Stitch marker
- Hot glue gun (optional, for glue-on eyes)
Measurements / Sizing
- Finished Raccoon is approximately 10-13 cm tall (varies slightly by yarn and tension)
- Head diameter: ~5 cm
- Proportional arms, legs, and tail
Gauge
- Exact gauge is not critical, but typical tension is 6 sc x 7 rows per 2 cm. Adjust hook size if necessary for a tight, even fabric that holds stuffing securely.
Stitch Abbreviations
| Abbreviation | Meaning |
|---|---|
| MR | Magic Ring |
| ch | Chain |
| sc | Single Crochet |
| inc | Increase (2 sc in one stitch) |
| dec | Decrease (sc 2 together) |
| sl st | Slip Stitch |
| st(s) | Stitch(es) |
Special Stitches
- Invisible Decrease: Insert hook into the front loop of the next two stitches. Yarn over, draw through both front loops (2 loops on hook), yarn over, pull through both.
The Crochet Pattern
Head
- Round 1: Using Grey yarn, form a magic ring (MR). Work 7 single crochet (sc) into the ring. [7]
- Round 2: Work 1 increase (inc) in each stitch around (2 sc in each st). [14]
- Round 3: [1 sc, 1 inc] repeat around. [21]
- Round 4: [2 sc, 1 inc] repeat around. [28]

- Rounds 5-10: 1 sc in each stitch around. [28 per round]
- Round 11: [2 sc, 1 decrease (dec)] repeat around. [21]
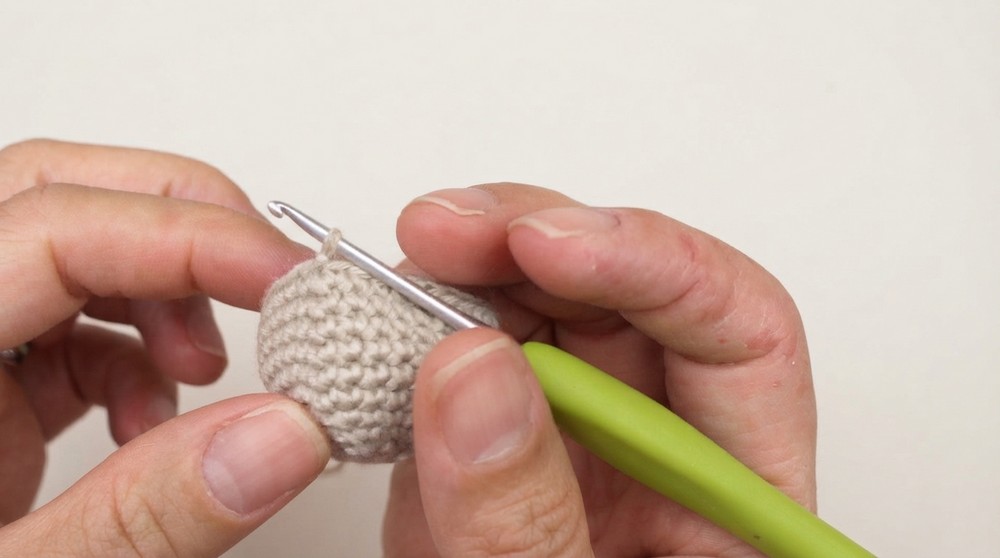
- Round 12: [1 sc, 1 dec] repeat around. [14]
- Round 13: 7 dec around. [7]
- Fasten off, weave through front loops with wool needle, pull tight to close, and knot.
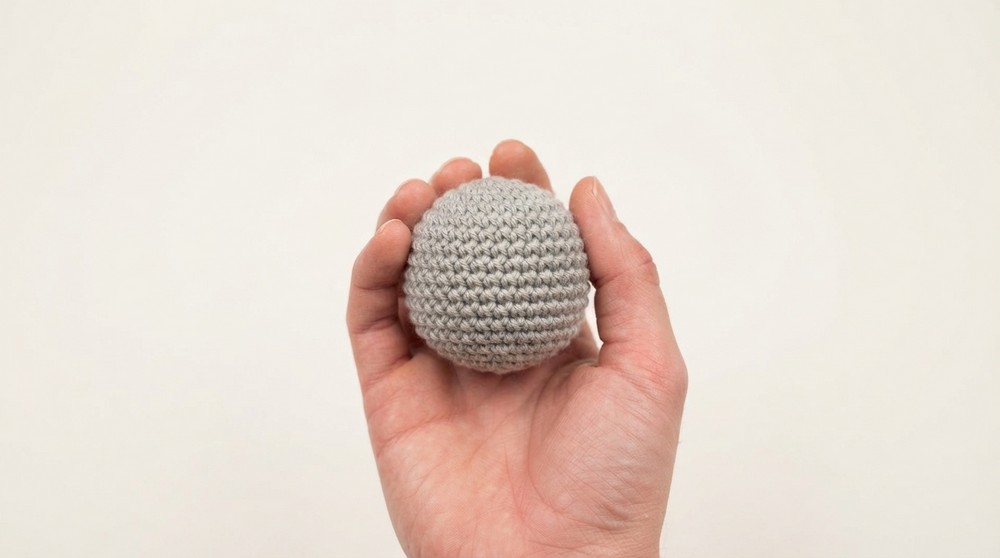
Body
- Round 1: With Grey yarn, form a MR. Work 7 sc into ring. [7]
- Round 2: 1 inc in each stitch around (2 sc in each st). [14]
- Rounds 3-7: 1 sc in each stitch around. [14 per round]
- Stuff body firmly and sew to head.
Arms (Make 2)
- Round 1: With Black yarn, form a MR. Work 4 sc into ring. [4]
- Rounds 2-4: Change to Grey yarn. 1 sc in each stitch around. [4 per round]
- Round 5: Change to Black yarn. 1 sc in each stitch around. [4]
- Fasten off, leave long tail, sew to body.
Outer Ears (Make 2)
- Round 1: With Grey yarn, form a MR. Work 4 sc. [4]
- Round 2: 1 inc in each stitch around (2 sc in each st). [8]
- Round 3: 1 sc in each stitch around. [8]
- Optional Round 4: 1 sc in each stitch around. [8] (for a pointier ear)
- Fasten off, leave tail for sewing.
Eye Patches (Make 2, flat rows)
- Row 1: With Black yarn, chain 5. Starting from 2nd chain, 1 sc in each of next 4 chains. [4]
- Row 2: Chain 1, turn. [1 sc, 1 inc, 1 sc, 1 inc] [6]
- Row 3: Chain 1, turn. [2 sc, 1 inc, 2 sc, 1 inc] [8]
- Fasten off, leave long tail for sewing.
Muzzle
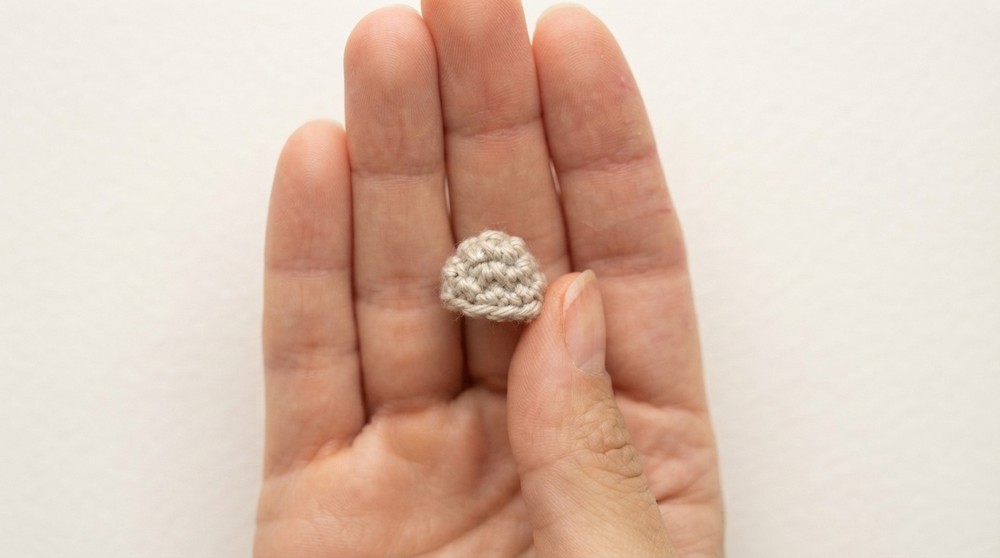
- Round 1: With Black yarn, form a MR. Work 6 sc. Change to White yarn before closing ring. [6]
- Round 2: In White, 1 inc in each stitch around (2 sc in each st). [12]
- Round 3: 1 sc in each stitch around. [12]
- Fasten off, leave long tail for assembly.
Tail
- Round 1: With Black yarn, form a MR. Work 6 sc. [6]
- Round 2: In Black, [1 sc, 1 inc] repeat around. [9]
- Round 3: Change to Grey yarn (carry Black inside). 1 sc in each stitch around. [9]
- Round 4: Change to Black yarn. 1 inc in each stitch around (2 sc in each st). [18]
- Rounds 5-9: Alternate Grey and Black every round. 1 sc in each stitch around. [18 per round]
- Round 10: In Black, [1 sc, 1 dec] repeat around. [12]
- Round 11: 6 dec around. [6]

- Fasten off, leave tail, sew to back of body.
Feet (Make 2)
- Round 1: With Black yarn, form a MR. Work 4 sc. [4]
- Round 2: Change to Grey yarn. 1 sc in each stitch around. [4]
- Fasten off, leave tail. Sew to bottom back of body.
Assembly & Finished Size
- Sew the black Eye Patches to the front of the face, with the pointed edges angled slightly upward. Attach using the tails, sewing under the front loops to hide stitches.
- Position the Muzzle centrally over the bottom of the eye patches; sew around the edge for a secure fit.
- Place the Outer Ears on each top-side of the head, aligning them with the magic ring center point, and sew firmly in place.
- Install the Eyes: Insert safety eyes (or glue on eyes) onto eye patches between Rounds 7 and 8.
- Attach Arms and Feet as previously described, ensuring symmetry on both sides and stability when the figure is upright.
- Sew the Tail securely to the body's back, checking that the stripes align and the tail sits comfortably at the base.

Your completed Raccoon should stand around 10-13 cm tall, with notable facial features and secure, well-shaped appendages.
Conclusion and Ending Words
Attention to careful construction and detail transforms basic rounds and rows into a spirited Raccoon with plenty of personality. This project offers a satisfying experience for those looking to reinforce techniques such as color changes, invisible decreases, and efficient assembly. Each component is shaped for consistency and ease of joining, promoting both visual and structural integrity. This amigurumi is a thoughtful handmade option for decorations, gifts, or playful collectibles. By sticking to the stepwise order and pausing for assembly when prompted, the result is a highly recognizable, sturdy, and joyful creation. The confident use of materials and colors-together with patience throughout the finishing process-ensures an attractive, long-lasting figure appreciated by recipients of all ages.