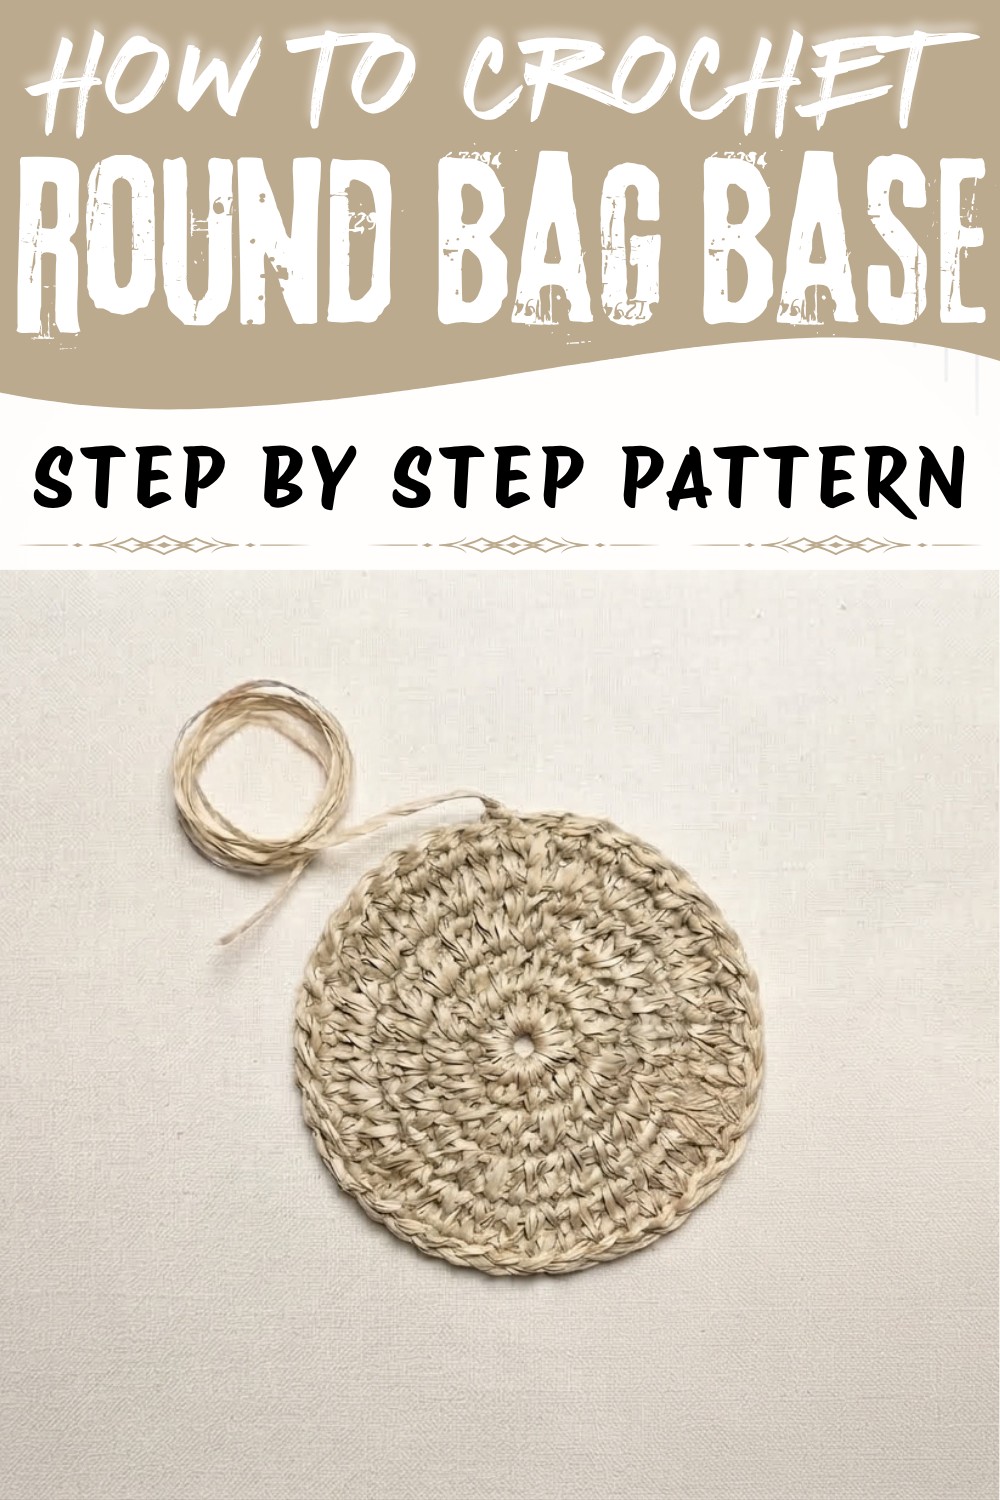
Start your next handbag with the Crochet Round Bag Base Free Pattern, a simple round foundation for a neat everyday bags.
Have you ever seen a bag so charming that it instantly becomes your favorite? A round bag with a perfectly flat base that gives it both style and stability. This beautiful round base creates a neat, smooth look that makes the bag stand out wherever you go. Designed by Kadriye, whose easy-to-follow instructions can be found on the GÖKTÜRK AİLESİ YouTube channel, this tutorial shows you exactly how to make one. The Crochet Round Bag Base Pattern is the secret behind the bag's excellent shape and durability.
Easy Crochet Round Bag Base Free Pattern For Beginners
The finished bag feels cozy in your hands and looks great with any outfit, whether casual or a bit dressy. Its round base adds a lovely touch, making the bag look balanced and elegant. Plus, it's not just pretty - it's practical, too! The wide, round bottom means you can carry your things without worrying about the bag tipping over or losing its shape.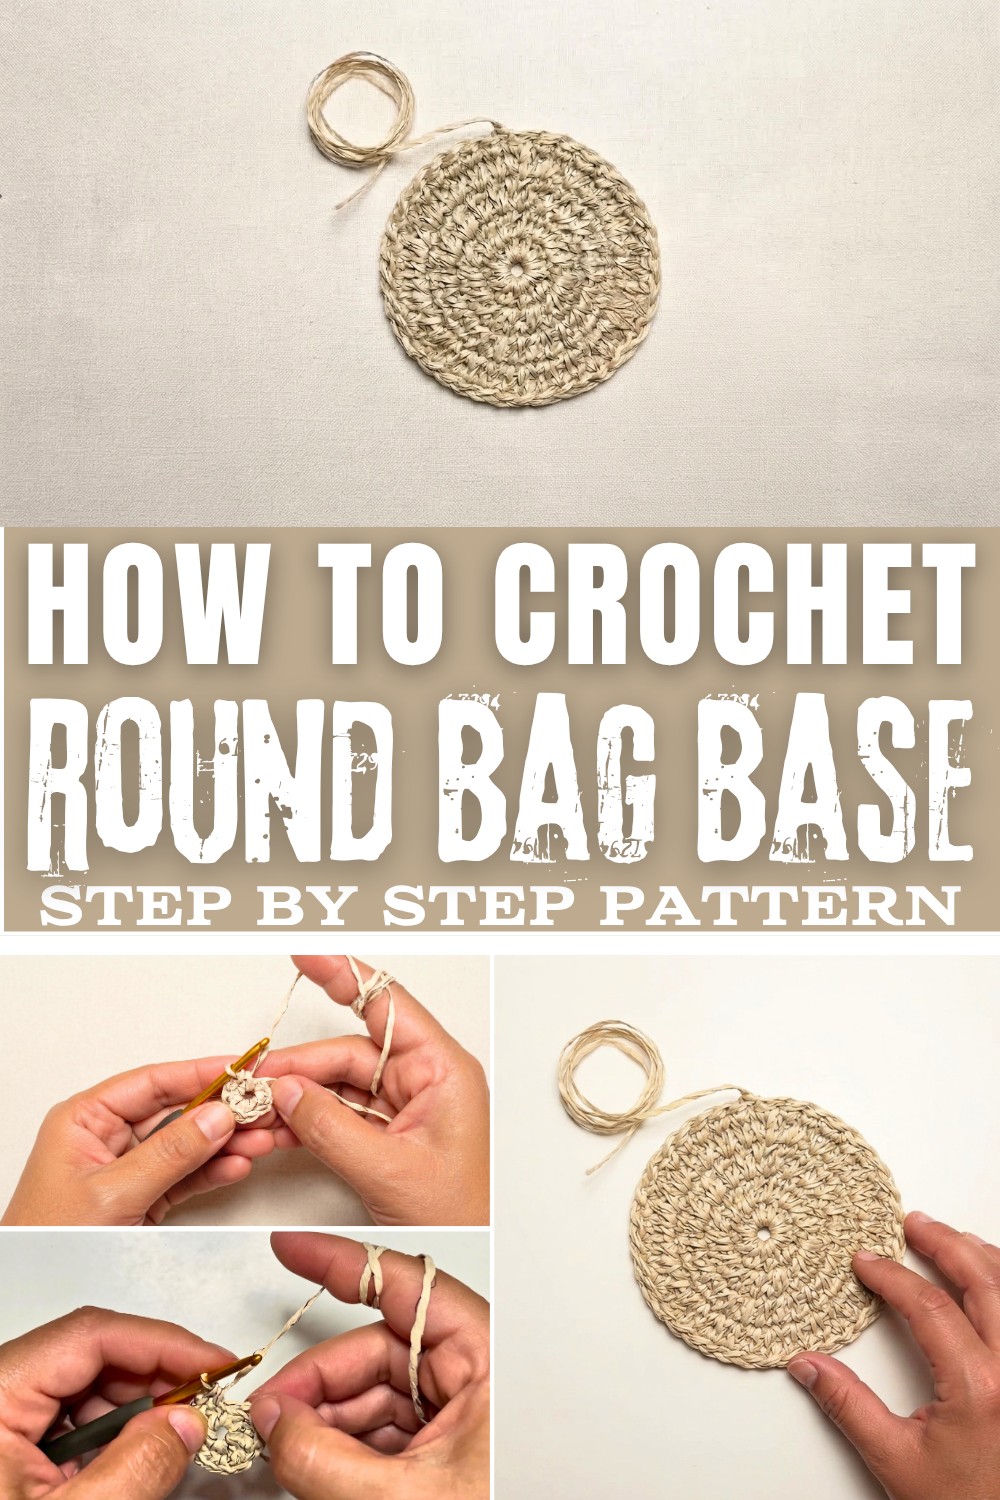
This design is perfect for those who love simple, neat projects that have a beautiful result. Whether you're new to crochet or have some experience, this pattern offers a chance to create something fun and useful. The pattern makes it easy to build the base with clear, friendly tips to help you do it just right. If you want to create a stylish, sturdy round bag of your own, be sure to check out this free Crochet Round Bag Base Pattern tutorial. It's a great project to try and adds a special charm to your handmade collection. Enjoy making your lovely round base today.
Quick Crochet Round Bag Base Free Pattern
Creating a sturdy, neat round bag base is the foundation for any beautiful crochet bag. In this tutorial, you will learn how to build such a base using paper yarn (raffia) and simple crochet techniques. We walk through the entire process: choosing yarn and hook, forming a magic ring, then increasing in rounds to achieve the ideal size while keeping your base perfectly flat. Each method is explained clearly, helping you avoid common pitfalls and guiding you toward professional results.
Quick Overview Of Pattern
- Work with paper string (raffia), selecting the ideal hook for smooth stitches.
- Begin with a magic ring and single crochet foundation.
- Increase strategically in each round to grow the circle.
- Employ stitch markers for precise round tracking.
- Check for flatness, adjusting increase and straight rounds as needed.
- Continue until your desired base size is achieved.
Notes
- Paper yarn may vary in thickness and strength, so keep tension gentle, especially during magic ring closure.
- Hook selection is crucial: the yarn should fit snugly but not tightly at the hook tip to prevent snagging.
- Exact stitch counts are provided for clarity, but always check your flatness after each round.
- If your base ripples or cups, work a straight (no increase) round to correct.

Skill Level
Beginner to Intermediate: This guide covers basic single crochet, increasing, stitch marking, and working in the round. Attention to tension and flatness is required, though the methods are simple.
Materials
- Yarn: Paper string / raffia (check thickness; aim for smooth coverage over hook tip).
- Hook: Size 3.0 mm (or correspondingly suited to your yarn).
- Stitch Marker: Contrasting yarn, marker, or bobby pin.
- Scissors
Measurements / Sizing
- Base size is fully customizable-you may continue increasing rounds until desired diameter is reached (typical handbag bases range from 18-24 cm).
- Final diameter depends on yarn thickness, tension, and number of increase rounds.
Sample schematic:
[Circle with radii marked in cm, labeled "foundation," "increased rows," and "straight rows"]
Gauge & Stitch Pattern
- Gauge: Not critical, but check that base lies flat after each round.
- Stitch Pattern: Single crochet throughout (US terms).
Stitch Abbreviations
| Abbreviation | Meaning |
|---|---|
| ch | chain |
| sc | single crochet |
| sl st | slip stitch |
| sts | stitches |
| MR | magic ring |
Special Stitches
- Magic Ring (MR):
Form a loop, insert hook, pull yarn through, secure with a single chain, and work stitches into ring. - Increase (inc):
Work 2 sc in the same stitch.
The Crochet Pattern
Making the Magic Ring & Foundation Round
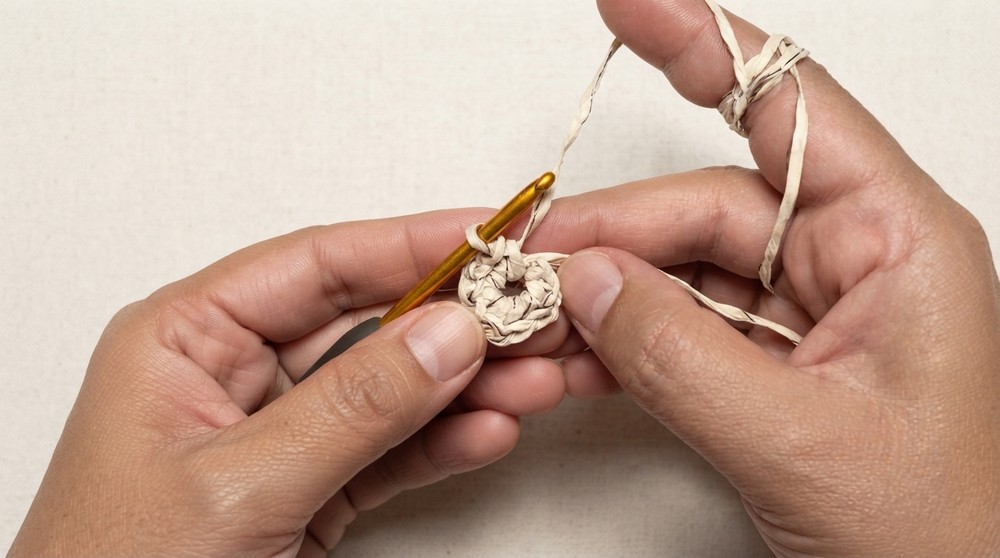
- Form the Magic Ring:
- Place yarn over middle finger, from front to back, forming an "X" on the back.
- Insert crochet hook through left side of "X" facing you, pull yarn through, secure with one chain.
- Work into Magic Ring:
- Round 1:
- Work 8 single crochets (sc) into the magic ring.
- Gently pull tail to close ring-do this slowly to avoid snapping the paper yarn.
- Join round: Insert hook into top of first sc, pull up a loop, then slip stitch (sl st) to close.
- Round 1:
Second Round (Increasing Every Stitch)
- Increase Every Stitch:
- Round 2:
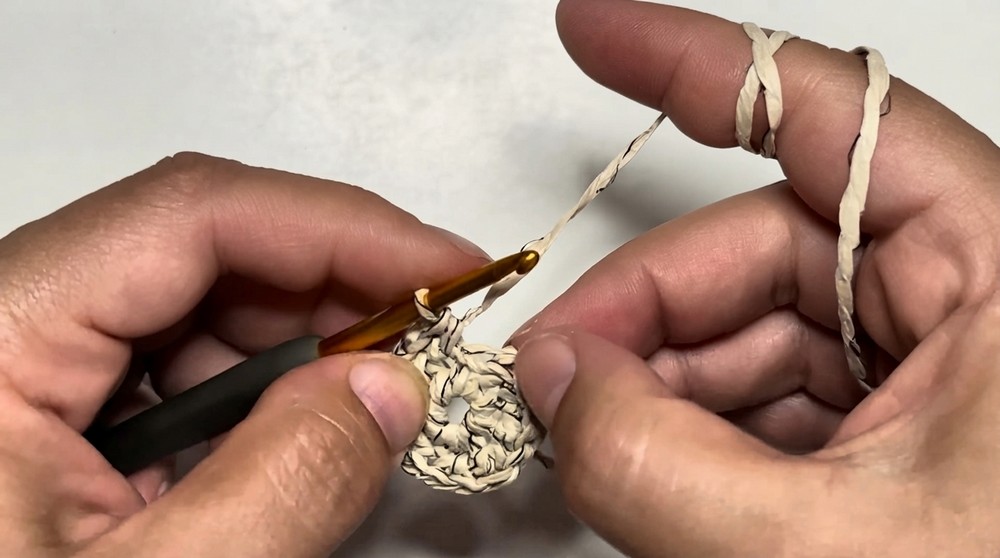
- Into each sc, work 2 sc (increase).
- Total at end: 16 sc.
- Round 2:
- Place Stitch Marker:
- Place your marker at the start of the round to keep your place.
Third Round (One Single, One Increase)
- Pattern Sequence:
- Round 3:
- [1 sc in stitch, 2 sc in next stitch] - alternate this sequence around.
- Total at end: 24 sc.
- Round 3:
- Move Marker Up:
- Move your marker to the new round start and continue.
Subsequent Increasing Rounds
Continue with this logical, incremental sequence to expand the base:
- Round 4: Two Singles, One Increase
- [1 sc in each of the first 2 sts, 2 sc in next st (increase)].
- Repeat around.
- Result: 32 sc.
- Round 5: Three Singles, One Increase
- [1 sc in each of the first 3 sts, 2 sc in next st].
- Repeat around.
- Round 6: Four Singles, One Increase
- [1 sc in each of 4 sts, 2 sc in next st].
- Repeat.
- Continue Pattern:
- Each round, add one more single crochet between increases:
- 5 sc, 1 increase
- 6 sc, 1 increase
- 7 sc, 1 increase, etc.
- Continue up to "about 7 singles and one increase" (or until your desired diameter is reached).
- Each round, add one more single crochet between increases:
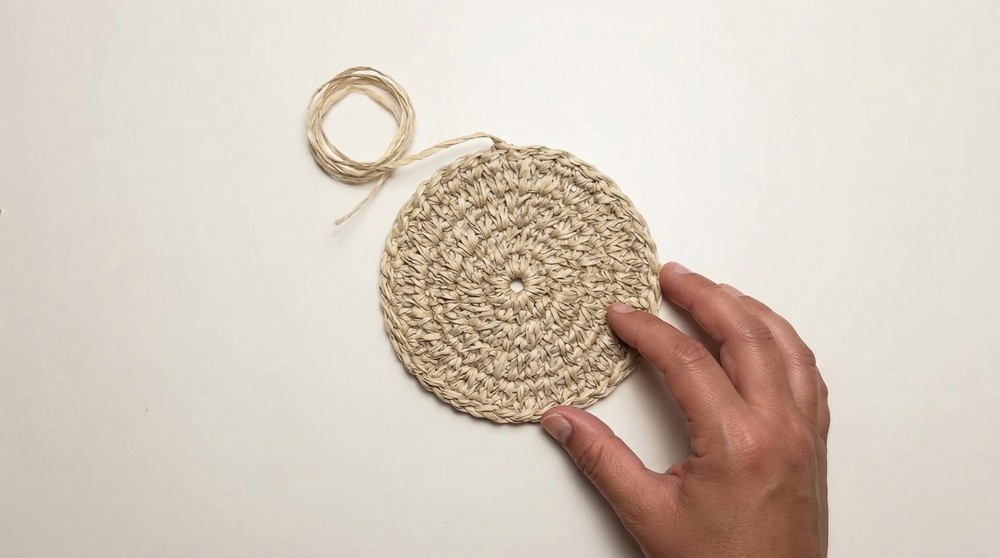
Managing Flatness & Plain Rows
- Check for Flatness Frequently:
- Lay your base flat after each round:
- If base ripples ("lettuce" shape), you are increasing too quickly.
- Lay your base flat after each round:
- To Correct:
- Work a plain round:
- Place 1 sc in each stitch with no increases.
- Resume increase rounds or continue straight, as needed.
- Work a plain round:
- General advice:
- Continue alternating increase rounds and plain rounds, carefully monitoring flatness after each row.
Assembly & Finished Size
- When your base reaches the diameter required (measure across), finish the final round and check the edge for flatness.
- If moving to bag walls:
- Continue with designated stitch pattern per bag instructions.
- Typical round base:
- Diameter: 18-24 cm
- Flat, sturdy, and ready for side construction.
Conclusion and Ending Words
By employing this structured increasing sequence, you achieve a smooth, round base for any bag project. The combination of gentle tension, careful monitoring with a stitch marker, and logical increases ensures consistency and professionalism. If rippling occurs, corrective straight rounds repair the base quickly, safeguarding your work. This method, adaptable for any yarn type, is the cornerstone of crocheting sturdy, flat bag foundations.
Proceed with confidence, adjust as your particular yarn demands, and enjoy constructing beautiful bags that begin with a perfectly round, robust base! May your future bag projects turn out both stylish and practical-good luck, and see you in the next pattern.