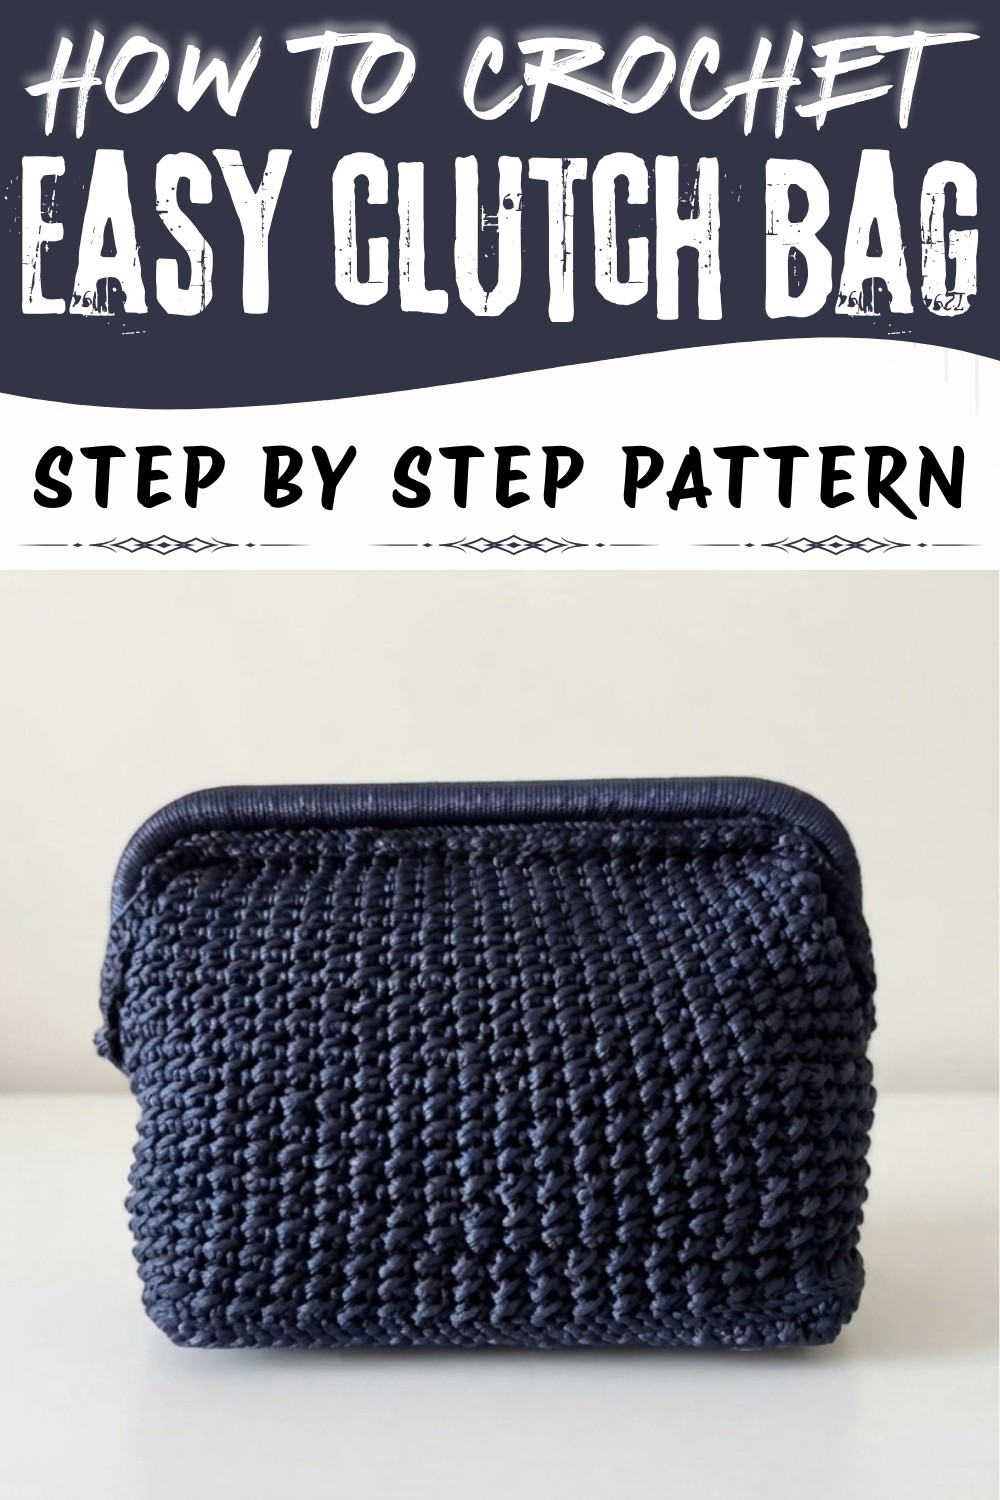
Carry your daily essentials in style with the Crochet Easy Clutch Bag Free Pattern, a neat little purse for parties, outings, and gifts.
If you've ever wanted to create a stylish accessory that combines functionality with beauty, a clutch bag is a perfect project to try. Thanks to the detailed tutorial on the GÖKTÜRK AİLESİ YouTube channel, especially the thoughtfully designed Crochet Easy Clutch Bag Pattern, you can easily make a chic and practical bag that suits a variety of occasions. Full credit goes to the creator behind this engaging video for offering clear step-by-step guidance, making this an accessible project even for beginners.
Quick Crochet Clutch Purse Free Pattern For Small Essentials
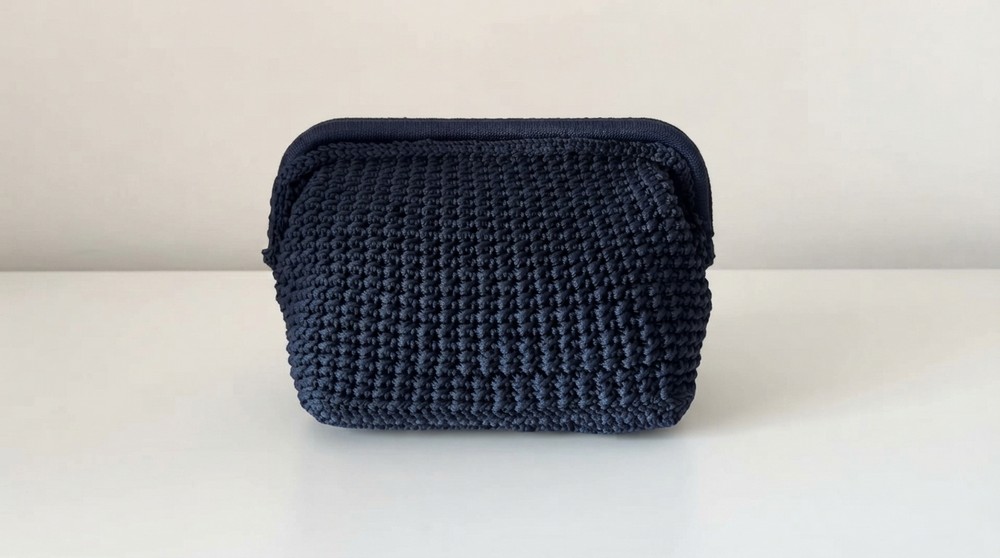
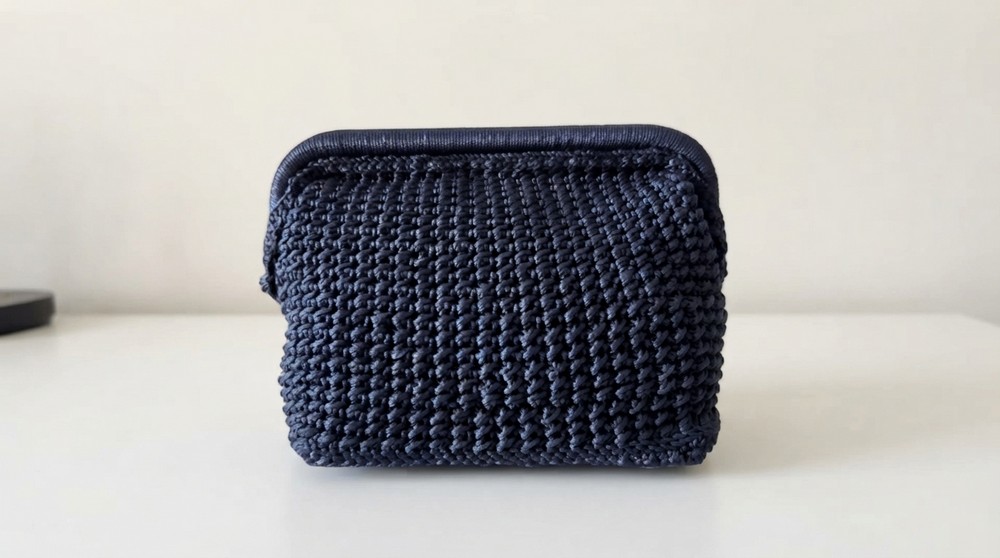
This clutch bag pattern results in a sleek, rectangular shape measuring around 25 cm, offering enough space for essentials without bulkiness. The texture is tightly woven, created using single crochet stitches worked diagonally to create a flawless, elegant diagonal pattern that stands out beautifully. The fabric has a sturdy yet soft feel, thanks to the polyester macrame yarn used, which provides durability while maintaining a pleasant touch. A hidden buckle completes the design, seamlessly blending style and functionality by keeping the bag securely closed while adding a subtle decorative accent.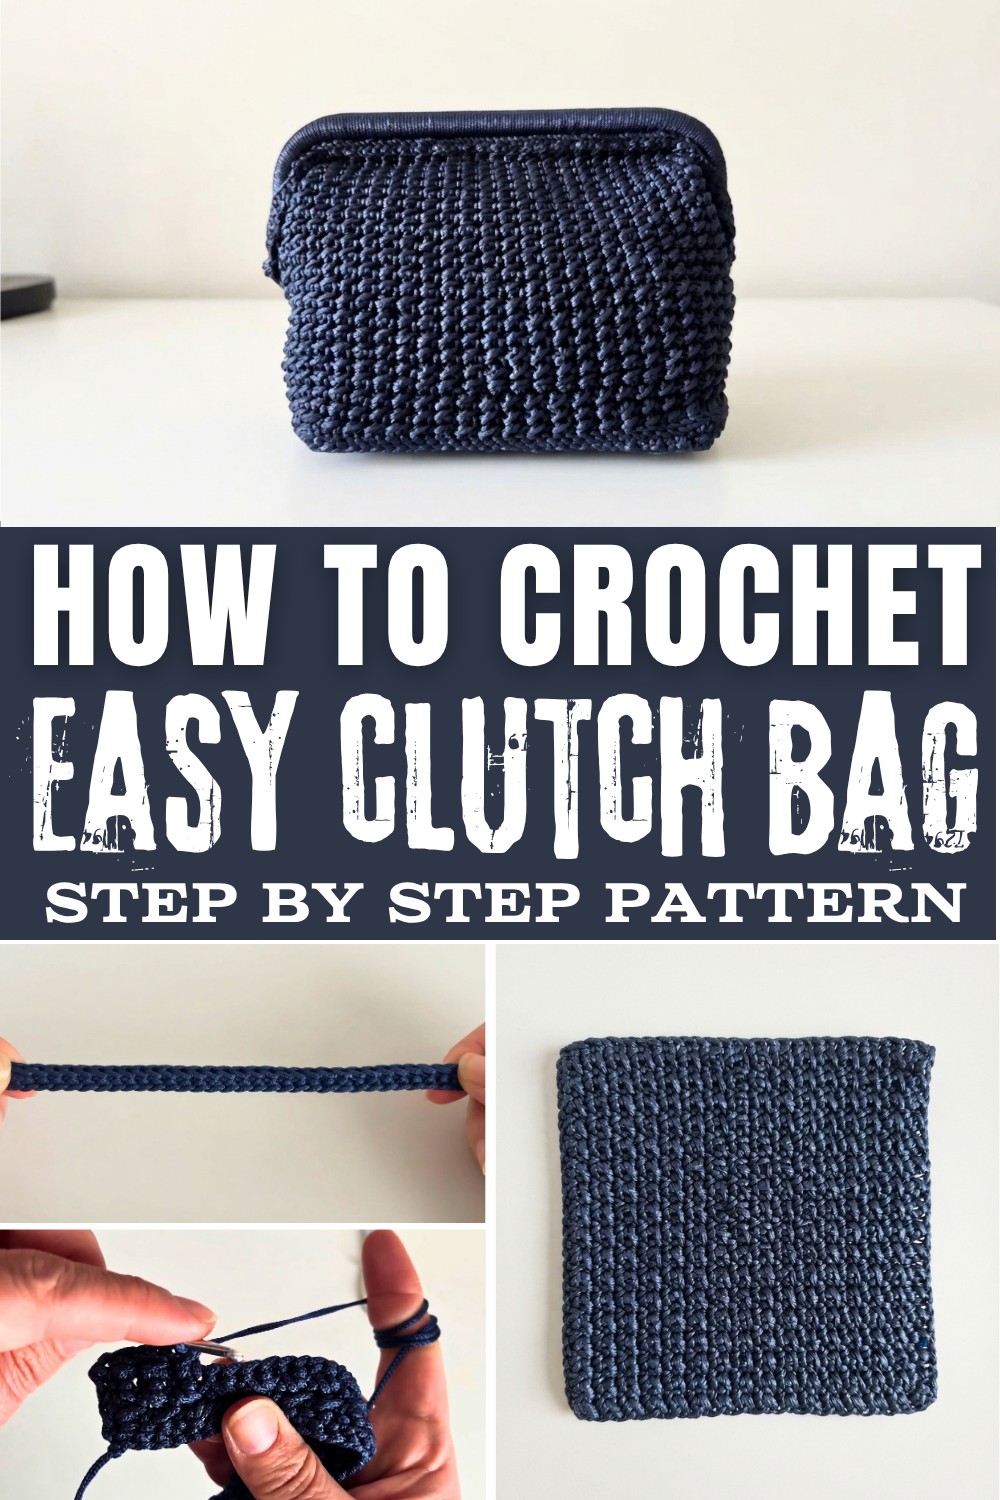
Beyond its visual appeal, this pattern's versatility makes it an excellent gift option-perfect for birthdays, holidays, or just a thoughtful gesture. The clutch works beautifully as a day-to-night accessory, enhancing both casual and formal outfits with its understated sophistication. Its neat folds and perfectly finished edges reflect careful attention to detail, showing just how simple stitches can come together to create something elegant and purposeful.
In short, this Crochet Easy Clutch Bag Pattern provides an enjoyable way to make a delightful personal item that's both beautiful and practical, with a modern style that draws attention for all the right reasons. Whether for yourself or a loved one, this bag brings handcrafted charm into everyday life.
Trendy Crochet Easy Clutch Bag Free Pattern
A statement accessory can instantly elevate daily style, offering both function and visual appeal. The framed handbag presented here features a robust texture and classic silhouette, worked with a 25 cm clasp frame for a crisp, structured finish. Throughout this project, the methodical progression from a sturdy foundation chain to the eye-catching cross-stitch body delivers both durability and decorative interest. The step-by-step directions below guide you through base construction, body development, elegant finishing, and frame attachment, while attention to small details ensures a result that remains both neat and sophisticated.
Quick Overview of Pattern
- Begin with a strongly secured foundation chain matching the inner length of the purse frame.
- Work flat single crochet base rows for a stable bottom.
- Transition to a striking cross-stitch pattern, alternating stitch order for depth and interest.
- Build body height to approximately 15 cm with continuous rows, adjusting for personal preference.
- Carefully shape and reinforce the bag's top edge before proceeding.
- Seamlessly attach the crocheted body to a 25 cm clasp purse frame via slip-stitching.
- Finish with precise edging and meticulous sealing of yarn ends for strength and longevity.
Notes
- Pay close attention to maintaining uniform stitch tension, especially when working with polyester macrame yarn.
- Always measure chain and project width directly against the actual purse frame for best fit.
- Ending and joining yarn requires careful melting of synthetic fiber-exercise caution with a lighter.
- If a smaller or larger bag is desired, simply adjust the number of starting chains and body rows accordingly.
- Aligning the bag's corners with the frame helps maintain symmetry and a polished appearance throughout assembly.
Skill Level
Adventurous Beginner to Intermediate. This project requires knowledge of basic stitches, maintaining consistent tension, simple cross-stitch patterns, slip stitching, and confidence in attaching crochet to hardware frames.
Materials
- Yarn: Eliza brand polyester macrame cord, size 3 (approx. two 200g balls)
- Crochet Hook: 3.5 mm
- Frame: Metal purse frame, 25 cm width
- Scissors
- Measuring tape
- Lighter (seal macrame cord ends)
- Tapestry needle or crochet hook for weaving/securing ends
- Stitch markers (optional, for placement accuracy)
Measurements / Sizing
- Base chain: Roughly 16-17 cm (should closely match frame's internal width)
- Bag height: Approx. 15 cm (22 rows), adjustable as preferred
- Finished bag fits a 25 cm frame exactly, creating a roomy, structured purse
Gauge
- Gauge will vary with cord and tension; focus on matching the purse frame rather than stitch count.
- For reference, 35 stitches = approx. 16-17 cm in sample yarn.
Stitch Abbreviations
- ch = chain
- sc = single crochet
- sl st = slip stitch
- st(s) = stitch(es)
- sk = skip
Special Stitches
- Cross-Stitch Single Crochet: Skip first st, sc in second st, then sc in skipped st (working behind previous stitch). Repeat across row for diagonal texture.
- Slip Stitch to Frame: With frame in place, work slip stitches through both the top of the bag and frame holes/loops to attach.
The Crochet Pattern
Foundation Chain (Bag Base)
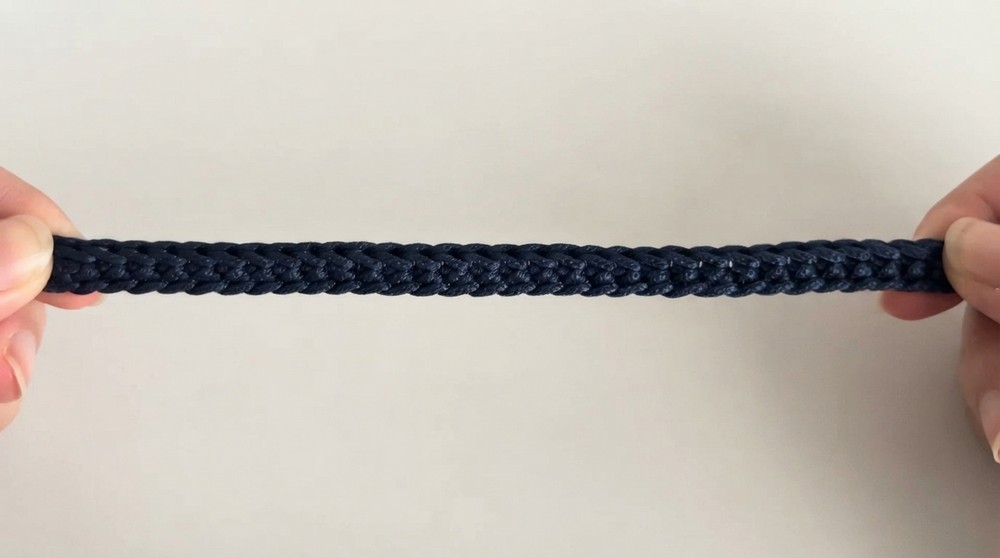
- Begin with a securing ch (does not count), pulling tightly and leaving a long tail.
- Ch until your chain length measures 16-17 cm, aligning with inside measurement of the frame.
- Add 1 turning ch at the end.
Base Rows (Single Crochet Rounds 1-2)
- Round 1:
- Sk first ch, sc into the single back loop of the second ch.
- Continue sc across each chain until end.
- Round 2:
- Ch 1, turn. Sc into each st across to create a sturdy beginning.
- This forms a reinforced, rectangular base for your bag.
Body Section (Cross-Stitch Pattern, Rounds 3-24)
- For body texture, switch to the cross-stitch technique:
- Each Row:
- Ch 1, turn.
- Sk first st; sc in second st. Now, working behind, sc into the first skipped st.
- Continue this pattern: sk 1 st, sc in next, sc in skipped st.
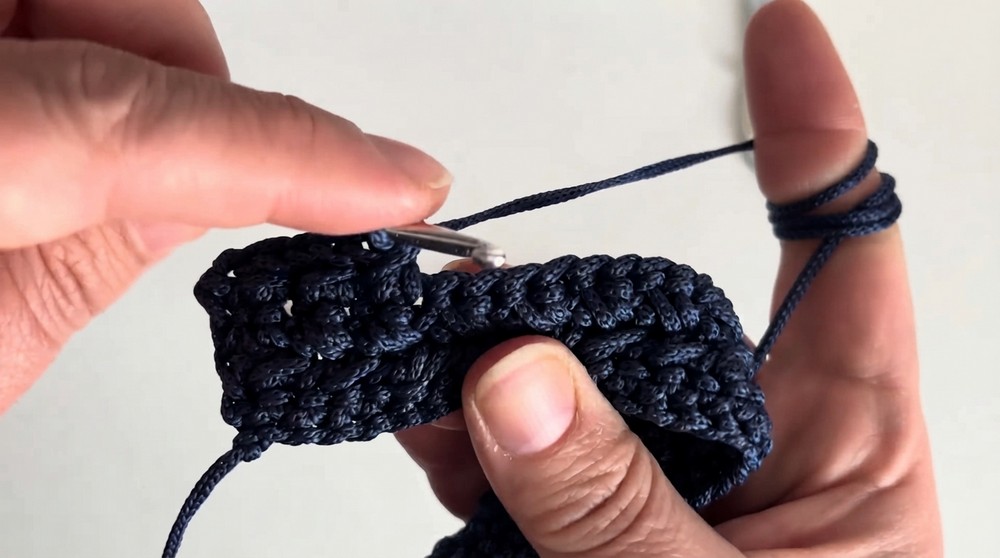
- At the very end, always work a regular sc in the last st for a neat edge.
- Repeat these rows, building up approximately 22 rows or 15 cm in height.
- Adjust row count for preferred bag size.
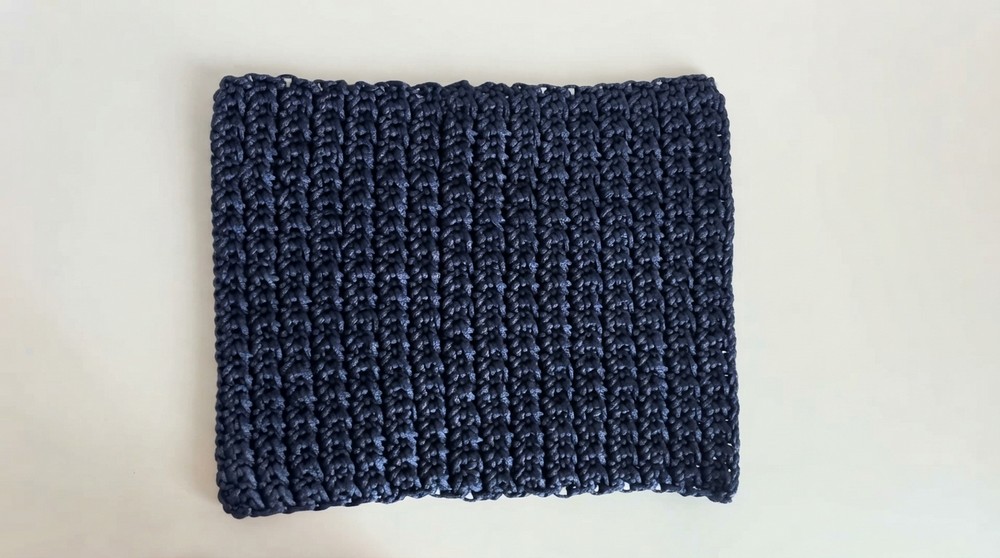
Tip: When joining new yarn, overlap and secure ends; gently melt with a lighter to prevent unraveling.
Preparing for the Frame (Top Edge Rounds)
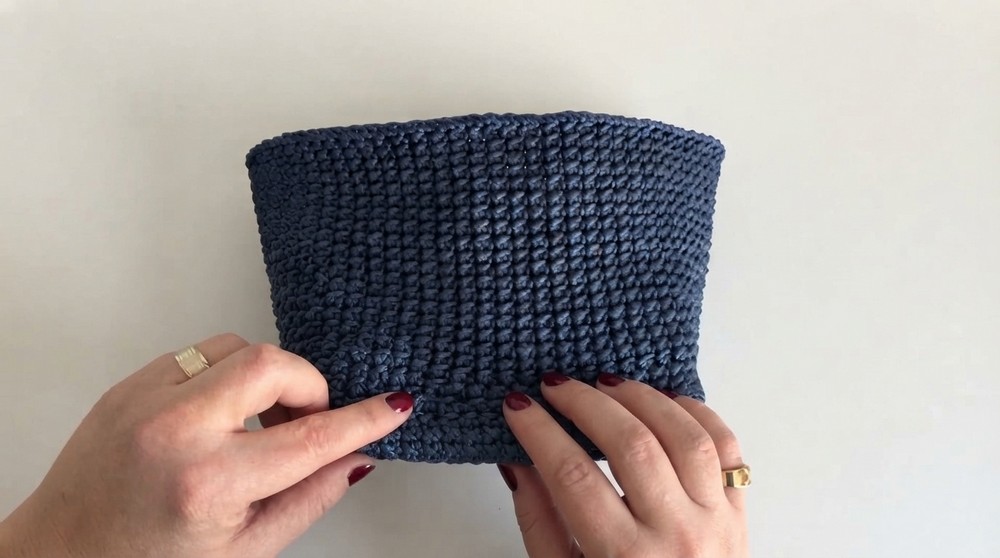
- Once height is reached, work a neat single crochet border:
- Round 25:
- Sc evenly around the entire top edge (including sides if desired), placing extra sc at corners for smooth turns.
- Round 26:
- With right side facing, sl st into the back loops only of each stitch around for a defined separation line and reinforced top edge.
Attaching the Purse Frame
- Fold bag precisely in half, align all corners, and use short pieces of yarn to temporarily anchor each bag corner to a frame corner.
- Join new yarn at the frame seam area.
- Attach via slip stitches:
- Working through both frame holes/loops and the top row of the bag, sl st firmly to connect fabric to hardware.
- Tip: It's common to need to skip a stitch on the bag when frame holes do not line up exactly-especially due to the tight gauge.
- At frame hinge points, work 3 ch across the hinge before resuming sl st attachment.
- Continue carefully until entire frame is attached.
- Fasten off, leaving a generous tail.
Assembly & Finished Size
- Weave in yarn tails securely, using hook or needle to draw inside the bag.
- Carefully melt ends with a lighter to lock knots in place.
- Finished bag measures approx. 16-17 cm wide by 15 cm tall, fitting 25 cm purse frame perfectly.
- Fill with light stuffing to shape bag momentarily and ensure corners are evenly filled.
Conclusion and Ending Words
Throughout the process of making this handbag, each neatly structured stitch adds to the overall sophistication and strength of the result. Close attention to measurements and tension ensures a professional finish that sits perfectly within the purse frame. Consistency in the cross-stitch pattern provides both elegance and durability, while precise assembly keeps the bag's lines clean and crisp. By finishing each seam carefully and sealing yarn ends, the finished handbag will remain sturdy with frequent use. This model balances traditional technique and modern functionality, leaving you with an accessory that is both stylish and reliable. Adjust yarn colors and bag depth as preferred to personalize your project, resulting in a framed handbag that reflects both skill and individuality.