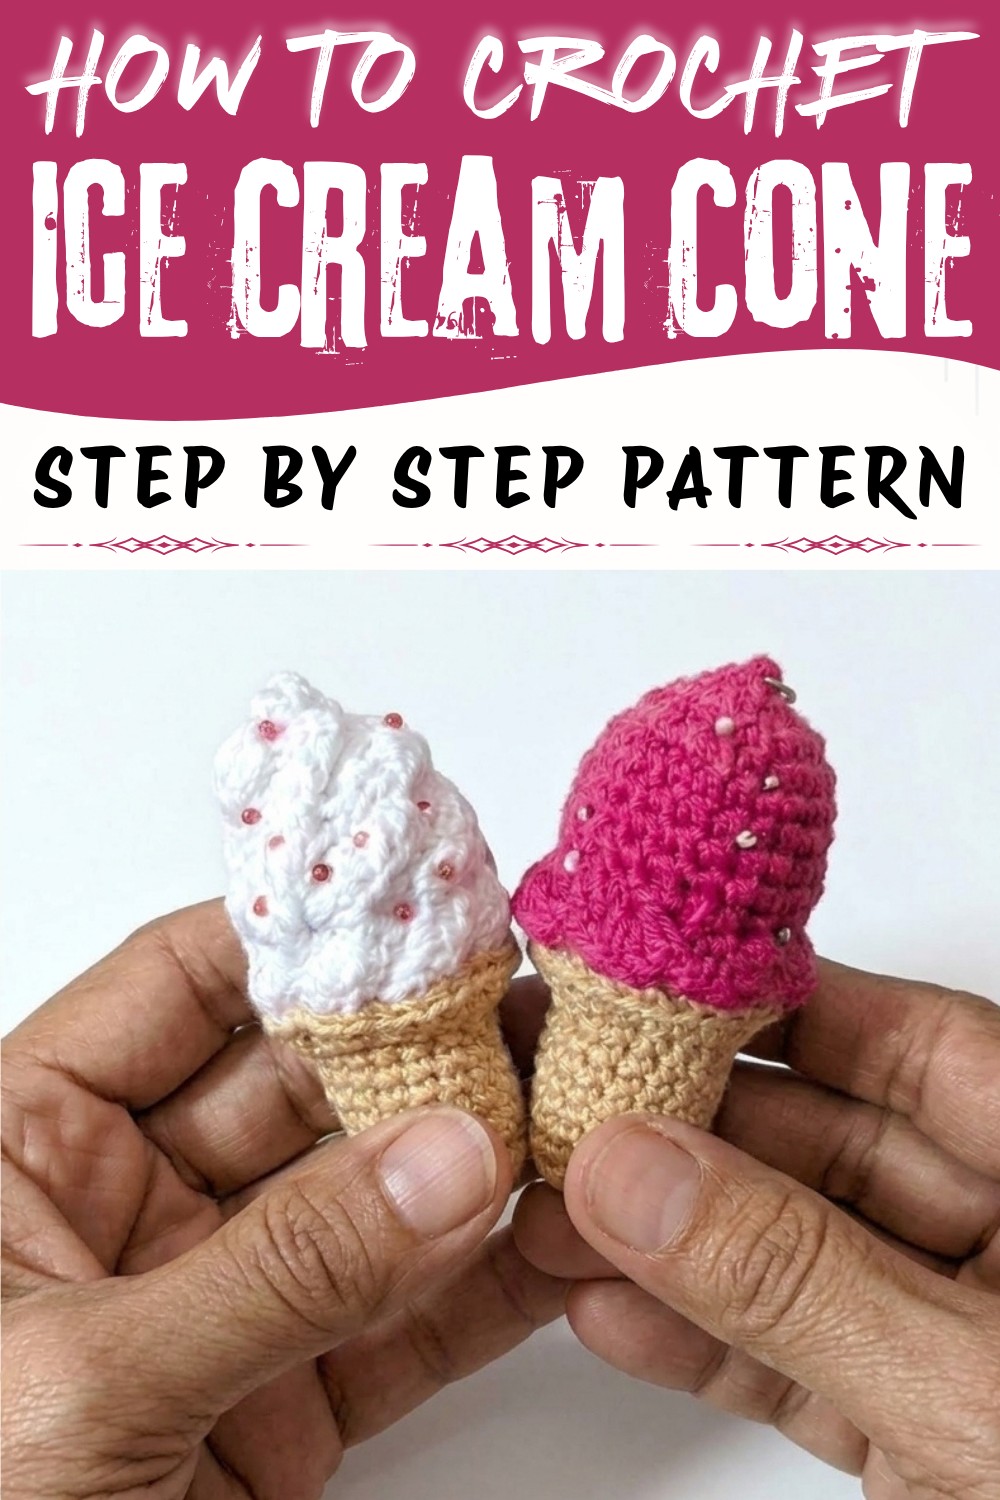
Lovely Crochet Ice Cream Cone Free Pattern to Brighten Your Collection
The Crochet Ice Cream Cone Pattern is a fantastic piece that blends creativity with a sense of nostalgia. Its shape captures the iconic swirl of ice cream topping a neat, textured cone. Soft and plush, this project feels wonderful to hold and is ideal for decorating shelves, desks, or even nursery spaces where a gentle pop of whimsy is welcome. Because of its adorable appearance, it also makes a thoughtful handmade gift that can brighten someone's day, whether as a cheerful keepsake or a playful accessory for a child's room.
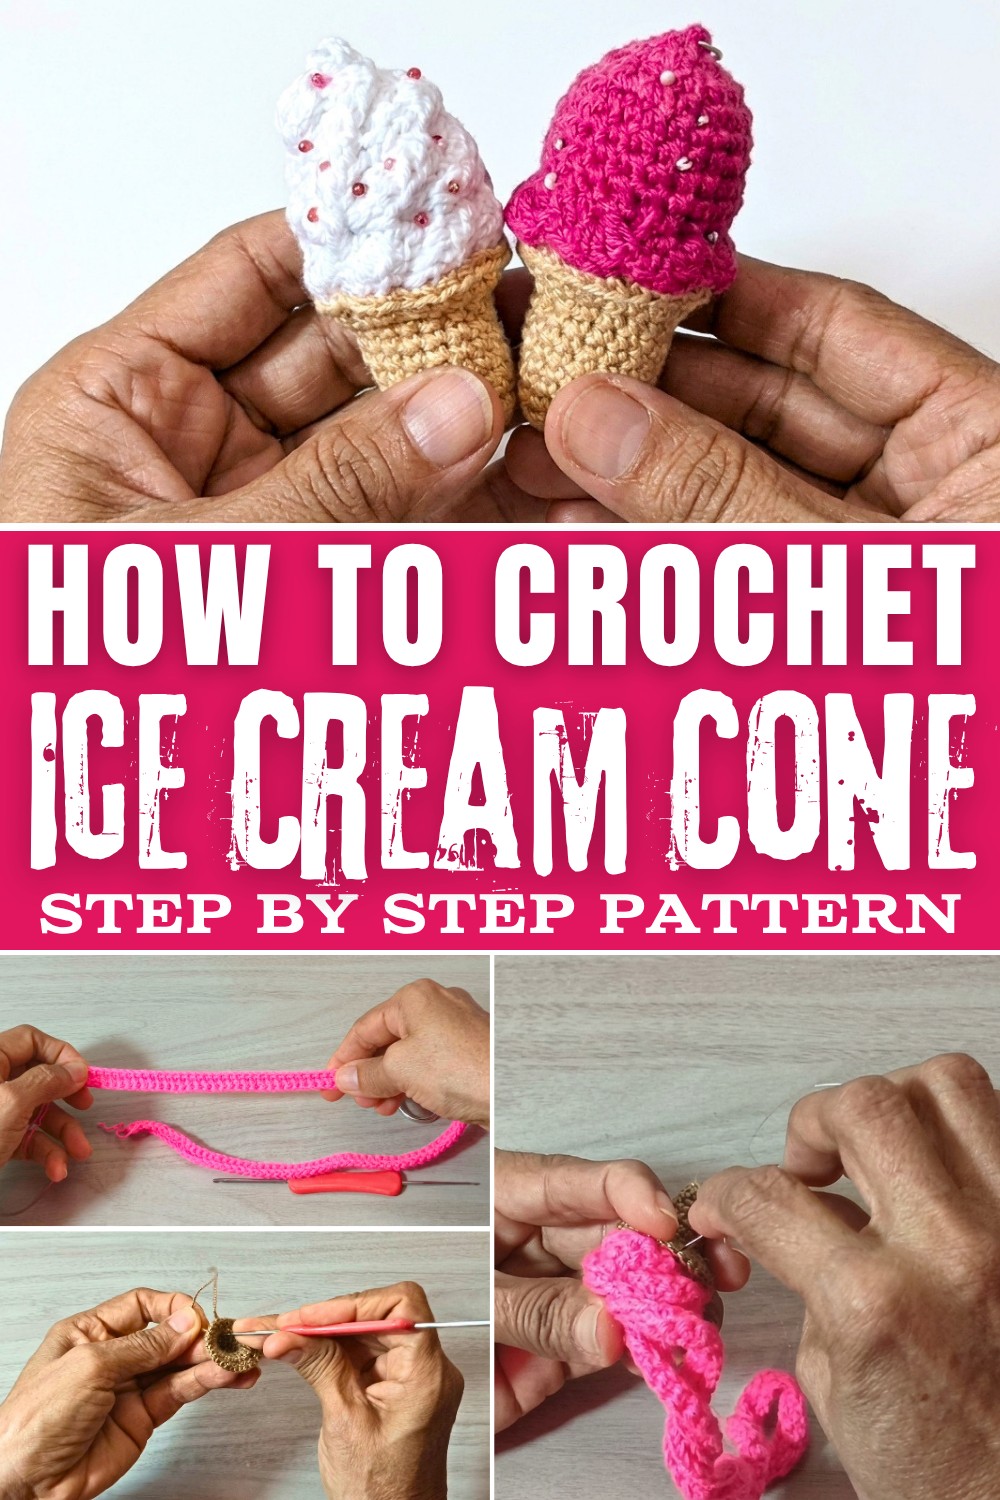
This delightful pattern stands out with its layered design, combining the smooth, rounded top representing the ice cream scoop with the waffle cone's signature ridges. The contrasting textures add depth and make it visually inviting. The style leans towards charmingly realistic yet whimsically cute, which means it fits perfectly in eclectic, modern, or kids' décor. Plus, its relatively small size makes it quick to complete, which is perfect for those seeking a rewarding project that doesn't require a large time commitment.
In essence, the Crochet Ice Cream Cone Pattern is more than just a decorative item-it's a cheerful symbol of summer fun and sweetness you can hold in your hands. Whether kept as a personal treat or gifted to a loved one, it brings a smile and a touch of handmade joy to any day.
Ice Cream Keychain Crochet Pattern
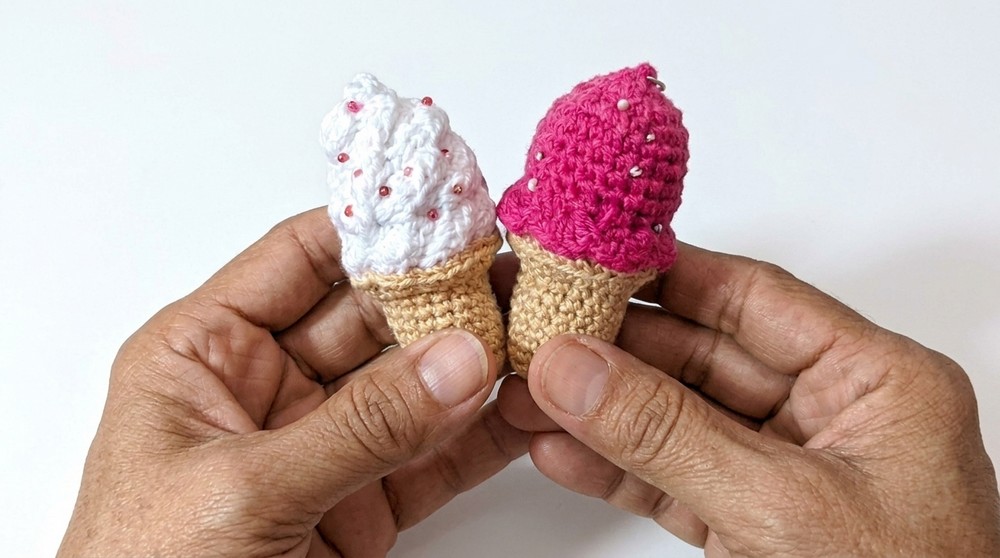
The crochet ice cream keychain stands out for its delightful design and fun, easy-to-follow construction process. With a whimsical look inspired by real summer treats, the project transforms basic crochet stitches into a three-dimensional ice cream scoop resting atop a cup or cone. Featuring a ribbed, spiral cream structure and a choice between two sturdy bases, every step contributes to a compact, appealing accessory. The inclusion of simple surface embellishments-beads that mimic sprinkles or cherries-adds extra flair. This pattern provides a charming gift idea or a playful accent for your own keyring and is certain to draw admiration wherever it goes.
Quick Overview Of Pattern
- Work a long, ribbed crochet strip to mimic the texture of swirling ice cream.
- Choose between a cone or cup as a sturdy base for your scoop.
- Stuff and shape the base for dimension and firmness.
- Coil and secure the cream onto the base.
- Finish with decorative beads for sprinkles or a cherry, and attach to a keyring.
Notes
- Use double strands of yarn if it's fine; this gives sturdiness to both the scoop and the base.
- Make sure to keep the cream strip flat and untwisted while working and coiling for the best spiral effect.
- Secure each part well-especially the cream coil-to hold up to frequent handling.
- Choose your base (cone or cup) style before starting, or make both for variety.
- Beads and optional glue add finishing flair but are not essential if you want a minimalist look.
- Always weave in ends neatly and securely for a polished accessory.
Skill Level
- Beginner to Intermediate:
- This project is suited for those comfortable with basics: magic ring, chain, single crochet, half double crochet, double crochet, slip stitch, and back loop only crochet. Some familiarity with sewing and assembling crocheted elements is helpful.
Materials
- Yarn:
Leftover wool or mercerized cotton, used double-stranded, in your chosen flavors (pink, white, brown for the scoop, beige/tan/yellow for the cone, or any colors for the cup) - Hook:
Use a size matched to your yarn (typically 2.5-3.5mm if using two strands of fingering/sport cotton) - Stuffing:
Fiberfill or polyfill - Assembly & Finishing Tools:
- Stitch marker
- Tapestry needle and nylon/sewing thread
- Fabric/craft glue (optional)
- Sewing pins
- Beads (for optional cherry/sprinkle embellishment)
- Keychain ring
Measurements / Sizing
- Cream Strip: Approximately 30-40 cm (when flat)
- Completed Keychain: 5-7 cm tall (size varies based on yarn weight and base selection)
- Base Diameter: Roughly 2.5-3.5 cm after assembly
Gauge (and Stitch Pattern if applicable)
- Gauge is not critical but aim for a tight and slightly stiff fabric.
- Stitch pattern:
- Cream: Single crochet worked in rows (row 2 in BLO for ribbing)
- Bases: Worked in joined rounds
Stitch Abbreviations
| Abbreviation | Meaning |
|---|---|
| ch | chain |
| sc | single crochet |
| hdc | half double crochet |
| dc | double crochet |
| inc | increase (2 sts in 1 stitch) |
| BLO | back loop only |
| sl st | slip stitch |
| st(s) | stitch(es) |
Special Stitches
- Back Loop Only (BLO):
Insert hook through only the back loop of the next stitch, not both loops; creates ribbing for textured cream.
The Crochet Pattern
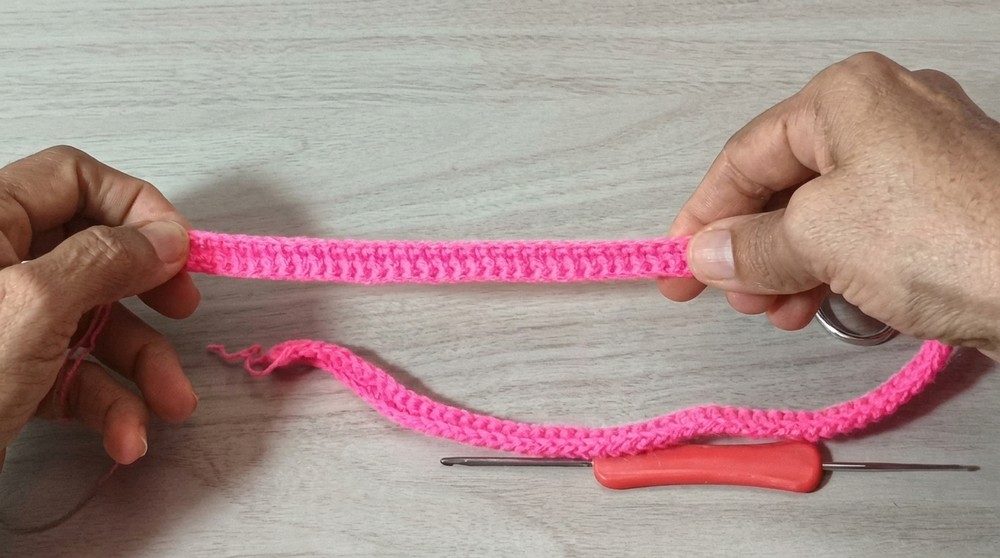
Ice Cream Scoop / Cream Strip
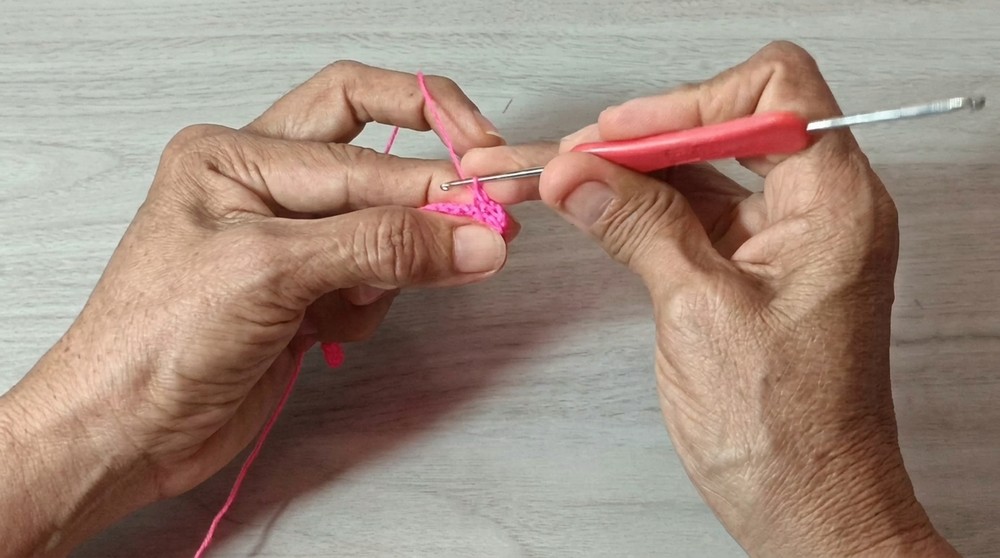
- Foundation:
- Make a magic ring (optional for anchoring), then slip knot and chain 150 (adjust for desired thickness of the cream coil).
- Row 1:
- Single crochet (sc) in each chain across. (149 sts)
- Chain 1, turn.
- Row 2:
- Working in back loops only (BLO), single crochet in each stitch across. (149 sts)
- Finishing the Scoop:
- Cut yarn, leaving a long tail for sewing.
- Tie a knot and pull through to fasten off neatly.
- Keep the strip flat and untwisted-it will naturally curl into a coil.
Base Options
Choose either a cone or a cup as your base.
Option A: The Cone
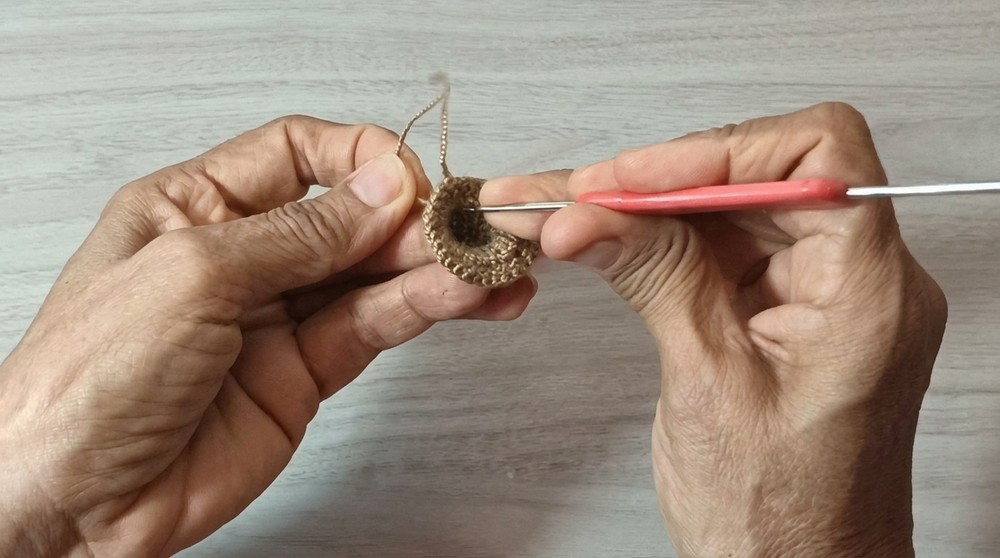
- Round 1:
- Make a magic ring.
- 5 hdc into ring (5 sts).
- Slip stitch to join, chain 1.
- Round 2:
- 2 hdc in each stitch around (10 sts).
- Round 3:
- 1 hdc in each stitch around (10 sts).
- Round 4:
- [1 hdc, 1 inc] repeated around (15 sts).
- Round 5:
- 1 hdc in each stitch around (15 sts).
- Slip stitch to join.
- Edging Round:
- Chain 2.
- 2 dc in each stitch around (30 dc total).
-
- Fasten off and weave in loose ends inside the cone.
Option B: The Cup
- Round 1:
- Make a magic ring.
- 8 sc into the ring (8 sts).
- Pull tight.
- Round 2:
- 2 sc in each stitch around (16 sts).
- Round 3:
- Working in BLO, 1 sc in each stitch around (16 sts).
- Rounds 4-8:
- 1 sc in each stitch around (16 sts per round).
- Edging Round:
- Chain 2.
- 2 dc in each stitch around (32 dc).
- Fasten off and weave in ends.
Assembly & Finished Size
Stuff the Base
- Place a small amount of fiberfill inside the cone or cup to give it structure; do not overstuff.
Coil the Cream
- Spiral and fold the long ribbed strip into an ice cream scoop shape, resembling a twirled soft-serve or whipped topping.
Attach Cream to Base
- Dab a tiny amount of glue (optional) to help anchor the starting end of the cream strip to the center top of the base.
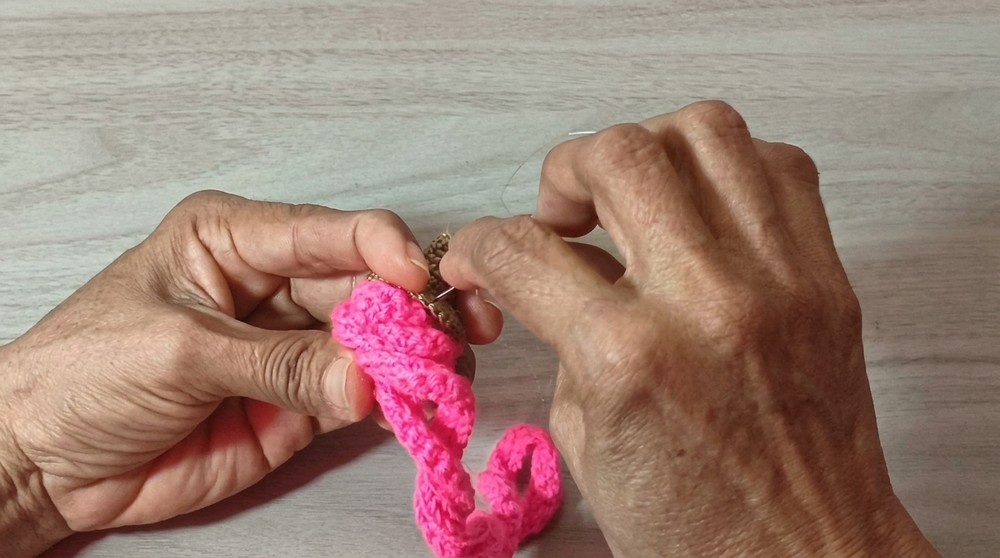
- Coil the strip upwards in a decreasing diameter, layering each round comfortably.
- Secure with sewing pins as you position the strip for stitching.
- Using a tapestry or sharp needle and sturdy thread, sew around the base of the coil. Take stitches through several layers of the cream and into the base, ensuring the cream is fully anchored and won't loosen with use.
Decorate and Add Keychain
- Sew or glue beads to the top and sides of the cream as sprinkles or cherries.
- Attach your keychain ring by sewing or sliding it through the very top of the cream coil-choose a dense part so it's firmly secured and won't pull free.
Conclusion and Ending Words
As the final stitches are placed and the beads or keychain attached, the ice cream keychain comes to life with texture, color, and cheerful whimsy. Each completed accessory reflects attention to technique in the ribbed swirling scoop and a neatly shaped base. The clearly defined stitches combined with chosen embellishments make this project a delightful statement for everyday carry. With careful assembly, the finished piece boasts both visual appeal and sturdiness to withstand frequent use. Keeping color choices bright or adding personalized trimmings, every keychain stands as a unique creation. Such a project is sure to brighten any bag, key set, or gift basket, promising both charm and lasting enjoyment.