
Effortlessly assemble charming bouquets using the Free Crochet Flower Branch Pattern for quick, professional-looking blossoms and leaves.
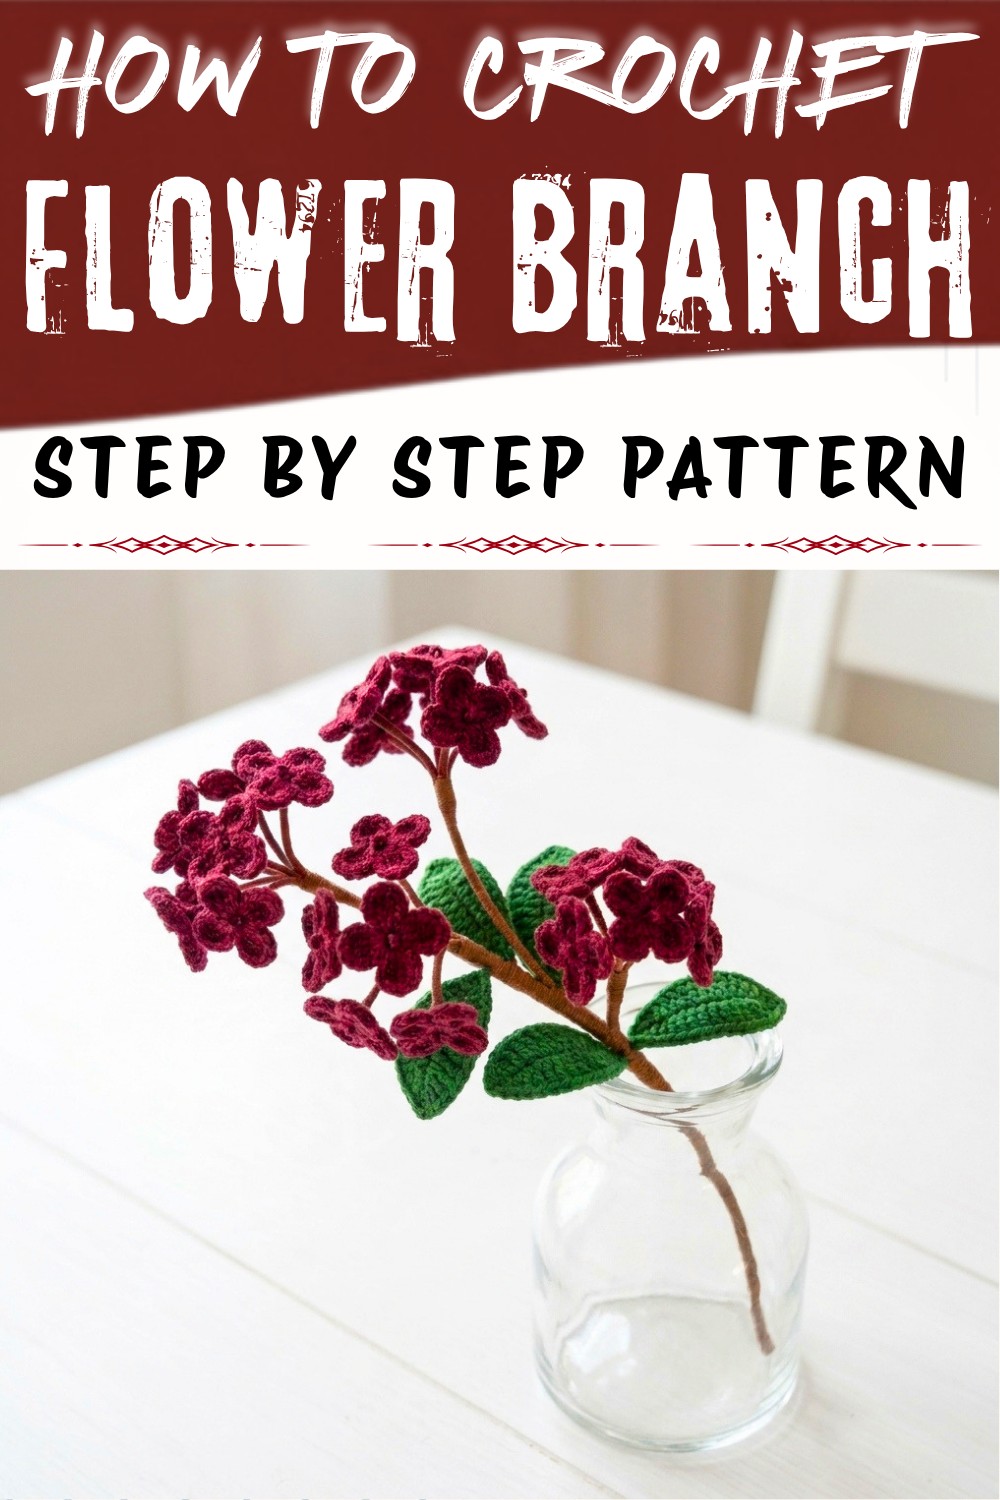
I still remember the first time I tried to bring a little garden indoors with just yarn, a crochet hook, and a quiet afternoon. This free crochet flower branch pattern quickly became my favorite way to crochet something charming and everlasting. Instead of fresh blooms that fade too soon, I wanted to make something colorful and soft that would last for years, and this project delivered exactly that. Tiny, intricate blossoms paired with delicate leaves create such a beautiful arrangement. It's beginner friendly and offers endless opportunities for personalization, making it perfect for gifts, home décor, or a simple creative escape.
Guidance to Crochet Flower Branch Pattern for Handmade Decor
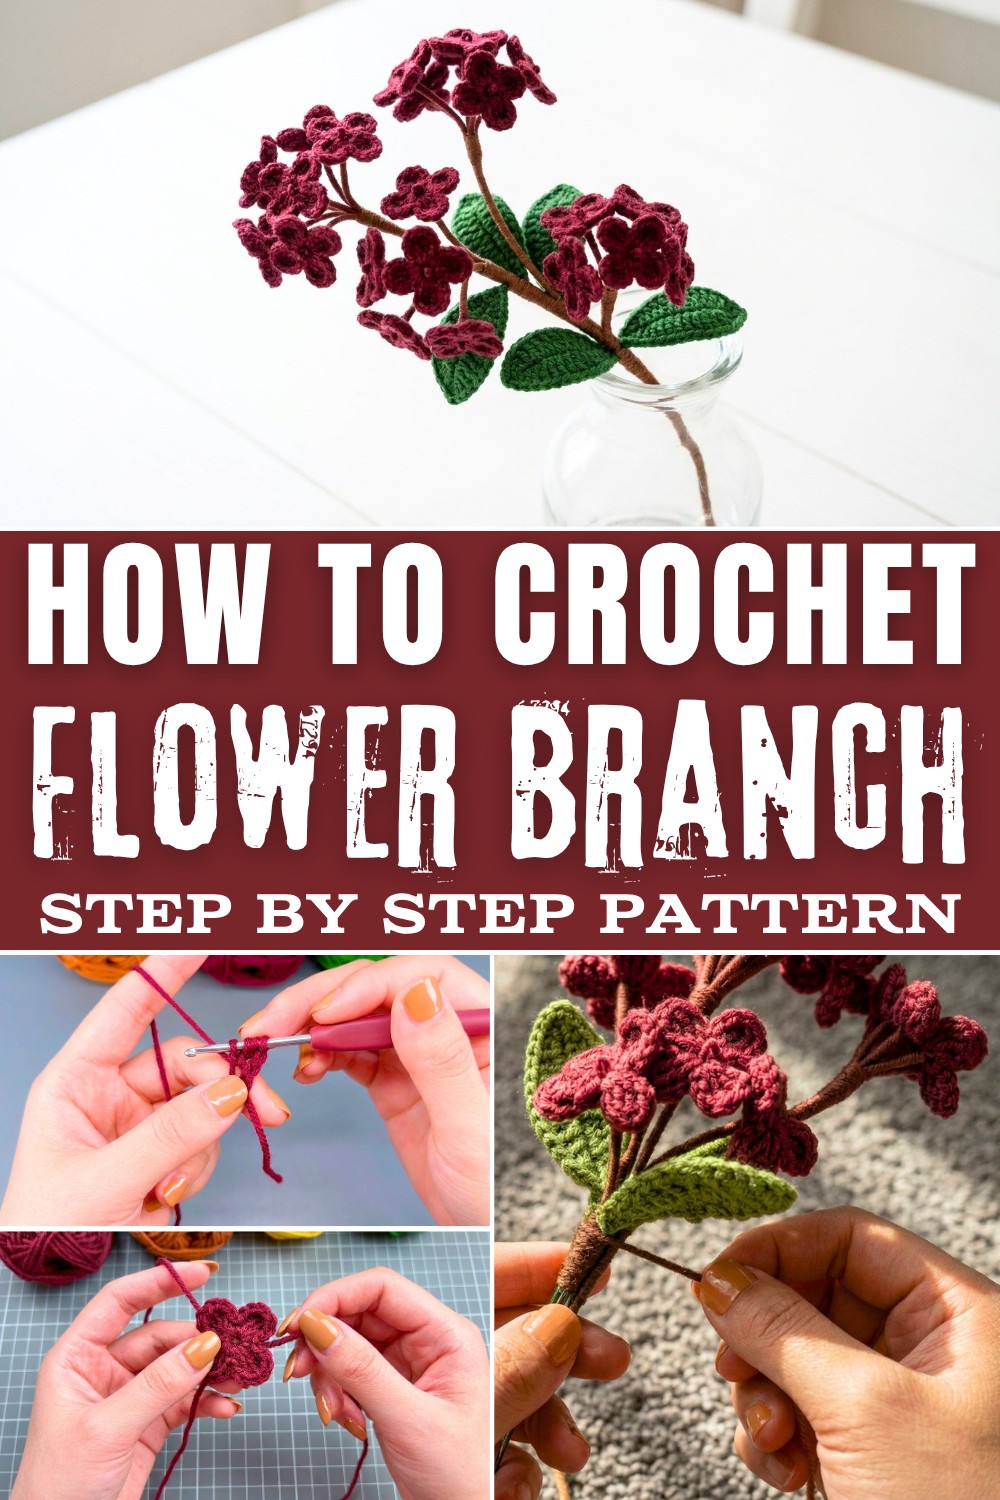
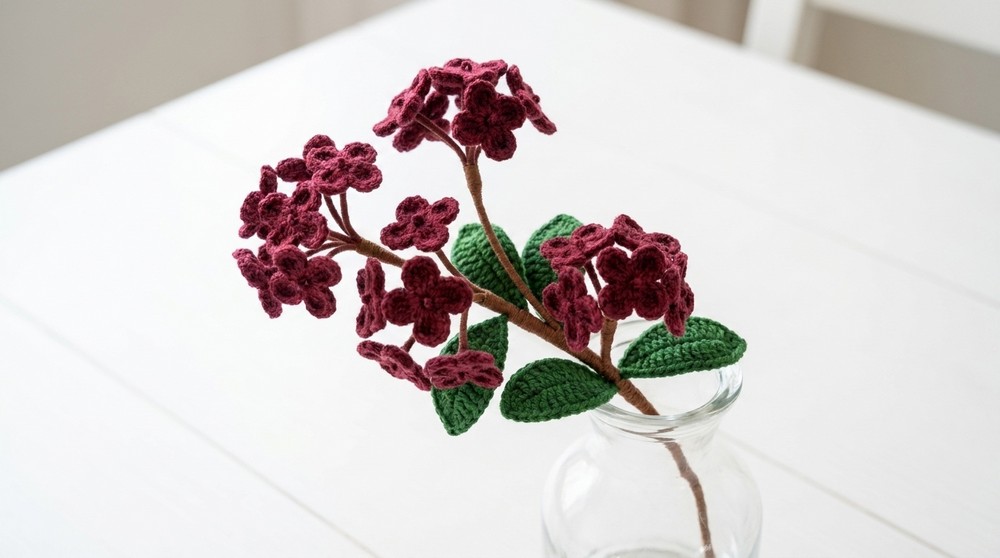
You can play with so many beautiful color combinations in this pattern. Try soft maroons, creams, and light greens for a gentle, spring inspired branch, or use deep orange, mustard, and olive for a warm autumn feel. Bright pinks and lilacs will give you a cheerful, romantic look. The main stitches used are chain, single crochet, half double crochet, double crochet, and treble crochet, all worked around a magic ring and along a wired stem. These same stitches can later help you create items like appliqués, garlands, coasters, and delicate floral motifs for other projects.
What Else You Can Crochet Using This Pattern
- Mini floral hair clips or crowns by attaching single flowers and leaves to clips or bands
- Decorative floral bookmarks using one flower and a slim stem
- Romantic wall hangings or garlands by repeating branches in different colors
- Gift toppers or keepsake tags with tiny flower branches tied onto presents
- Table accents and centerpieces by arranging several branches in a small vase
What You Will Learn From This Pattern
- How to start petals with a magic ring to create neat, round flowers
- How to combine basic stitches like single, half double, double, and treble crochet for textured petals and leaves
- How to crochet around wire so your flowers and leaves hold their shape
- How to assemble multiple flowers and leaves into one realistic branch
- How to finish and secure your work using wrapping and a touch of glue for durability
Finished Size
The final size of your crochet flower branch will vary based on the number of flowers and leaves you create, as well as the wire length. You can customize this for a small desk bouquet or a larger arrangement for displays.
Gauge
Gauge is not essential for this pattern. However, for consistency:
- Each single flower measures approximately 1 inch (2.5 cm) in diameter.
- The length of your bouquet stems depends on the length of wire used for each flower and how you wrap and attach them.
Materials Needed
- Yarn: Fingering-weight cotton or acrylic (soft, lightweight yarn works best). Choose maroon for the flowers, green for the leaves, and a wrapping yarn of your choice for the stem (green works best for a natural look).
- Crochet Hook: Size 2.5 mm crochet hook.
- Wire: 0.5 mm floral wire (cut to desired lengths for stems and leaves).
- Scissors: For trimming excess yarn.
- Tapestry Needle: For weaving in ends.
- Glue: Optional, but recommended to secure the wrapping at the base.
Special Stitches and Techniques
- Magic Ring: Create a loop with your yarn, insert the hook, pull yarn through, and secure with a slip stitch.
- Ch - Chain Stitch: Yarn over, pull through the loop on your hook.
- Sl St - Slip Stitch: Insert hook into stitch, yarn over, and pull through both loops on the hook.
- Tr - Treble Crochet: Yarn over twice, insert hook, yarn over and pull through two loops three times until one loop remains on the hook.
- HDC - Half Double Crochet: Yarn over, insert hook, pull yarn through, and then pull through all three loops on the hook.
- SC - Single Crochet: Insert hook, yarn over, pull through, yarn over again, and pull through both loops on the hook.
crochet flower branch Pattern Instructions
Step 1: Crochet Osmanthus Flower
- Start with a magic ring.
- Wrap your yarn around your fingers to form a loop, insert the hook into the loop, pull yarn through, and secure with a slip stitch.
- Petal Creation (Make 4 Petals):
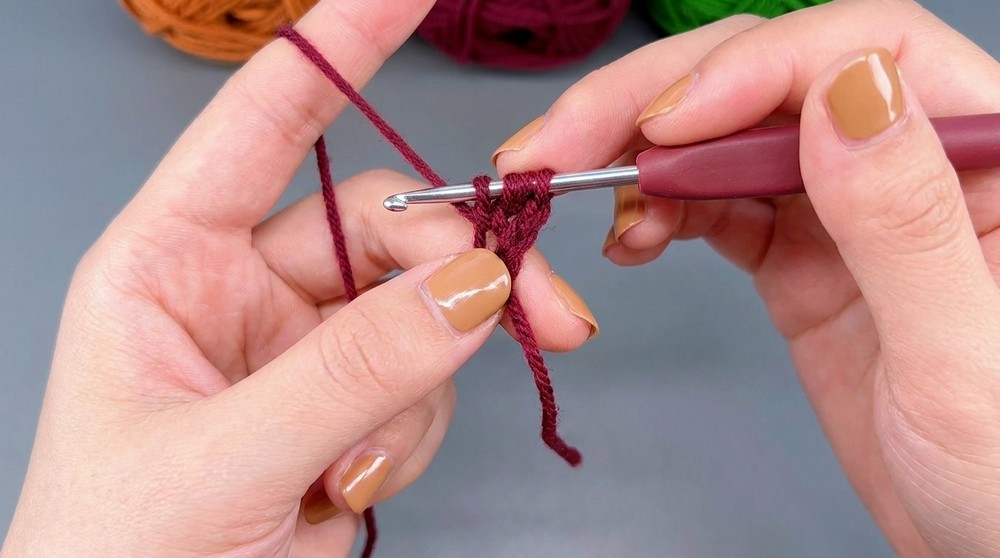
- Chain 3 (Ch 3).
-
- Yarn over twice (Treble Crochet).
- Insert the hook into the magic ring, pull yarn through (you now have 4 loops on the hook).
- Yarn over and pull through 2 loops at a time, 3 times (this completes one Treble Crochet - Tr).
- Make a second Treble Crochet in the magic ring.
- Chain 3 (Ch 3) and secure the petal by slip stitching (Sl St) into the magic ring.
- Repeat the Petals:
- Repeat the petal pattern three more times to make a total of 4 petals.
- Finishing the Flower Base:
- After completing the fourth petal, slip stitch into the magic ring and leave a long yarn tail.
- Pull the yarn tail through the center of the magic ring to close it tightly.
- Flatten the petals gently with your hand for a neat look.
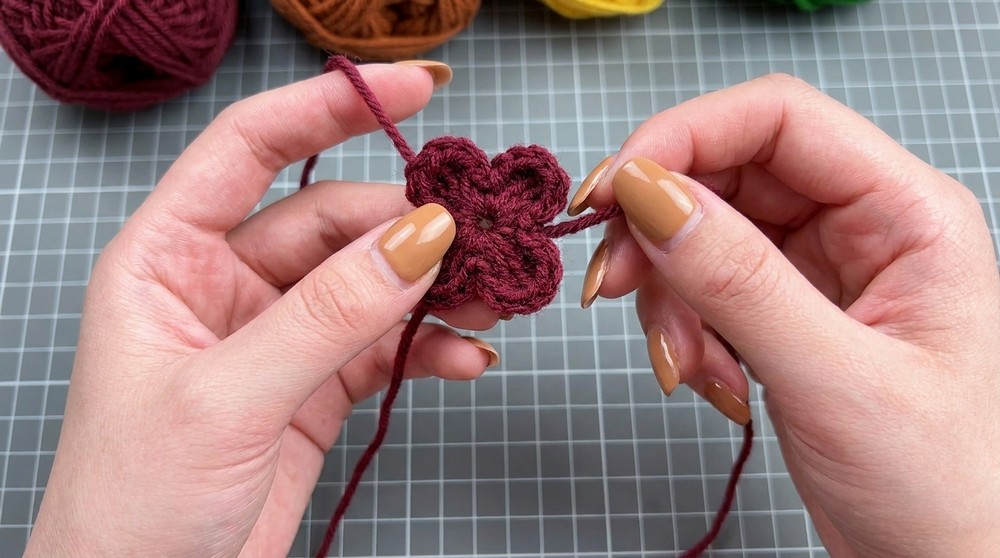
Step 2: Attach Wire to the Flower
- Cut a length of 0.5 mm wire (approximately 6-8 inches for flexibility).
- Align the end of the yarn tail with the end of the wire, holding them securely together.
- Start wrapping the yarn tightly around the wire and the flower stem.
- Fold the wire in half to form a secure loop, ensuring the flower stays at the top. Continue wrapping the yarn around the doubled wire for sturdiness.
- Thread the wire ends through the magic ring's hole for additional stability. Pull the yarn tail to tighten the loop.
Step 3: Crochet Leaves
- Make a slip knot and attach the green yarn to your crochet hook.
- Chain 13 (Ch 13).
- First Side of the Leaf:
- Insert your hook into the second chain from the hook, make 1 Single Crochet (SC).
- Hold a wire alongside your yarn and stitch over it to secure.
- In the next two stitches, work 2 Half Double Crochets (HDC).
- In the following six stitches, work 6 Double Crochets (DC) (one per stitch).
- Make 1 HDC in the next stitch.
- In the last chain, work 3 SC (to form the tip of the leaf).
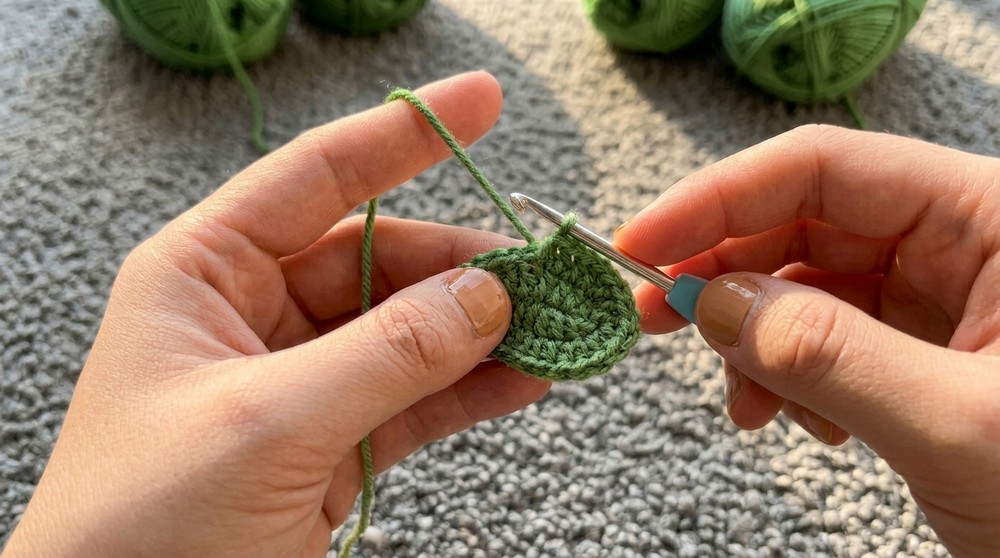
- Second Side of the Leaf:
- Rotate your work to crochet along the opposite side of the chain.
- Mirror the pattern:
- Work 1 SC opposite the first SC.
- Work 1 HDC opposite the first HDC.
- Work 6 DC opposite the previous DC stitches.
- Work 2 HDC opposite the last HDC stitches.
- Finish with 1 SC.
- Finishing the Leaf:
- Secure the wire by wrapping the green yarn around it several times.
- Slip stitch into the first single crochet and leave a long tail for wrapping. Cut the excess yarn and secure with glue or by twisting tightly at the base of the stem.
Step 4: Assemble the Bouquet
- Prepare Flower Stems: Arrange 5-6 flowers (or more, depending on your bouquet size), align the wires at the base, and hold them securely together.
- Wrap the Stems: Use green yarn to tightly wrap around the wire bundle, starting at the top and working downwards. For added stability, wrap multiple layers around the top section.
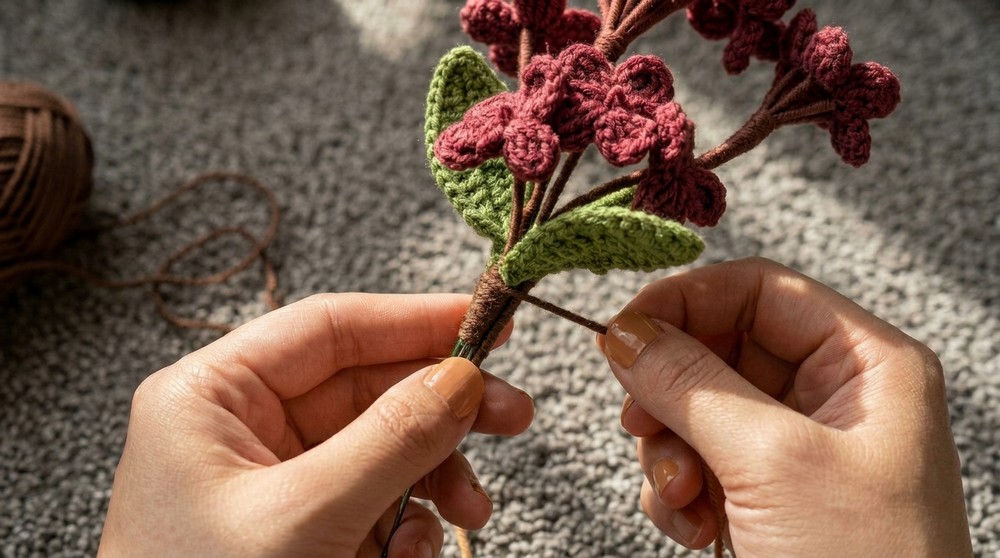
- Add Leaves and Extra Flowers: Insert leaves and additional flowers into the bundle as you wrap downwards to create a full and balanced arrangement. Ensure you twist the wires tightly and secure them with glue or tight wrapping.
- Finish the Stem: Wrap the yarn all the way to the bottom. Secure with glue and trim any excess wire.
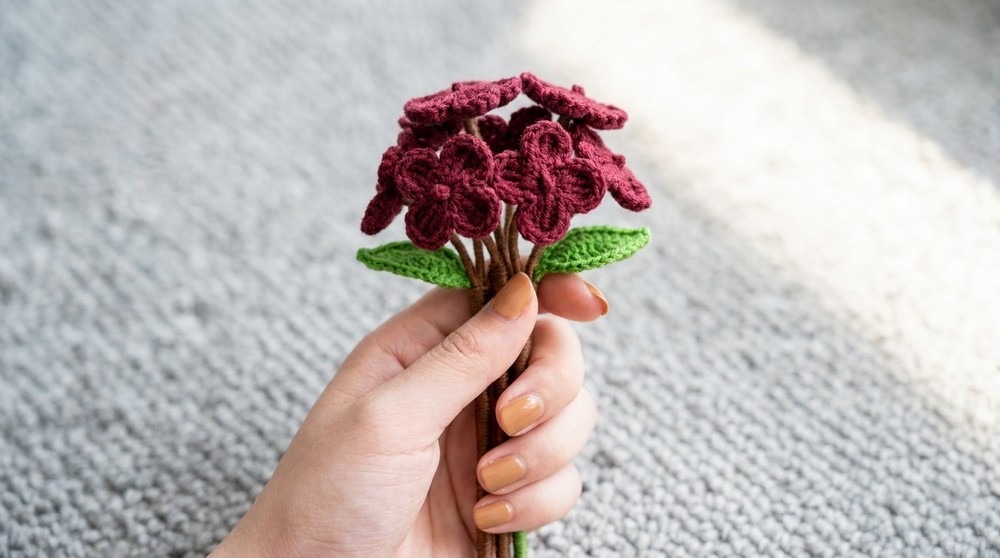
Customization Ideas
- Color Variations: Use different yarn shades (e.g., pastel pinks, maroon, and whites) for a colorful bouquet.
- Bouquet Size: Add as many flowers and leaves as desired for a fuller effect.
- Decorative Touches: Add embellishments like ribbons, pearls, or lace to the base for a gift-ready finish.
Important Remarks
- Final Look: When completed, the bouquet will have a delicate and lifelike structure, with soft flowers and leaves. The wrapped stems provide a neat, polished finish.
- Perfect Uses: Great for gifting, weddings, or as elegant custom decor for your home.
- Maintenance: Gently dust and avoid water to maintain its shape and texture.
Conclusion
This crochet flower branch is a beginner-friendly yet stunning project with endless customization possibilities. The delicate flowers and leaves, combined with the polished stem wrapping, make for a timeless and thoughtful creation. Enjoy the craftsmanship and the beauty of handmade decor.