
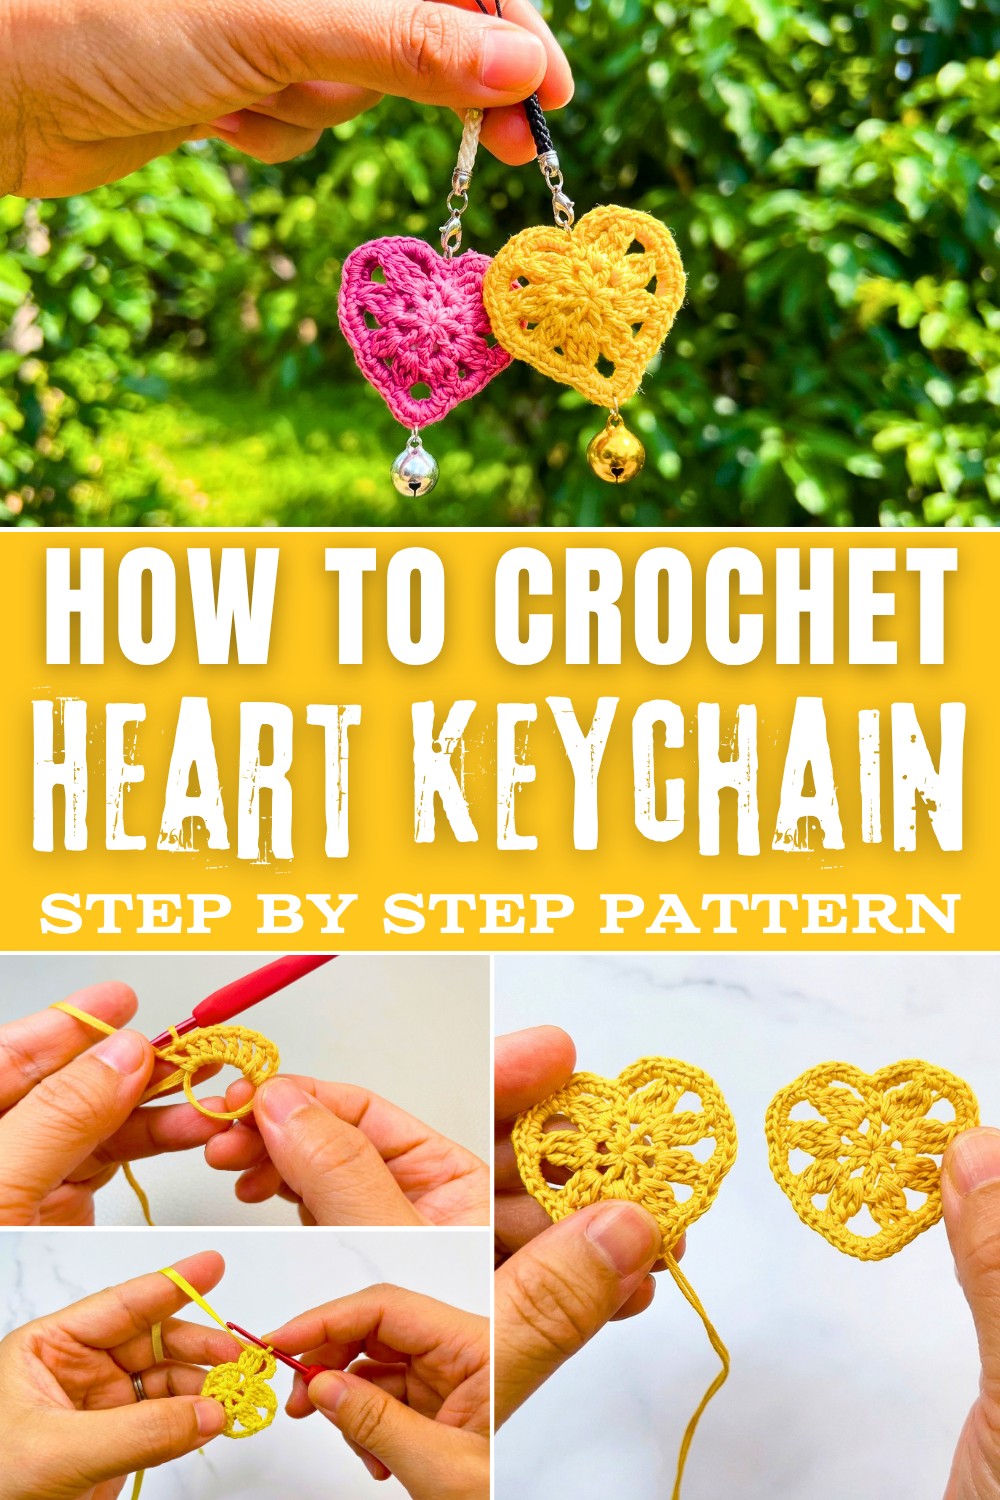
Impress friends and family with a Free Crochet Heart Keychain Pattern that's trendy, easy, and perfect for beginners and experts alike.
There's something magical about turning a single strand of yarn into a beautifully handme heart keychain. Whether you're looking to make a heartfelt gift, a stylish accessory, or a little dash of charm for your bag, this free crochet heart pattern is an absolute gem to try. Not only is it adorable, but it's also practical and easy to create! You'll use simple techniques like a magic ring, double crochet clusters, and treble crochet clusters to shape this intricate little design. These stitches aren't just for hearts-they're versatile and can be used to crochet countless other decorative pieces like flowers, coasters, and even garlands.
Use This Free Heart Keychain Pattern to Personalize Your Keys
What You Can Make With These Skills
- Elegant mini heart appliqués for decorating larger projects.
- Crochet flowers and embellishments using cluster stitches.
- Unique bag charms, zipper pulls, or keyrings.
- Seasonal garlands made of hearts for Valentine's or Christmas décor.
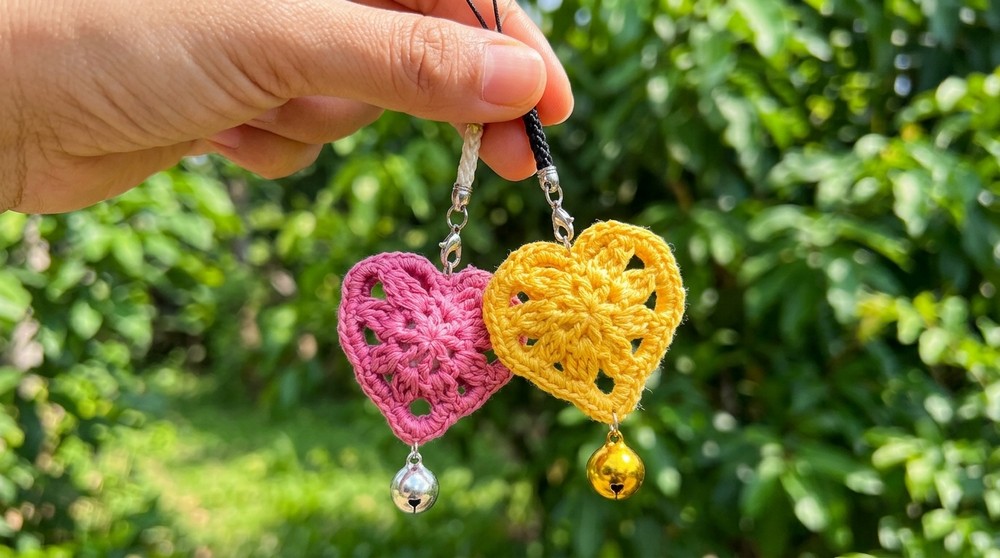
Once you've completed your first heart, the possibilities with these skills are truly endless!
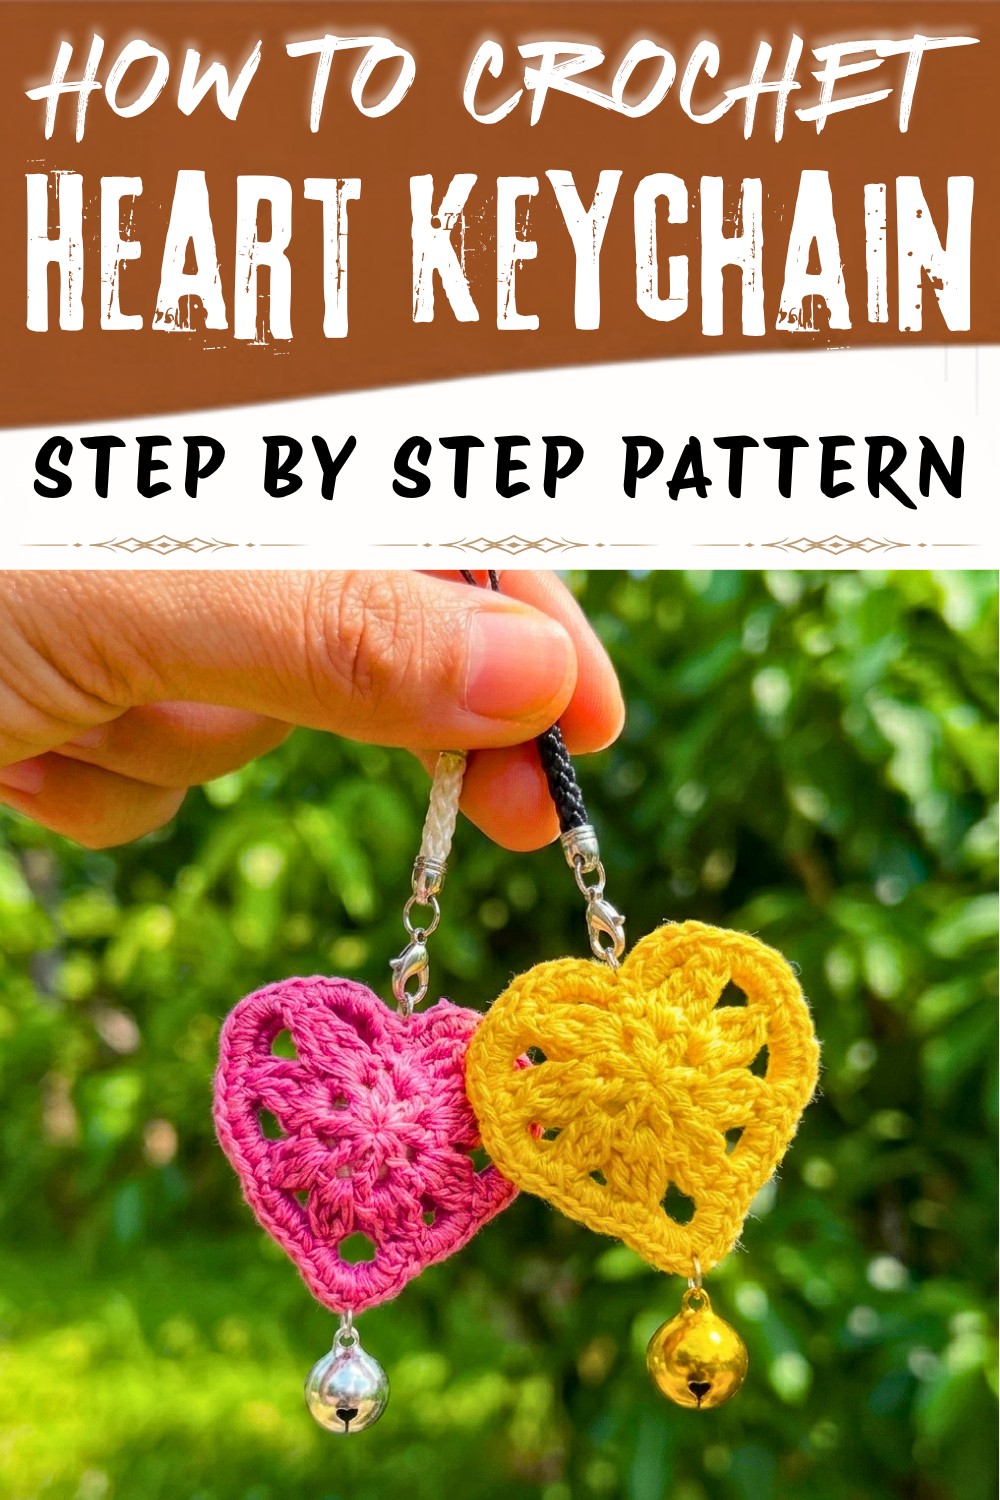
Beautiful Crochet Heart Keychain Pattern
Materials
- Yarn:
- Light weight yarn (e.g., Category 3 DK or sport weight) in yellow color or your preferred color
- Fiber type: cotton or acrylic both work well
- Hook:
- Crochet hook size recommended on your yarn label
- Common choice: 3.0 mm-3.5 mm for DK or sport weight yarn
- Filling / Center:
- One small round pearl bead, wooden bead, or similar decorative bead (small enough to be enclosed inside the heart)
- Notions:
- Yarn needle (tapestry needle) for sewing and weaving in ends
- Scissors
- Optional: jump ring and keychain ring for attaching to keys or a bag
Gauge
Gauge is not critical for this project because it is a small accessory. However, the following approximate gauge can be used as a reference:
- Using DK yarn and a 3.0-3.5 mm hook:
- 22-24 single crochets (sc) and 26-28 rows (sc) ≈ 10 cm x 10 cm (4 in x 4 in)
Finished Size
The completed heart should measure approximately 2.5 inches in width and 2 inches in height, though this may vary slightly depending on your tension and yarn choice.
Abbreviations (US Crochet Terms)
- ch = chain
- sc = single crochet
- dc = double crochet
- tr = treble crochet
- sl st = slip stitch
- sp = space
- st(s) = stitch(es)
- MR = magic ring
- cluster = group of stitches worked partially and finished together
Special Stitch Instructions
Cluster (Double Crochet) Stitch:
- Yarn over, insert hook into the designated stitch, pull up a loop.
- Yarn over and pull through the first two loops on the hook.
- Repeat until the required number of stitches are worked, leaving one loop uncompleted each time.
- Yarn over and pull through all loops on your hook to complete.
Cluster (Treble Crochet) Stitch: - Similar to the double crochet cluster but uses treble crochet stitches.
- Yarn over twice, insert hook, and proceed as above.
Pattern Instructions
You will make two identical heart pieces, then sew them together with a bead inside.
First Heart
Round 1
- Make a magic ring (MR).
- Ch 4 (counts as 1 dc + ch 1: think of this as your first "pattern unit").
- Dc in the ring, then ch 1.
- Repeat step 3 6 more times, so you will have a total of:
- 1 initial "dc, ch 1" already provided by the ch 4
- plus 7 "dc, ch 1" units in total in the ring.
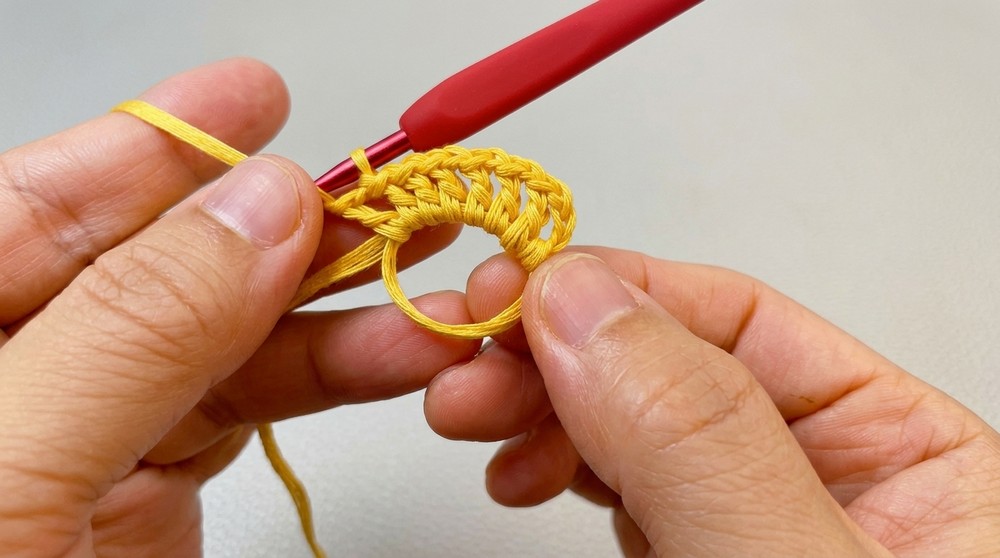
- Gently pull the tail to close the ring tightly.
- Sl st in the 3rd chain of the starting ch 4 to close Round 1.
You should now have a small ring with 8 dc and 8 ch‑1 spaces.
Round 2
You will work clusters into the chain‑1 spaces around the circle, forming the basic heart shape.
- Sl st into the first ch‑1 space to position your hook.
- Ch 2, counts as an unfinished dc of a cluster.
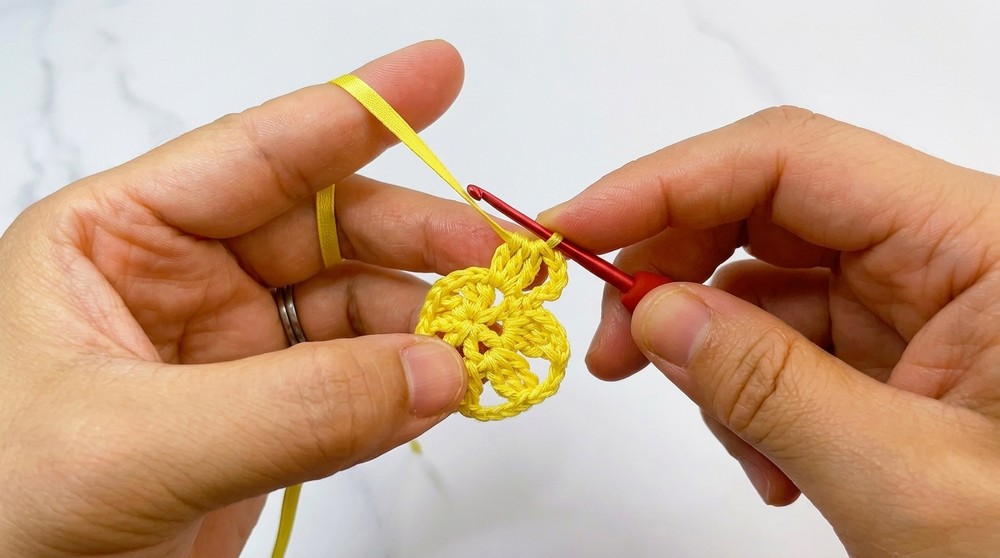
- In the same first ch‑1 space: make 2 more unfinished dc (do not finish each dc; stop before the final yarn over and pull through).
- You now have 3 partially completed dc (including the ch‑2) and 4 loops on the hook.
- Yarn over and pull through all loops to complete the 3‑dc cluster in the first ch‑1 space.
- Ch 3.
- In the second ch‑1 space, work a 3‑dc cluster, then ch 4.
- In the third ch‑1 space, work a 3‑tr cluster, then ch 4.
- In the fourth ch‑1 space, work another 3‑tr cluster, then ch 5.
- Sc in the next dc stitch (between chain spaces) to form the bottom point area, then ch 5.
- In the fifth ch‑1 space, work a 3‑tr cluster, then ch 4.
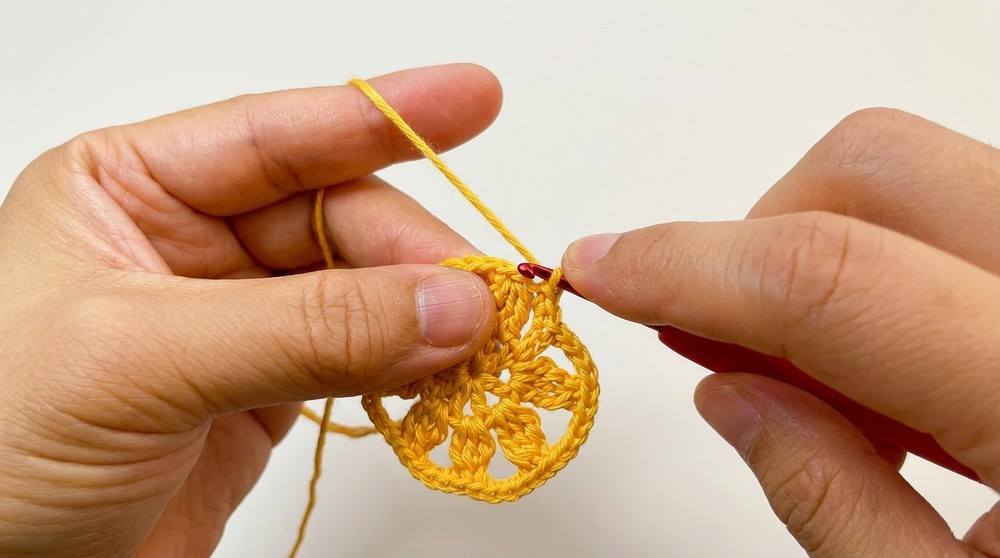
- In the sixth ch‑1 space, work a 3‑tr cluster, then ch 4.
- In the seventh ch‑1 space, work a 3‑dc cluster, then ch 3.
- In the last ch‑1 space, work a 3‑dc cluster, then ch 5.
- Sl st in the first stitch of Round 2 (the top of the first cluster or the ch‑2) to close Round 2.
Round 2 forms the basic outline of the heart with chain arches along the edges.
Round 3
This round is worked almost entirely in single crochet around all chain spaces and clusters to define the heart shape clearly.
- Ch 1, then sc in the first stitch.
- 3 sc in the first ch‑3 space.
- Sc in the next stitch.
- 4 sc in the next ch‑4 space.
- 2 sc in the next stitch.
- 4 sc in the next ch‑4 space.
- 2 sc in the next stitch.
- 3 sc in the next ch‑5 space.
- Ch 1, then sl st in the next sc.
- This small sequence helps form the bottom point of the heart.
- Ch 1, then 3 sc in the next ch‑5 space.
- 2 sc in the next stitch.
- 4 sc in the next ch‑4 space.
- Repeat step 12 once more in the following ch‑4 space (4 sc in that space again).
- Sc in the next stitch.
- 3 sc in the next ch‑3 space.
- Sc in the next stitch.
- 3 sc in the last ch‑5 space.
- Ch 1, then work 3 more sc in the same ch‑5 space (this gives a total of 6 sc in that last space, forming the top indentation area).
- Cut yarn, leaving a long tail for sewing.
- Finish with an invisible join or a sl st, then weave in any short ends, keeping the long sewing tail available.
Your first heart piece is complete.
Second Heart
- Repeat Rounds 1-3 exactly as for the first heart.
- You may cut this yarn with a short tail, as you will sew using the long tail from the first piece (or you may leave a long tail on one of the pieces, whichever you prefer).
Assembly
Sewing the Two Hearts Together
- Place the two heart pieces back to back, with the right sides (nice side with neat stitches) facing outward.
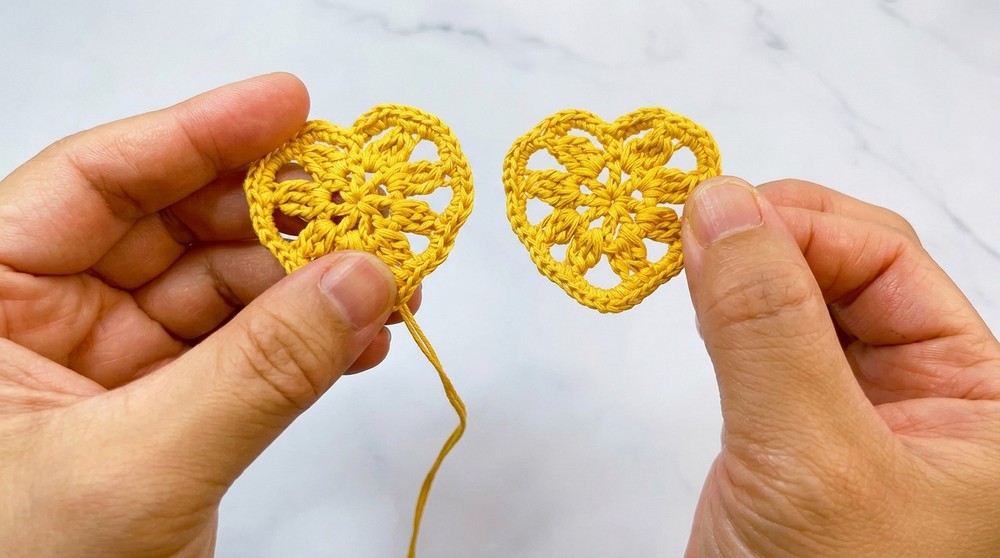
- Thread the long yarn tail from one heart onto a yarn needle.
- Align the edges carefully.
- Insert the needle through the back loops only of both heart edges, sewing all around the shape.
- This "back‑loop‑only" method creates a clean seam and a subtle ridge at the edge.
- As you sew, leave a small opening at the top or side.
- Insert the pearl bead or small bead inside the heart through the opening to give a padded look.
- Continue sewing through the back loops until the heart is fully closed.
- Weave in the remaining yarn tail securely on the inside or between the layers.
- If desired, use a separate piece of yarn or thread to attach a jump ring and keychain ring at the top center of the heart.
Tips
- Tension:
Work with a slightly tighter tension than usual. This will keep the bead securely inside and help the heart hold its shape. - Magic Ring Tip:
Ensure the magic ring is pulled very tight in Round 1 so that no hole remains in the center of the heart. - Cluster Neatness:
When working 3‑dc and 3‑tr clusters, keep the loops snug and even. This will make the heart edges smooth and uniform. - Seam Alignment:
Before sewing, lightly pin or clip the two hearts together at a few points so the edges do not shift while you stitch.
Customization Ideas
- Size Changes:
- For a larger heart, use thicker yarn and a larger hook.
- For a smaller and more delicate charm, use finer yarn (e.g., fingering) and a smaller hook.
- Color Variations:
- Make each side a different color for a two‑tone heart.
- Use variegated yarn for a softly shaded effect.
- Embellishments:
- Sew a small bow, button, or tiny flower onto the front.
- Add embroidery (small initials or a tiny motif) using contrasting yarn.
- Keychain / Hanging Loop:
- Crochet a short chain loop at the top of the heart before sewing it closed, and attach a keyring or hang it as a charm or ornament.
Conclusion and Important Remarks
Upon completion, you will have a small, heart‑shaped crochet keychain with a soft, padded appearance thanks to the bead inside. The textured clusters on Round 2 and the dense single crochet edging on Round 3 give the heart clear curves and a distinct tip at the bottom and indentation at the top.
This pattern is suitable for confident beginners who are comfortable with basic stitches and interested in learning clusters and working in a magic ring. The project is quick, ideal for gifts, and easy to personalize through color, size, and added embellishments.