
Catch the fun with this free crochet pattern to make a cute and cuddly alpaca that's easy to customize with soft yarn and vibrant colors.
Alpacas are one of those creatures that naturally bring a smile to anyone's face. With their fluffy coats, curious expressions, and soft features, they're practically made to inspire crochet projects. This funky little alpaca amigurumi captures all the charm of the real thing, but with a soft, adorable twist. Whether it's the soft, textured body created with blanket or chenille yarn, the stubby little legs, or the tiny, sculpted tail, there's no denying that this is one project that sparks joy with every stitch.
Crochet Alpaca Amigurumi Free Pattern That Are Perfect to Display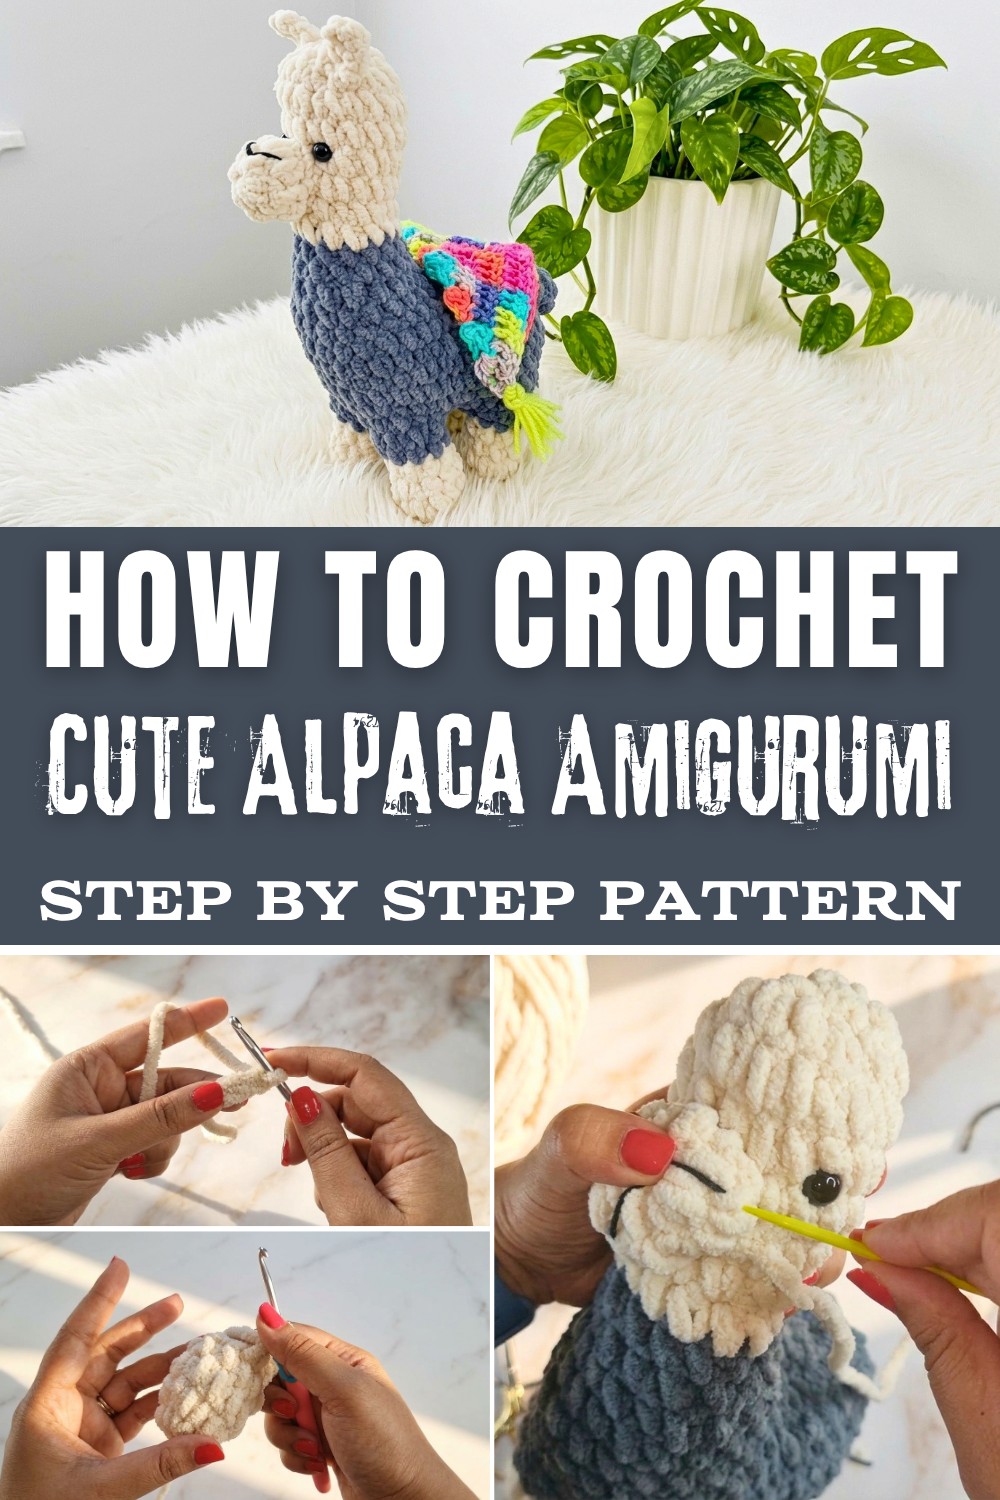
What sets this alpaca apart from other amigurumi pieces is its balance of simple shapes and playful details. The floppy ears give it a whimsical personality, while sturdy legs ensure it stands tall-making it perfect as a small décor piece or a thoughtful gift. The combination of safety eyes and a lightly embroidered snout infuses it with a sweet expression, giving it just the right amount of character.
What's even better? The flexibility to experiment with colors. You could go for a soft, neutral palette resembling a classic alpaca or add a pop of fun with bright, funky shades. Pair it with accessories, like a crochet scarf or a colorful saddle, for an even more playful look.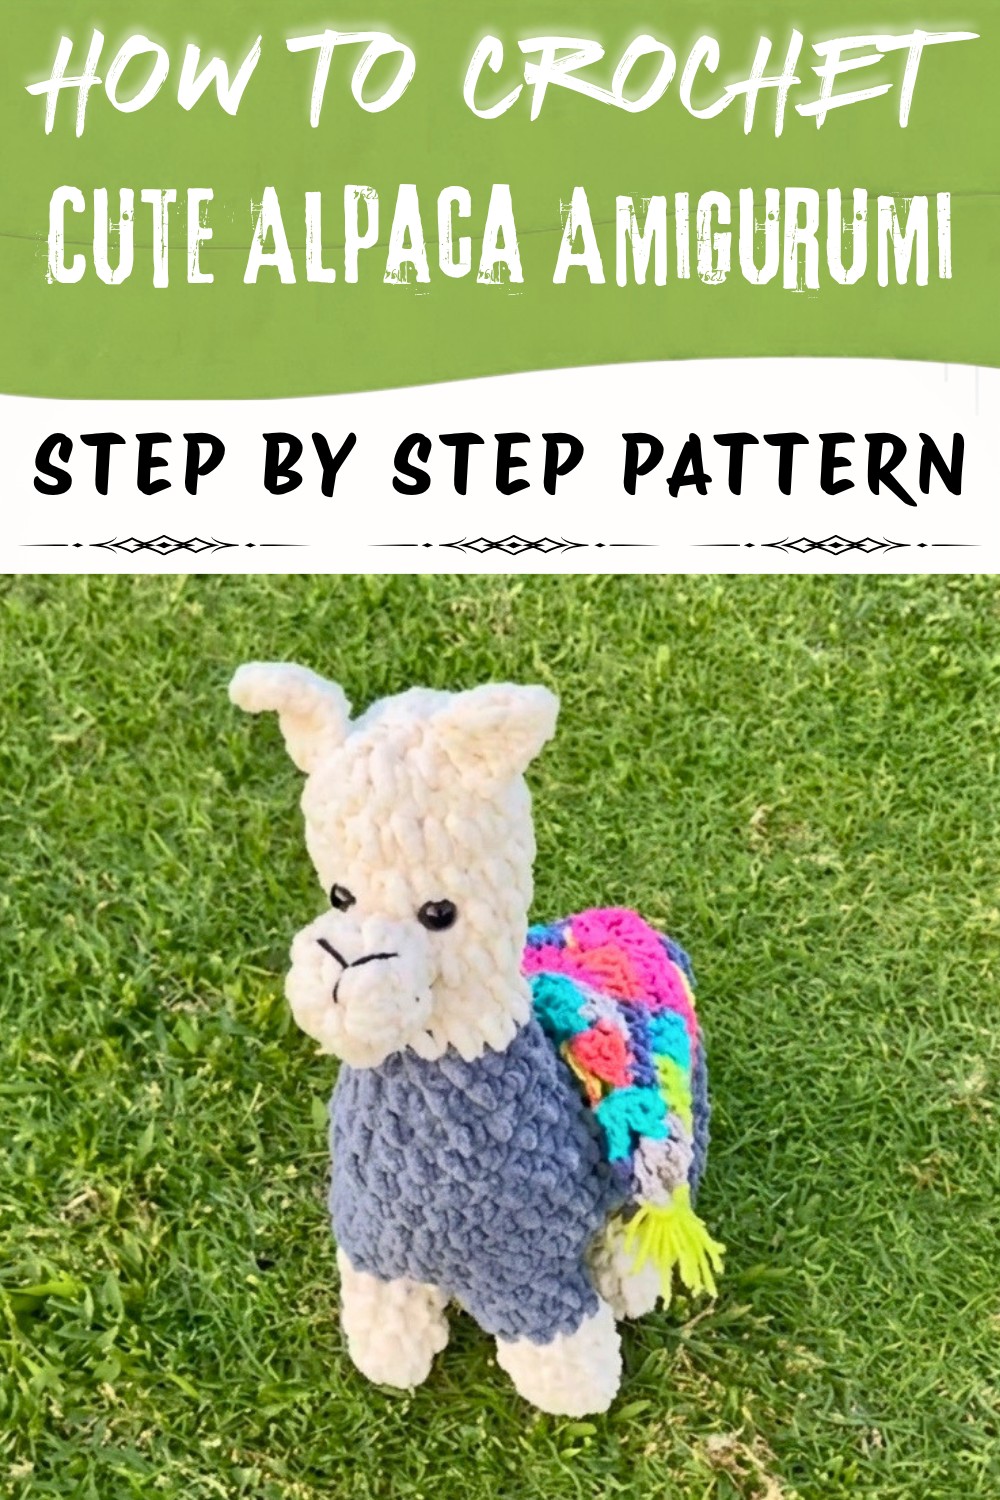 This alpaca isn't just a project, it's a small, cuddly friend that's as fun to make as it is to share. Add some stuffing, shape it carefully, and before you know it, you'll have something adorable that's sure to turn heads and lift spirits wherever it goes.
Amigurumi Llama/Alpaca Crochet Pattern
This crochet pattern creates a standing llama or alpaca. Using soft blanket or chenille yarn gives the amigurumi a cuddly and adorable finish. Follow the detailed instructions below for precise step by step guidance.
Materials Needed
- Yarn:
- Chenille or blanket yarn (e.g., Alise Valuto or Bernat Baby Blanket) in two colors:
- Color 1: Off white or light color for the legs and accents.
- Color 2: Dark gray for the body.
- Thin black yarn for facial detailing.
- Chenille or blanket yarn (e.g., Alise Valuto or Bernat Baby Blanket) in two colors:
- Tools:
- 4.5mm crochet hook
- Yarn needle with a large eye
- Stitch marker
- Scissors
- Notions:
- Fiberfill stuffing (e.g., polyester)
- Safety eyes (2 pieces)
Stitch Abbreviations
- ch: Chain
- sc: Single Crochet
- inc: Increase-2 sc in the same stitch
- dec: Decrease-single crochet two stitches together
- sl st: Slip Stitch
Gauge
- Gauge is not essential for this project, but ensure your stitches are tight enough to prevent stuffing from poking through.
Measurements
- Finished Size: Approximately 8-10 inches tall.
The Crochet Pattern
1. Legs (Make 4)
Yarn Color: Light color/off white
- Make a slip knot and chain 2.
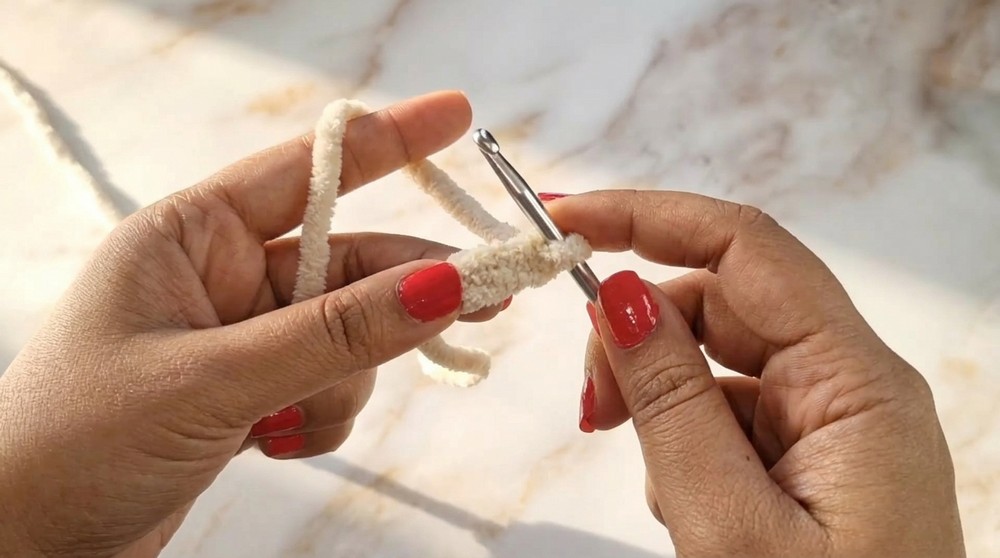
- Work 5 sc into the 2nd chain from the hook. (5 stitches total)
- Row 2: Work 2 sc in each stitch around for a total of 10 stitches.
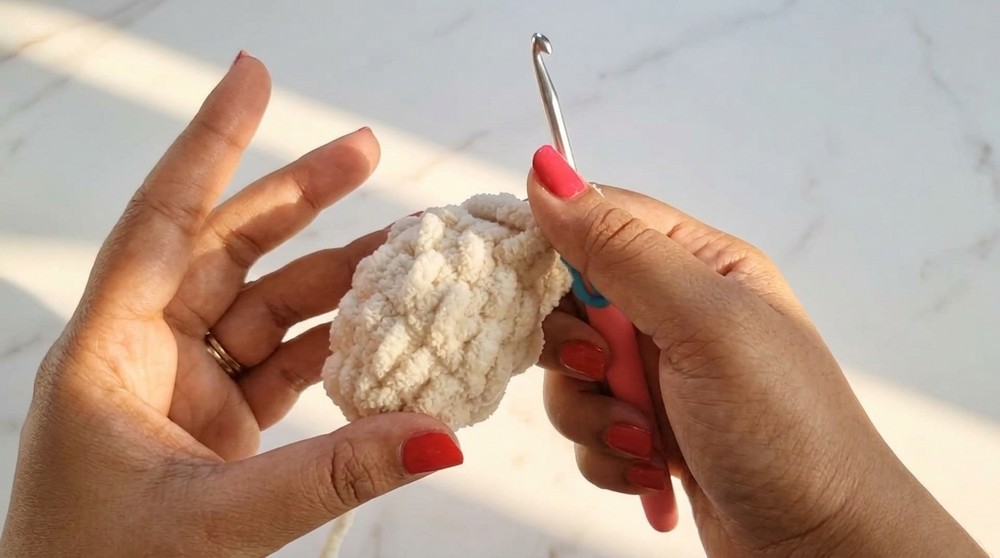
- Rows 3-5: Work 1 sc in each stitch around to maintain 10 stitches per row.
- Color Change: Fasten off the light colored yarn and attach the dark gray yarn. Work 1 final row of 1 sc in each stitch in the new color.
Note: For the first three legs, fasten off after the last stitch. For the fourth leg, do not fasten off since this will be the starting point for joining the legs to build the body.
2. Joining the Legs & Forming the Body
Joining the First Pair of Legs:
- With the fourth (unfastened) leg, chain 2 and join it to the first leg by working 1 sc into the first stitch of the first leg.
- Work around:
- Work 7 sc into the first leg.
- Work 3 increases (2 sc in each stitch).
- Work 1 sc into each of the 2 chains in the joining gap.
- Move to the second leg: Work 3 increases around the first three stitches of the second leg.
- Work 9 sc around the second leg.
- Work 1 sc into the other side of the joining chains.
- Stitch Count: You should now have a total of 30 stitches for this round.
Joining the Second Pair of Legs:
- Repeat the above process for the second pair of legs.
Connecting the Legs:
- Line up the front and back leg pairs. Use stitch markers or clips to align.
- Using gray yarn, slip stitch 11 stitches across the middle section to join the front and back legs together.
Form the Body Perimeter:
- Chain 1, which counts as the first stitch.
- Work 38 sc around the full perimeter. (39 stitches total)
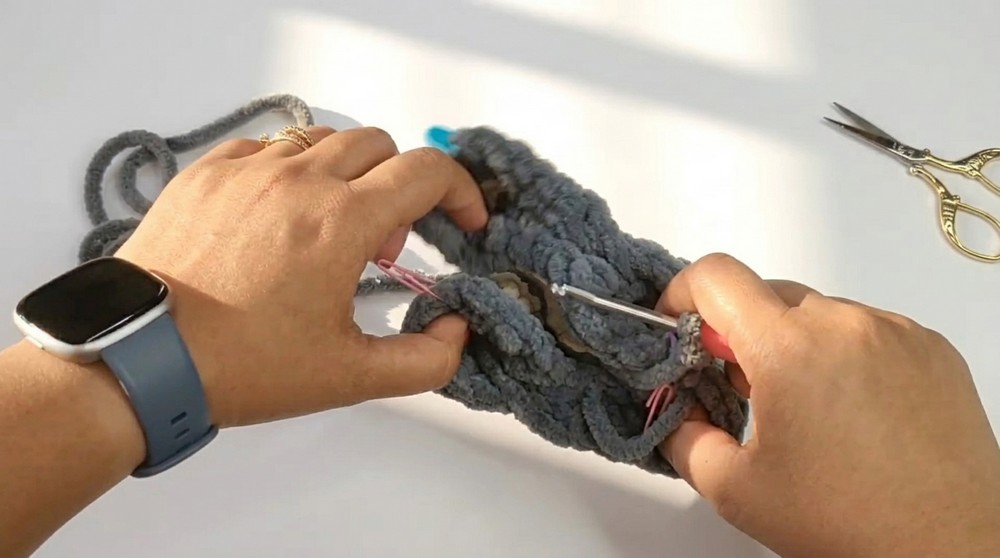
Body Shaping (Rounds):
- Rows 2-5: Work 1 sc in each stitch around. (39 stitches total per row)
- Begin decreases:
- Row 6: Work 3 dec, 27 sc, and 3 dec. (33 stitches)
- Row 7: Work 3 dec, 21 sc, and 3 dec. (27 stitches)
Stuff the Legs and Body:
Completely stuff the legs and body with fiberfill. Push the stuffing firmly into all four legs to help the figure stand firmly on its own.
Sew the Bottom Shut:
Using a yarn needle, sew the bottom gap (10 stitches) of the two sets of legs together. Leave 17 stitches open for the neck. Hide the tail when finished.
3. Neck and Head
Forming the Neck:
- Reattach dark gray yarn and work 17 sc around the remaining neck opening. (17 stitches)
- Begin tapering the neck:
- Row 2: 1 dec, 13 sc, 1 dec. (15 stitches)
- Row 3: 1 dec, 11 sc, 1 dec. (13 stitches)
- Row 4: Work 1 sc around. (13 stitches)
Color Change:
Switch to off white yarn. Work 1 row of 13 sc in the new color.
Head Construction:
- Increase and shape the head:
- Row 1: 1 inc, 4 sc, 3 inc, 4 sc, 1 inc. (18 stitches)
- Rows 2-5: Work 4 rows of 1 sc in each stitch. (18 stitches per row)
Insert Eyes and Stuff Head:
- Insert safety eyes 2 rows down from the top, leaving 3 stitches between them.
- Stuff the neck and head firmly.
Close the Head:
- Begin final decreases:
- Row 6: 1 sc, 1 dec (repeat 6 times). (12 stitches)
- Row 7: Work 6 decreases in a row to fully close the head. (6 stitches)
- Fasten off and sew the top shut.
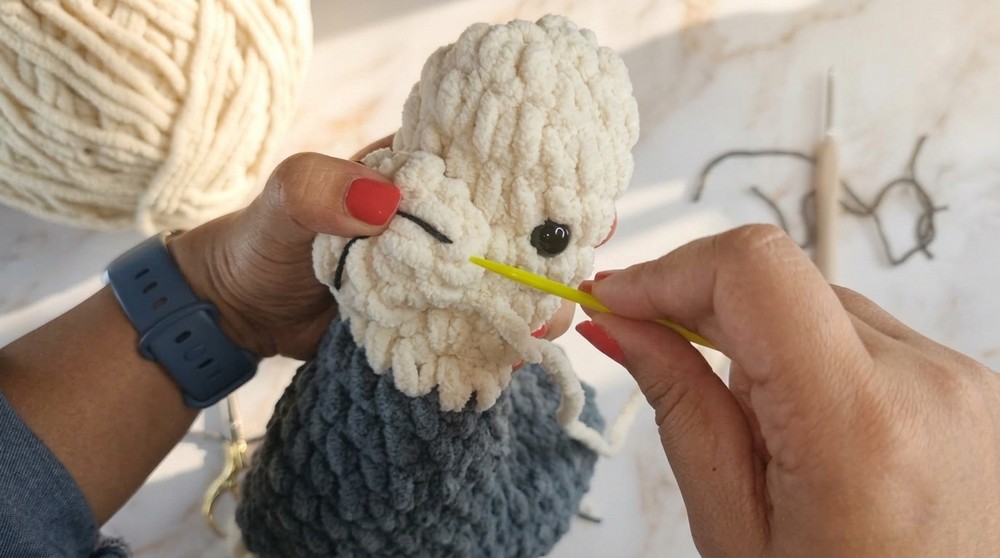
4. Details
Snout:
- With off white yarn, ch 2.
- Row 1: Work 6 sc into the 2nd chain. (6 stitches)
- Row 2: Work 1 sc into the first 2 stitches, 2 inc, 1 sc into the last 2 stitches. (8 stitches)
- Row 3: Work 3 sc, 2 inc, 3 sc. Embroider a 'Y' shape with black yarn for the nose.
- Sew the snout onto the head, positioning it between the eyes.
Tail:
- With gray yarn, ch 2.
- Row 1: Work 6 sc into the 2nd chain.
- Row 2: Work 1 sc in each stitch around.
- Fasten off and sew the tail to the back of the body.
Ears (Make 2):
- With off white yarn, ch 5.
- Work the following stitches into the chain:
- Slip stitch (sl st) in the 2nd chain from the hook.
- 1 sc in the next chain.
- 1 dc in the next chain.
- 1 sc in the next chain.
- Sl st into the last chain.
- Sew the ears to the head, placing them just above each eye.
Assembly and Finished Size
Once the tail, ears, and snout are attached, ensure the body and head are fully stuffed. Adjust stuffing as needed, then weave in and hide all loose ends. Your finished llama should stand 8-10 inches tall and look adorable with its soft, fluffy texture.
Conclusion
Congratulations on completing your amigurumi llama/alpaca. This delightful project is both fun to make and a joy to display. Feel free to experiment with colors or add your own creative flair.