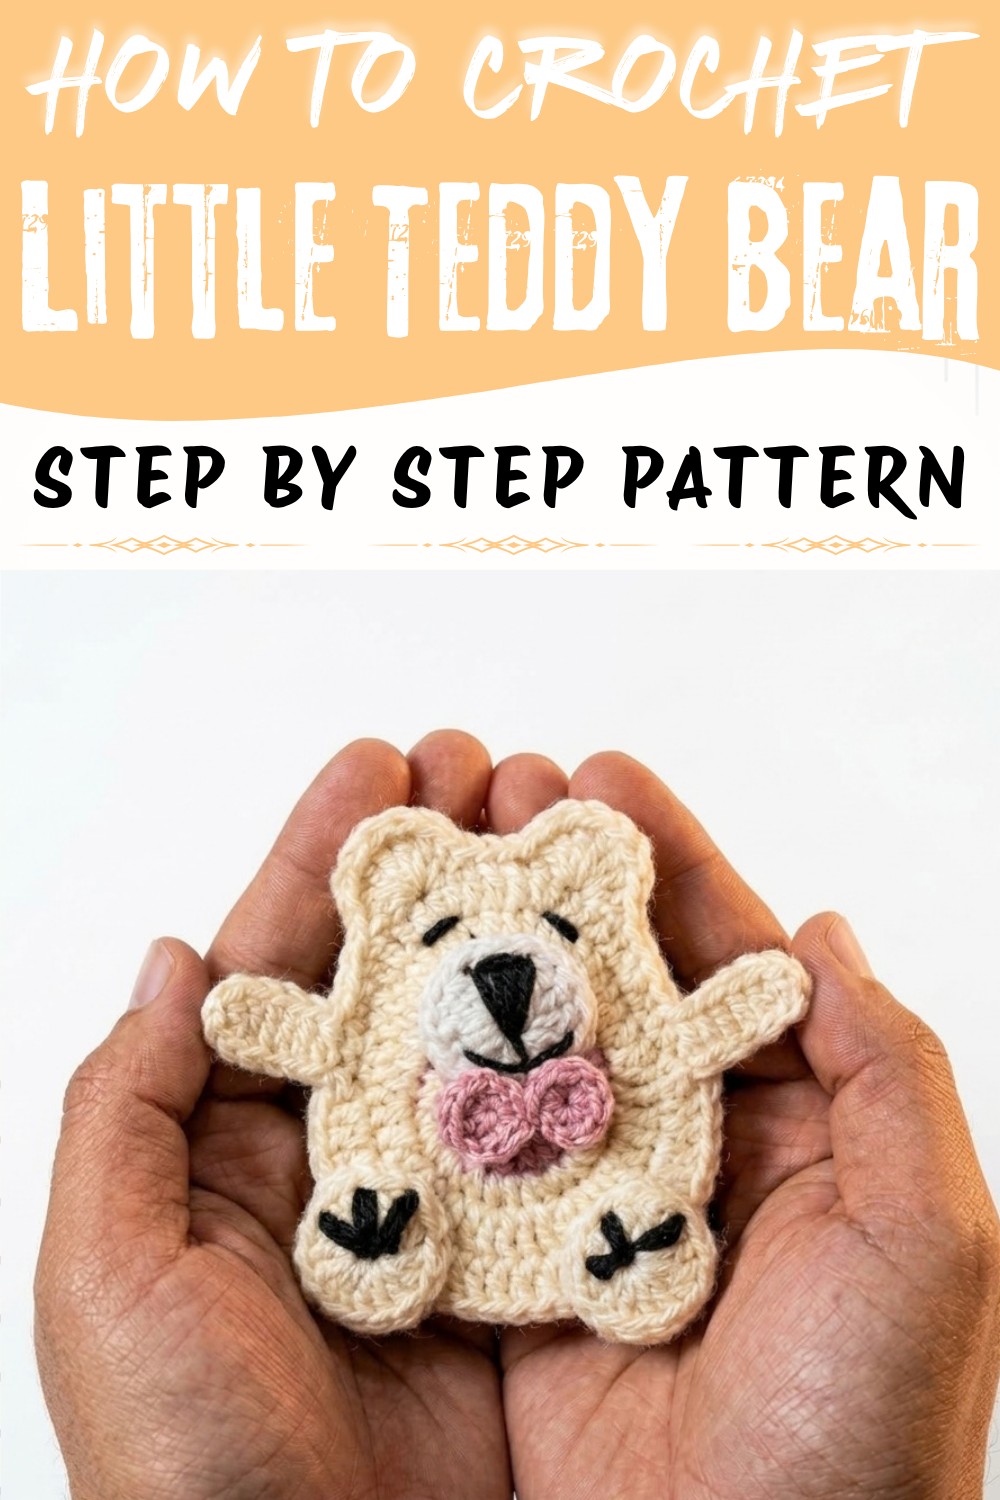
Fill a nursery shelf with charm using Crochet Teddy Bear Free Pattern and keep this lovable little friend as a special display.
If you're searching for a lovable and charming handmade toy, the Crochet Teddy Bear Pattern - credited fully to Nancy a crochet - is a perfect project to try. This delightful teddy bear makes an ideal gift for children and loved ones or serves as a cozy decorative piece in any room. Its soft texture and warm appearance bring comfort and joy, while the classic teddy bear design never goes out of style.
Sweet Crochet Teddy Bear Free Pattern for a Lovely Keepsake
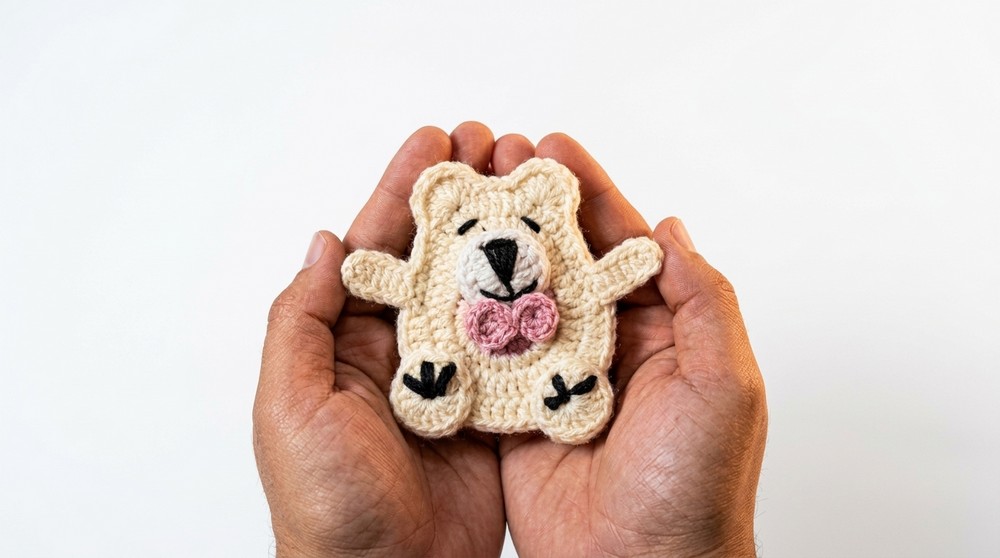
The pattern results in a cuddly bear with a rounded, plump body and well-proportioned limbs that create a perfectly balanced silhouette. The bear's face is especially endearing, with carefully shaped ears, a cute snout, and expressive eyes that give it a friendly personality. The plush texture invites gentle hugs, making it a satisfying object to hold or display. Made in soothing yarn colors, this bear embodies both simplicity and charm, suitable for a nursery or as a heartfelt gift.
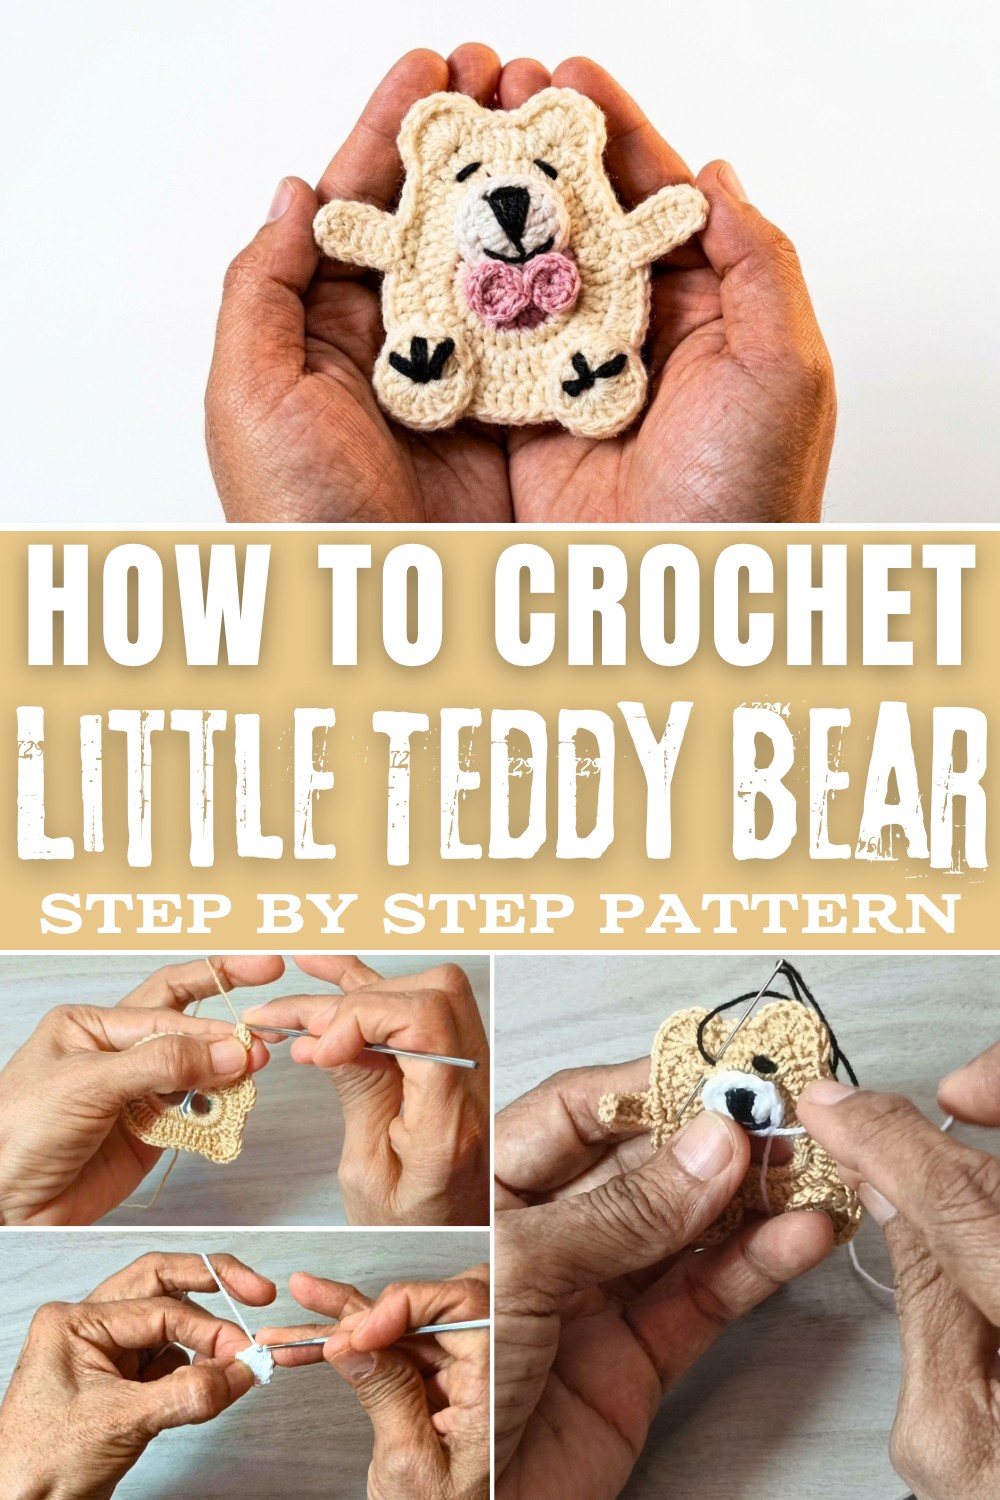
One of the standout features of this pattern is its versatility. You can adjust the size or color to suit any occasion, from baby showers to birthdays. Beyond being just a toy, it serves as a decorative accent that adds a touch of warmth and whimsy to any home space. Whether placed on a bed, shelf, or sofa, this teddy bear becomes an instant favorite - a timeless piece that combines creativity with meaningfulness, perfect for those who appreciate a cozy, handmade touch.
Crochet Teddy Bear Free Pattern
A touch of originality adds memorable charm to any festive season, and one such ornament achieves this through the thoughtful use of everyday materials. Soft cotton yarn worked around a humble soda can tab forms the base for a teddy bear ornament that radiates warmth and whimsy. Combining simple crochet stitches with careful assembly, each piece offers a delightful combination of texture and detail. Subtle features, such as embroidered eyes and nose, highlight the teddy's gentle character. This guide prioritizes clear direction, ensuring a rewarding process whether this is an early project or part of a growing collection. Personal touches-a splash of color, a ribbon, or alternating yarns-invite further individuality. The finished bear serves as a decorative accent for trees, gifts, keychains, or even as a thoughtful token for loved ones.
Quick Overview Of Pattern
- Prepare soda can ring with single crochets as the ornament base.
- Work double crochet and half double crochet to build body shape.
- Use increases for body fullness and smooth transitions.
- Add ears, arms, and legs directly onto the base with easy, well-placed stitches.
- Crochet a separate muzzle and attach.
- Use embroidery for the facial features.
- Finish with optional ribbon or bow.
Notes
- A mercerized cotton yarn gives a sleek finish and helps the ornament hold its shape.
- Consistent tension helps especially when working over the metal ring and for motifs like the muzzle.
- The choice of pop tab is important: a wide, sturdy one works best.
- Precise placement of arms, legs, and facial features will result in a more balanced appearance.
Skill Level
- Adventurous Beginner to Intermediate
- Familiarity with basic stitches such as single crochet (sc), half double crochet (hdc), double crochet (dc), slip stitch (sl st), and simple embroidery will be helpful.
Materials
- Yarn: Mercerized cotton in a main color (brown/beige), with a small amount of white for the muzzle.
- Crochet Hook: 1.7 mm.
- Can Ring: 1 large pull tab from a food can.
- Thread & Needle: Black embroidery floss and yarn needle.
- Optional: Small ribbon/bow for extra detail.
Measurements / Sizing
- Finished bear ornament: Approximately 7-9 cm tall, depending on tab/ring size and yarn/hook choice.
- Final width about 4-5 cm measured from arm to arm.
Gauge
- Gauge is not critical, but tight stitches prevent the work from being too floppy.
- Fit should be snug around the metal ring.
Stitch Abbreviations
- sc - single crochet
- hdc - half double crochet
- dc - double crochet
- sl st - slip stitch
- ch - chain
- MR - magic ring
Special Stitches
- Increase: Work two stitches in the same space.
- French Knot: Wrap embroidery floss five times around needle, insert into fabric, and pull through for an "eye" effect.
- Satin Stitch: Repeated straight embroidery stitches for the nose.
The Crochet Pattern
Base Ring Preparation
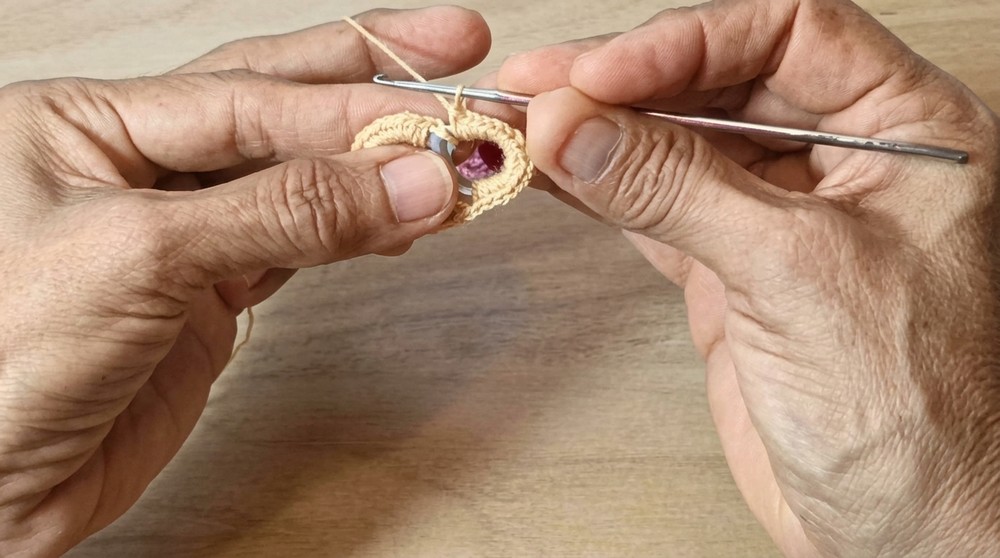
- Step 1: Attach main color yarn to your can tab securely with a slip knot.
- Step 2: Work 22 single crochets (sc) evenly along the upper (longer) side of the tab.
- Step 3: Turn and, continuing around the other edge, work 15 single crochets (sc) along the bottom curve.
- Step 4: You should now have 37 sc wrapping the full outer edge; join to the first sc with a slip stitch.
Lower Body & Base Shaping
- Step 1: Chain 2 (this counts as first double crochet).
- Step 2: Along the curved lower boundary, establish the body: Work this pattern repeatedly-2 double crochets (dc), then increase (2 dc into the same stitch) until you complete the curve.
- Step 3: As you approach the straight side and wish to avoid bulk, transition to half double crochets. Continue with 2 half double crochets (hdc), then increase (2 hdc in next stitch) across until the round's starting point.
- Step 4: Slip stitch to join the round.
- Step 5: For a neat perimeter, chain 1, then work 1 single crochet (sc) in each stitch all the way around the outer edge.
Head, Ears, and First Arm
- Step 1 (First Ear): Seamlessly transition to head/ear shaping by working sc up to the top right "corner" (about 31 sc around from the base).
- Step 2: Skip the next base stitch. In the following stitch, make the first ear by working 6 double crochets (dc) in the same space.
- Step 3: Skip 1 base stitch, then slip stitch to next stitch-this secures the ear and defines the shape.
- Step 4: Slip stitch across the next four stitches (to move across the bear's "forehead").
- Step 5 (Second Ear): For the second ear, skip the next stitch, then work 6 double crochets (dc) into the next one. Skip a stitch, and secure with a single crochet.
- Step 6 (First Arm): Continue single crocheting down the edge. After 3 stitches, chain 6; skip the first chain from the hook, and work half double crochets (hdc) into each chain (five hdc in total) back toward the body. Attach to the side with a hdc.
Legs and Second Arm
- Step 1: From the end of first arm, skip 1 stitch, then work a slip stitch into the next. Slip stitch through the center of the next 7 stitches to reach the lower body.
- Step 2 (First Leg): Pull up a loop, chain 4, and into the first chain work 12 sc and dc combined to form a rounded "paw". Secure to the main body with a slip stitch.
- Step 3 (Second Leg): Traverse across the bottom via slip stitches; pull up a loop, chain 4, work 12 stitches into the first chain, then slip stitch back to the body to secure the second leg.
- Step 4 (Second Arm): Slip stitch up the bear's other side. Once parallel to the first arm, repeat the arm sequence: chain 6, work hdc into each chain, and reattach with hdc.
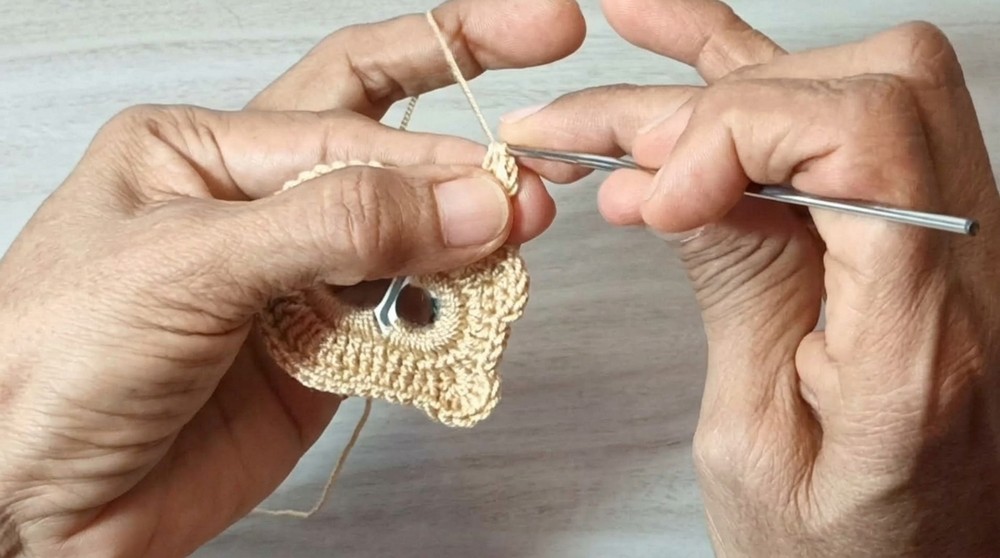
- Step 5: Fasten off securely; use a yarn needle to weave in tail ends.
Muzzle Assembly
- Step 1: With white yarn, form a magic ring.
- Step 2: Into the ring, work 3 single crochets (sc), 6 double crochets (dc), and 3 single crochets (sc). Pull the ring closed tightly and join with a slip stitch.
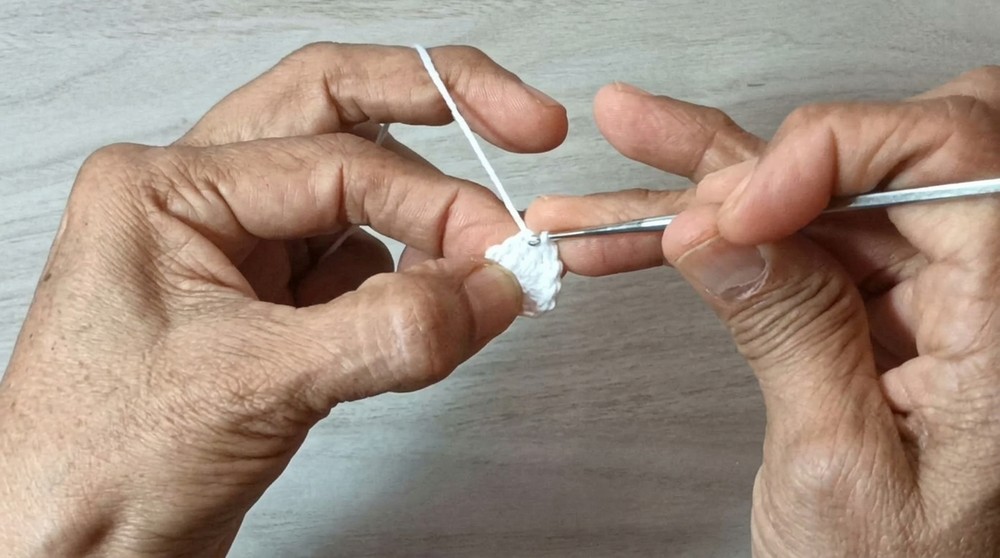
- Step 3: To refine shape, slip stitch across the first 2 stitches, then work 1 sc in each of the next 6 dc, and slip stitch through the last 3 stitches. This yields a rounded oval muzzle.
- Step 4: Fasten off, leaving a long tail for sewing.
Facial Features, Assembly & Finishing
- Step 1 (Nose & Mouth): With black embroidery thread, use a satin stitch to embroider a small triangle for the nose on the white muzzle. From the tip, stitch a vertical line downward for the mouth.
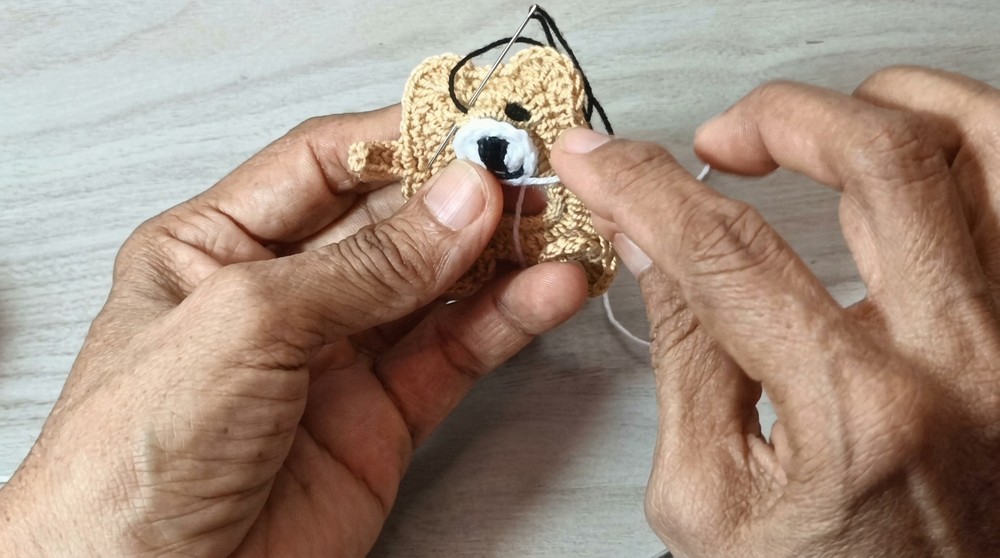
- Step 2 (Eyes): Using the same black thread, form a French knot by wrapping thread around your needle five times for each eye. Place a knot on each side of the head for an even, lively look.
- Step 3 (Muzzle Attachment): Sew or glue the finished muzzle onto the teddy's head, centering between the ears.
- Step 4: Finish with a decorative element-sew or glue a small ribbon or bow just below the teddy's chin.
Assembly & Finished Size
- This ornament measures approximately 7-9 cm tall and 4-5 cm wide.
- Attach a hanging loop at the top if desired.
- Use glue or careful stitching to ensure the muzzle and decorations are secure.
Conclusion
Completing each step of this project results in a charming teddy bear ready to brighten any occasion. The use of recycled materials not only adds sustainable value but also offers a renewed appreciation for simplicity and creativity. Detailed instructions help every stage flow smoothly, from attaching the first stitch to embroidering the final facial expression. Subtle curves, proportionate arms and legs, and thoughtful finishing touches contribute to the bear's friendly character. With the addition of decorative elements, such as a bow or a unique color palette, each ornament easily reflects individual tastes. Whether shared as a gift, highlighted as décor, or kept as a keepsake, this teddy bear is certain to evoke smiles and fond memories for years to come.