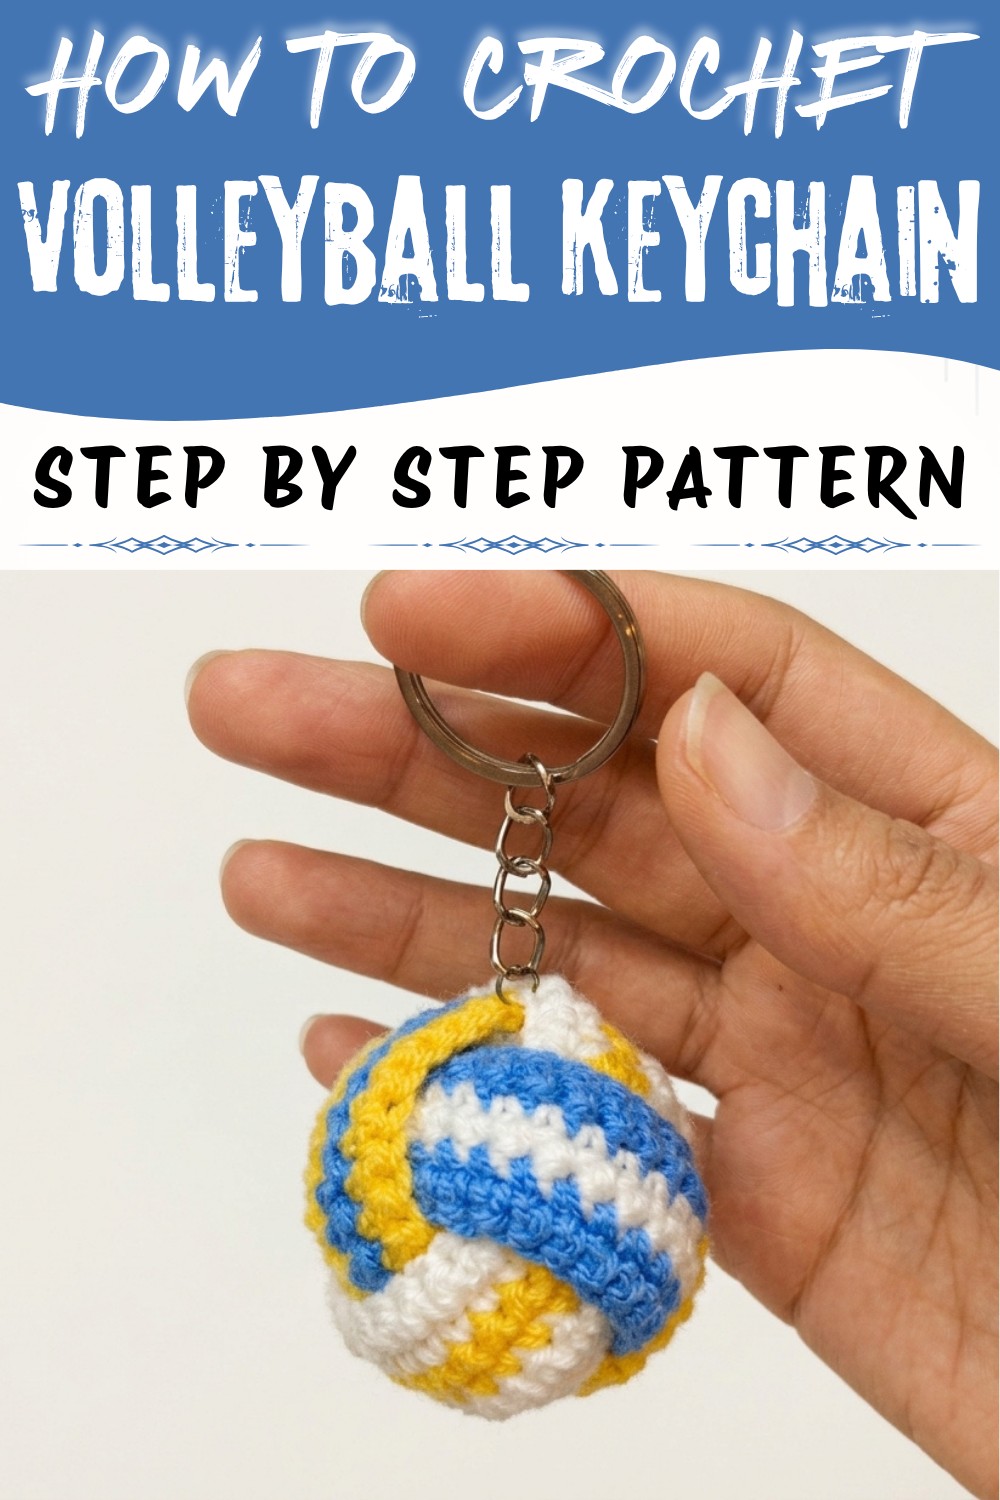
Spice up your everyday accessories with this Crochet Volleyball Keychain Pattern, a cute little ball charm with a fun handmade look.
Want to crochet something interesting and sporty that also makes a great everyday accessory? Inspired by a brilliant tutorial from Ati crochet's YouTube channel, there's a unique volleyball-themed design that beautifully combines charm with practicality. The Crochet Volleyball Keychain Pattern creates a compact, spherical keychain that perfectly captures the look of a real volleyball. This small project offers a fun way to celebrate the sport while adding a unique touch to your keys or bag.
Simple Crochet Volleyball Keychain Free Pattern That Adds Sporty Charm
The keychain's style is simple yet detailed, featuring a tight, smooth texture formed by single crochet stitches worked in continuous rounds. Its shape is a neat little sphere, with raised seams that mimic the panels of an actual volleyball, giving it an authentic and eye-catching appearance. Despite its small size, the keychain has a soft but durable feel.
Perfectly sized to fit on a keyring or as a bag charm, this pattern offers room for customization. By selecting different yarn weights or hook sizes, you can make variations in size, creating mini or slightly larger versions. Adding a keyring, clasp, or even extra decorative charms makes it a versatile and personal keepsake.
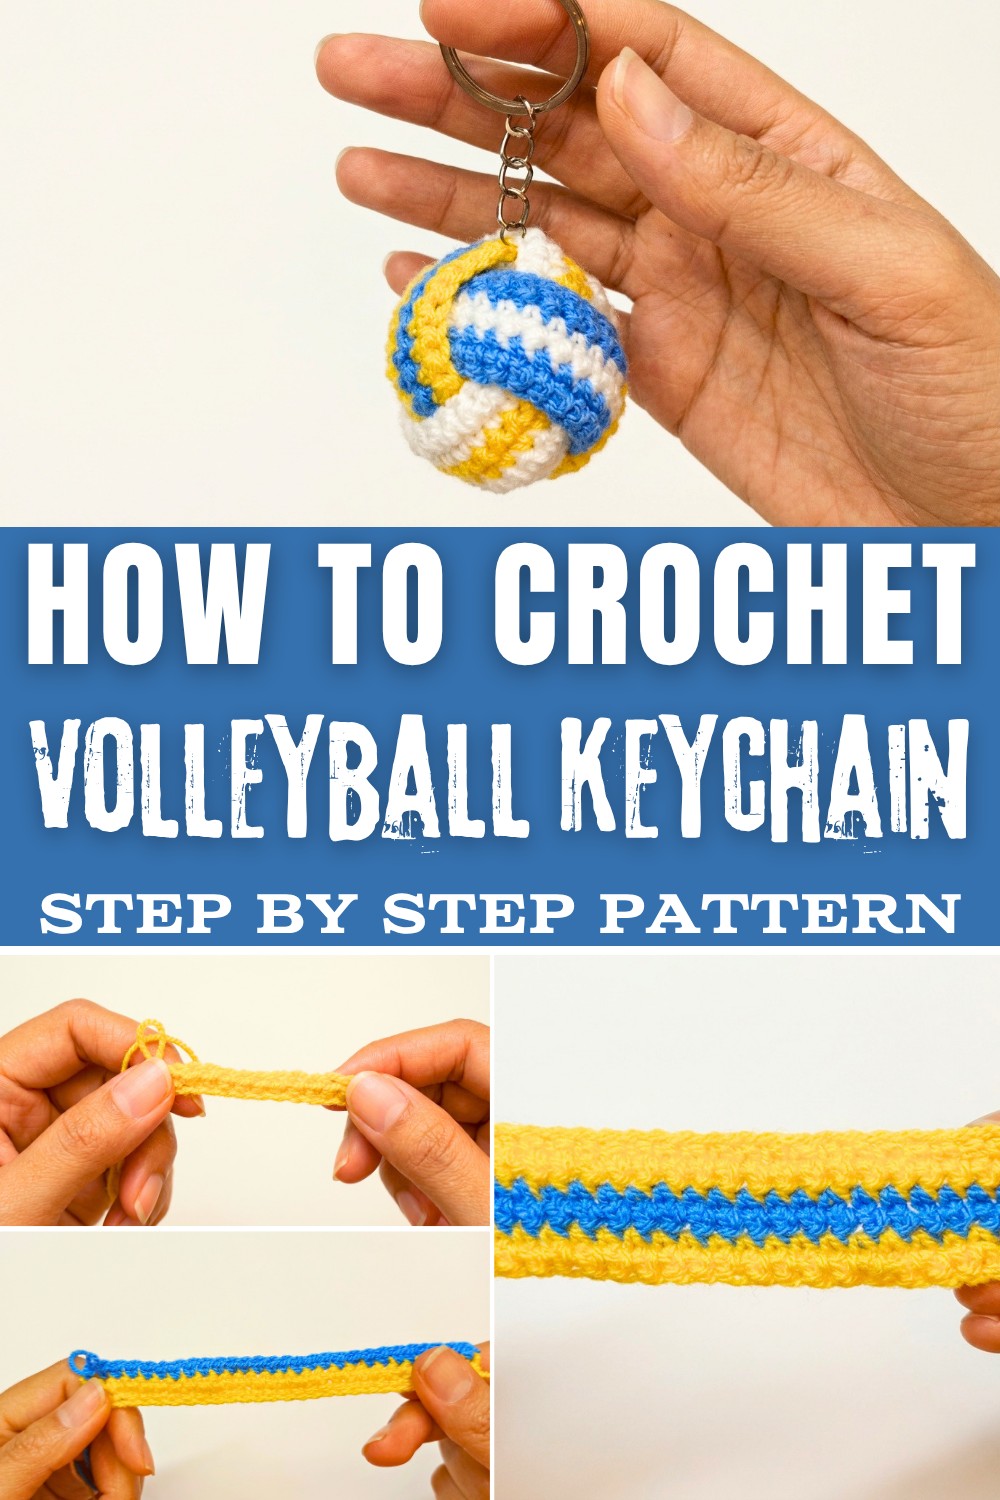
The construction focuses on working in continuous rounds with consistent tension to maintain the spherical shape and smooth stitch lines. Using a smooth worsted-weight yarn enhances the stitch definition and offers a subtle sheen that highlights the volleyball's panel details beautifully.
Inspired by a love for volleyball and the desire to make sporty, portable accessories, this keychain is ideal as a gift for players, coaches, or fans. It's a thoughtful item for birthdays, team events, or tournaments. Plus, the design encourages you to get creative-experiment with colors or add your own flair to make each keychain truly one of a kind.
Crochet Volleyball Keychain Pattern
This project outlines a method for making a miniature volleyball keychain using simple crochet techniques and basic sewing. The instructions follow a clear sequence, starting with the creation of three color-coordinated strips, followed by sewing, weaving, stuffing, and finishing. This pattern relies on a straightforward approach, with steps focused on yarn selection, color changes, and seamless assembly. Each section guides users through specific rows, color transitions, and joining methods, ensuring the final volleyball form is smooth and round. Small details, such as careful color switching and interlocking strips, result in a durable and visually appealing accessory, suitable for keychains or decorative items.
Quick Overview Of Pattern
- Three color-coordinated strips are crocheted using single crochet technique.
- Strips feature color changes for clean transitions, forming distinctive volleyball segments.
- Ends are sewn together to form loops, ensuring sturdy construction.
- Strips are interlocked/weaved to produce a classic volleyball shape.
- Polyfill is applied before final closure for a plump, round structure.
- Keychain ring is attached at the top for practical use.
Notes
- Change yarn color on the last stitch of appropriate rows for a clean transition between color segments.
- Crochet over yarn tails to hide them and minimize finishing work.
- Use a tapestry needle for sewing the edges and loops, ensuring stitches are hidden as much as possible.
- Stuff gradually and shape gently with fingers to avoid overstuffing and to maintain a neat round finish.
- Adjust interlocked loops so seams are concealed and color stripes are visually clear.
Skill Level
- Advanced Beginner
- Basic knowledge of single crochet, color changes, and simple sewing required.
Materials
- Yarn: 2.5 mm weight yarn in white, yellow, and blue (small amounts each)
- Hook: 2.5 mm crochet hook
- Notions:
- Polyfill fiber stuffing
- Keychain ring
- Tapestry needle
- Scissors
Measurements / Sizing
- Finished volleyball measures approximately 1.5-2 inches (4-5 cm) in diameter, depending on yarn and stuffing.
Gauge
- Not critical for this pattern; goal is a firm, dense crochet fabric.
- For reference: 28 single crochets should match the length needed to fold and sew short ends smoothly.
Stitch Abbreviations
- ch: chain
- sc: single crochet
- st(s): stitch(es)
Special Stitches
- Color Change (Single Crochet Method): In the last yarn-over of the last stitch before color change, draw the new color through, then proceed with the new color.
- Crocheting over Yarn Tails: Hold unused yarn tails along the row and work your stitches over them to hide and secure.
The Crochet Pattern
Crocheting the Strips
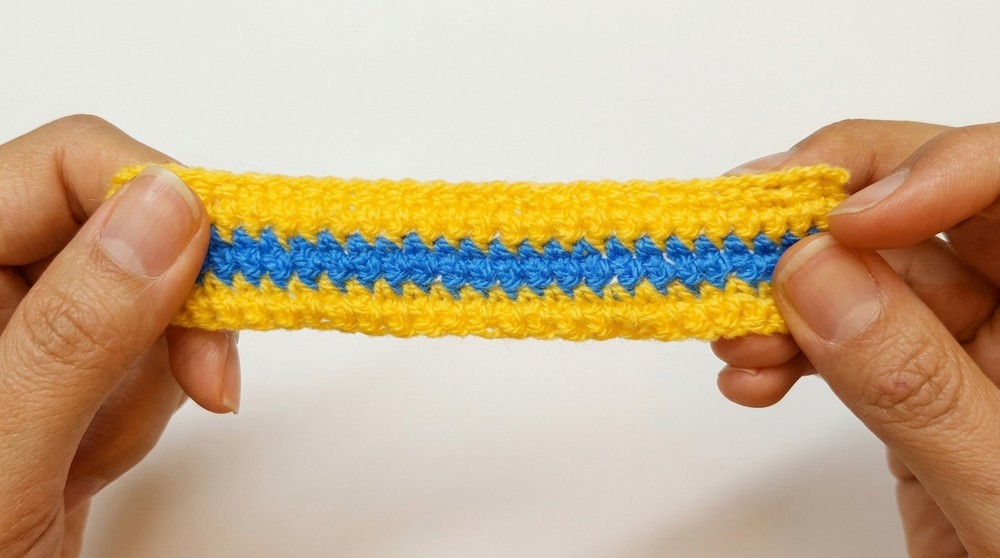
You will complete three strips as follows:
- Strip 1: Yellow, Blue, Yellow
- Strip 2: White, Yellow, White
- Strip 3: Blue, White, Blue
Each strip is worked in six rows, with color changes for the middle two rows.
Foundation Row
- Make a slip knot and attach yarn.
- Chain 29.
Row 1 (First Color)
- Insert hook into the second chain from the hook.
- Work 1 sc in each chain across.
- At end: 28 sc.
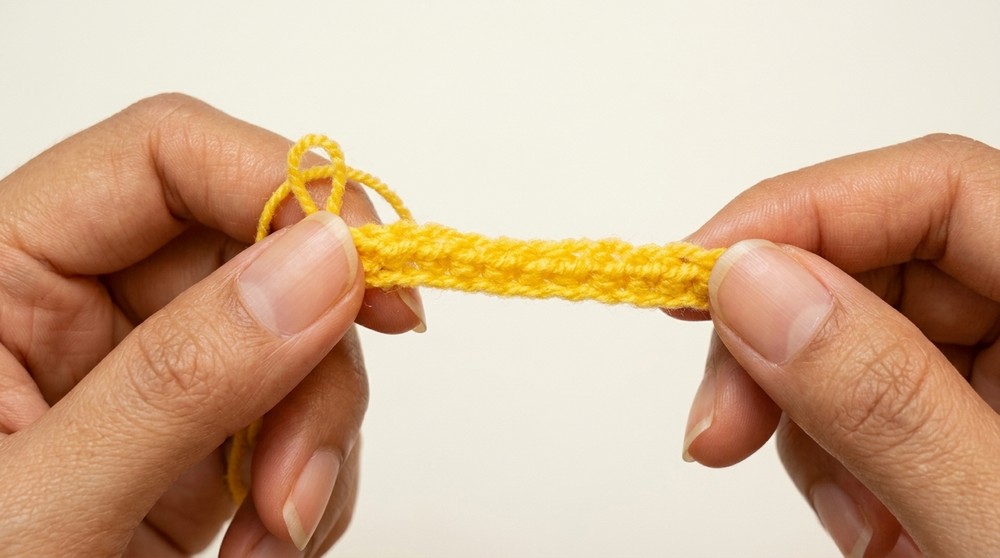
Row 2 (First Color, Change Color at End)
- Ch 1, turn work. (Ch 1 does not count as a stitch.)
- Work 1 sc in each stitch across.
- On final stitch of row, change color for a clean color transition.
- Total: 28 sc.
Rows 3 & 4 (Second Color)
- Attach new color, ch 1, turn.
- Work 1 sc in each stitch across.
- Crochet over the yarn tail of new color to hide as you go.
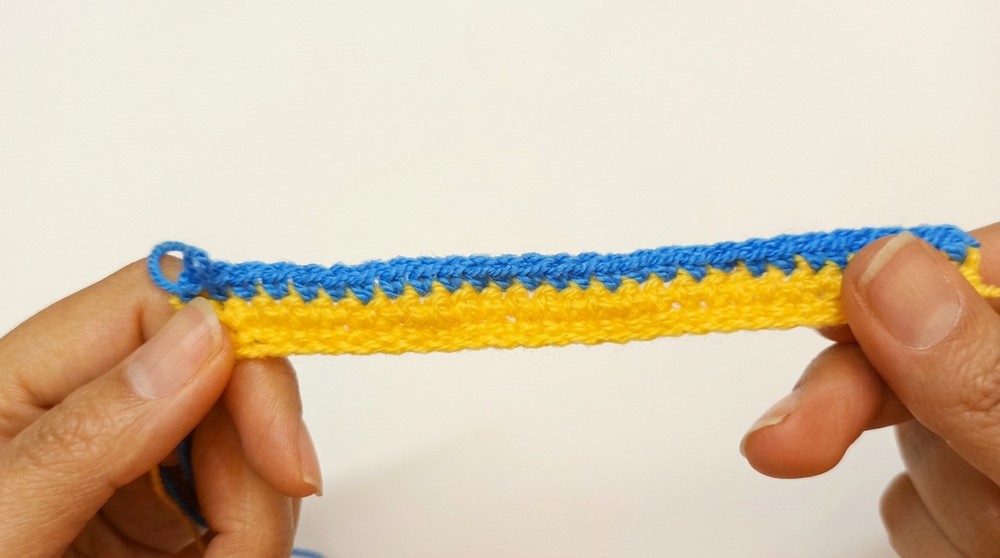
- At end of Row 4, on last stitch, change color back to first color.
Rows 5 & 6 (First Color)
- With the original color, ch 1, turn.
- Work 1 sc in each stitch across for both rows.
- Cut yarn, leaving a tail for finishing.
- Weave in all other ends except the final tail.
Repeat Process
- Use the color sequences above to produce three strips:
- Strip 1: [Yellow, Blue, Yellow]
- Strip 2: [White, Yellow, White]
- Strip 3: [Blue, White, Blue]
Assembling & Interlocking the Strips
Forming Loops
- Take a completed strip, fold the short ends together.
- Sew the short edges using the yarn tail and a tapestry needle.
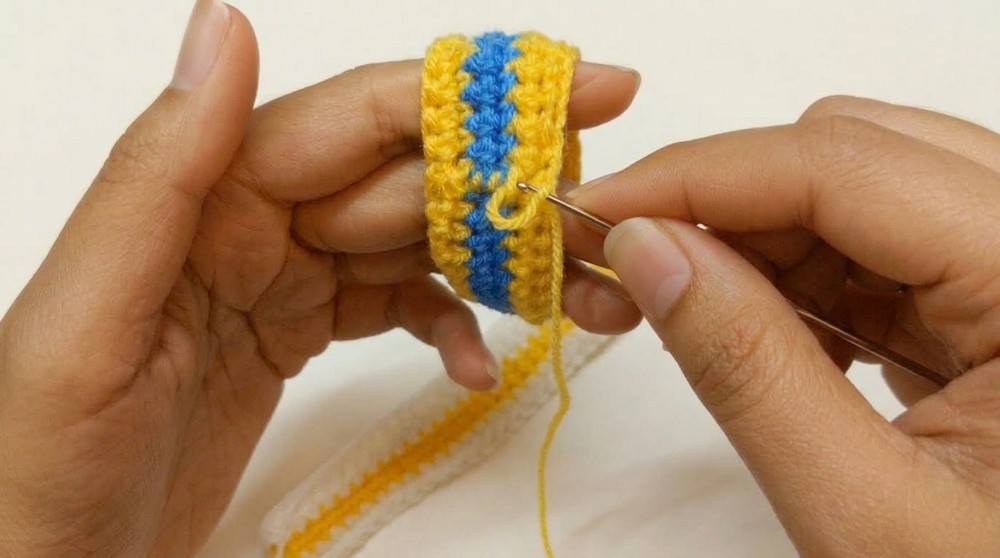
- Place the edges directly on top of each other for alignment.
- Secure with tight stitches to avoid unraveling.
- Repeat for the second strip to get two loops.
Weaving
- Position the first loop horizontally.
- Place the second loop inside, perpendicular, forming an interlocking structure (as seen in traditional volleyballs).
- Take the third strip (not yet sewn), weave it between and through the two loops, following the video instructions (given in the end of pattern) for a true interlocked appearance.
Stuffing & Finishing
Stuffing
- Begin sewing the open ends of the third strip together with a tapestry needle.
- Before closing completely, insert small amounts of polyfill fiber stuffing inside the ball.
- Shape gently with your fingers, pushing stuffing into corners and rounding the volleyball.
- Avoid overstuffing to keep the shape smooth.
- Once the ball is uniform and plump, finish sewing the remaining open edges.
Closing
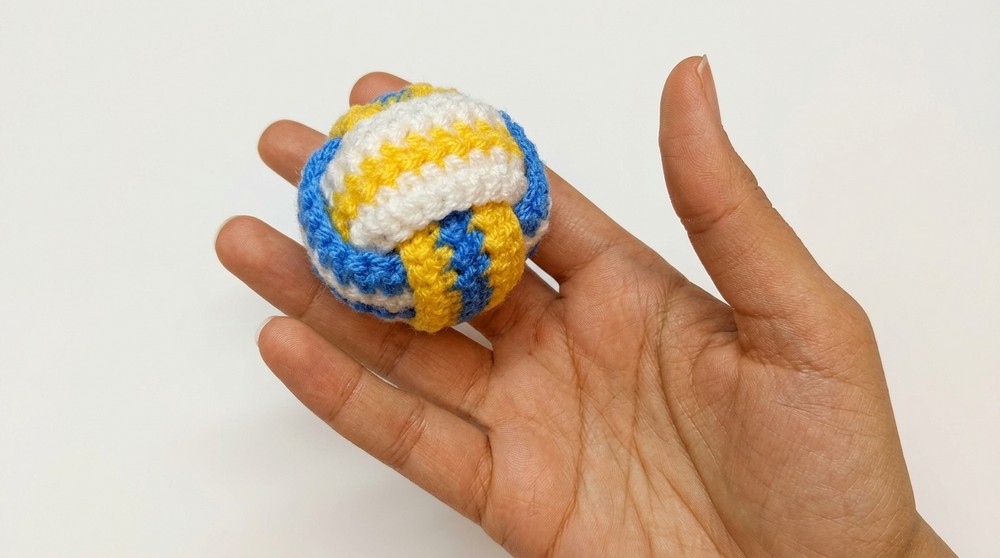
- Adjust all pieces so seams are positioned on the inside and color lines run evenly along the volleyball's exterior.
- Make any final stitching adjustments so the shape remains round and colors are clear.
Keychain Attachment
- Attach the keychain ring to the top or one side of the finished volleyball.
- For extra stability, the ring can be attached as you crochet the strips, so it is securely anchored.
- Alternatively, thread the ring through a sturdy part of the sewn seam.
Assembly & Finished Size
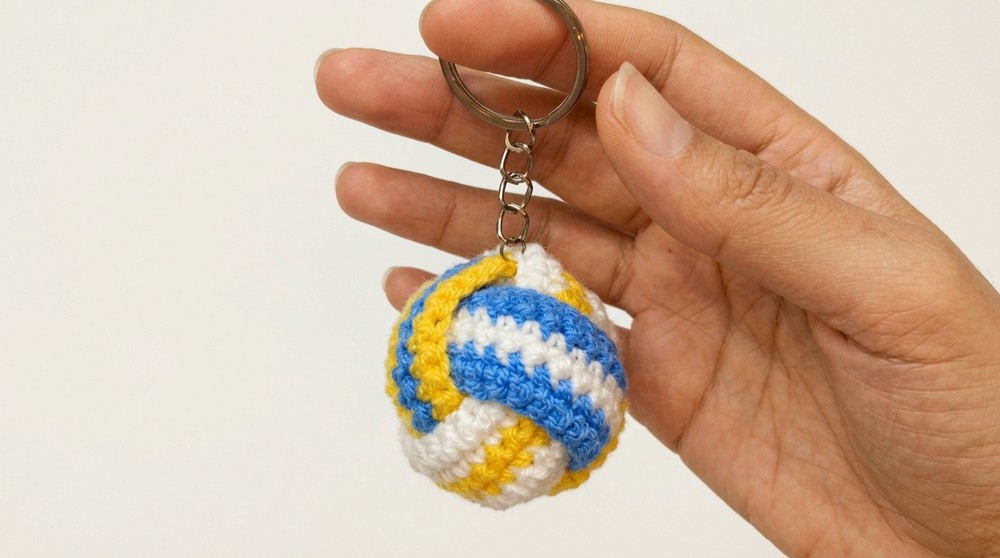
- The assembled volleyball will appear as a three-segmented sphere with clear color bands and interlocked seams.
- Finished diameter: typically 1.5-2 inches (4-5 cm).
- Keychain ring placement on the top ensures easy attachment to keys, bags, or other accessories.
Conclusion and Ending Words
Completion of this volleyball keychain reveals a soft, rounded, and vibrant item suitable for both practical use and decorative display. Through careful execution of each strip, consistent tension, and precise color changes, the end product achieves a balanced and clean look. Interlocking the loops and weaving the final strip requires some attention, but results in a structure that is both visually appealing and stable. The addition of polyfill allows the shape to hold firmly, while hidden seams and color transitions contribute to the project's neatness. Attaching the keychain ring finalizes the piece for regular use. This miniature volleyball balances durability, cheerful colors, and engaging texture, making it an attractive handmade accessory that stands out on any keyring or bag.