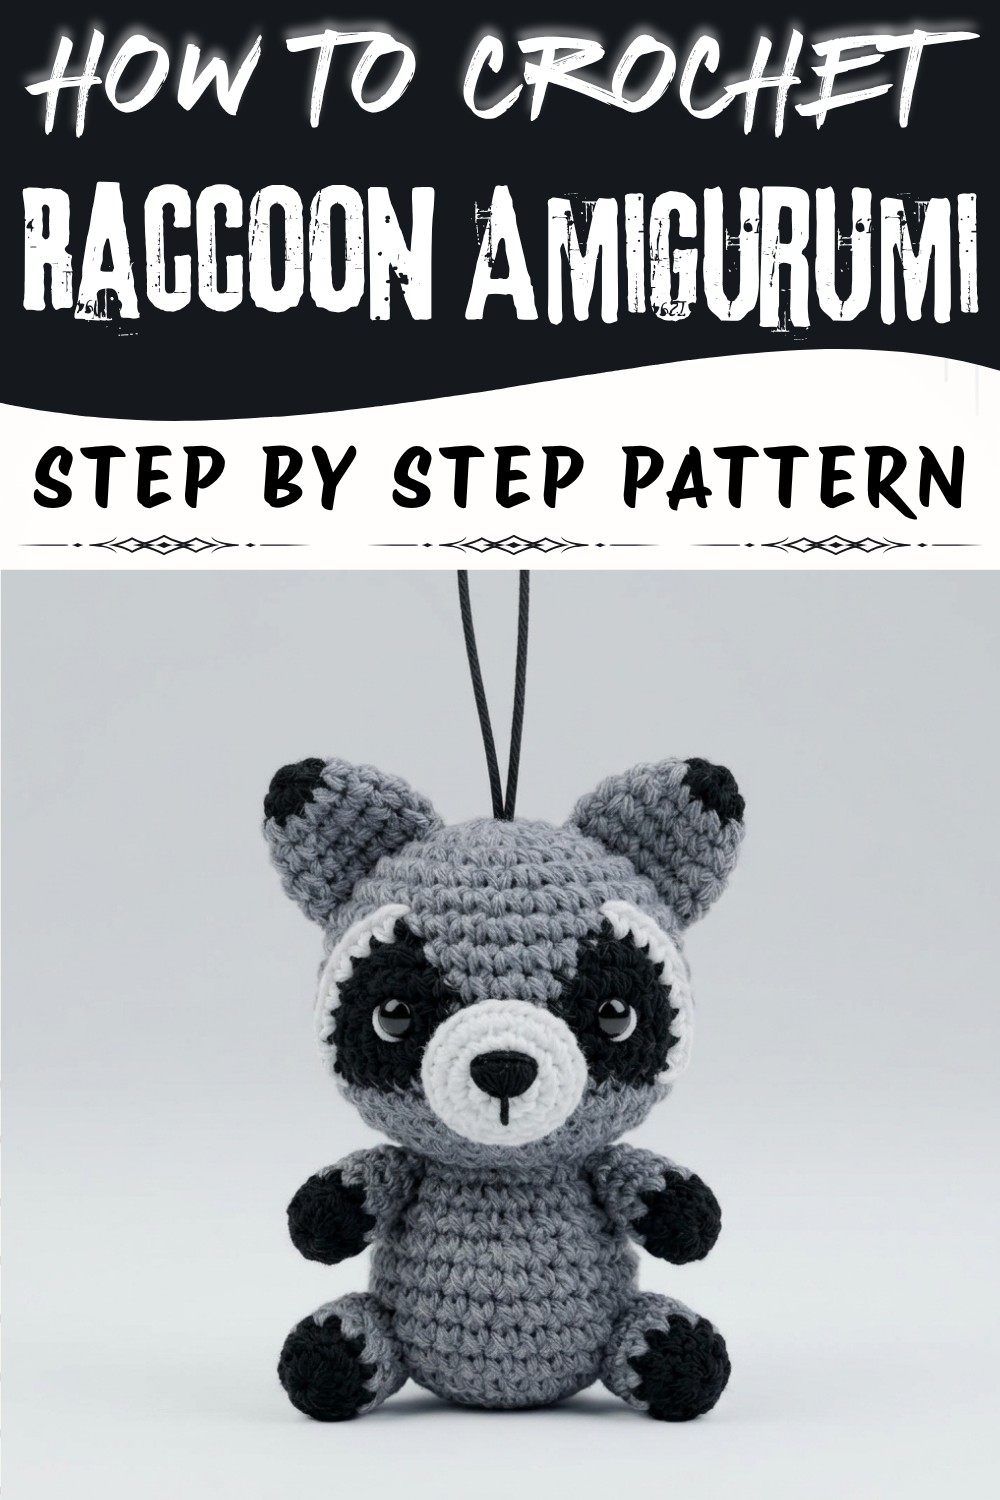
Cute Mini Crochet Raccoon Amigurumi Free Pattern for Your Collection
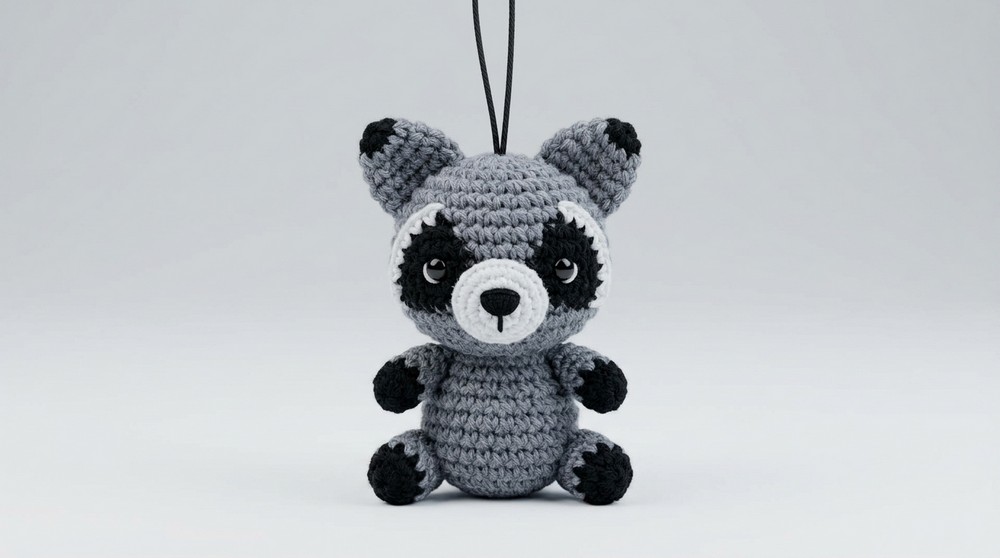
The finished raccoon boasts a soft, plush texture that invites gentle squeezes and comfortable holding. Its rounded shape and detailed facial markings bring out that signature raccoon look with subtle stripes on the tail and a mischievous smile. Sized to be a pleasant size for display or snuggling, this little figure brightens any shelf or nursery corner with its warm presence.
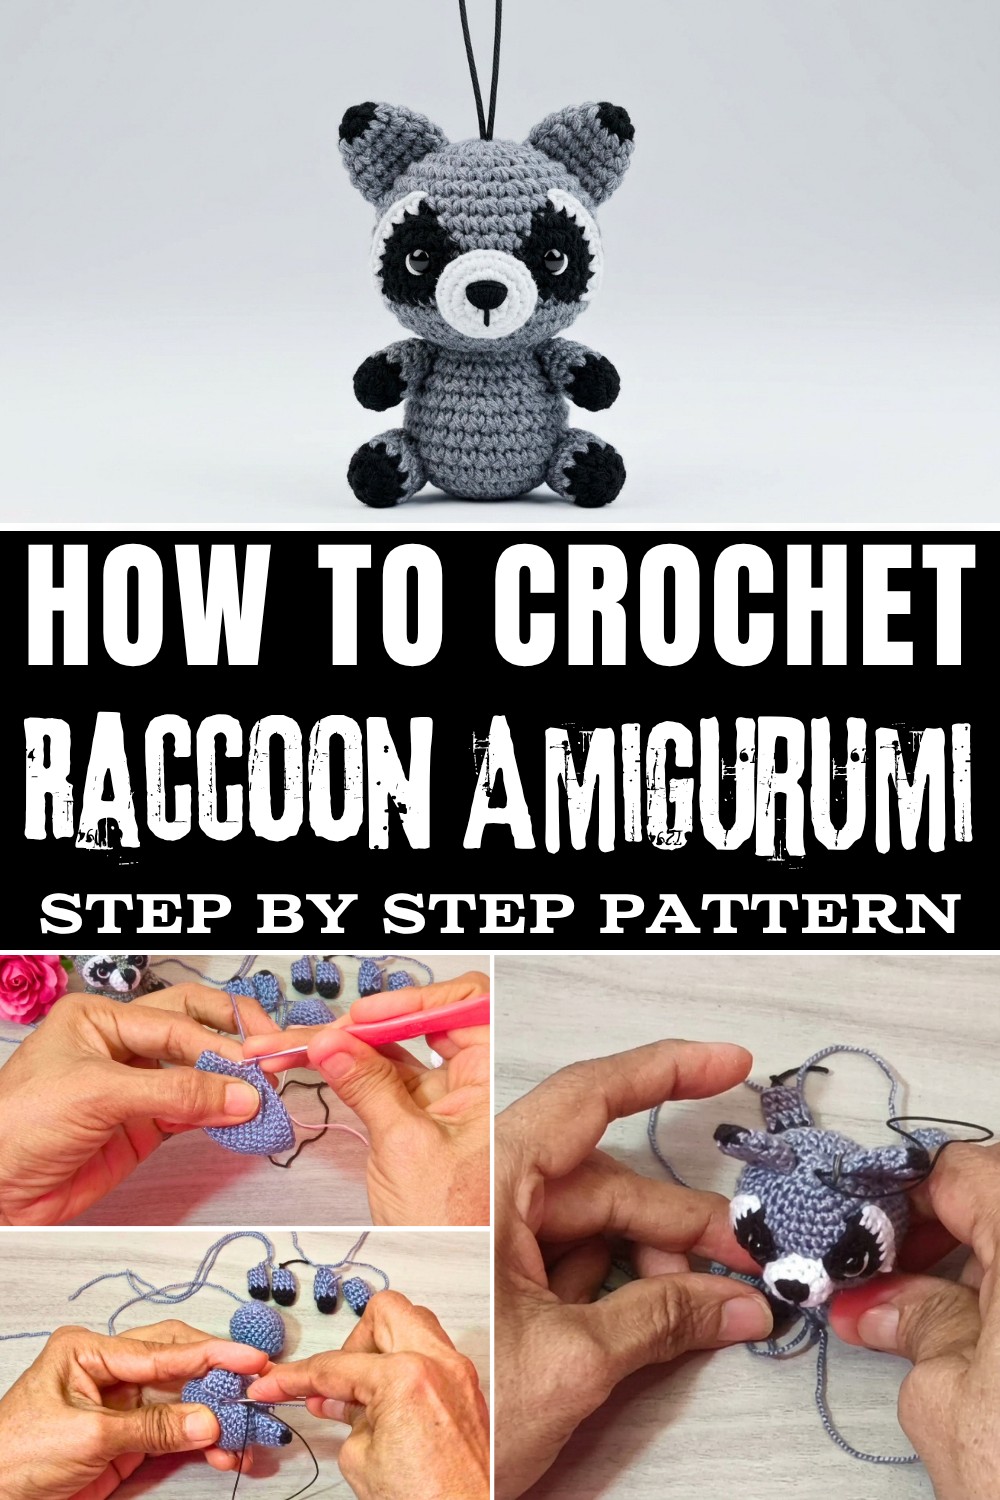
There's room to personalize this amigurumi by experimenting with colors or adding tiny accessories like scarves or hats, giving each piece its own personality. While it suits those with some experience, the pattern is clear enough to offer a manageable step up for intermediate hookers seeking a delightful project that builds skill without becoming overwhelming.
Working through the pattern encourages practice with shaping techniques and attention to small details, fostering patience and satisfaction as the raccoon takes shape. The construction process itself provides a calm rhythm, making the time spent all the more enjoyable. For anyone longing to add a charming, handmade animal to their collection, this Crochet Raccoon Amigurumi Pattern offers a warm and rewarding experience. Check out the full instructions to welcome this little raccoon into your world.
adorable Crochet Raccoon Amigurumi FRee Pattern
This amigurumi raccoon is made with cotton yarn or mercerized wool in shades of gray, black, and white, combined with acrylic stuffing to achieve a three-dimensional character. Each component-arms, legs, muzzle, eye patches, ears, body, head, and tail-is constructed in separate rounds and then attached with precise placement. Safety eyes and embroidered accents lend expressive facial details, while careful work with increases and decreases shapes the limbs, cheeks, and belly. Use this pattern to achieve a raccoon figure with dimension, charm, and neat finishing.
Quick Overview Of Pattern
- Work separate pieces for arms, legs, body, head, ears, muzzle, tail, and eye patches.
- Use magic rings to start all rounds, ensuring tight and smooth curves.
- Rounds mix color changes and careful increases or decreases to shape each part.
- Safety eyes are inserted through crocheted patches before assembly.
- Assembly instructions include facial placement, limb attachment, and tail stitching.
Notes
- Color changes should be carried out smoothly; ensure clean transitions between black, gray, and white.
- Maintain an even tension throughout to achieve neat stitches and prevent distortion.
- Use a stitch marker to track the start and end of each round; this is essential in continuous spiral patterns.
- Stuffing should be firm but not tight to preserve shape and softness.
- Ears and muzzle require subtle shaping or flattening with slip stitches before sewing.
- Eye shine (optional) can be embroidered for added detail.
Skill Level
Intermediate
Requires proficiency in magic rings, working in rounds, color changing, invisible increases/decreases, and simple embroidery.
Materials
- Cotton yarn / mercerized wool (gray, white, and black)
- Acrylic stuffing / padding
- Crochet hook size #1
- Safety eyes with washers
- Yarn needle
- Stitch marker
- Scissors
Measurements / Sizing
- Finished height: Approximately 10-12 cm (depends on yarn thickness and tension)
- Ear diameter: about 2-2.5 cm
- Tail length: 5-6 cm
- Eye patch: about 1.5 cm diameter
Gauge (and Stitch Pattern)
- Gauge is not critical as this is an amigurumi project. Stitches should be tight enough to prevent stuffing from showing through.
- Stitch Pattern: Continuous spiral rounds in single crochet for most parts.
Stitch Abbreviations
- sc: single crochet
- inc: increase (2 sc in one stitch)
- dec: decrease (sc two stitches together)
- sl st: slip stitch
- ch: chain
Special Stitches
- Magic Ring: Create a loop, work specified number of sc, and pull tight.
- Invisible Decrease: Work decrease with only the front loops for a smoother finish.
- Back Loop Only (BLO): Work stitches in the back loop only for added texture.
The Crochet Pattern
Arms (Make 2)
Color: Begin with black
- Round 1: In a magic ring, work 7 sc. Pull tight and fasten a safety stitch.
- Round 2: Work 1 sc in each stitch (7 stitches).
- Rounds 4-6: Work 1 sc in each stitch around (11 stitches per round).

- Round 7: Work 3 sc, then 4 decreases (7 stitches).
- Finish: Fasten off and leave a tail for sewing.
Legs (Make 2)
Color: Begin with black
- Round 1: In a magic ring, work 7 sc.
- Round 2: Work 1 sc in each of the 7 stitches.
- Round 3: Switch to gray, work 4 increases, then 3 sc (11 stitches).
- Rounds 4-6: Work 1 sc in each stitch around (11 stitches per round).
- Round 7: Work 3 sc, then 4 decreases (7 stitches).
- Finish: Fasten off, leave a tail for sewing.
Eye Patches (Make 2)
Color: Begin with black
- Row 1: Make a slip knot, ch 2, insert hook into first stitch and work 1 sc.
- Row 2: Ch 1, turn, work an inc (2 stitches).
- Row 3: Ch 1, turn, 1 sc, 1 inc (3 stitches).
- Row 4: Ch 1, turn, 1 sc x3, working BLO, make 4 sc across.
- Row 5: Switch to white yarn on last stitch. Ch 1, turn, work alternating sc and increases along the edge.
- Assembly: Insert safety eyes through each patch before attaching washers; embroider eye shine with white yarn.
Muzzle
Color: White
- Round 1: In a magic ring, work 6 sc.
- Round 2: 6 inc around (12 stitches).
- Round 3: 1 sc in each stitch (12 stitches).
- Details: Embroider a small black inverted triangle for the nose.
Ears (Make 2)
Color: Begin with black (or use all gray)
- Round 1: In a magic ring, work 6 sc with black yarn. Sl st to join.
- Round 2: Switch to gray, [1 sc, 1 inc] around (9 stitches).
- Round 3: 1 sc in each stitch (9 stitches).
- Round 4: [2 sc, 1 inc] around (12 stitches).
- Round 5: 1 sc in each stitch (12 stitches).
- Finish: Flatten opening, sl st across both layers to close. Leave a tail for sewing.
Body
Color: Gray
- Round 1: In a magic ring, work 6 sc. Sl st to join and ch 1.
- Round 2: 6 inc around (12 stitches).
- Round 3: [1 sc, 1 inc] around (18 stitches).
- Round 4: [2 sc, 1 inc] around (24 stitches).
- Rounds 5-8: 1 sc in each stitch (24 stitches per round).
- Round 9: [2 sc, 1 dec] around (18 stitches).
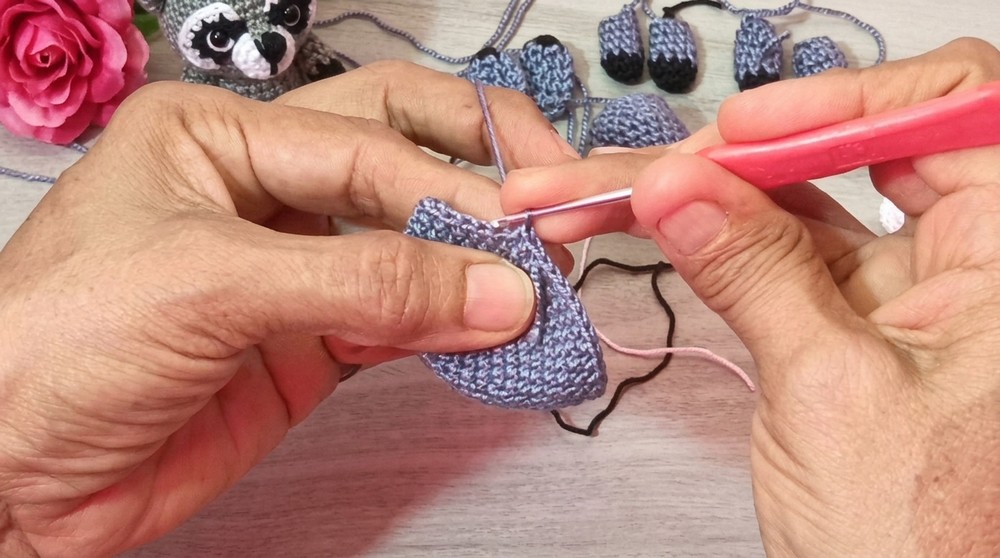
- Rounds 10-11: 1 sc in each stitch (18 stitches per round).
- Round 12: 4 sc, 4 decreases (forming belly area), then sc to end.
- Finish: Fasten off and stuff firmly with acrylic fiberfill, shaping decreases toward the front.
Head
Color: Gray
- Round 1: In a magic ring, work 6 sc.
- Round 2: 6 inc around (12 stitches).
- Round 3: [1 sc, 1 inc] around (18 stitches).
- Round 4: [2 sc, 1 inc] around (24 stitches).
- Round 5: [3 sc, 1 inc] around (30 stitches).
- Rounds 6-7: 1 sc in each stitch (30 stitches per round).
- Round 8: 5 sc, [1 sc, 1 inc] x3 (cheeks), 8 sc, [1 sc, 1 inc] x3, 5 sc (36 stitches).
- Rounds 9-12: 1 sc in each stitch (36 stitches per round).
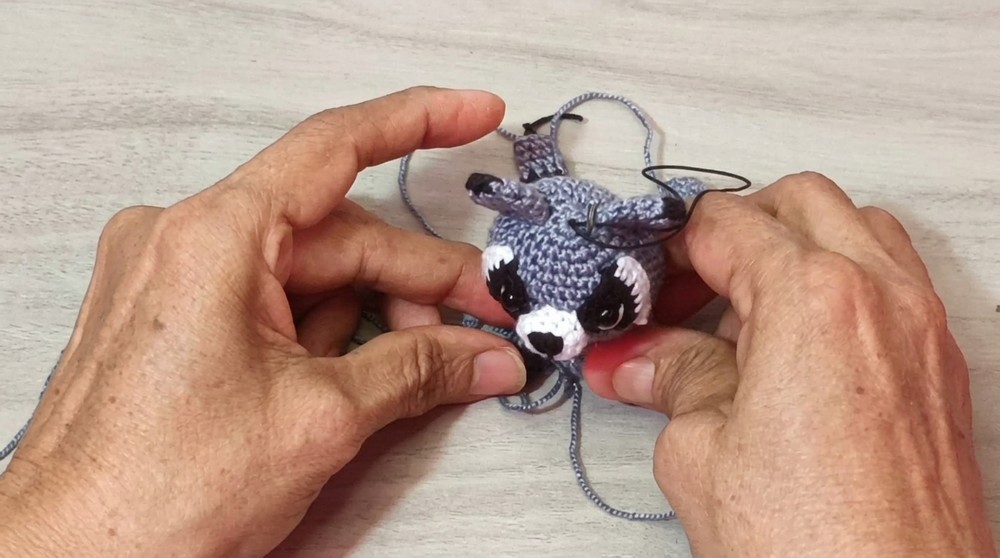
- Placement: Attach eye patches with safety eyes between rounds 8 and 9, spaced 2 stitches apart. Secure washers inside.
- Round 13: 5 sc, [1 sc, 1 dec] x3, 8 sc, [1 sc, 1 dec] x3, 5 sc (30 stitches).
- Round 14: [3 sc, 1 dec] around (24 stitches).
- Round 15: [2 sc, 1 dec] around (18 stitches). Stuff head firmly.
- Round 16: [1 sc, 1 dec] around (12 stitches).
- Round 17: 6 decreases. Fasten off and weave end through remaining stitches to close.
Tail
Color: Alternating black and gray stripes
- Rounds 1-2: In black yarn, work 6 sc in magic ring. 1 sc in each stitch (6 stitches).
- Rounds 3-6: Alternate 2 rounds gray and 2 rounds black, 1 sc in each stitch (6 stitches per round).
- Round 7: 2 increases, 2 sc, 1 decrease (6 stitches, creates curve).
- Rounds 8-12: 1 sc in each stitch, continuing stripe pattern (6 stitches per round). Fasten off.
Assembly & Finished Size
- Sew ears to head.
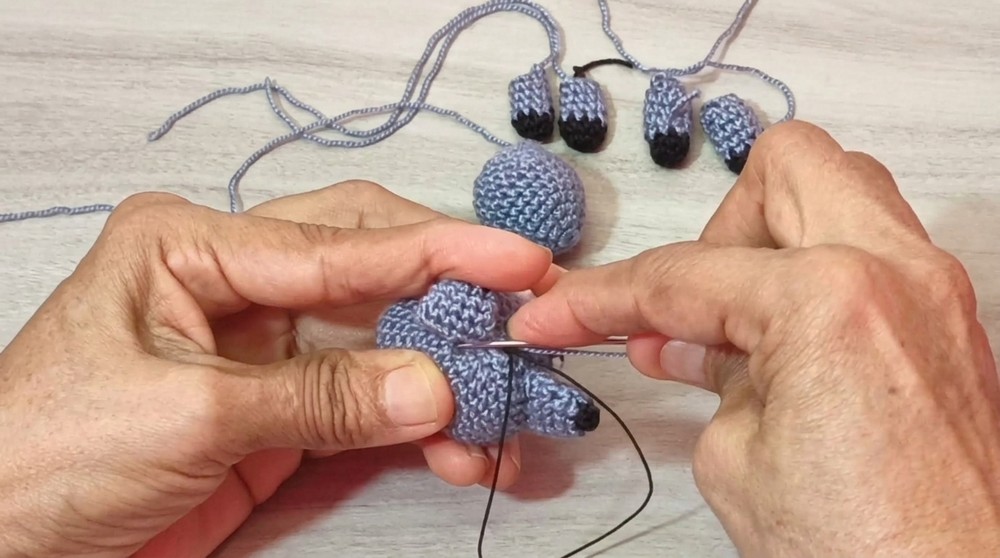
- Attach head to the body.
- Facial Features: Stitch the muzzle centered between the eyes.
- Body & Limbs: Sew arms to sides of upper body; attach legs at round 4 near the bottom for sitting posture.
- Tail: Sew onto the back, centered at round 4 of the body.
- Double-check stuffing and shape, making adjustments for symmetry.
Conclusion
Each piece of this raccoon amigurumi is constructed with detailed round-by-round instructions and finished with careful assembly to achieve proportion and character. Emphasis is placed on precise placement and tight stitches for a polished result. Safety eyes, embroidered shines, and muzzle details contribute to expressive features, while color stripes and shaping in the tail add extra dimension. The completed raccoon stands upright and displays a playful personality, suitable as a toy, decorative item, or personal gift. By following these steps and transitions, you achieve an adorable raccoon that represents patience and skill.