
Try a fun and simple way to make your own squishy sea friend using the Free Crochet Octopus Pattern, great for cuddles and gifts.
Brightly colored yarn combined with a touch of creativity and a few hours of effort results in a delightful handmade treasure. This crochet octopus pattern is not only fun to make but also incredibly versatile. Its soft, squishy body and spiraling tentacles make it a wonderful choice for gifting, decorating, or providing comfort. For children, this cute creation can be a cuddly companion or sensory toy. For adults, it serves as a charming piece of décor or a thoughtful keepsake. Many even use this pattern for charitable purposes, creating octopuses for premature babies in hospitals to offer comfort and a sense of security.
Free Crochet Octopus Pattern Fun for Kids and Adults
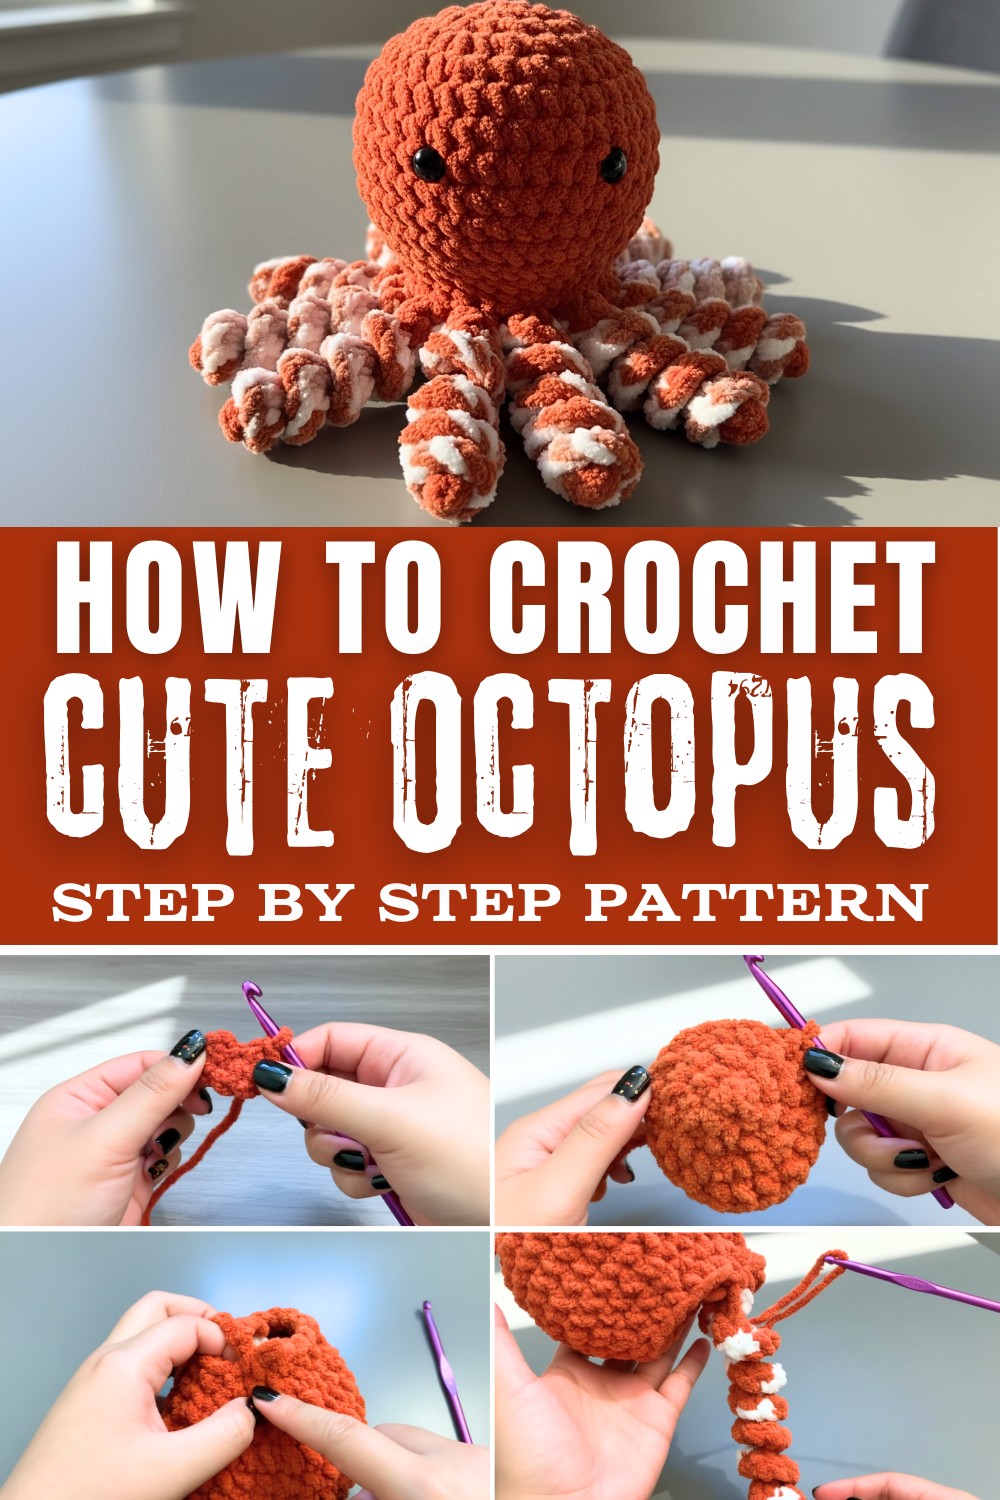
The pattern is beginner-friendly, utilizing simple stitches like single crochet, increases, and decreases. The process is relaxing, making it a popular choice for anyone looking to unwind while creating something meaningful. Experimenting with vibrant or pastel colors allows each piece to be uniquely personal. Being compact, the octopus works up quickly, making it perfect for last-minute gifts or stocking up for crohchet fairs. Whether used as a heartfelt present, a relaxing hobby, or part of a fundraiser initiative, this crochet pattern brings happiness and warmth to both the creator and the recipient, making it truly special.
With these crochet skills, the possibilities are almost endless when it comes to creating fun, functional, and meaningful items. Here are some ideas to inspire you:
- Home Décor: Create cozy blankets, pillows, or even curtains using the same crochet techniques. Add handmade placemats, table runners, or seasonal decorations to your living space.
- Toys and Amigurumi: Branch out from octopuses to make other adorable creatures like plush bears, cats, jellyfish, or dinosaurs. Customize them for gifts or donations.
- Wearables: Use your talents to make scarves, hats, gloves, or cowls. Advanced projects could include sweaters, cardigans, or stylish bags.
- Accessories: Crochet keychains, bookmarks, coin purses, or decorative jewelry such as bracelets and necklaces.
- Gifts: Handmade items like personalized coasters, wall hangings, or stuffed animals make perfect gifts for any occasion.
- Seasonal Crafts: Decorate for holidays by creating pumpkins, Christmas ornaments, or Valentine's heart garlands.
- Charitable Projects: Crochet hats, blankets, baby booties, or comforting toys for donation to hospitals, shelters, or fundraising events.
- Functional Items: Design reusable market bags, dishcloths, or potholders for eco-friendly daily use.
Finished Size
- Approximately: ~6-7 inches tall and wide (depending on the number of rows and the amount of stuffing used).
Materials Needed
- Yarn:
- Bernat Baby Blanket Yarn: Requires bulky yarn in two colors (e.g., solid for the body, contrast for the tentacles).
- A single skein of yarn may suffice depending on the project size.
- Alternately, use one single-color yarn for simplicity.
- Bernat Baby Blanket Yarn: Requires bulky yarn in two colors (e.g., solid for the body, contrast for the tentacles).
- Hook:
- 6.5 mm crochet hook minimum.
- Larger hooks (7 mm or 8 mm) may work better for maintaining easy visibility of stitches.
- Eyes:
- Safety Eyes: 14 to 16 mm size recommended. Adjust size based on preference.
- Optional: Embroider or use felt for the eyes.
- Stuffing:
- Polyester fiberfill or scraps of fabric-both work well to fill and shape the octopus body.
- Accessories:
- Stitch marker: Essential for tracking rounds.
- Scissors: For cutting yarn and trimming ends.
- Optional:
- Tapestry or sewing needle for weaving in ends.
Gauge
Gauge is not critical for this project, given its plush nature. However, ensure your stitches are tight enough to prevent stuffing from showing.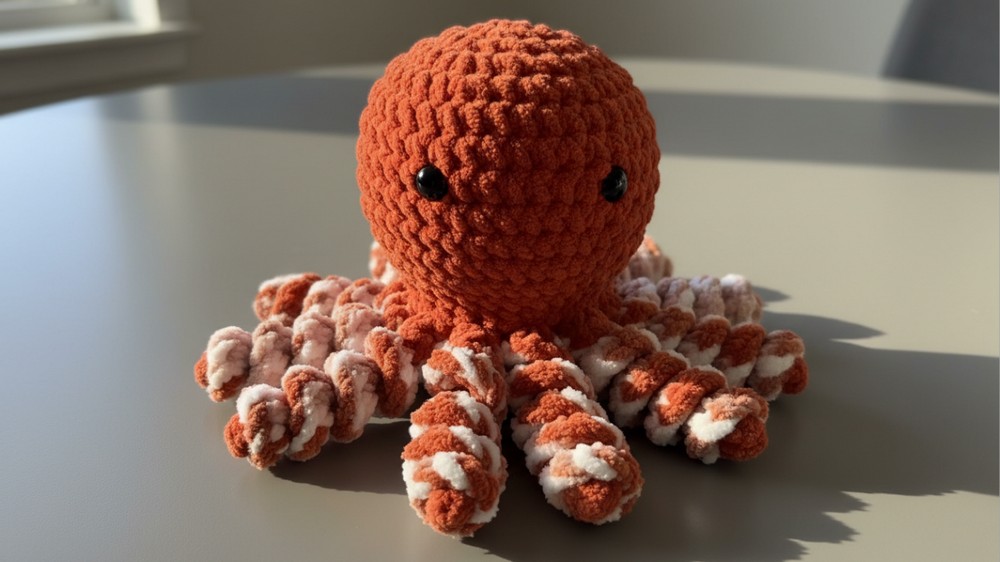
Special Techniques
- Magic Circle:
- Used to begin the project with a tightly closed center.
- Invisible Decrease:
- A seamless method of decrease worked into front loops only of two consecutive stitches.
- Securing the Closure:
- Using a weaving technique to tightly close any gaps left at the bottom of the project.
Pattern Instructions
Octopus Body
- Round 1:
Create a magic circle and work 6 single crochets (sc) into the circle. Pull the tail tight to close the circle. Slip stitch (sl st) to the first stitch to join. (6 stitches total)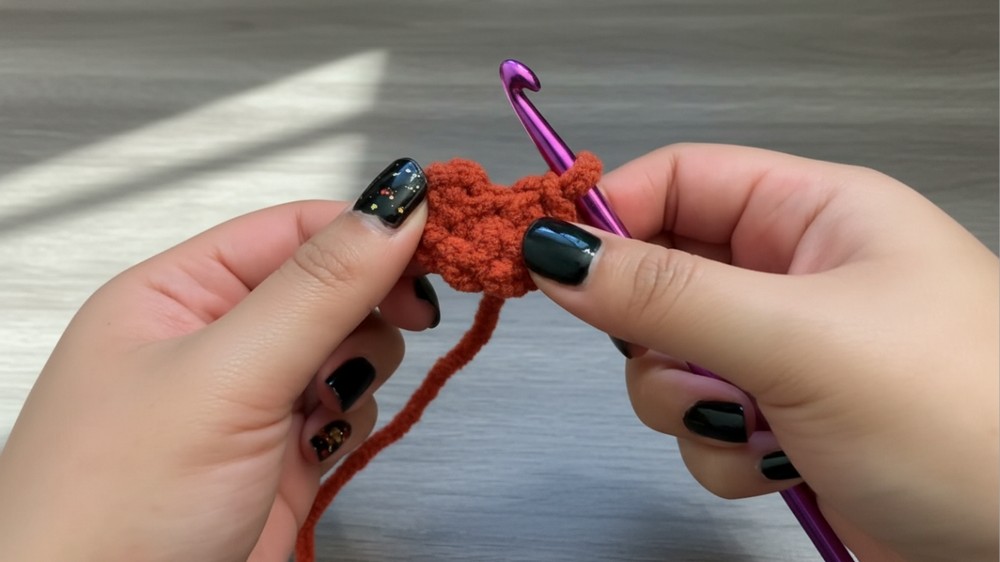
- Round 2:
Increase: Work 2 sc into each stitch. (12 stitches total) - Round 3:
[1 increase, 1 sc] Repeat around. (18 stitches total) - Round 4:
[1 increase, 2 sc] Repeat around. (24 stitches total) - Round 5:
[1 increase, 3 sc] Repeat around. (30 stitches total) - Round 6 (Final Increasing Round):
[1 increase, 4 sc] Repeat around. (36 stitches total)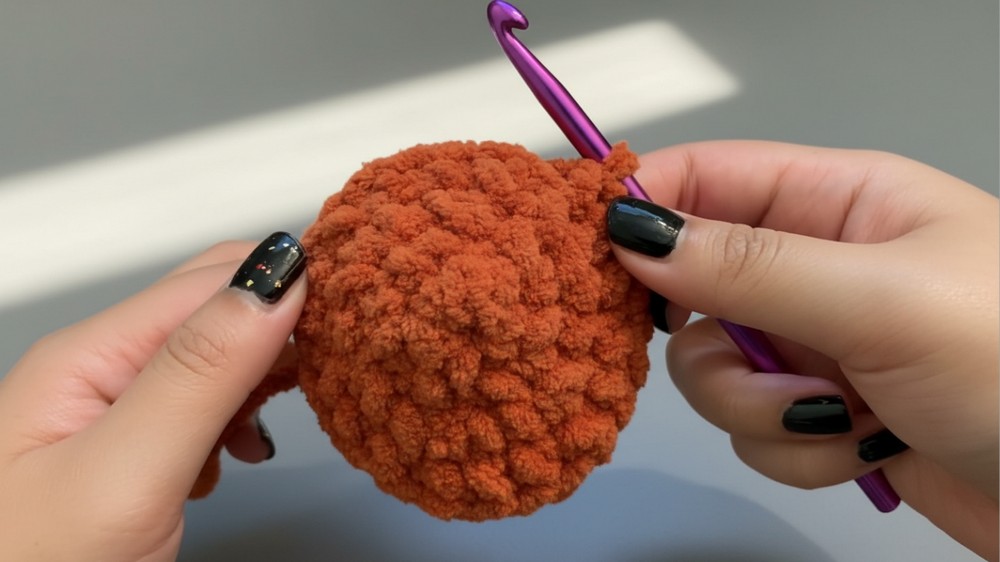
- Rounds 7-11:
Work 1 sc into each stitch around (no increases). Keep 36 stitches per round.- Tip: The length of the octopus body can be customized. Add or decrease the number of single crochet rows for a taller or shorter octopus.
- Round 12 (Start Decreasing):
[1 invisible decrease, 4 sc] Repeat around. (30 stitches total) - Round 13:
[1 invisible decrease, 3 sc] Repeat around. (24 stitches total) - Round 14:
[1 normal decrease, 2 sc] Repeat around. (18 stitches total) - Round 15 (Final Decreasing Round):
[1 decrease, 1 sc] Repeat. (12 stitches total)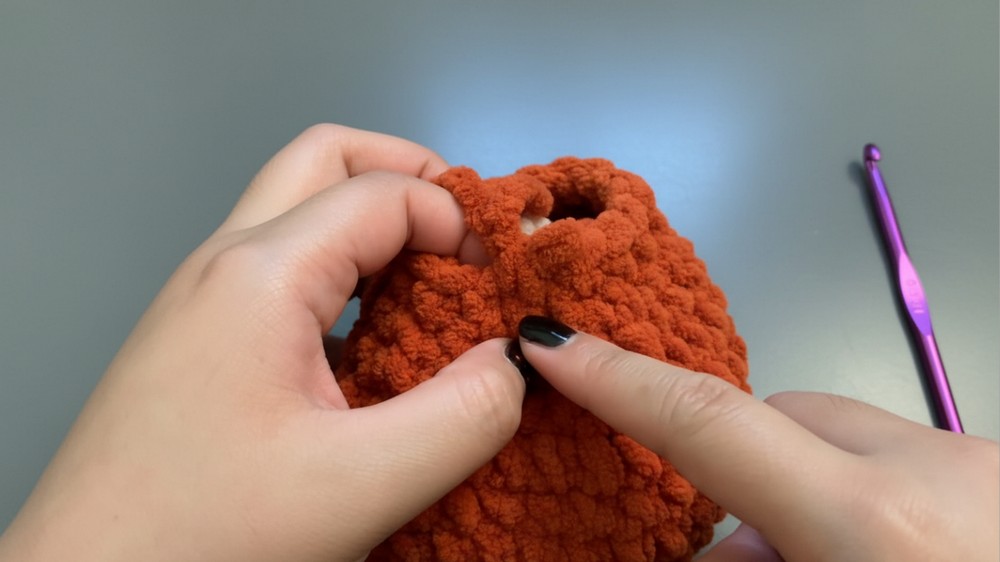
Tentacles (Make 8)
- Begin at the base of the body and attach yarn (or continue using the body yarn).
- Chain 30 (adjust the length for longer or shorter tentacles).
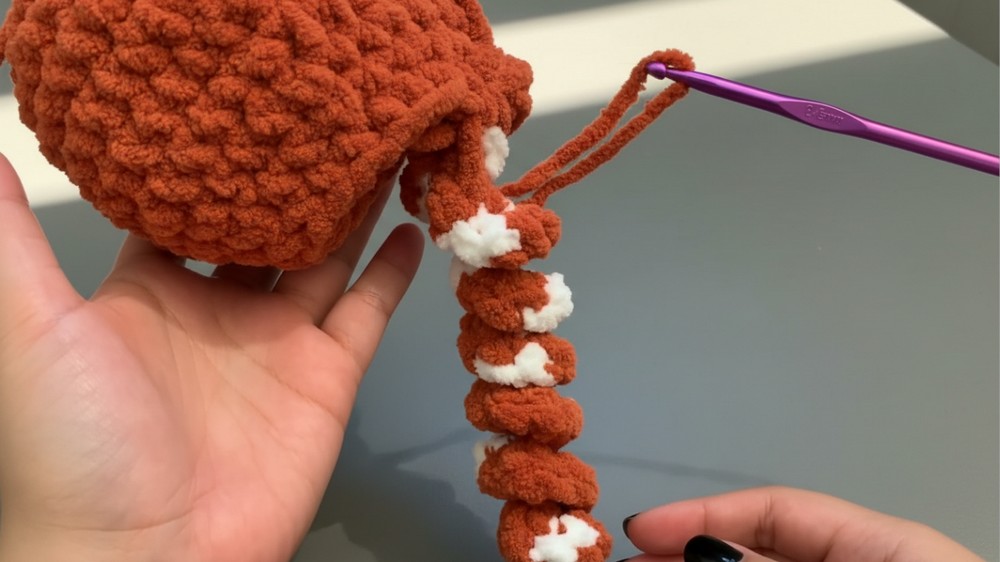
- Crochet 2 single crochets into each chain up to the starting point. This creates the natural curl of the tentacle.
- Attachment:
- Single crochet into the base of the body where you began the chain.
- Skip 2 stitches between the tentacles and repeat the process for the next tentacle.
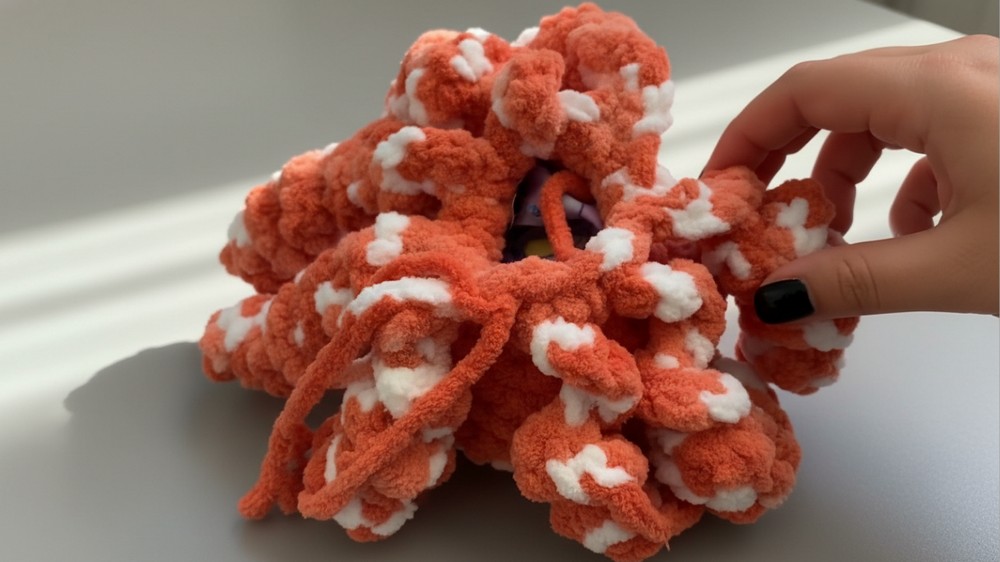
- Tip: Ensure all tentacles are evenly spaced around the octopus. Use stitch markers if necessary.
Eyes
- Use safety eyes 14-16 mm (or preferred size). Insert them securely between Rounds 5-7, ensuring equal spacing on the face.
- If using embroidered details or felt:
- Cut circles from felt (white and black layers) and glue or sew them onto the face.
Assembly & Closure
- Stuff the Octopus Body:
- Firmly fill the body with polyester fiberfill or scrap fabric. Adjust stuffing placement to achieve a rounded and even shape.
- Close the Bottom:
- Decrease in the final rows until only 6 stitches remain.
- Use a tapestry needle to thread the remaining yarn tail through each stitch. Pull tightly to close the gap. Weave in the ends securely.
Tips for Success
- Finding Stitches in Bulky Yarn:
- Use a stitch marker consistently to identify the first stitch of each round.
- Move slowly and feel for the stitches when the texture isn't visible.
- Customize Tentacle Length:
- Adjust the number of chains for shorter or longer tentacles.
- Personalization:
- Add accessories such as bows, hats, or embroidered details for variations.
- Incorporate colors to create themed octopuses, i.e., rainbow tentacles or holiday-inspired designs.
Conclusion
Your crochet octopus is complete! Its chubby and squishy design, made with Bernat Baby Blanket Yarn, offers both comfort and charm. Suitable as a plush toy, décor, or even a gift, this project is perfect for those looking to experiment with bulky yarn while mastering fundamental crochet techniques.
Difficulties and Solutions
Working with thicker yarn, like Bernat Baby Blanket Yarn, can make it harder to see and work through stitches, especially during the initial rounds. Beginners might struggle with keeping track of their stitches and maintaining consistency. To tackle this, use a stitch marker to mark the first stitch of each row, ensuring you never lose your place. Additionally, take your time with the magic circle and avoid rushing the increases or decreases. Using a well-sized crochet hook, such as a 6.5mm or larger, can also make handling the yarn easier. Patience, proper tools, and small adjustments will ensure a smooth and enjoyable experience!