
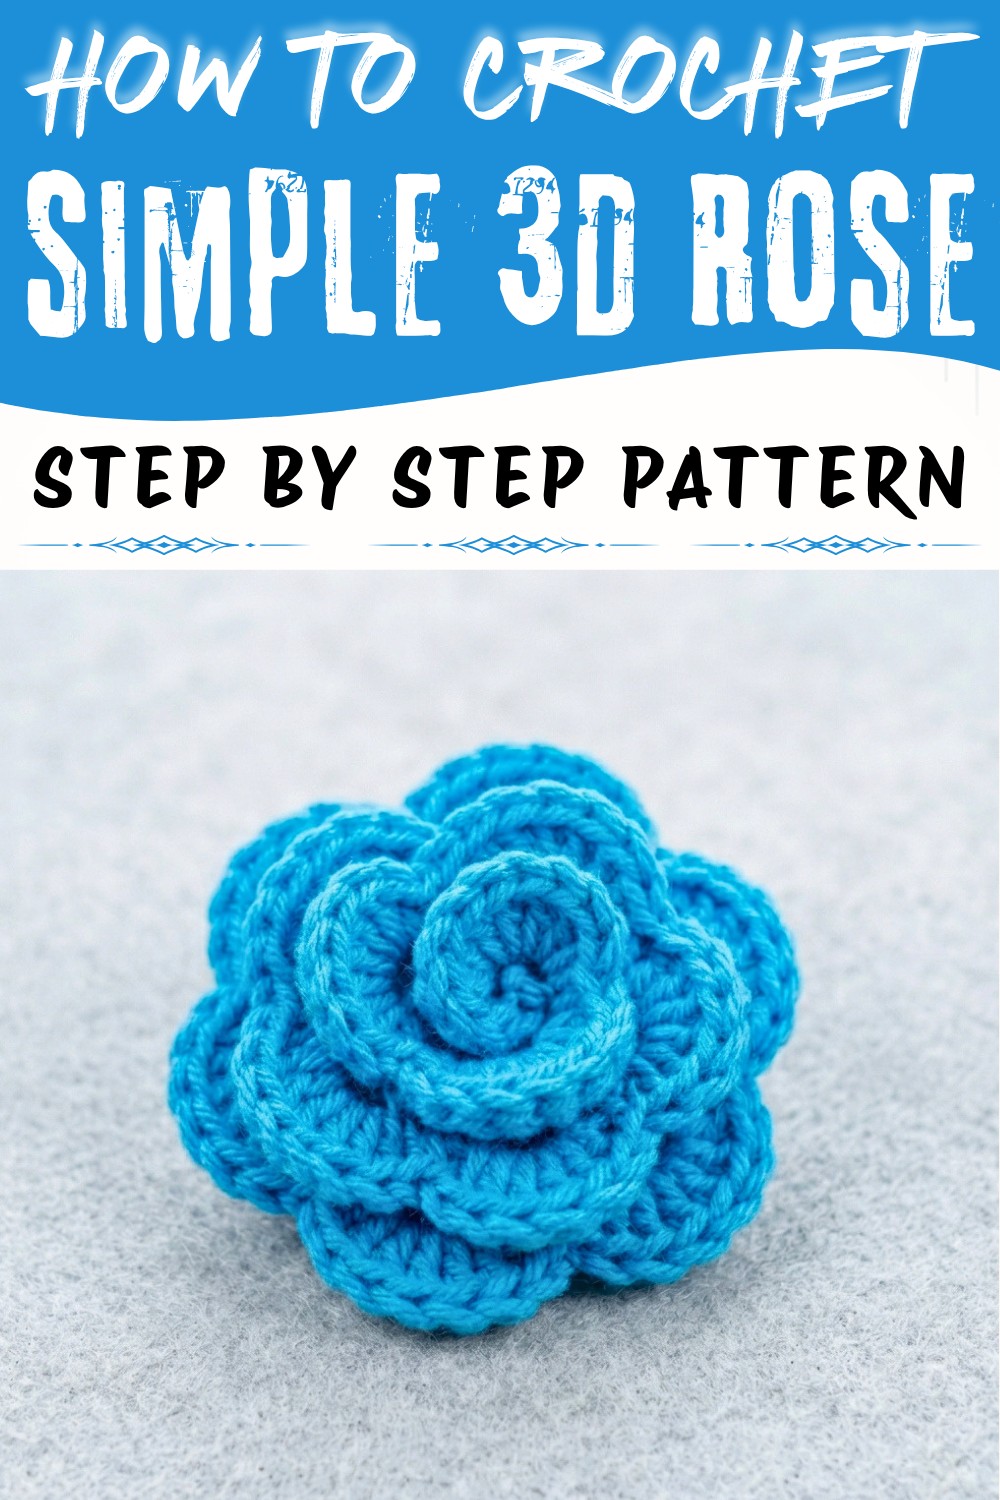
Roses are one of the most loved flowers, and crochet 3D rose is a fun way to bring their beauty to life. This handmade creation has soft, layered petals that look just like a blooming rose. It's perfect for decorating home items, making personalized gifts, or enhancing accessories like hats, bags, or hair clips.
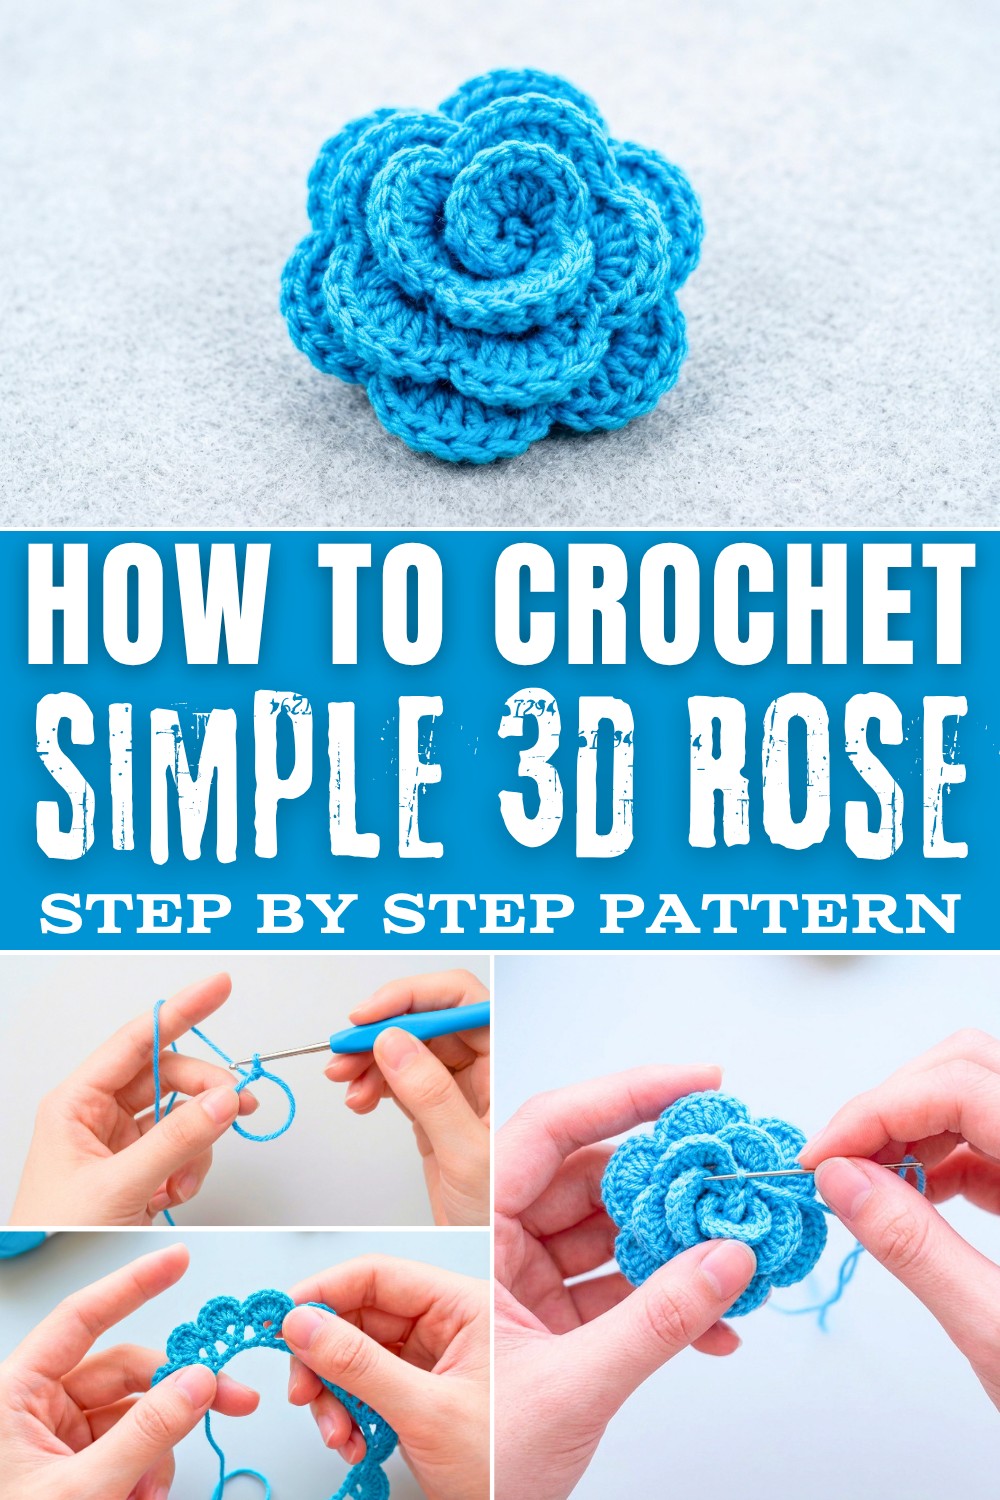
Free Crochet 3D Rose Pattern for Stylish Accessories
The design is easy to make and incredibly versatile, allowing you to use different colors of yarn to match your style or projects. This rose adds a detailed and unique touch to anything you want to beautify. Whether you're a beginner or experienced in crochet, this pattern will let you create something truly special and stunning with just a little time and effort.

Materials Needed
- Yarn:
- Four-ply cotton yarn (recommended for a neat finish and durability).
- Suggested color: Brown, Green, or any shade for the petals and optionally green for a leaf or base.
- Crochet Hook: 2.5 mm.
- Scissors: For cutting yarn precisely.
- Tapestry Needle: For sewing and securing the petals.
Skill Level:
Beginner
Special Techniques
- Cluster Stitch: A combination of double crochet stitches worked into the same stitch or space to form triangular clusters.
- Working into Chain Spaces: Each chain space becomes the foundation for forming petals.
- Rolling Petals: Layers of petals are rolled up and secured to form the shape of the rose.
- Sewing: A minimalist technique using the long tail to secure the rose layers neatly by stitching through the base of each petal.
Step-by-Step Pattern Instructions
Step 1: Initial Chain
- Begin with a slip knot: Wrap yarn around your finger, insert hook, yarn over, pull through, and tighten.
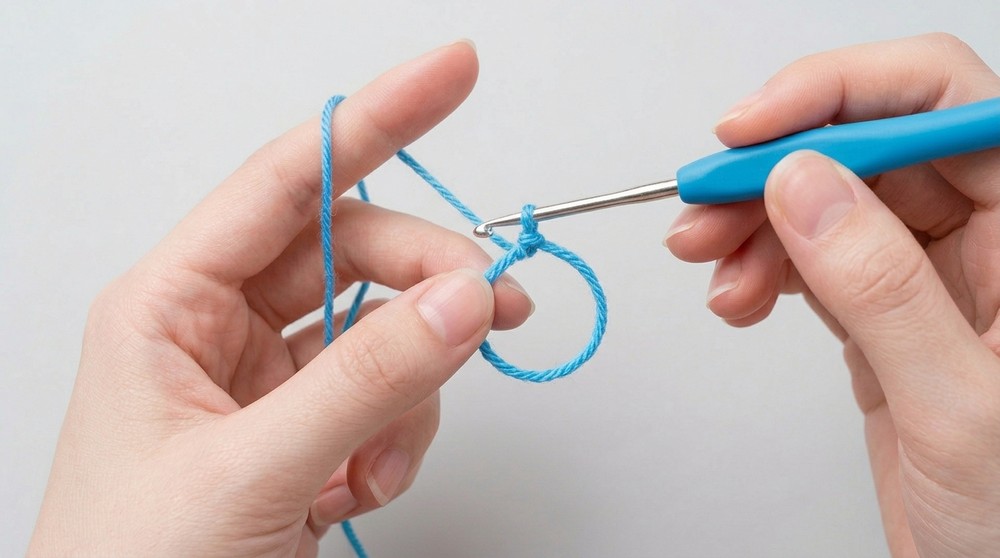
- Foundation Chain: Chain 45. Ensure the stitches are even but not too tight.
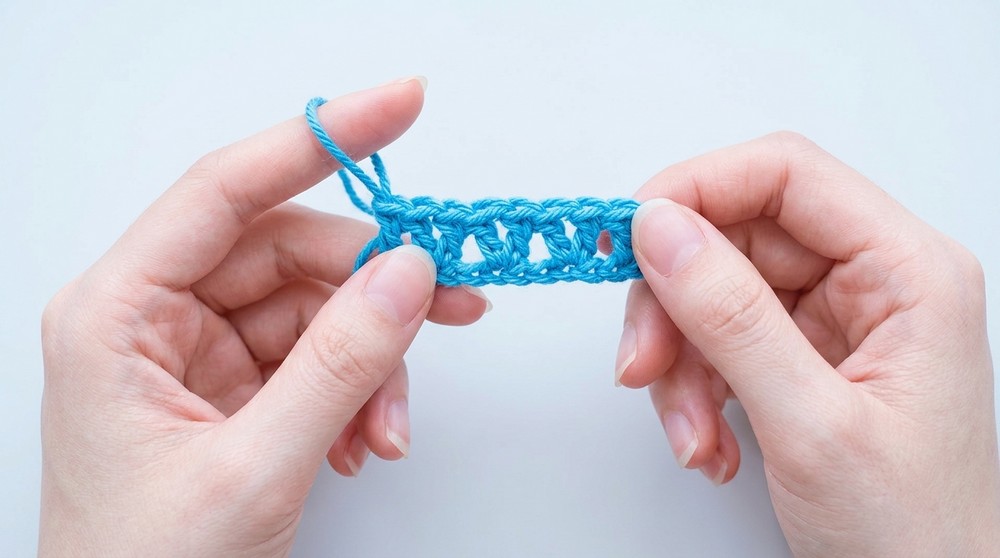
Step 2: First Row - Creating Clusters
- Locate the Sixth Chain:
- After crocheting the foundation chain, count 6 chains from the hook. Insert the hook into the 6th chain and begin working the following cluster pattern.
- Cluster Pattern:
- Skip 2 chains, then work:
- 1 double crochet (dc),
- Chain 2,
- 1 dc (into the same chain).
- (This forms one triangular cluster.)
- Skip 2 chains, then work:
- Repeat Across:
- Skip 2 chains, then repeat the cluster pattern into the 3rd chain.
- Continue until you've created 14 clusters, ending with a cluster in the final chain space.
- Fasten Off:
- After completing the clusters, cut the yarn but leave a long tail (you will use this tail later for sewing the rose layers).
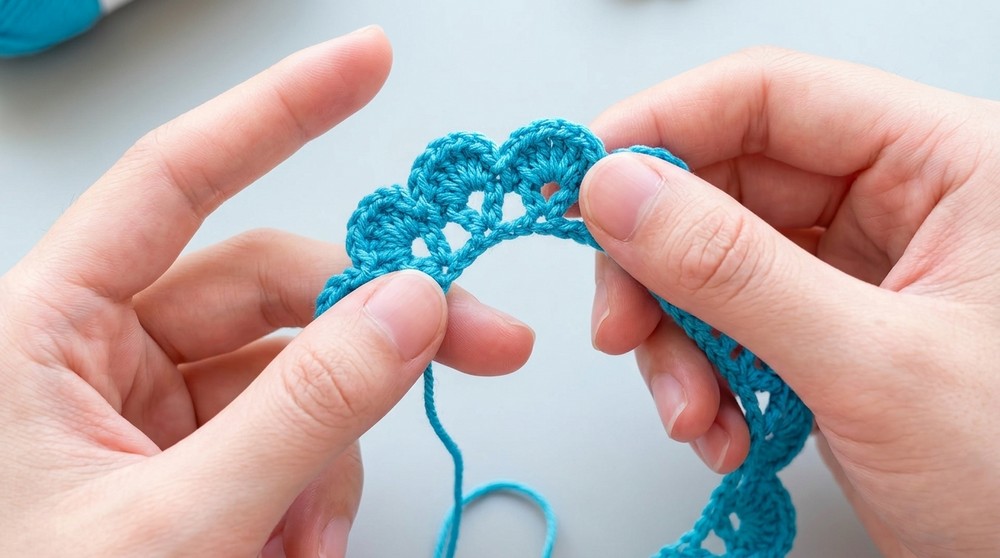
Step 3: Second Row - Forming Petals
- Work Into Each Cluster Space:
- Locate the space created by the chain-2 from each cluster.
- Into each space, work:
- 6 double crochets (dc) to form a petal.
- After completing the petal, secure it with 1 slip stitch (ss) into the adjacent space.
- Repeat the Petal Pattern:
- For every cluster space: 6 dc, 1 ss into the next space.
- Continue until all 14 spaces are filled with petals.
- Final Petal:
- In the last cluster space, work 10 dc to create a slightly larger petal.
- Fasten off, leaving a long tail for sewing.
Step 4: Rolling the Rose
- First Layer:
- Curl the first 3 petals tightly to form the rose's center.
- Secure the curled petals by pinching them together with your fingers.
- Second Layer:
- Fold the next 5 petals loosely around the center petals to form the outer layer of the rose. Adjust the positioning so each petal overlaps slightly.
- Third Layer:
- Use the remaining petals (6) to form the base layer of the rose. Spread these petals evenly for a fuller appearance.
- Flip to the Back:
- Turn the rose over to see the back side. The base of the petals should form a flat foundation where all layers are connected.
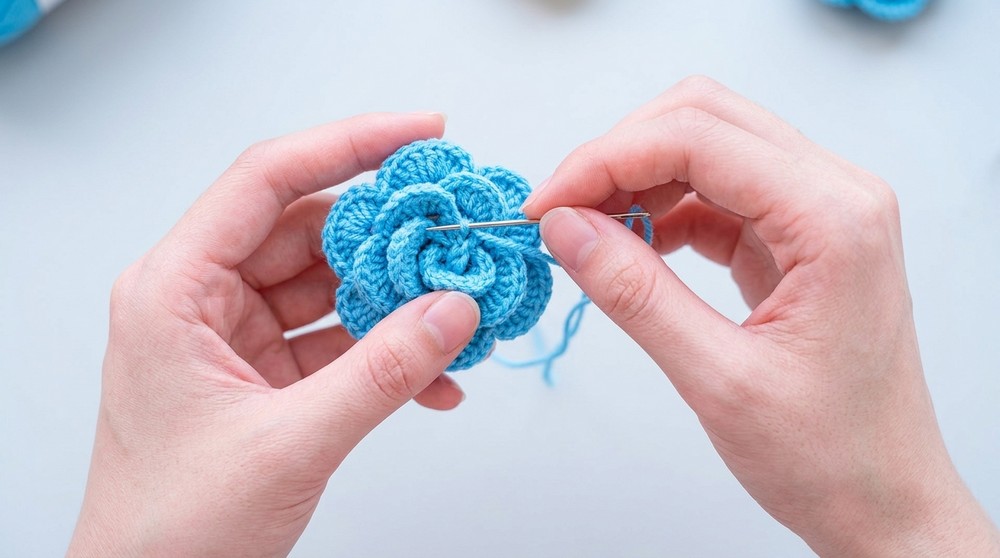
Step 5: Securing the Rose
- Thread the Long Tail:
- Insert the long tail of yarn into a tapestry needle. Begin stitching through the back base of the petals to secure them together.
- Work your way across the back, sewing through each petal layer to prevent unraveling.
- Join Petals:
- On the outermost layer, stitch petals together at their edges to ensure the rose's layers remain connected and compact.
- Knot the yarn and cut off any excess.
- Finishing Touches:
- If desired, sew additional yarn strands across the base to make it firm.
Customization Ideas
- Leaves and Base:
- Crochet simple green leaves by chaining 8, then working sc, hdc, dc, hdc, sc into the chain. Attach leaves to the base using a tapestry needle.
- Beads or Buttons:
- Add a bead or button to the center of the rose for decoration.
- Different Sizes:
- For larger roses, increase the foundation chain length to 60 and add more clusters.
You'll love crocheting this rose pattern
it's incredibly quick and beginner-friendly, you can finish a charming, realistic rose in just five minutes. The step-by-step instructions make the process enjoyable, even for those new to crochet. The simple combination of basic stitches and intuitive construction creates beautiful, layered petals that look impressively lifelike once assembled.
Plus, this pattern is wonderfully versatile. You can use your crocheted rose as a brooch, hairpin, bag embellishment, or even as a special handmade gift. With only a small amount of yarn and a few easy steps, you'll satisfy your creativity and end up with a gorgeous flower every time. The sense of accomplishment and the opportunity to share or display your work is truly rewarding, making this rose a project you'll want to make again and again.
Tips for Success
- Maintain consistent tension throughout the project to ensure petals are uniform.
- Use high-quality yarn for better structure and vibrant colors.
- For beginners: Practice forming clusters and petals on scrap yarn before starting the full project.
- Adjust petal tightness when rolling to achieve different looks-from tightly packed roses to more open blooms.
Final Words
Congratulations! You've created a beautiful crochet rose in just a few minutes. This elegant design can be used for hair clips, brooches, wreaths, or bouquets. The rose is versatile, and with simple changes, you can create unique pieces that suit various applications. Repeat the pattern with different colors for a stunning collection of handmade roses.
Important Remarks
- Durability: Securely sew all layers to ensure the rose lasts over time and doesn't unravel.
- Experimentation: Feel free to change yarn weight or hook size to create variations in size and texture.