
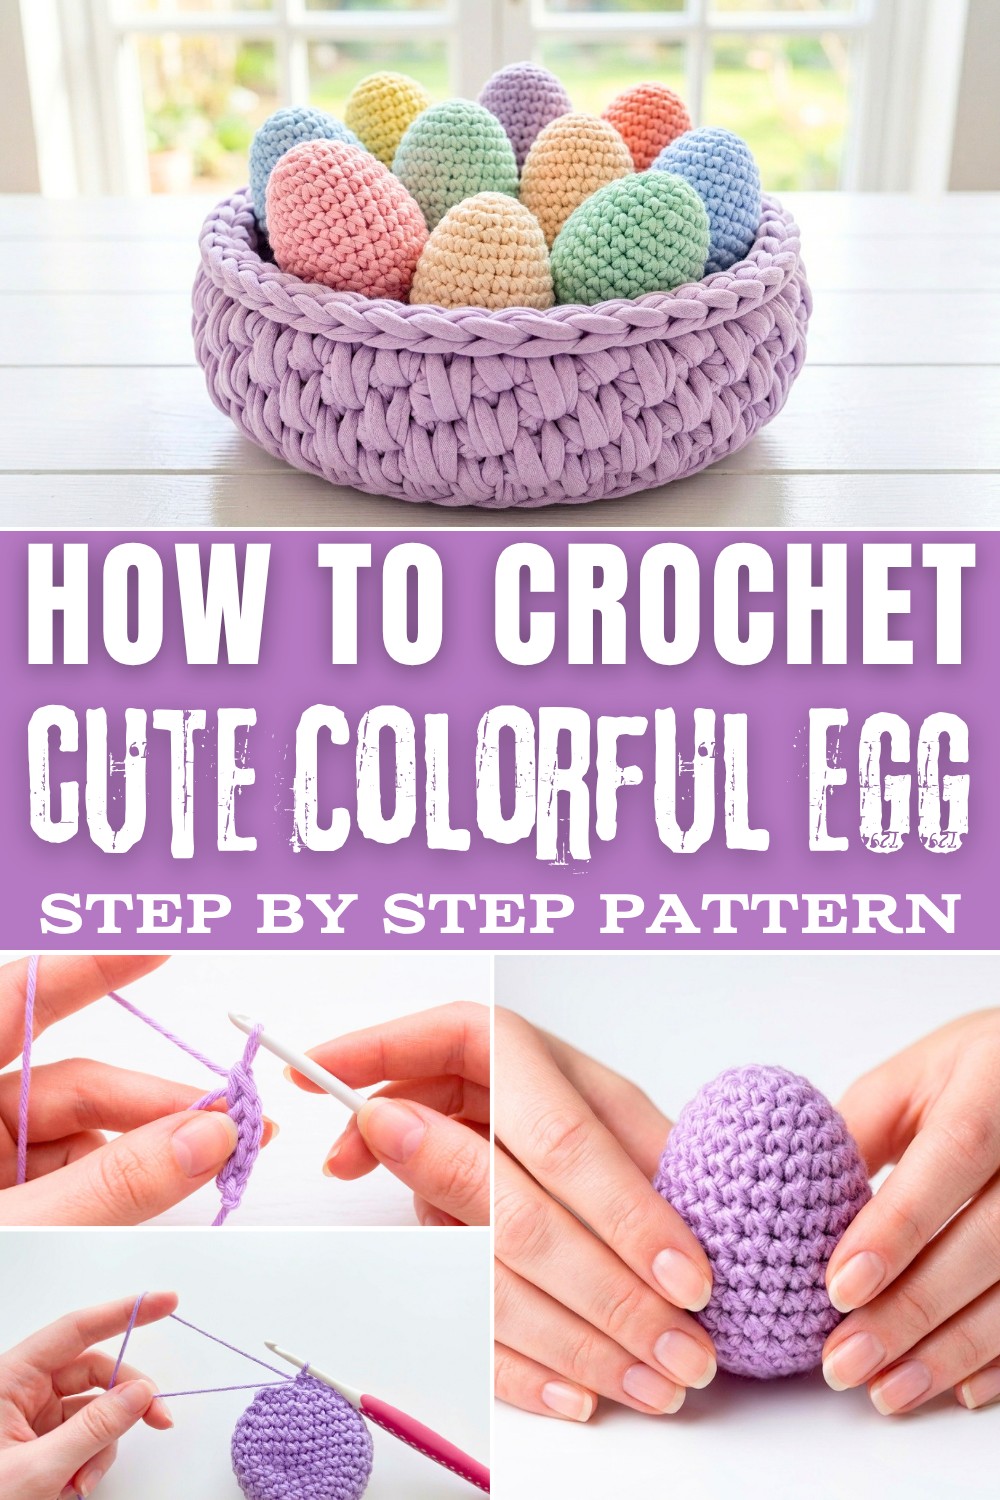
Solve your festive decorating needs fast using the Free Crochet Colorful Egg Pattern for playful, vibrant eggs in any hue.
Who knew something as simple as a crochet egg could bring so much joy and creative expression? These colorful little treasures are the perfect marriage of art and functionality, designed to brighten up any space or occasion. Think of pastel pinks and blues for spring celebrations, bold hues for playful decor, or soft neutrals for a minimalist aesthetic. The crochet egg pattern draws on foundational techniques like the magic circle, single crochet, and the versatile yarn under method, ensuring a firm, smooth texture ideal for stuffing and shaping. Whether you're a beginner or an experienced crafter, this project promises satisfaction with every stitch.
Free Guidance to Crochet Colorful Egg Pattern for Kids' Delight
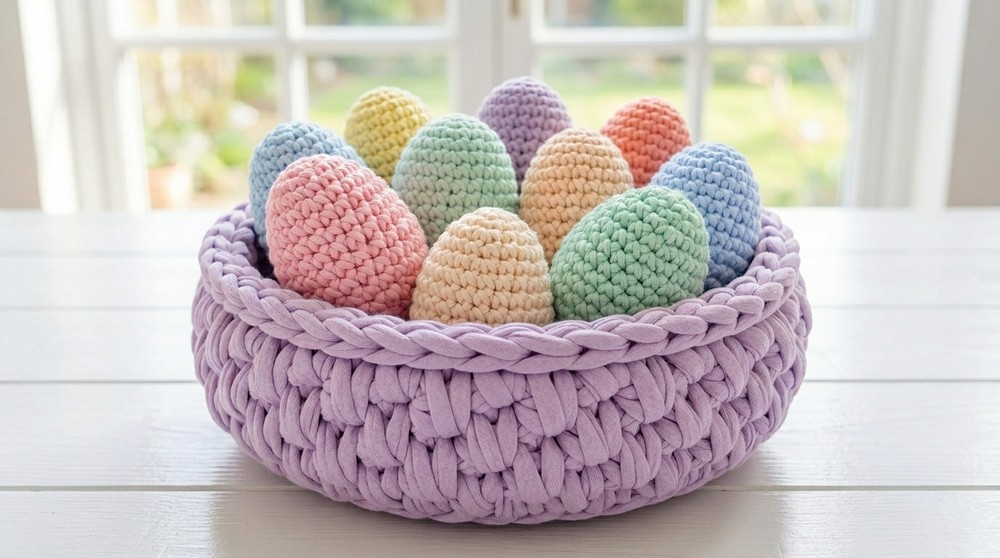
Crocheting this egg is a delightful way to experiment with colors and flexibility. You'll love how this evolve with each round, turning into adorable creations that can serve as decor, toys, or even meaningful gifts. The repetitive nature of the stitches makes this pattern soothing and meditative, allowing you to relax while bringing your vision to life. As your egg takes shape, you'll see how easy it is to pair this design with other projects or even customize it for special occasions.
Skills You'll Master with This Pattern
- Gain confidence with the yarn under technique to create tightly woven stitches suitable for stuffed projects.
- Master the magic circle, a fundamental skill for round and circular crochet designs.
- Learn to decrease stitches smoothly to shape rounded pieces like toys or ornaments.
Other Things You Can Crochet Using This Pattern
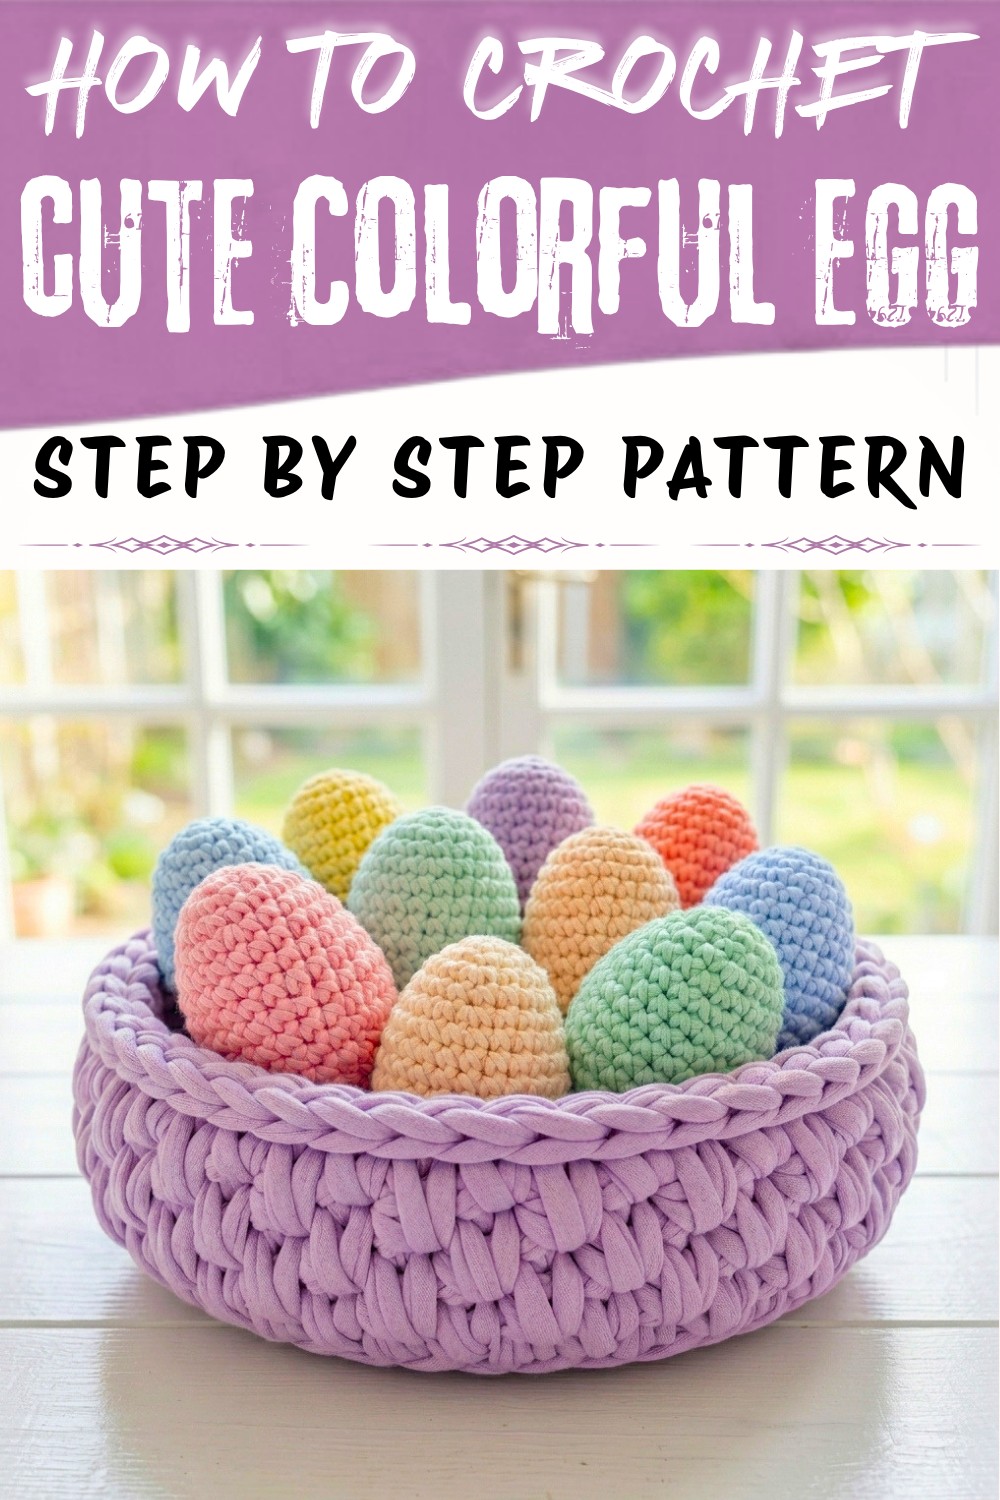
- Turn the egg shape into the foundation for stuffed animals such as penguins, chicks, or frogs.
- Create seasonal or event-themed decorations by playing with different colors and textures.
- Craft sensory toys or stress balls with soft stuffing materials for gifting or personal use.
- Customize heartfelt gifts and embellishments for baskets, handmade cards, or festive displays.
Grab your favorite yarn and crochet hook, and let these cheerful little eggs inspire your next creative adventure! With their versatility and charm, they're bound to make your crocheting time both fun and rewarding.
Crochet Egg Pattern
Skill Level
Intermediate - Includes working in rounds, yarn-under technique, decreases with single crochet, and magic circle.
Materials Needed
- Yarn: Medium weight (#4) yarn (Lavender color used or any of your choice).
- Crochet Hook: 4 mm (G/6).
- Darning Needle: For weaving in ends and sewing the egg closed.
- Stitch Marker: To mark the first stitch of each round.
- Optional: Fiberfill stuffing for shaping the egg.
Abbreviations (US Crochet Terminology)
- ch: Chain
- sc: Single Crochet
- sc2tog (Decrease): Single Crochet Two Together
- sl st: Slip Stitch
Special Notes
- Yarn-Under Technique:
- Unlike traditional single crochet (yarn-over), this method involves pulling the yarn under the hook to create tighter stitches. Perfect for stuffed projects like amigurumi.
- Insert the hook into the stitch, yarn under (instead of yarn over), pull through, then yarn over and complete the stitch.
- Working in Rounds:
- This pattern uses continuous rounds (no joining after each round). Place a stitch marker in the first stitch of each round to keep track of rows.
- Stuffing:
- Add stuffing as you near the end for a smooth, firm egg shape.
Pattern Instructions
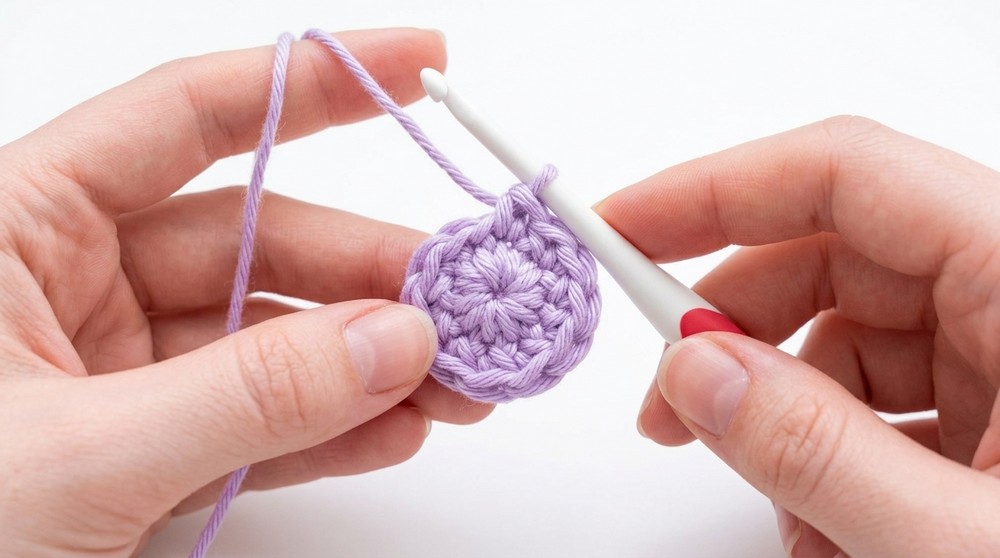
Round 1: Magic Circle
- Create a magic circle by forming a loop and holding it with your fingers. Insert the hook into the loop, yarn under, pull through, and chain 1 to secure.
- Work 6 sc into the magic circle using the yarn-under method.
- Pull snug to close the ring. (6 sts)

- Pull snug to close the ring. (6 sts)
Round 2: Increase Round
- Work 2 sc into each stitch around. (12 sts)
- Use a stitch marker to mark the start of the round.
Round 3: Single Crochet Round
- Work 1 sc into each stitch around. (12 sts)
Round 4: Increase Round
- Work 1 sc into the first stitch, followed by 2 sc in the next stitch.
- Repeat (1 sc, 2 sc) around. (18 sts)
Round 5: Single Crochet Round
- Work 1 sc into each stitch around. (18 sts)
Round 6: Increase Round
- Work 1 sc into the first two stitches, followed by 2 sc in the next stitch.
- Repeat (1 sc, 1 sc, 2 sc) around. (24 sts)

- Repeat (1 sc, 1 sc, 2 sc) around. (24 sts)
Rounds 7-13: Build-Up Section
- Work 1 sc into each stitch around for 7 rows. (24 sts per row)
- Replace the stitch marker after each round.
- Tip: Before continuing, lock the stitch with the marker and turn the egg inside out. Weave in the starting yarn securely to prevent unraveling.
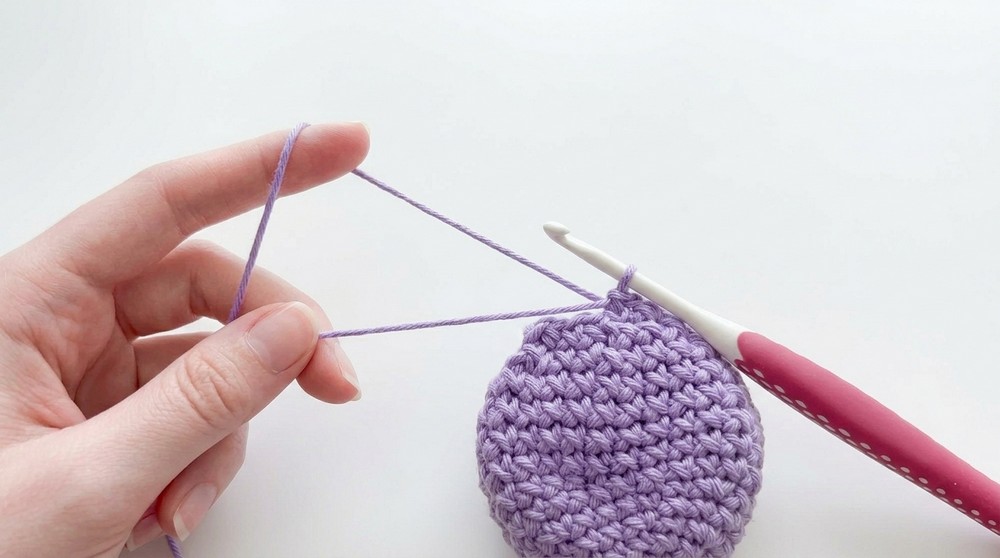
Round 14: Decrease
- Work 1 sc into the first two stitches, followed by sc2tog (decrease).
- Use the front loop only of the next two stitches for the decrease:
- Insert hook into the front loop of the first stitch, then into the front loop of the next stitch. Yarn under, pull through both loops, yarn over, and complete the stitch.
- Repeat (1 sc, 1 sc, sc2tog) around. (18 sts)
- Use the front loop only of the next two stitches for the decrease:
Round 15: Decrease
- Work 1 sc into the first stitch, followed by sc2tog.
- Repeat (1 sc, sc2tog) around. (12 sts)
Finishing
- Leave a 12-inch (30 cm) long tail of yarn, cut, and pull through.
- Stuff the egg with fiberfill to your desired firmness (soft or firm).
- Thread a darning needle with the yarn tail. Close the bottom opening by weaving the needle through the remaining stitches in a circular manner. Pull tight to close completely.
- Secure the yarn with knots and weave in the end.

Conclusion
Your crochet egg is now complete! It should be tight, smooth, and shaped perfectly round. These eggs are versatile and can be used for decorations, amigurumi projects, or festive gifts. You can experiment with different yarn colors and textures for variety.
Pattern Corrections
- Ensure proper stitch counts at the end of each round:
- Round 1: 6 sts
- Round 2: 12 sts
- Round 3: 12 sts
- Round 4: 18 sts
- Round 5: 18 sts
- Round 6: 24 sts
- Rounds 7-13: 24 sts per row
- Round 14: 18 sts
- Round 15: 12 sts
Carefully count your stitches to ensure accurate shaping.
Tips
- Stuffing: For a smooth and uniform stuffing, add small amounts at a time and push gently using the back of the hook or fingers.
- Starting Yarn: Always weave in the magic circle's yarn securely to prevent the egg from unraveling.
- Custom Sizing: To make larger or smaller eggs, increase or decrease the number of rounds in the center section (Rounds 7-13).
- Decorative Enhancements: Consider embellishing the egg with embroidery, stripes, or surface crochet designs for festive looks.
Overcoming Challenges in the Pattern
While this crochet egg pattern is beginner-friendly, some may find working with the magic circle or mastering the yarn under technique a bit tricky at first. The magic circle can feel fiddly, but with practice, it becomes second nature-and it's worth it for the seamless base it creates. As for the yarn under technique, simply focus on positioning the yarn below the hook while pulling through. To make it easier, take your time with the stitches and watch how they naturally tighten and smooth out. Remember, patience and practice are your best friends when learning new techniques!