
Solve your gifting dilemmas with a free crochet heart keychain pattern offering effortless style and endless customization options.
There's nothing quite as special as a simple handmade crochet project that carries a personal touch. The Crochet Heart Keychain is one such creation that combines practicality with charm. Whether you want to accessorize your keys, gift a loved one a token of affection, or style up a bag, these little hearts fit the mood perfectly. The idea to crochet these keychains came during a quiet afternoon when I stumbled upon a handful of leftover yarn scraps. How could I turn them into something meaningful? The heart shape seemed like the perfect answer, timeless, symbolic, and quick enough to crochet in a single sitting.
Learn Free Crochet Heart Keychain Pattern Perfect for Gifting
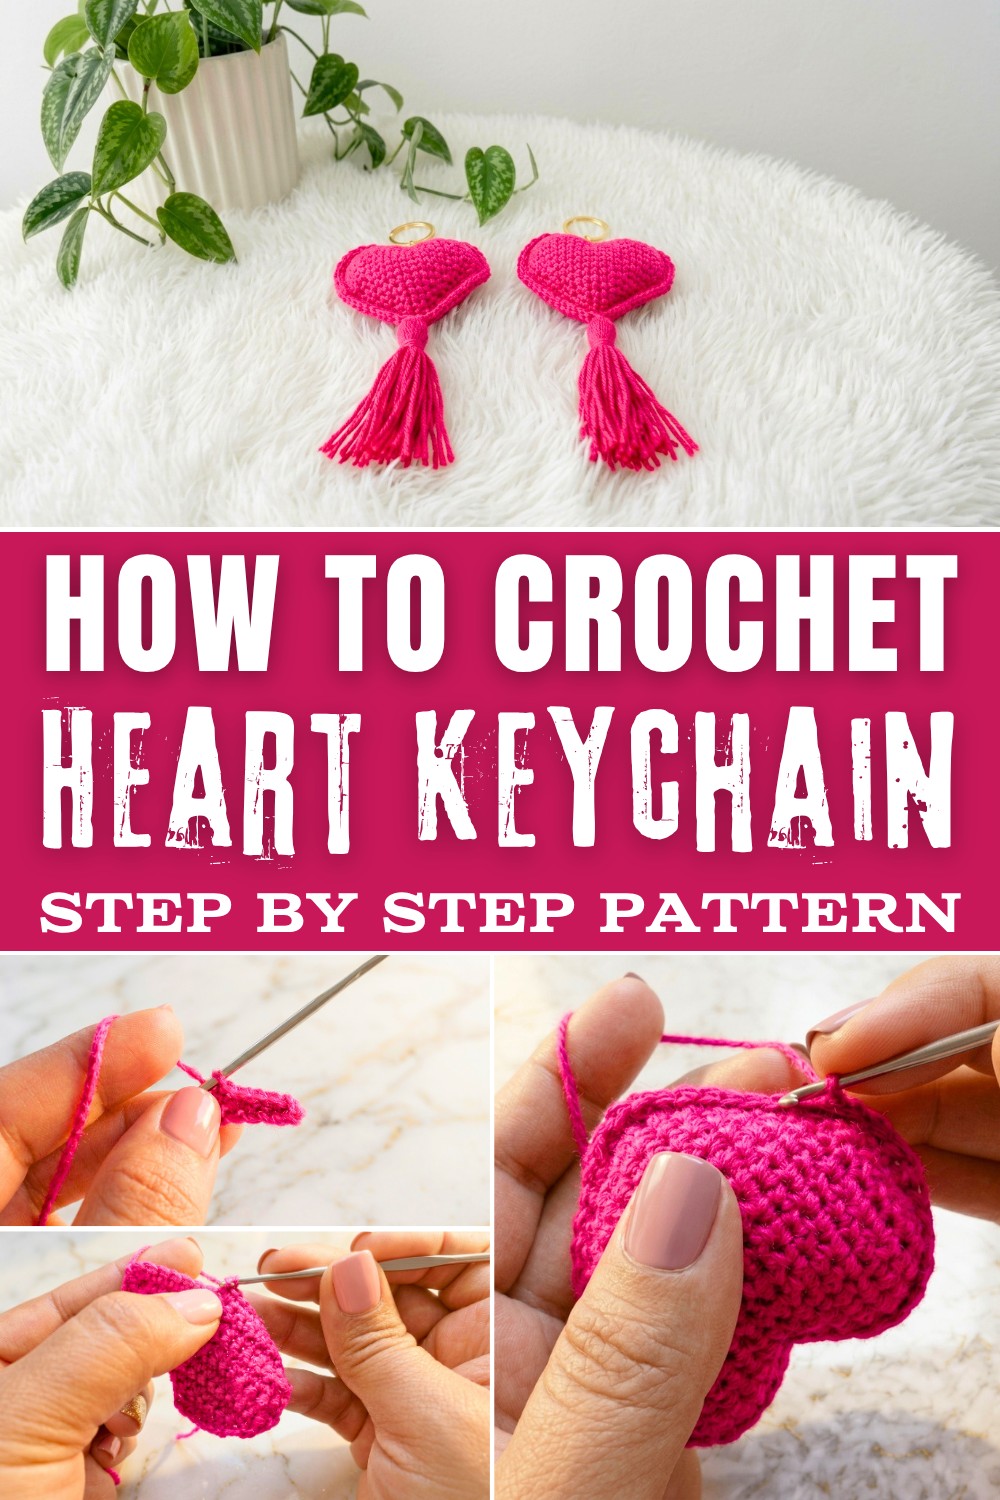
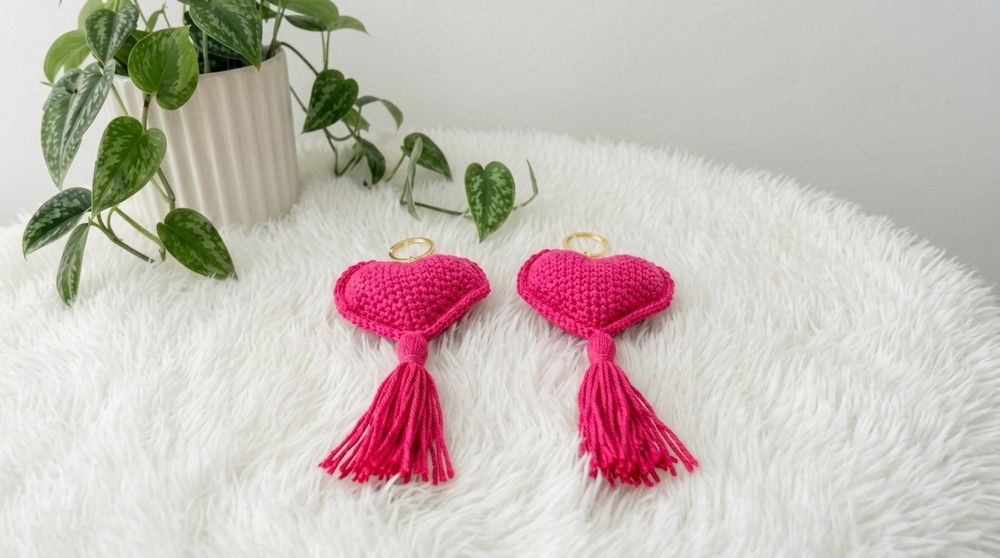
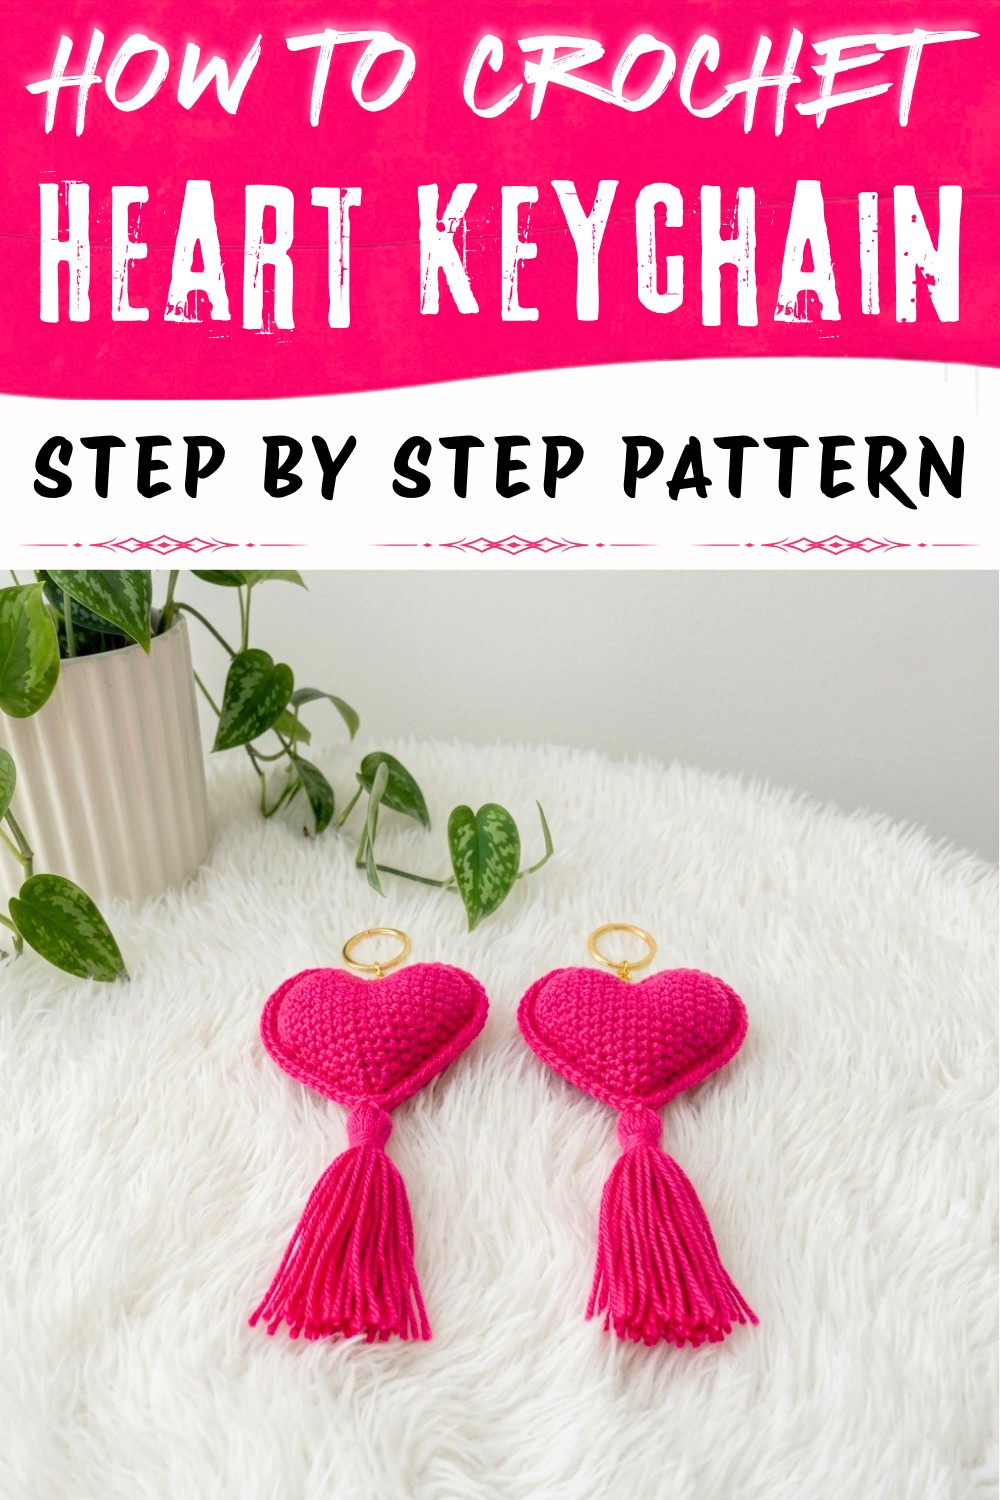
This free crochet heart pattern is worked with simple stitches like the magic ring, single crochet (SC), and double crochet (DC), making it perfect for beginners or anyone looking for a fun project that doesn't require hours of commitment. Once you've mastered these techniques, they open the door to many other creative projects, like crochet coasters, garlands, or appliqués for blankets. The pattern is worked seamlessly to give it that clean and polished look, and when stuffed slightly, it turns into a plush puffy heart with a whimsical charm. Adding a keyring or chain at the top transforms it into a functional accessory you can carry everywhere.
What You'll Learn and What You Can Make
By following this pattern, you'll learn how to work in the round, shape a heart using stitches, and seamlessly attach keyrings. These skills will also help you create:
- Decorative crochet garlands using heart motifs.
- Puffy crochet heart ornaments for gifting.
- Heart appliqués to embellish bags, scarves, or hats.
If you're looking for a creative, fast, and meaningful crochet project, this one is sure to steal your heart!
Gather Your Materials for crochet heart keychain
To get started, you'll need these essential items:
- Yarn: Light-weight or worsted-weight yarn in bright pink color or any you desire. Cotton yarn works well for a clean finish.
- Hook Size: Use a 3.5mm crochet hook for tight stitches and a firm shape.
- Keyring or Clasp: Standard metal ones are ideal for durability.
- Stuffing: Polyfill for creating a plump, fluffy heart.
- Tapestry Needle: For sewing up edges and attaching loops.
Pro Tip: Leftover yarn scraps work perfectly for this project since it's small and uses minimal yarn.
Getting Familiar With the Stitches
Before starting your heart crochet project, get comfortable with these basic techniques:
- Magic Circle: A clean and adjustable way to begin circular crochet projects without gaps.
- Single Crochet (SC): The primary stitch creating the heart's structure.
- Increase: Two single crochets worked into the same stitch to widen the shape.
- Decrease: Join two stitches into one to taper the edges.
Customize and Adjust the Size
Crochet heart keychain uniquely yours is easy:
- Adjust the Size: Use thicker yarn and a larger hook for bigger hearts or finer yarn and a smaller hook for tiny, delicate ones.
- Experiment With Edging: Add decorative edging stitches like picots or scallops for extra charm.
- Try Color Blocking: Combine different yarn colors by switching threads halfway to create a two-tone heart.
Crochet Heart Keychain Pattern
Abbreviations (US Terms)
- ch - Chain
- sc - Single crochet
- sl st - Slip stitch
- inc - Increase (2 sc in same stitch)
- dec - Decrease (crochet 2 sc together)
Pattern Detail
You will make two identical heart panels and join them together, then add stuffing, a border, and a tassel (optional).
Heart Panel (Make 2)
Foundation chain:
- Ch 6.
Row 1:
- Skip the first chain (nearest the hook).
Sc in the 2nd ch from the hook and each ch across (5 sc total).
(Mark the first st if useful.)
Row 2:
- Ch 1, turn.
Inc in first st (2 sc in first st),
sc in next 3 sts,
inc in last st (2 sc in last st).
(7 sts)
Row 3:
- Ch 1, turn.
Inc in first st,
sc in next 5 sts,
inc in last st.
(9 sts)
Row 4:
- Ch 1, turn.
Inc in first st,
sc in next 7 sts,
inc in last st.
(11 sts)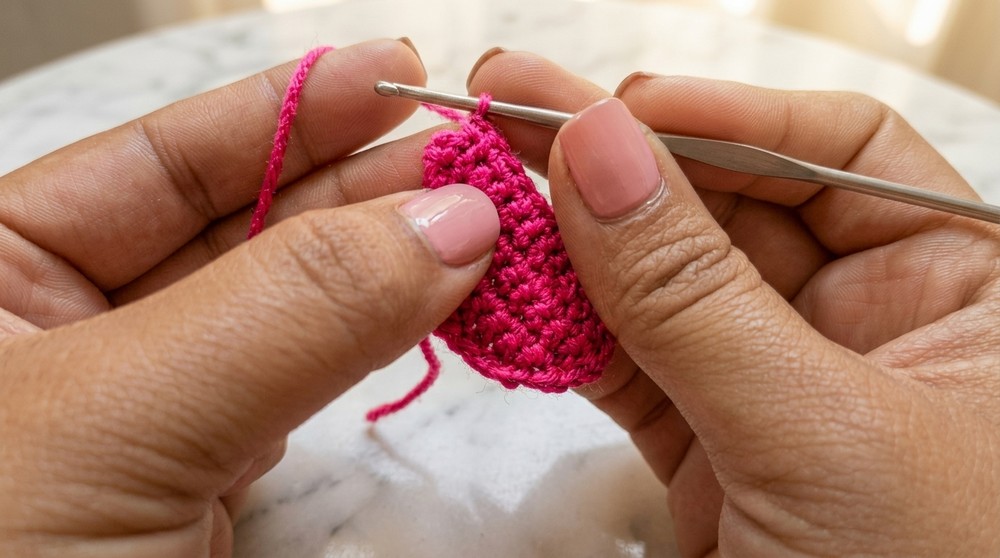
Row 5:
- Ch 1, turn.
sc in next 10 sts,
inc in last st (2 sc in last st).
(12 sts)
Row 6:
- Ch 1, turn.
Inc in first st,
sc across to end.
(13 sts)
Row 7:
- Ch 1, turn.
Dec over first 2 sts,
sc in next 10 sts,
inc in last st.
(13 sts)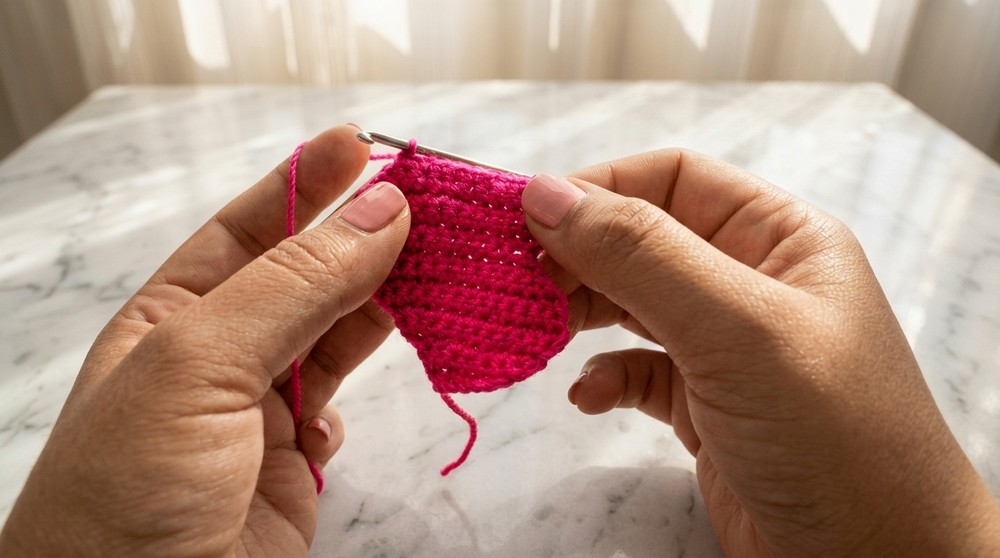
Row 8:
- Ch 1, turn.
Inc in first st,
sc in next 10 sts,
dec over last 2 sts.
(13 sts)
Row 9:
- Ch 1, turn.
Dec over first 2 sts,
sc in next 10 sts,
inc in last st.
(13 sts)
Row 10:
- Ch 1, turn.
Inc in first st,
sc in next 10 sts,
dec over last 2 sts.
(13 sts)
Row 11:
- Ch 1, turn.
Dec over first 2 sts,
sc in next 10 sts,
inc in last st.
(13 sts)
Row 12:
- Ch 1, turn.
Inc in first st,
sc in next 10 sts,
dec over last 2 sts.
(13 sts)
Row 13:
- Ch 1, turn.
Dec over first 2 sts,
sc in next 10 sts,
inc in last st.
(13 sts)
Row 14:
- Ch 1, turn.
Inc in first st,
sc in next 10 sts,
dec over last 2 sts.
(13 sts)
Row 15:
- Ch 1, turn.
Dec over first 2 sts,
sc in next 11 sts.
(12 sts)
Row 16:
- Ch 1, turn.
Dec over first 2 sts,
sc in next 10 sts.
(11 sts)
Row 17:
- Ch 1, turn.
Dec over first 2 sts,
sc in next 7 sts,
dec over last 2 sts.
(9 sts)
Row 18:
- Ch 1, turn.
Dec over first 2 sts,
sc in next 5 sts,
dec over last 2 sts.
(7 sts)
Row 19:
- Ch 1, turn.
Dec over first 2 sts,
sc in next 3 sts,
dec over last 2 sts.
(5 sts)
Finish:
- Fasten off for the first panel.
- Make a second panel and do NOT fasten off after Row 19; continue to joining.
Joining & Finishing
- Holding the two panels with wrong sides together, join using single crochet stitches:
Insert hook through both panels, sc evenly around the entire edge.
(You may need to add or skip a stitch in a corner to match nicely.) - Before closing completely, add stuffing to your heart so it is firm and plush, then finish closing.
- When you reach the starting point, sl st to first joining st, fasten off, and weave in ends.
Border
- For a decorative edge:
(Optional but adds a nice touch!)
After joining, [ch 1, sl st in next st] around the entire heart. Fasten off.
Add Keychain Ring
- Secure the keychain ring to the top center of the heart.
- You may wish to use several ch stitches or a loop before you sew or attach the ring, for added stability.
- Use the yarn needle to reinforce and hide yarn tails inside the heart.
Optional: Tassel
- With yarn, wrap 20 times around a small piece of cardboard or your fingers.
- Slip off and tie at the top with another piece of yarn.
- Tie off and trim bottom for evenness.
- Attach the tassel to the heart's bottom or side using a yarn strand and your hook or needle.
Final Assembly and Keyring Attachment
Once your heart is ready:
- Sew a small loop at the top of the heart using sturdy yarn.
- Slip the loop through your keyring or clasp and secure it tightly.
- Reinforce the loop with extra knots if needed for added durability.
Optional: Add embellishments like tassels, beads, or even metallic charms to dress up your heart.
Tips & Customization
- Colors: Use pink, purple, or any color to match a special occasion.
- Size: Increase the starting chain and number of rows to create a larger heart; use a bigger or smaller hook/yarn for size adjustments.
- Decorate: Add embroidery, small beads, sequins, or initials on one panel before assembly.
- Stuffing: Adjust stuffing as desired for plushness or firmness.
- Gift: Slip a small note inside the heart before stuffing for a personalized Valentine's message.
Final Thoughts
Crochet heart keychain is the kind of project that brings joy every step of the way-it's simple yet satisfying and carries a personal touch. Whether you're gifting it for Valentine's Day, brightening up your bag, or simply practicing your crochet skills, this versatile design is sure to capture your heart.
Feedback
I aimed to write this post in a warm, inviting tone while keeping it practical and fun for beginners. Let me know if there are specific areas where you'd like more detail or suggestions for customization, I'm always happy to help.