
Recently, I wanted to make something small, soft, and delightful to brighten up my workspace, so I chose a crochet bunny as my next project. This adorable item is quick, relaxing, and fun to make, whether you call it a mini bunny ornament, kawaii bunny, or amigurumi rabbit. While searching for ideas, I found the Free Desk Bunny Pattern, the perfect project for anyone who wants to bring a little charm and coziness to their desk or home.
Free Crochet Desk Bunny Pattern
This desk bunny's beauty lies in its cute and chubby design. It features a rounded, plush body, perky ears, and an adorable face that instantly adds warmth and cheer to any space. The texture is pleasantly soft and smooth, achieved with neatly placed single crochet stitches. The compact egg-like shape and thoughtful details, like small arms, playful feet, and charming facial features, truly make it stand out. You can personalize your bunny with different yarn colors, creative eye placements, or a tiny accessory, making each creation unique.
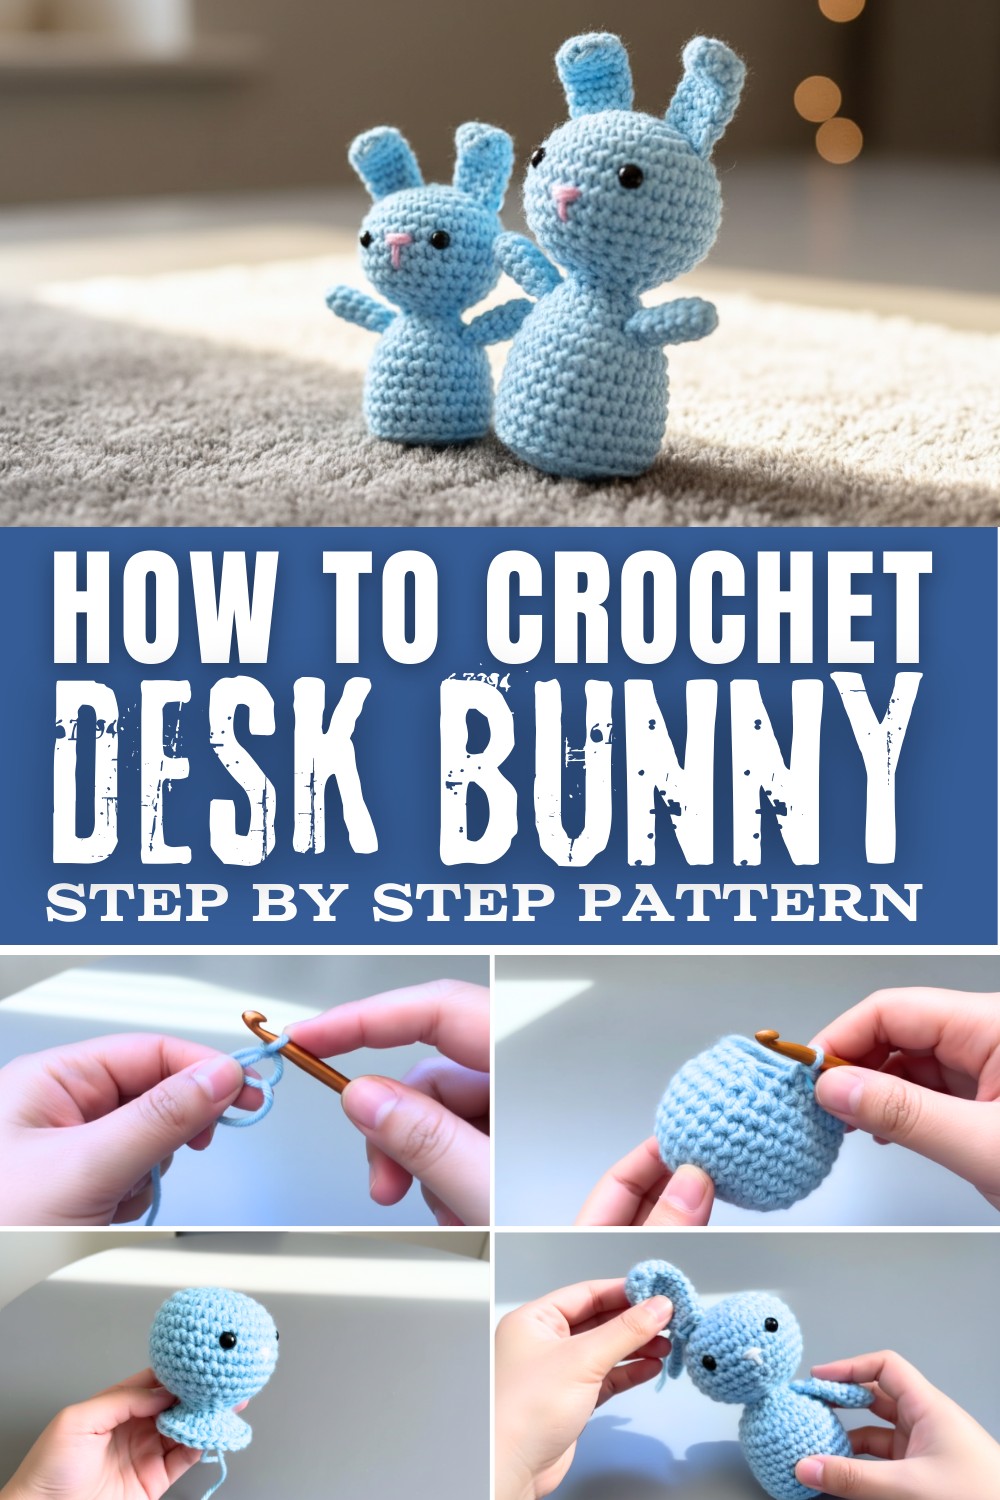
The bunny is constructed using a magic ring to start, followed by rounds of single crochet, increases for shaping, and slip stitches to finish off. These classic crochet techniques from the transcription ensure a sturdy, seamless amigurumi. The steps demonstrated are suitable for beginners, with clear descriptions and helpful tips like marking stitches and neatly hiding yarn tails. More experienced crocheters will also enjoy how quickly the project comes together and the room for playful customizations.
This little desk bunny is perfect as a sweet decoration, a thoughtful gift, or a collectible buddy for your workspace. It can even be turned into a keychain, bag charm, or desk ornament. Whether you're just starting with crochet or looking for a quick, rewarding project, this bunny pattern is a wonderful choice. Give it a try, and watch your handmade bunny bring a touch of happiness to your everyday routine!
Materials Needed
To make this crochet bunny, gather the following supplies:
- Yarn:
- Primary Color: Baby Blue or your choice for the bunny body.
- Contrast Color: Pink or another shade for the nose.
- Crochet Hooks:
- 5.5 mm hook (US size I-9): For the head and body.
- 4.25 mm hook (US size G): For the arms and ears.
- Safety Eyes:
- Size 10-12 mm or preferred size.
- Tapestry Needle/Threading Needle:
- For weaving ends and embroidering the nose.
- Stuffing (Fiberfill):
- For filling the head and body.
- Scissors:
- For cutting yarn.
- Stitch Marker:
- For tracking rounds.
Gauge
Gauge is not critical for this project, but approximate measurements are provided.
- 7 single crochet stitches x 8 rows = 2 inches with 5.5 mm hook using worsted weight yarn.
Adjust hook size if necessary to achieve a neat finish.
Finished Size
The final bunny will measure approximately 6-7 inches tall when seated and is designed to sit upright without legs. The size may vary slightly depending on your gauge and stuffing.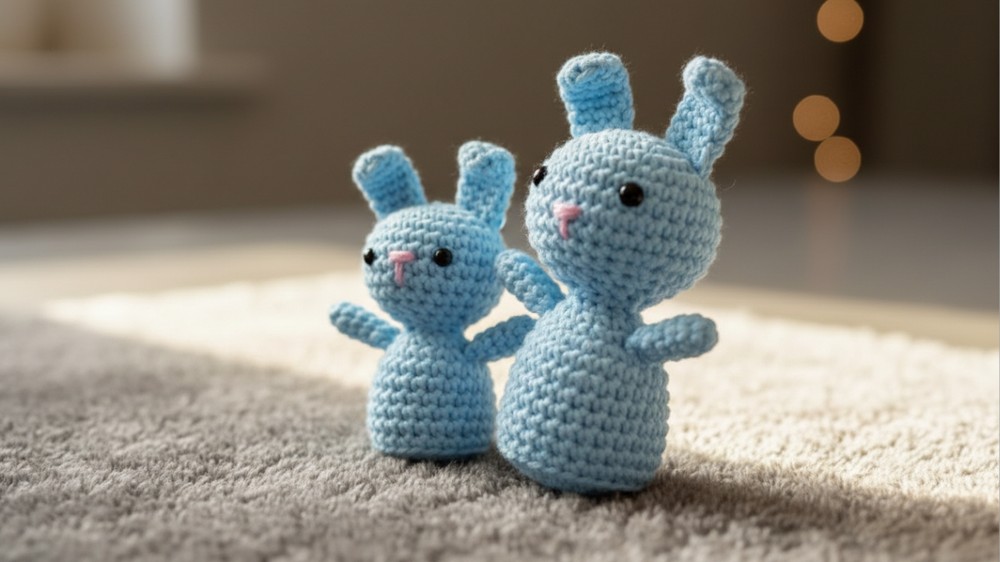
Special Techniques
Below are key techniques to know before beginning:
1. Magic Circle:
- Used to start the head, arms, ears, and body. Wrap yarn around fingers, insert the hook into the loop, pull up a loop, chain 1, and crochet into the circle.
2. Invisible Decrease:
- Creates smooth and clean decreases for shaping.
How-To:- Insert hook into the front loops only of two consecutive stitches, yarn over, pull up a loop, yarn over again, and pull through all three loops on the hook.
3. Normal Decrease:
- Used alternately for slight texture variation.
How-To:- Insert the hook through both loops of the next two stitches, yarn over, pull up a loop, yarn over again, and pull through all loops.
crochet desk bunny Pattern Instructions
Head
- Round 1:
- Using 5.5 mm hook, start with a magic circle.
- Work 6 single crochets (sc) into the circle.
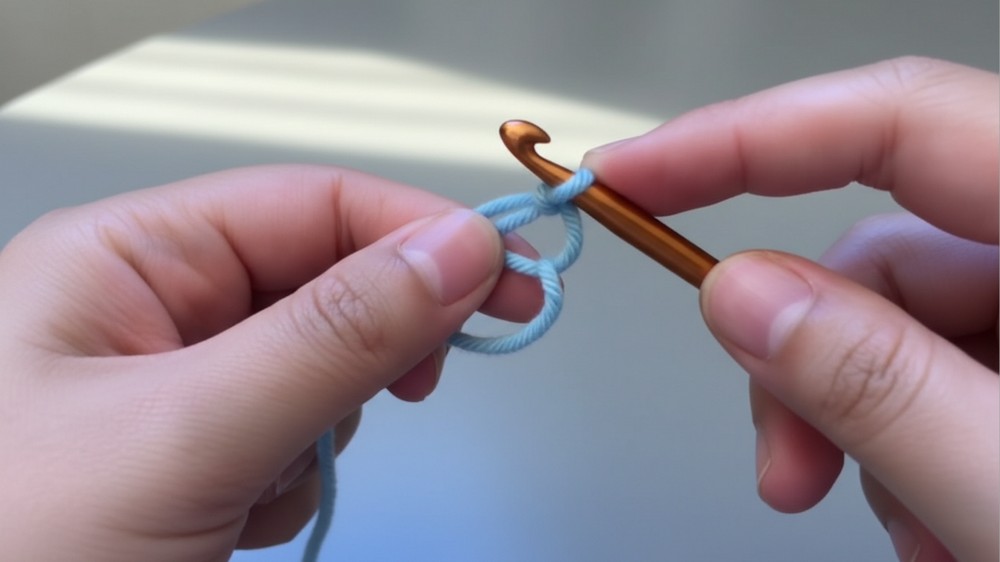
- Slip stitch (sl st) into the first stitch to close the round. Place a stitch marker.
(6 stitches total).
- Round 2:
- Work 2 sc into each stitch (increase in every stitch).
(12 stitches total).
- Work 2 sc into each stitch (increase in every stitch).
- Round 3:
- Alternate increase (2 sc) in the first stitch, followed by 1 sc in the next stitch. Repeat around.
(18 stitches total).
- Alternate increase (2 sc) in the first stitch, followed by 1 sc in the next stitch. Repeat around.
- Round 4:
- Alternate increase (2 sc), then 1 sc into the next 2 stitches. Repeat around.
(24 stitches total).
- Alternate increase (2 sc), then 1 sc into the next 2 stitches. Repeat around.
- Round 5:
- Alternate increase (2 sc), followed by 1 sc into the next 3 stitches. Repeat around.
(30 stitches total).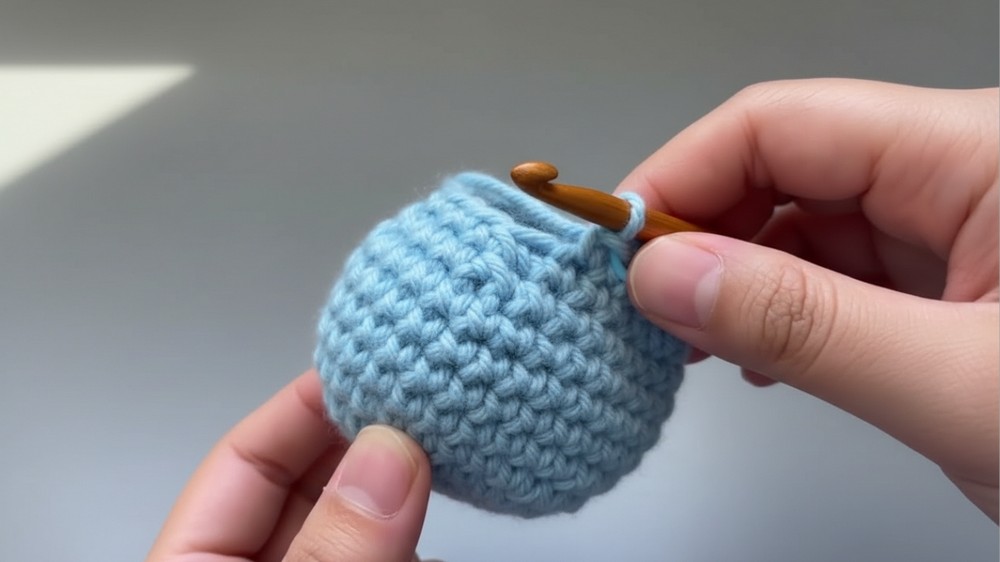
- Alternate increase (2 sc), followed by 1 sc into the next 3 stitches. Repeat around.
- Rounds 6-10:
- Work 1 sc into each stitch to maintain the head's shape.
(30 stitches total, 5 rounds).
- Work 1 sc into each stitch to maintain the head's shape.
- Round 11:
- Begin decreases using invisible decrease. Alternate 1 invisible decrease, then 1 sc into the next 3 stitches. Repeat around.
(24 stitches total).
- Begin decreases using invisible decrease. Alternate 1 invisible decrease, then 1 sc into the next 3 stitches. Repeat around.
- Round 12:
- Alternate normal decrease, followed by 1 sc into the next 2 stitches. Repeat around.
(18 stitches total).
- Alternate normal decrease, followed by 1 sc into the next 2 stitches. Repeat around.
- Round 13:
- Alternate invisible decrease, followed by 1 sc into the next stitch. Repeat around.
(12 stitches total).
- Alternate invisible decrease, followed by 1 sc into the next stitch. Repeat around.
- Round 14:
- Work decreases all the way around.
(6 stitches total). - Attach Safety Eyes and Embroider the Nose:
- Place the safety eyes about 3-4 rows down from the top of the head.
- Embroider the nose in a "T" shape using pink yarn and a tapestry needle. Ensure you have symmetrical placement.
- Stuff the Head:
- Add fiberfill to give shape. Do not overstuff.
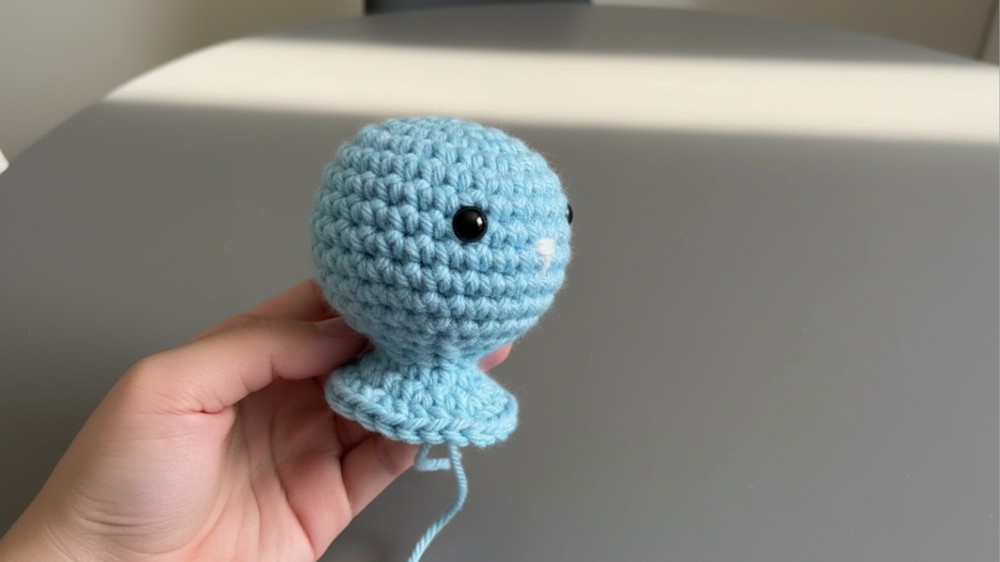
- Add fiberfill to give shape. Do not overstuff.
Body
The body is worked directly attached to the head, reducing sewing requirements.
- Round 15:
- Increase into every stitch to expand the base. Work 2 sc into each stitch.
(12 stitches total).
- Increase into every stitch to expand the base. Work 2 sc into each stitch.
- Round 16:
- Alternate increase (2 sc), followed by 1 sc into the next stitch. Repeat around.
(18 stitches total).
- Alternate increase (2 sc), followed by 1 sc into the next stitch. Repeat around.
- Round 17:
- Alternate increase (2 sc), followed by 1 sc into the next 2 stitches. Repeat around.
(24 stitches total).
- Alternate increase (2 sc), followed by 1 sc into the next 2 stitches. Repeat around.
- Rounds 18-23:
- Work 1 sc into each stitch to create the body length. You may adjust by adding extra rows for a longer body.
(24 stitches total, 6 rows).
- Work 1 sc into each stitch to create the body length. You may adjust by adding extra rows for a longer body.
Closure for Body
- Round 1 (Closure Round):
- Work decrease into the back loops only, alternating 1 decrease, followed by 1 sc into the next 2 stitches.
(18 stitches total).
- Work decrease into the back loops only, alternating 1 decrease, followed by 1 sc into the next 2 stitches.
- Round 2:
- Work normal decrease, alternating 1 decrease, followed by 1 sc into the next stitch.
(12 stitches total).
- Work normal decrease, alternating 1 decrease, followed by 1 sc into the next stitch.
- Final Round:
- Continue working decreases until the opening is completely closed. Seal and weave in ends.
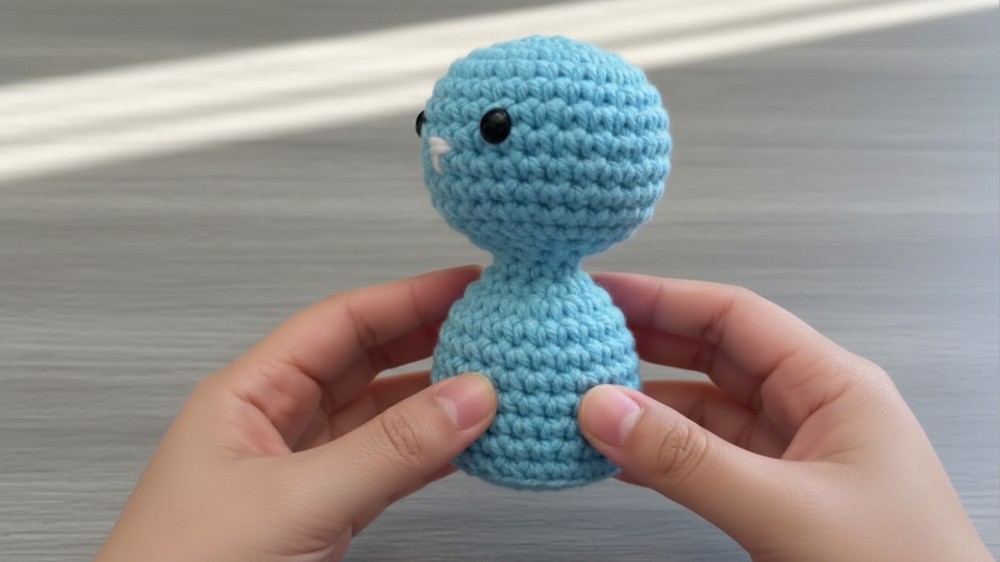
- Continue working decreases until the opening is completely closed. Seal and weave in ends.
Arms and Ears
Both arms and ears are worked identically, except the ears are longer. Use a 4.25 mm hook for both.
Arms:
- Round 1:
- Create a magic circle and work 4 sc into the circle. Slip stitch to close.
- Round 2:
- Increase into each stitch (2 sc per stitch).
(8 stitches total).
- Increase into each stitch (2 sc per stitch).
- Rounds 3-7:
- Work 1 sc into each stitch.
(8 stitches total, 5 rows).
- Work 1 sc into each stitch.
- Fasten Off:
- Leave a long tail for sewing. Create two arms.
Ears:
- Round 1-2:
- Work as per arms.
(4 sc in round 1, 8 sc in round 2).
- Work as per arms.
- Rounds 3-9:
- Work 1 sc into each stitch, extending the ear's length. Adjust for desired length.
(8 stitches total, 7 rows).
- Work 1 sc into each stitch, extending the ear's length. Adjust for desired length.
- Fasten Off:
- Leave a long tail for sewing. Create two ears.
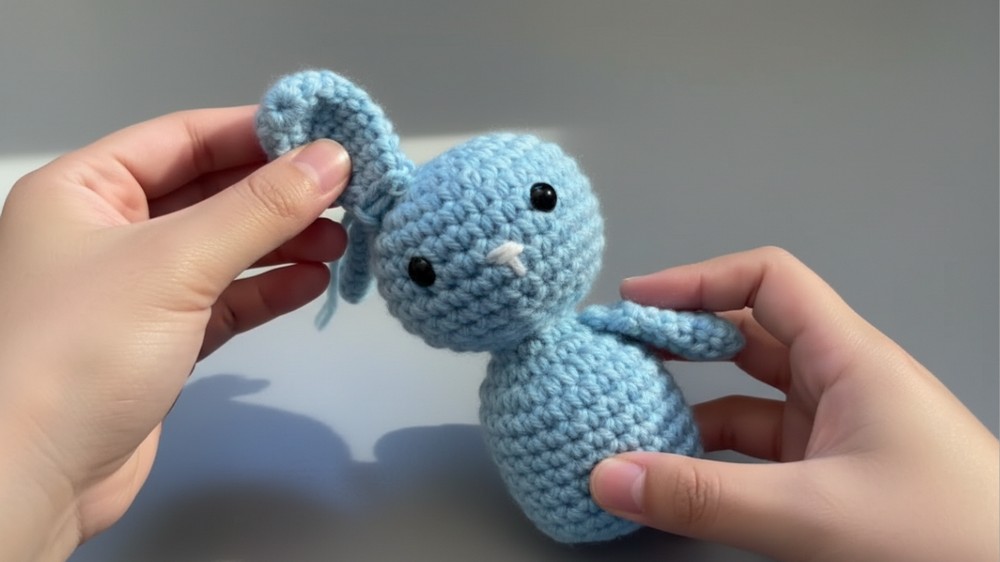
- Leave a long tail for sewing. Create two ears.
Attaching Arms and Ears
- Sew the arms to the sides of the body, approximately 1-2 rows down from the head. Ensure symmetry.
- Attach ears to the top of the head. Adjust position for desired expression (upright or floppy ears).
Customization Ideas
- Colors:
- Experiment with pastel colors, variegated yarn, or themed shades (e.g., blue for winter bunny).
- Accessories:
- Add embroidered details, bows, scarves, or mini clothing.
- Variation:
- Create feet or paws using additional rounds following the arm instructions.
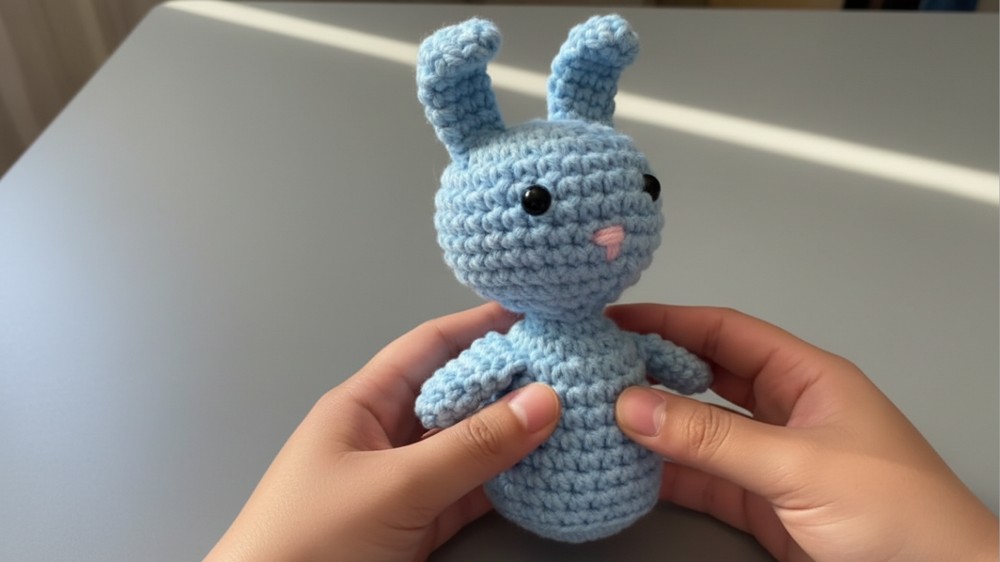
- Create feet or paws using additional rounds following the arm instructions.
Conclusion & Final Remarks
The finished crochet desk bunny has a playful, seated design perfect for decoration or gifts. The pattern is simple yet offers room for creativity. If you followed this guide, congratulations on completing your bunny.