
Create farmyard magic with this Free Crochet Goat Amigurumi Pattern, a simple and fun project perfect for animal lovers and beginners alike.
There is something extra special about making your own soft and tiny goat! With the Free Crochet Goat Amigurumi Pattern, you can create a friendly goat with sweet little horns, a twirly tail, and a cute nose. This goat is full of charm and ready to jump into any fun you imagine.
Crochet Goat Amigurumi Pattern - Step-by-Step Guide
Goats can be made in many colors. White, grey, light brown, or even a soft cream yarn work perfectly. You can even give your goat a little "collar" or a patch on its belly. To make your goat, you will need a 2.5 mm crochet hook, cotton yarn for softness, and a little stuffing to make him squishy. The body and head are made with the magic ring stitch, which helps everything stay round and neat.
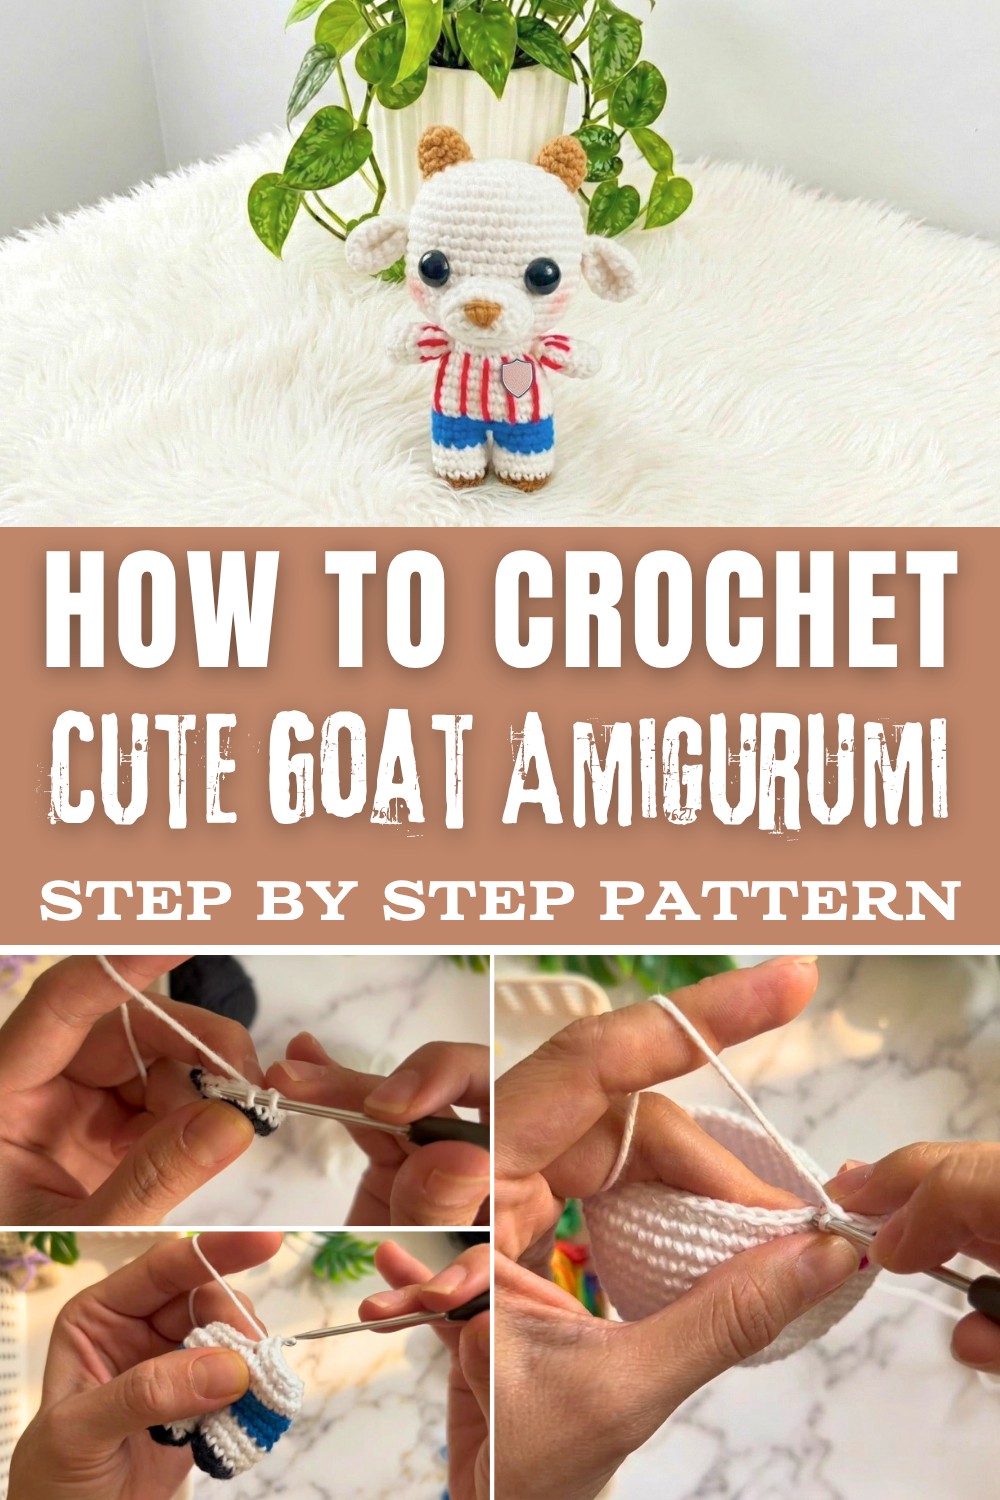
From this pattern, you can make things such as lovable plush toys, fun keychains, and silly gifts for your friends. Your goat can sit on your shelf, travel in your bag, or join your dolls on an adventure. If you like, make a tiny basket of "flowers" for your goat to munch, or add little felt spots for more fun.
You are not limited by size, change your yarn to make a big goat for cuddling or use thin yarn for a pocket-sized friend.
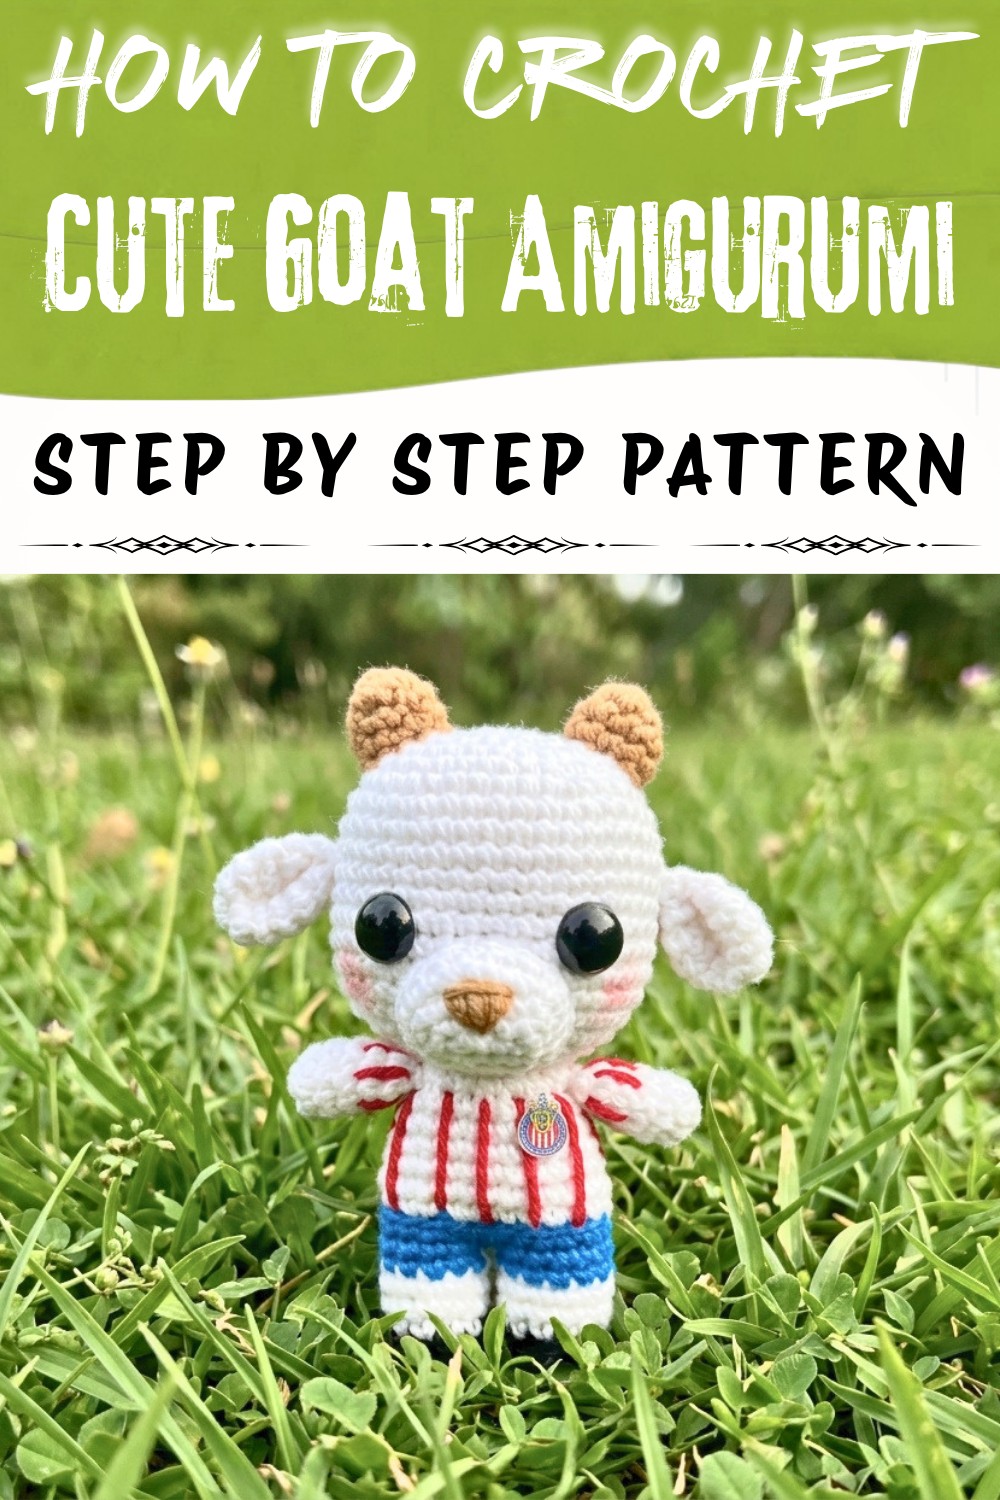
Amigurumi Little Goat Pattern
Create an adorable amigurumi little goat, as seen on Crochet Soul Vipes! This clear, step-by-step pattern is ideal for intermediate crafters and includes rounds separated for ease, clear stitch explanations, and assembly instructions. The finished goat measures approximately 12 cm tall and features cute clothing, horns, and facial details. Follow along and bring this charming character to life!
Skill Level
Intermediate
Familiarity with amigurumi techniques, color changes, working in continuous rounds, and basic embroidery is recommended.
Materials & Tools
- Yarn (Sport or Light Worsted):
- White (main body)
- Black (hooves, nose)
- Blue (pants)
- Red (shirt details)
- Brown (horns)
- Hook: 2.5 mm crochet hook
- Stuffing: Polyester fiberfill
- Safety eyes
- Needle: Tapestry/yarn needle
- Scissors
- Stitch marker
- Blush (for cheeks)
- Optional: Paper, clear plastic, and glue for logo
Key Abbreviations
| Abbreviation | Meaning |
|---|---|
| MR | Magic ring |
| ch | Chain |
| sc | Single crochet |
| inc | Increase (2 sc in same stitch) |
| dec | Decrease (sc 2 together) |
| BLO | Back loop only |
| sl st | Slip stitch |
| rep | Repeat |
| st(s) | Stitch(es) |
All instructions use US crochet terminology.
Special Notes
- Work in continuous rounds unless otherwise stated.
- Use a stitch marker to note the beginning of each round.
- Color changes: Change color in the last pull-through of previous stitch.
- For a neat finish, weave in and hide all yarn ends as you go.
Finished Size
Approx. 12 cm tall (using 2.5 mm hook and suggested yarn).
Pattern
Legs (Make 2)
- R1: With black, MR, 6 sc (6 sts).
- R2: inc in each st (12 sts).
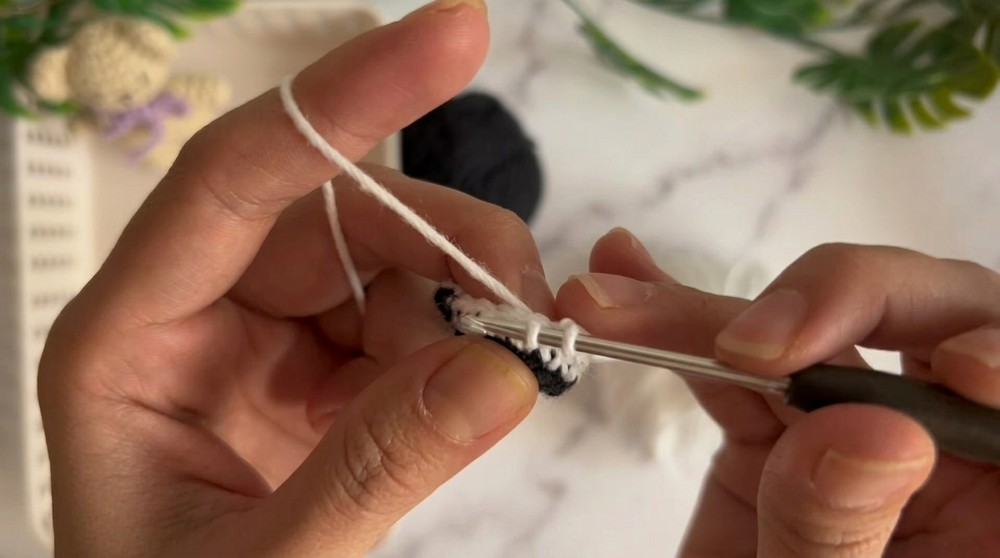
- Change to white on last pull-through.
R3: BLO, 12 sc (12 sts). - R4-5: 12 sc (12 sts per round).
- Change to blue at end of R5.
- R6: 12 sc (12 sts). Sl st, fasten off first leg.
Second leg: Repeat without fastening off after R6.
You have two hooved legs with neat color joins. The BLO round gives a sharp edge for the pant cuff.
Body
- With second leg, ch 1, join to first leg with sc at last st of first leg.
- Continue to sc around first leg (12), sc in ch, around second leg (12), sc in ch (26 sts).
- R8: 26 sc.
- Change to white at end of round.
- R9: BLO, 26 sc (26 sts).
- R10: 26 sc
- R11: 5 sc, dec, 11 sc, dec, 6 sc (24 sts)
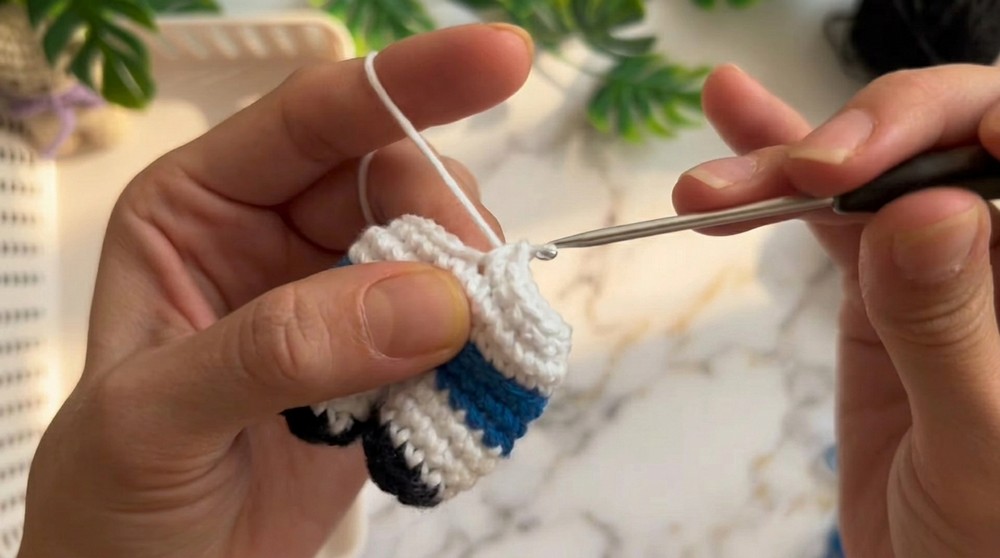
- R12: 24 sc
- R13: (4 sc, dec) x4 (20 sts)
- R14: 20 sc
- Stuff legs and lower body at this point.
- R15: (3 sc, dec) x4 (16 sts). Sl st, fasten off, leaving a long tail.
The body tapers realistically toward the neck. Stuff firmly now for a smooth base.
Arms (Make 2)
- R1: MR, 6 sc (6 sts)
- R2: (sc, inc) x3 (9 sts)
- R3-6: 9 sc
- Optional: Use red yarn to embroider two horizontal lines near the last round for sleeve detail.
- Fasten off, leave a tail for sewing.
The arms are simple tubes. Embroidering red lines gives them the appearance of a t-shirt sleeve.
Head
- R1: MR, 6 sc (6 sts)
- R2: inc in each st (12 sts)
- R3: (sc, inc) x6 (18 sts)
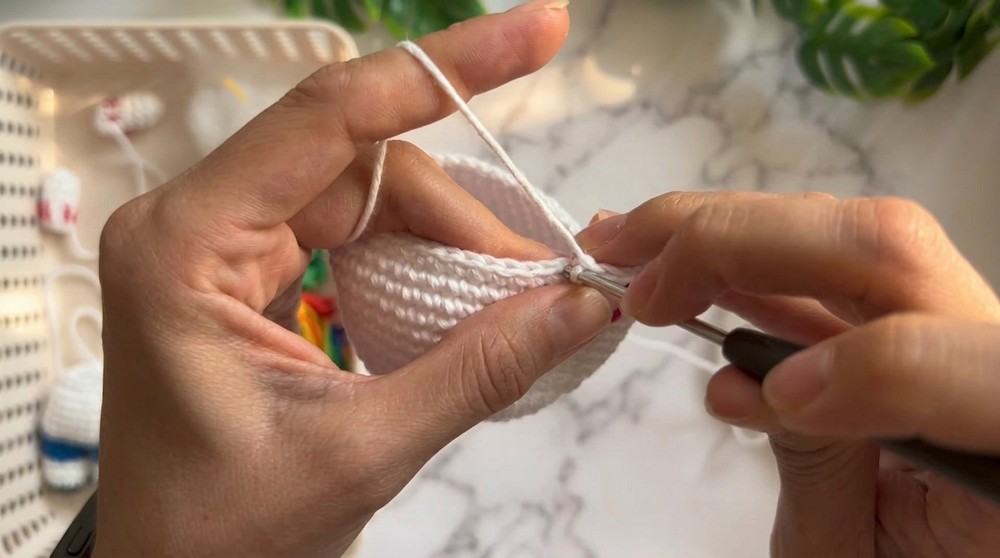
- R4: (sc, inc, sc) x6 (24 sts)
- R5: (3 sc, inc) x6 (30 sts)
- R6: (2 sc, inc, 2 sc) x6 (36 sts)
- R7: (5 sc, inc) x6 (42 sts)
- R8-16: 42 sc (each round)
- R17: (5 sc, dec) x6 (36 sts)
- R18: (2 sc, dec, 2 sc) x6 (30 sts)
Insert safety eyes between R13-14, leaving 9 sts between them. Attach backing and secure eyes well.
- R19: (3 sc, dec) x6 (24 sts)
- R20: (sc, dec, sc) x6 (18 sts)
- Begin stuffing the head.
- R21: (sc, dec) x6 (12 sts)
- Add more stuffing.
- R22: 6 dec (6 sts). Fasten off, close hole and secure.
The head is a sphere with a rounded snout. Add stuffing as you go to ensure a firm, smooth shape.
Nose
- With black, ch 5.
- In back loops: skip first ch, sc inc in next st, 2 sc, 3 sc in last st.
- Rotate and work on opposite side: 3 sc, (10 sts). Place marker.
- R2: (sc, inc) x5 (15 sts)
- R3: (4 sc, inc) x3 (18 sts)
- R4: 18 sc. Sl st, fasten off, leave a long tail.
Embroider a triangle of brown on the nose tip, then satin stitch to fill. Optionally, add a little stuffing to nose. Sew onto head, centered between the eyes.
The nose is an oval, filled with brown to create a classic animal snout. Attach securely, stuffing lightly if desired.
Horns (Make 2)
- With brown, MR, 6 sc (6 sts)
- R2: (sc, inc) x3 (9 sts)
- R3-4: 9 sc
- Sl st, leave a long tail.
Sew both horns to top of the head, adjusting with pins for symmetry. Hide ends inside.
Goat's horns are short stubby tubes. Attach above each eye for a gentle curve.
Ears (Make 2)
- MR, 6 sc (6 sts)
- R2: inc in each st (12 sts)
- R3-5: 12 sc
- R6: (sc, dec) x4 (8 sts)
- Sl st, leave a long tail.
Fold each ear, sew a couple of stitches at base to pinch shape. Attach at eye level, angled outward.
The flattened ears give expressiveness. Fold and sew for a realistic floppy effect.
Tail
- MR, 6 sc (6 sts)
- R2-3: 6 sc
- Sl st, leave a long tail.
Sew tail at the back, at color change between blue and white.
The tail is a soft stub at the pants/torso join. Keep it firmly attached.
Assembly
- Sew head to body, centering and pinning in place first.
- Attach arms at the shirt line for an in-sleeve look.

- Blush cheeks using a small amount of blush or pink pastel with a brush.
- Optional: Print, laminate, and glue a paper logo on chest.
Assembly brings together all your parts-a thoughtful arrangement yields a sweet, balanced goat!
Conclusion
Congratulations! Your amigurumi goat is complete. Through this pattern, you've practiced color changes, seamless rounds, facial embroidery, and stepwise assembly. Each piece works together to create a cute and characterful plushie. Enjoy gifting this goat or adding it to your collection.
Pattern Corrections & Tips
Corrections:
- Double-check stitch counts on each body part, especially at color changes or where increases/decreases occur.
- Be mindful of symmetry when attaching horns, ears, and limbs.
Tips:
- Use a stitch marker and count as you go.
- Pin all elements in place before final sewing.
- For the most even face, embroider and attach features before full head closure.
- Hide all ends inside body parts for a tidy finish.