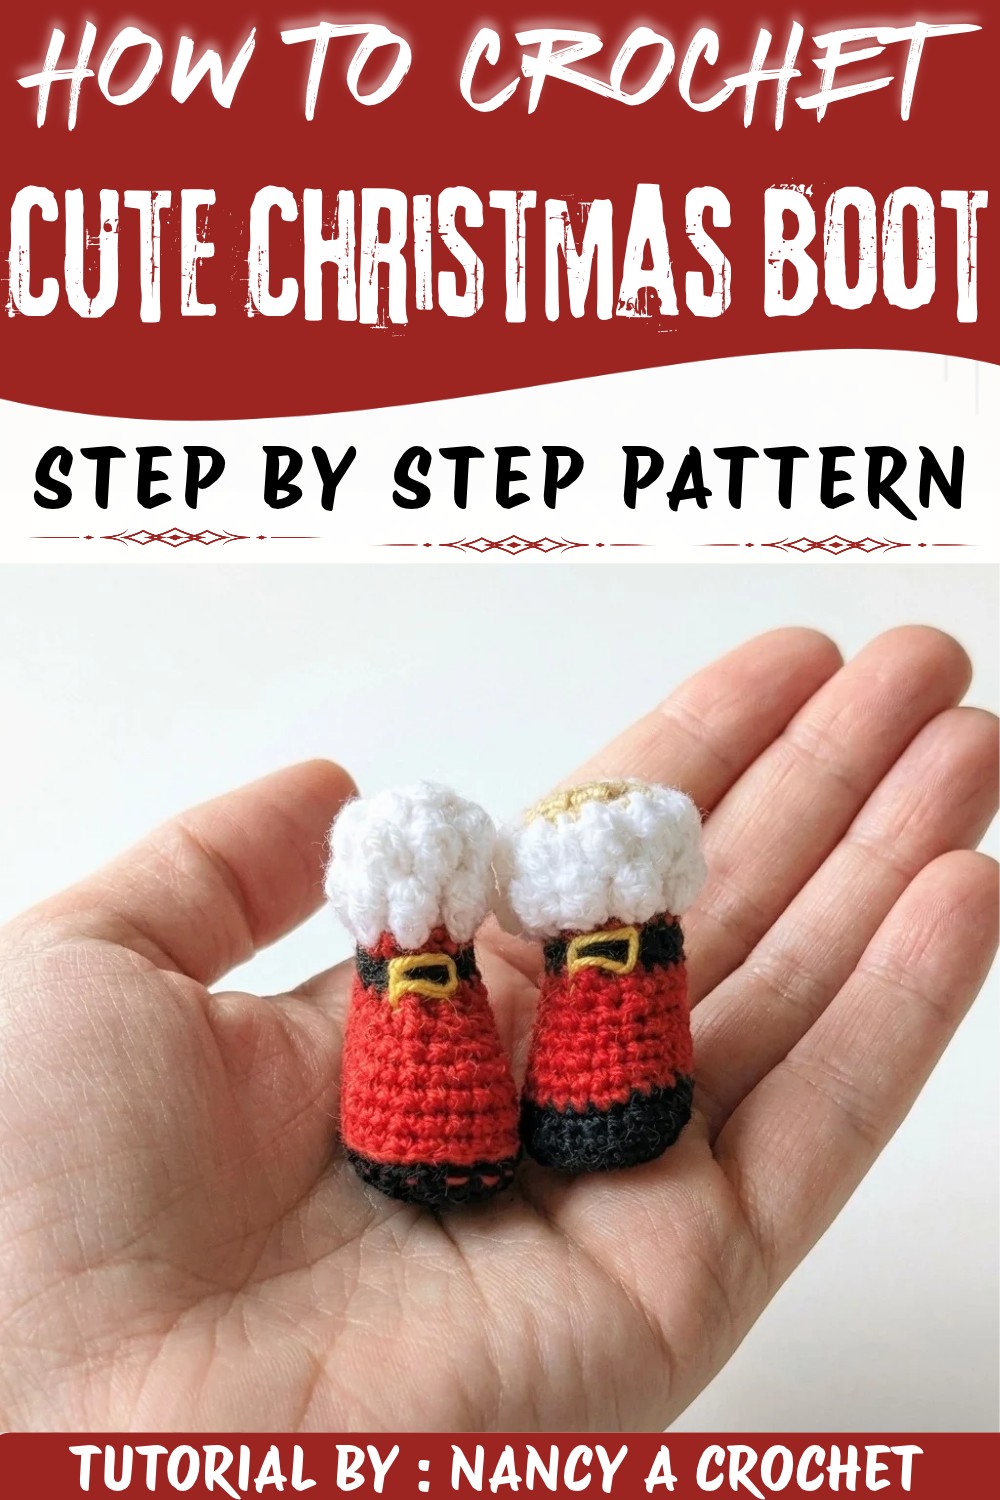
Surprise a friend with the Crochet Mini Christmas Boot Free Pattern, a cheerful yarn ornament for holiday packages and little festive gifts.
There's something truly magical about making your own holiday decorations, especially when those decorations bring a cozy, handmade charm to your home. If you're looking to add a warm, festive touch this season, the Crochet Mini Christmas Boot Pattern is a delightful project worth trying. This charming little boot is not only a beautiful decoration but also offers a world of possibilities as a thoughtful gift or a unique stocking stuffer. Full credit goes to Nancy a crochet for sharing a detailed tutorial and design that makes the process joyful and approachable for all skill levels.
Tiny Crochet Mini Christmas Boot Free Pattern with Festive Details
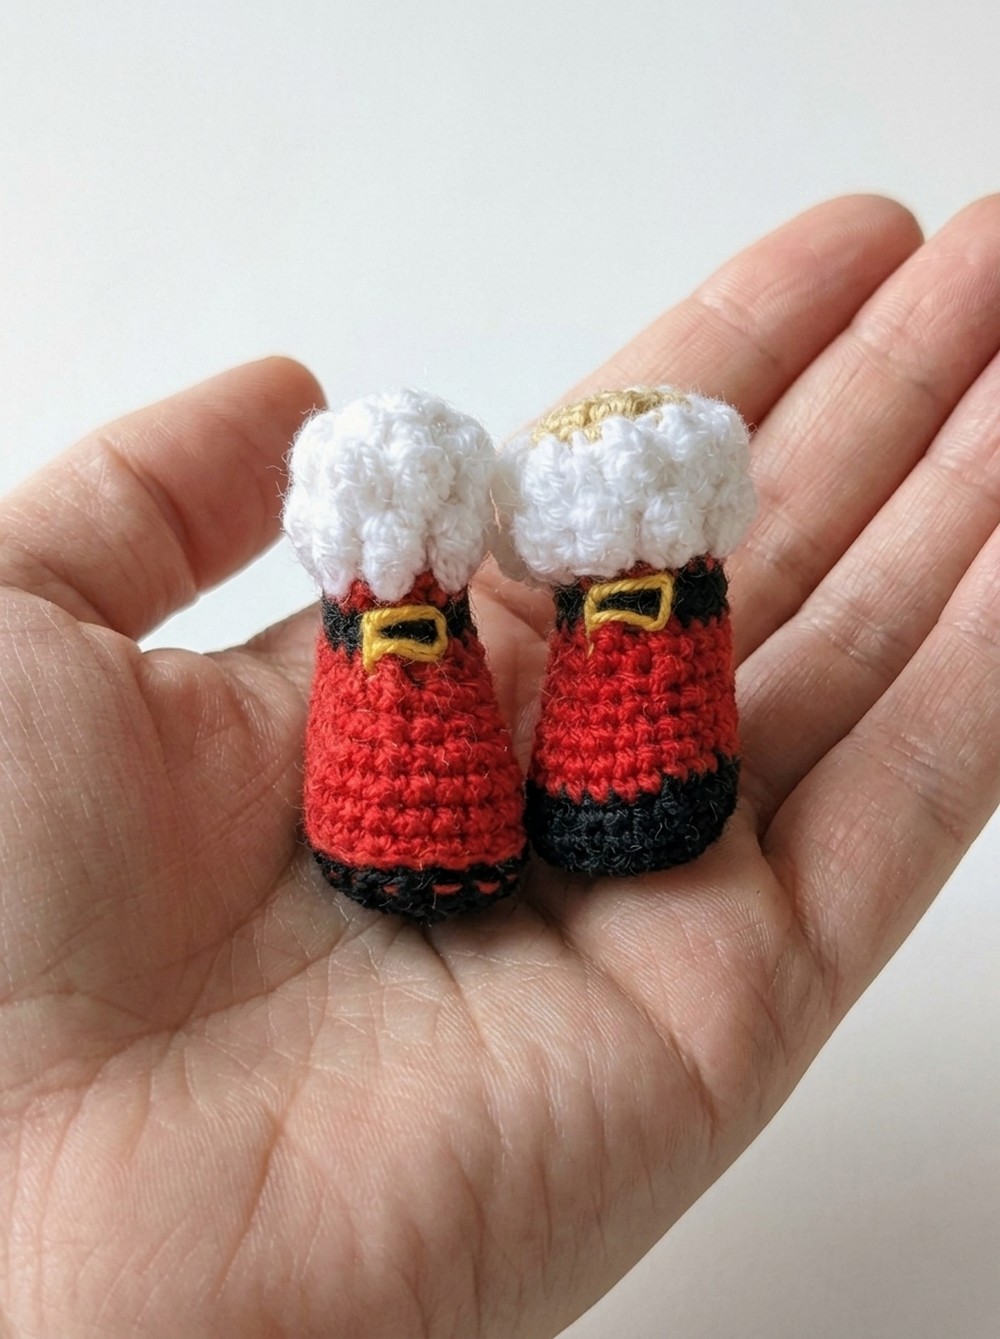
The Crochet Mini Christmas Boot Pattern creates a petite, adorable boot that perfectly captures the festive spirit. Its rounded shape and snug texture give it a soft, inviting look that almost calls to be touched or hung by the fireplace. The boot features bright, bold colors often accented by classic Christmas shades like red and white, and it is finished with playful, tightly stitched "popcorn" or "puntico" details that resemble little decorative bumps-adding a textured, dimensional flair. The pattern cleverly uses increases and decreases to shape the boot neatly, making its silhouette firm yet cozy.
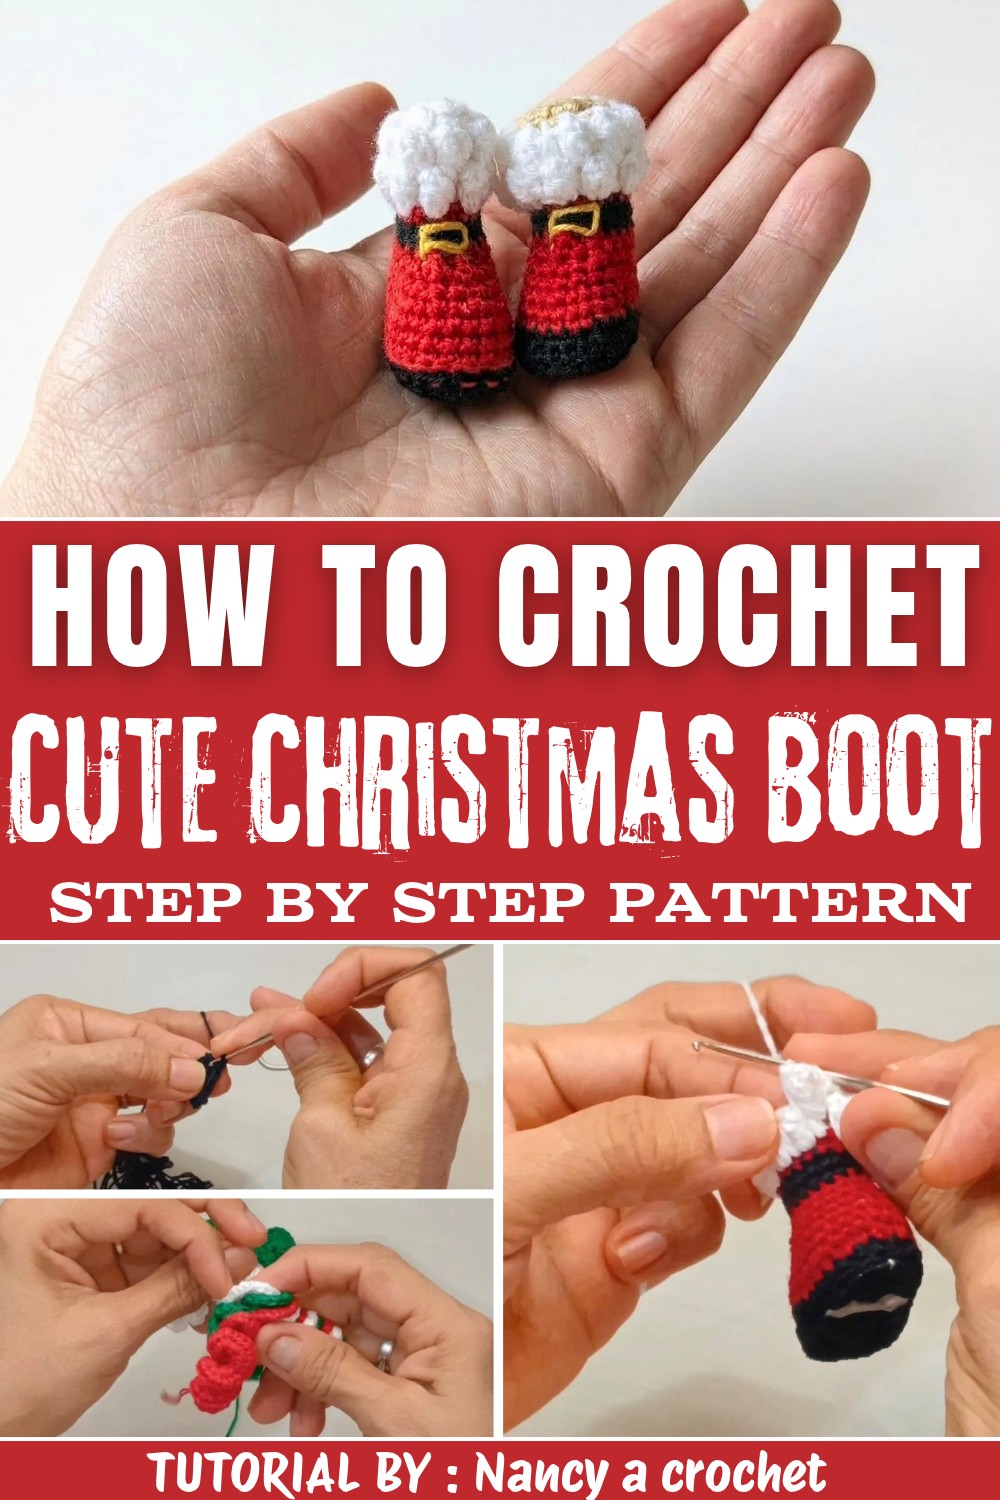
These mini boots are incredibly versatile. They can decorate your Christmas tree, be strung together as a cheerful garland, or be placed as cute table toppers that spark holiday joy. They're also perfect as little gift holders, stuffed with candy or small trinkets, making your presents extra special. Beyond décor and gifting, their compact size and classic style make them suitable for any age, from children admiring their charm to adults appreciating their handmade beauty. With every stitch, this project brings a touch of festive warmth, making your holiday celebrations even more memorable.
festive Crochet Mini Christmas Boot Free Pattern
This Christmas boot is a creative and practical project, as demonstrated in the linked video by Nancy, using recycled large soda can pull tabs and a combination of red, white, and black yarns. The process starts with establishing a template for the boot sole, covering the metal ring with stitches, and then building the boot's body with strategic rounds to ensure shaping and durability. Each section, from the sole to the fluffy white cuff, is crocheted with clear stitch transitions and tidy decreases for a realistic look. The boot is stuffed and decorated with a black belt and buckle, then finished with a handy hanging loop. This festive ornament is both eco-conscious and visually classic, making it perfect for seasonal decorations or gifts.
Quick Overview Of Pattern
- Crochet the sole template as a foundation.
- Cover the can tab with yarn for structure.
- Join sole and can tab securely.
- Work the body of the boot in rounds (red section).
- Add a belt detail using black yarn; embroider the belt buckle.
- Stuff the boot firmly for shape.
- Create the white cuff with alternating puff stitches and double crochets.
- Finish with a hanging loop for display.
Notes
- Ensure can tabs are clean, smooth, and safe to handle.
- Keep stitches close together, especially around the can tab, to prevent any stuffing from showing.
- Yarn tension and padding are important for realistic shaping.
- Make decreases tight so that stuffing remains inside, especially at the toe.
- The pattern can be resized by altering yarn weight or hook size.
Skill Level
Confident Beginner to Intermediate
Basic knowledge of rounds, increases, decreases, and special stitches (e.g., puff cluster) is needed. Assembly involves sewing and embroidery.
Materials
- Recycled can tabs (large soda/beverage pull tabs)
- Red yarn (worsted or DK weight)
- White yarn (worsted or DK weight)
- Black yarn (worsted or DK weight)
- Crochet hook (match yarn weight; typically 2.5-3.5 mm)
- Toy stuffing / fiberfill
- Tapestry needle / yarn needle
- Scissors
Measurements / Sizing
- Boot Length: 8-10 cm (3-4 inches)
- Boot Height: 10-12 cm (4-4.5 inches), varies by yarn and padding
Gauge
Gauge is not critical. For reference:
10 hdc ≈ 4 cm (1.6 in) in worsted yarn.
Stitch Abbreviations
- ch: chain
- sl st: slip stitch
- sc: single crochet
- hdc: half double crochet
- dc: double crochet
- inc: increase (2 sts in one st)
- dec: decrease (invisible decrease preferred)
- puff/garbanzo: popcorn or puff stitch (see Special Stitches)
Special Stitches
- Puff/Garbanzo Stitch: Yarn over, pull up a loop four times in the same space. Yarn over again and pull through all loops.
- Invisible Decrease: Insert hook in front loops of next two stitches, yarn over, pull through, finish single crochet.
- Popcorn Stitch: Similar to puff; work multiple double crochets in the same space, join the first and last with slip stitch.
The Crochet Pattern
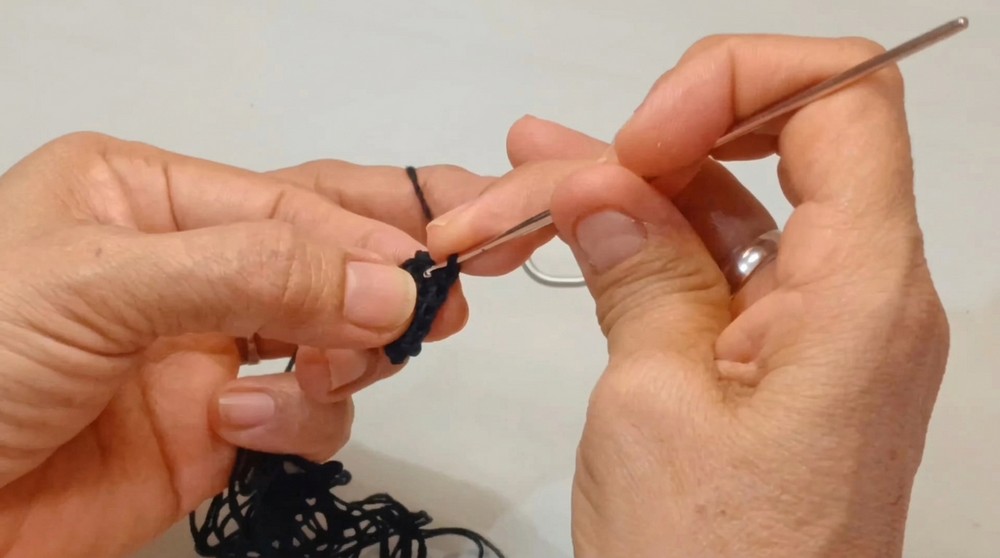
Sole Template
Round 1: Foundation
- Make a slip knot and ch 6.
- Work 4 hdc into the chain stitches.
- In the last chain: work 3 hdc in the same stitch (turning the corner, total 7 stitches now).
- Continue down the other side: 2 hdc.
- In the first chain space: work 3 hdc to complete the tip.
- Close round with a sl st. (13 hdc total)
Round 2: Shaping the Sole
- Ch 2.
- Work hdc around, placing increases where curves/tips are needed:
- At the curve, place two hdc in one stitch.
-
- Continue around; close with a sl st. (17 hdc total)
Round 3: Refining
- Work both hdc and sc around the sole for smoother shaping, closing with a sl st.
- Cut yarn, leaving a 6-8 inch tail for assembly.
Covering the Can Tab
- Attach yarn at one side of the can tab.
- Work 6 sc along the tab edge.
- Continue working around:
- Add stitches evenly around the perimeter until 30 hdc surround the ring.
Attaching the Sole to the Can Tab
- Place the crocheted sole right-side down on the covered can tab.
- Use the yarn tail to join sole and tab with slip stitches around the contour, ensuring a secure attachment.
- Fasten off and trim ends.
Body of the Boot (Red Section)
- Attach red yarn at the join's starting point.
- Round 1: Work 30 hdc tightly around the contour for a closed fabric (helps contain stuffing). Slip stitch to close.
- Rounds 2 & 3: Repeat 30 hdc each round, working in continuous rounds. Slip stitch to close each.
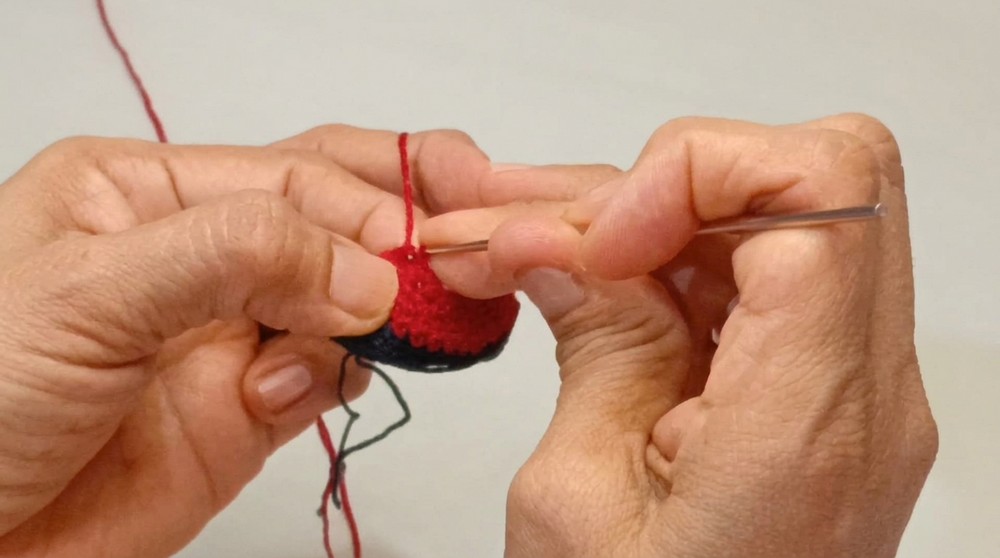
Round 4:
- Work 8 sc, then begin decreasing.
- Repeat: 1 tight decrease, 2 sc; repeat sequence 4 times.
- Finish with 8 sc.
Round 5:
- Work 8 sc.
- Repeat: 1 decrease, 1 sc; do this 3 times.
- Finish with 8 hdc.
Round 6:
- Work 8 sc very tightly (toe section).
- Next: 4 hdc decreases in a row.
- Finish with 7 sc.
- Count: 19 stitches remain.
- Still in this round: work 10 sc tightly, 2 hdc decreases, finish with 5 sc (17 hdc in total).
Adding the Belt (Black Section)
- Switch to black yarn (but do not cut the red yarn).
- Rows 8 & 9: Work two rows of black hdc, one stitch into each base point.
- Fasten off black yarn.
- Pick up red yarn and work 1 row of 17 sc just above the belt.
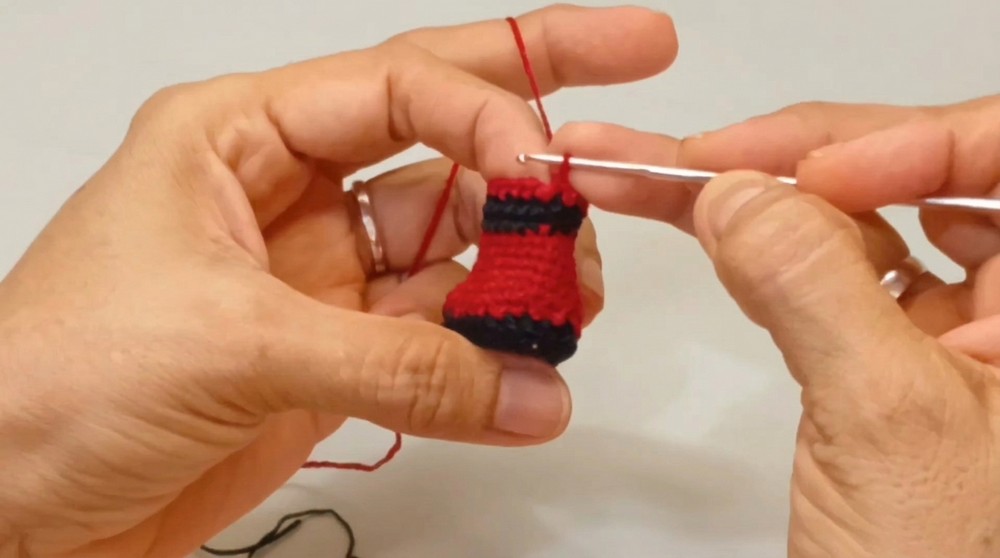
- Fasten off using a slip stitch and a chain.
Belt Buckle:
- Embroider a buckle using yarn: make repeated wraps or passes over three horizontal rows atop the black band to form a square buckle.
Stuffing the Boot
- Fill the boot firmly with toy stuffing or fiberfill, especially the toe area for realistic shape.
- Ensure the stitches remain tight and stuffing does not show.
Adding the White Cuff (Puff/Garbanzo Stitches)
- Attach white yarn at the boot's top edge.
- Row 1:
- Ch 3.
- Work a puff stitch (yarn over, pull up 4 loops, draw through all, secure).
- Alternate dc and puff stitches all around the boot opening.
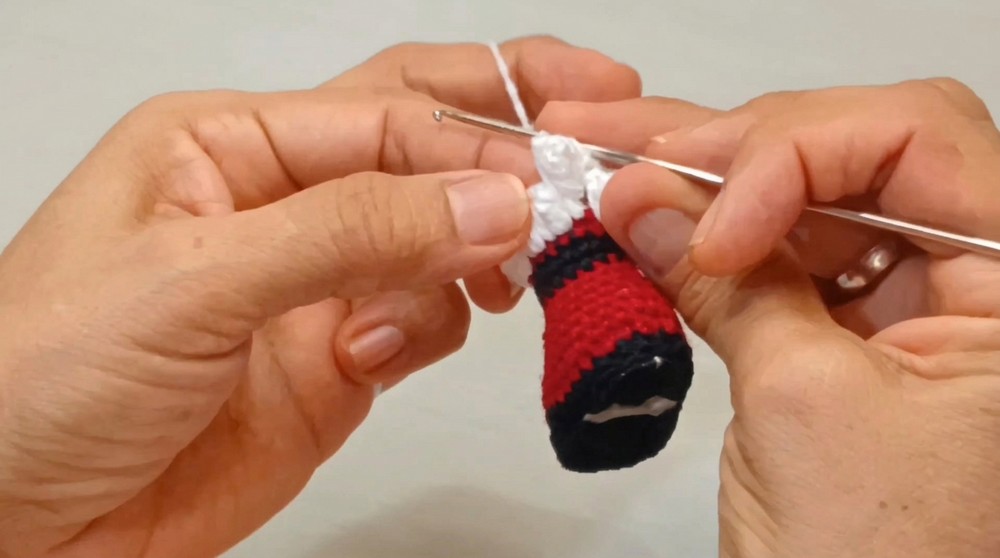
- Row 2:
- Slip stitch to the height of last dc; ch 3.
- Work puff stitch at same height; alternate again with dc and puff.
- This ensures a thick, fluffy cuff that covers stuffing.
- Fasten off and weave in all ends.
Making the Hanging Loop
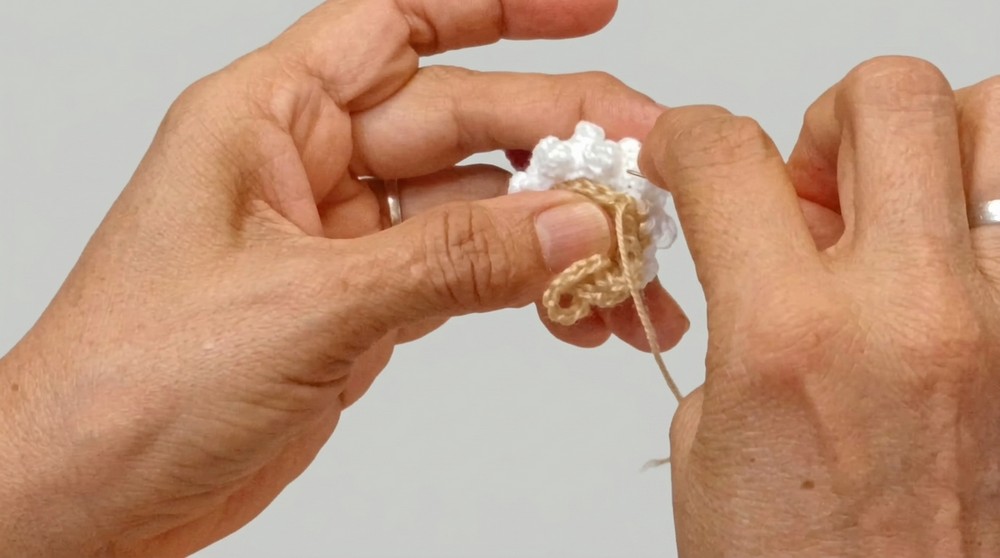
- Using remaining yarn, ch 1, then work 17 dc around the top inner edge.
- Close with slip stitch.
- Chain 20-25 as desired for the hanging loop.
- Slip stitch back to the base of the chain.
- Leave a long strand, sew or secure into inside of boot cuff.
Assembly & Finished Size
- Tuck in any remaining loose threads.
- Shape the boot firmly by padding the toe and adjusting the cuff.
- Attach the hanging loop to the inside of the boot cuff, as preferred.
- Finished boot measures approximately 10-12 cm tall and 8-10 cm long, depending on materials.
Conclusion
This recycled can tab Christmas boot brings together eco-friendly practices, practical crochet techniques, and festive design. From the structured sole to the vibrant body and fluffy cuff, each phase employs specific stitches and careful decreases for an ornament with sturdy shape and holiday charm. The addition of the classic black belt and embroidered buckle makes each boot distinctive and cheerful. With a secure hanging loop and filled padding, this boot is ideal for tree decorations, gifts, or seasonal displays. Adhering closely to the process shown in the tutorial ensures results that are both attractive and durable, offering a project that blends creativity, sustainability, and tradition.