
There's something undeniably heartwarming about holding a small, handmade bumblebee in your hands a little bundle of cheer that's as fun to crochet as it is to display. With the Free Crochet Bumblebee Amigurumi Pattern, you're invited into a world of color and creativity, where the buzz of happiness can be crocheted stitch by stitch. This charming project is ideal for anyone looking to add whimsy to their space or create a gift that radiates joy. Whether perched on a shelf, nestled in a child's hand, or dangling from a bag as a keychain, this mini bee is sure to draw smiles.
Colorful Free Crochet Bumblebee Amigurumi Pattern
The beauty of this pattern lies in its clever color blocking and attention to detail: the yellow top and bottom, black middle stripes, and crisp white wings perfectly capture that classic honeybee look. The body is adorned with expressive features 8 mm safety eyes and a cotton-thread smile giving your bee plenty of personality.
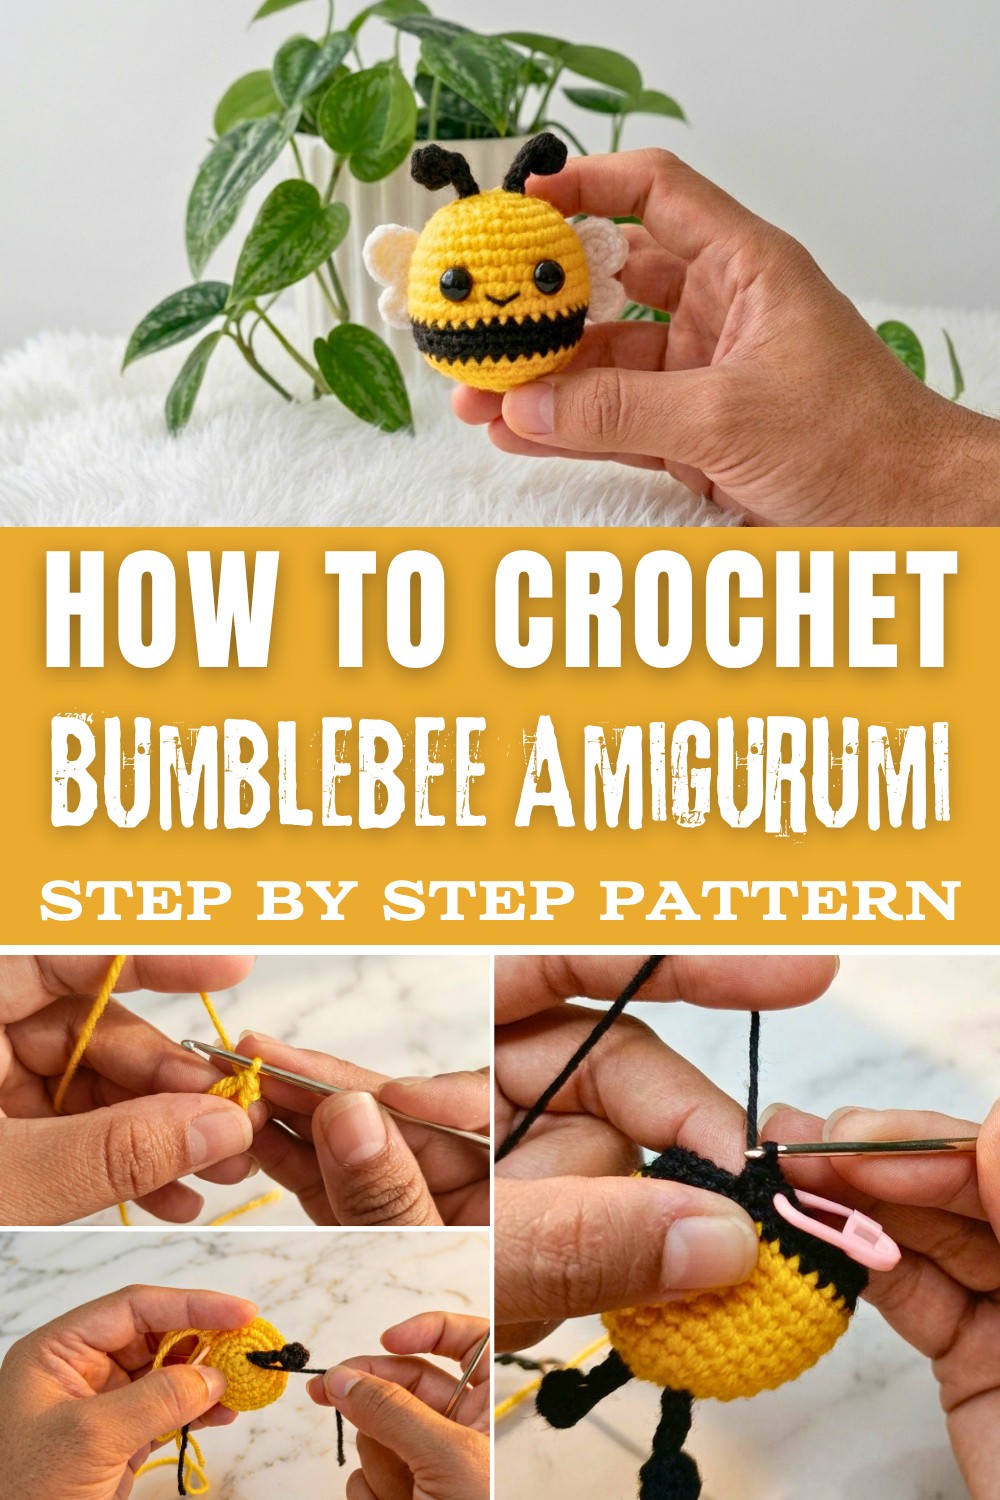
Two adorable antennae, optionally stiffened with 0.4 mm wire, make this creation even more lifelike, while the addition of both large and small wings allows for realistic customization. The cotton or acrylic DK yarn brings a soft, plush finish, and the 5 mm crochet hook ensures the amigurumi maintains a comfortable, cuddly size.
This pattern primarily uses the single crochet (sc) stitch in the round, making it accessible yet satisfying as a project. Mastering the magic ring technique keeps the bees' shape tight and neat, and working increases and decreases refines its form.
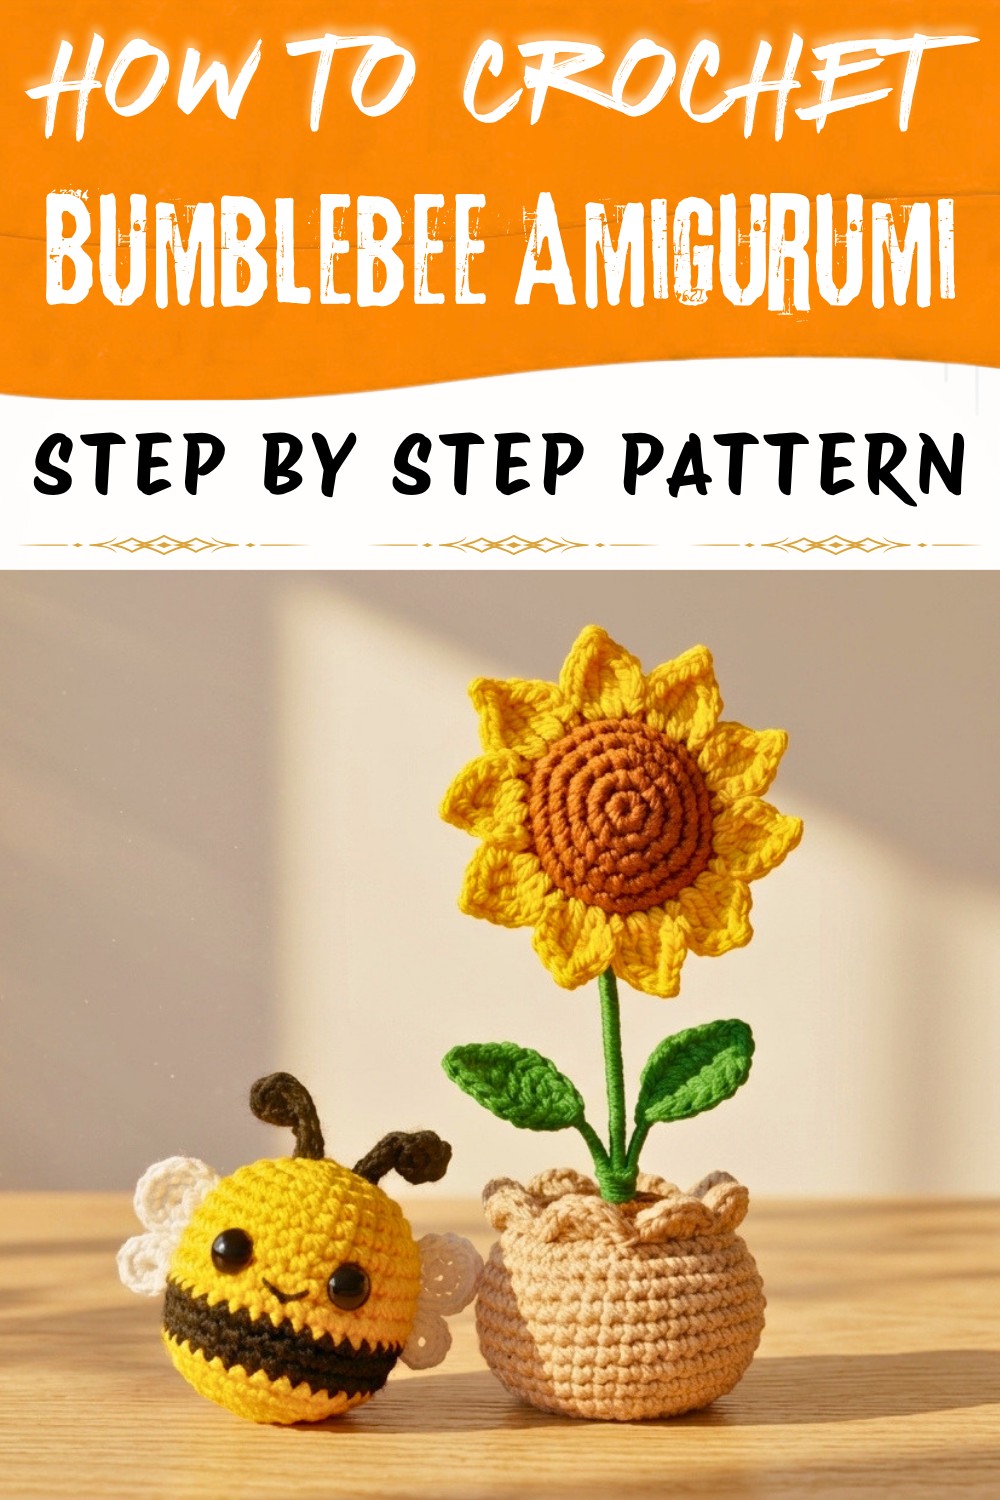
The final bee typically measures just a few inches big enough for a delightful desk companion, yet petite enough to fly along with your keys or decorate a child's bedroom. By varying your yarn colors, you can even make bees in pastel, glitter, or ombre shades for unique gifts or themed decor. Embrace the buzz and let this Free Crochet Bumblebee Amigurumi Pattern brighten your crochet journey today!
Honeybee Crochet Pattern
Crochet this adorable honeybee using simple stitches and clear steps, perfect for beginners. The pattern walks you through making the body, wings, and antennae, then assembling your finished bee.
Skill Level & Terminology
Skill Level: Beginner
Terminology: US crochet terms
Materials & Tools
- Yarn: DK or worsted weight in yellow, black, and white
- Crochet Hook: 5 mm
- Wire: 0.4 mm thick for antennae (optional)
- Stitch Marker
- 8 mm Safety Eyes
- Black Cotton Thread (for smile)
- Sewing Needle
- Polyester Stuffing
- Scissors
Gauge
Gauge is not crucial for this toy; aim for tight stitches so stuffing does not show. Sample gauge: 6 sc x 6 rows = 1 inch.
Abbreviations List
- MR - Magic Ring
- ch - Chain
- sc - Single Crochet
- inc - Increase (2 sc in same stitch)
- dec - Decrease (sc 2 stitches together)
- sl st - Slip Stitch
- st(s) - Stitch(es)
Special Stitch Instructions
Magic Ring (MR): Wrap yarn to create a loop, crochet stitches into the ring, then pull tight.
Decrease (dec): Insert hook into the front loops of two stitches, yarn over, pull through both, yarn over, pull through two.
Finished Size
The bee is approximately 7 cm (2.75 inches) tall when finished.
The Pattern
Antennae (Make 2)
- Cut 9 cm wire (optional), leave a 15 cm yarn tail to sew later.
- Create a MR, ch 1.
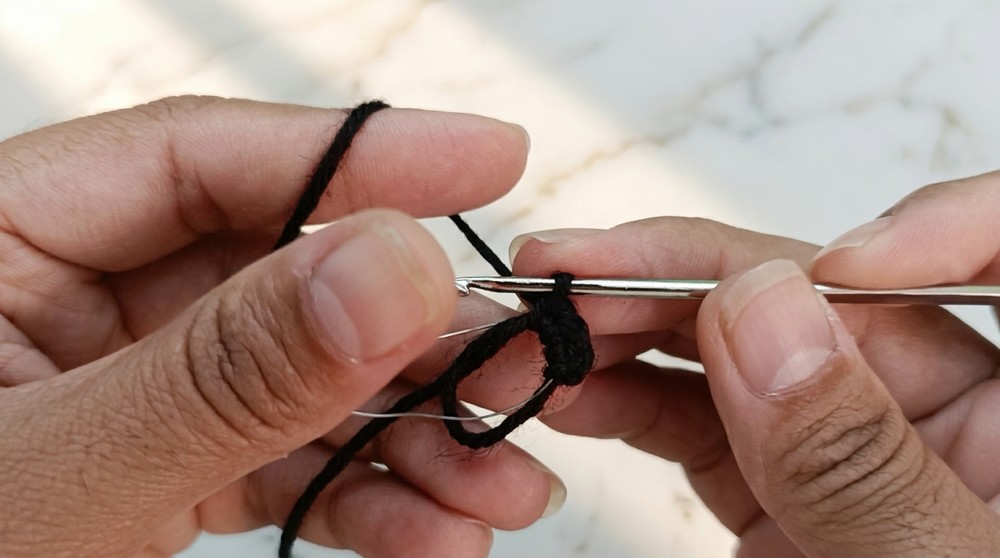
- Pass wire through the starting chain.
- 5 sc into the MR around the wire.
- Pull thread tight to close the ring snugly.
- Insert hook into the first stitch, sl st to join.
- Turn antenna to front, working with yarn tail.
- Make 4 sc, working over the wire.
- Pull a loop, cut excess yarn, leave a long tail for attaching.
If you do not read crochet patterns:
Make a small crochet tube over a piece of wire, starting from a magic ring. Make two pieces for the antennae.
Body & Head
Top (Yellow Section)
- Make a MR, ch 1.
- 6 sc into the MR.
- Start next round in first stitch (do not join), make 1 sc and place a stitch marker. (First sc of the round)
- Round 2: 2 sc in each st (inc) around (12)
- Round 3: (1 sc, inc) across (18)
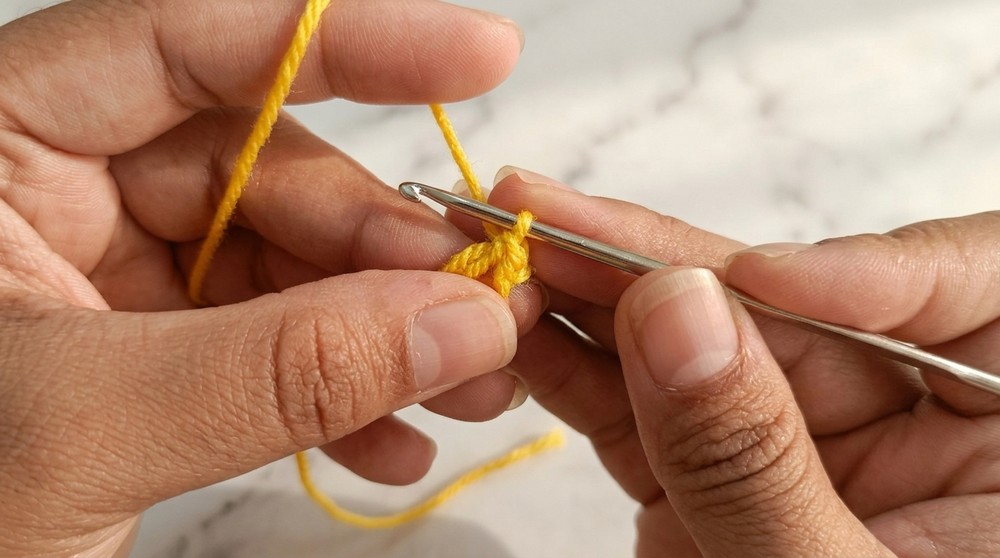
- Round 4: (1 sc, inc, 1 sc) around (24)
- Round 5: (3 sc, inc) around (30)
For pattern beginners:
Start with a tight ring and increase evenly to grow the bee's head and upper body. Follow the stitch counts at the end of each round.
Attach Antennae
- Place antennae between rounds 2 and 3.
- Use yarn tails to pull antenna ends through stitches and knot securely.
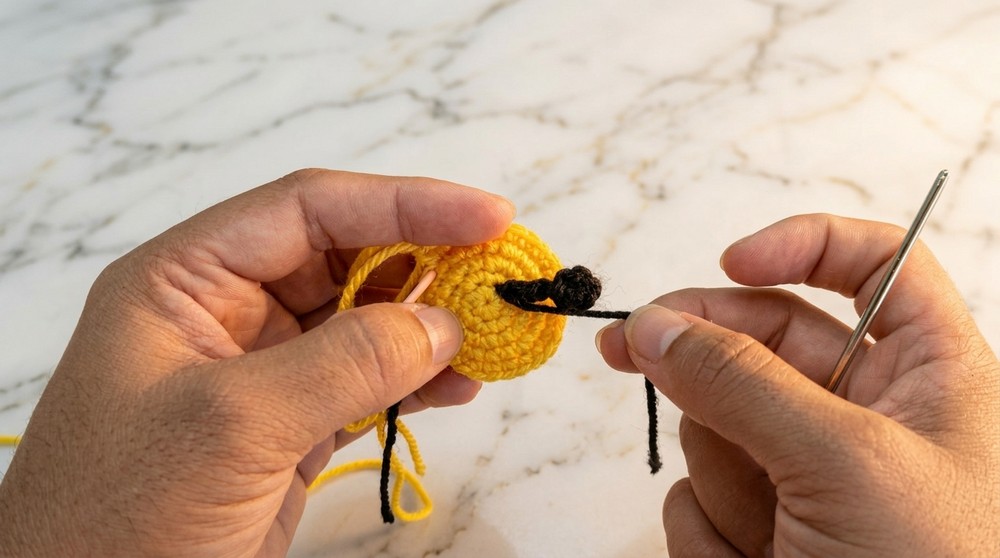
Attach the two antennae at the top. Pull the yarn tails through, tie underneath, and hide ends inside.
Continue Body
- Round 6: 30 sc (no increases or decreases).
- Round 7: 30 sc
- Round 8: (2 sc, inc, 2 sc) around (36)
- Rounds 9-10: 36 sc in each round
Continue in rounds as written. Bee's body becomes fuller before stripes begin.
Middle (Black Stripe)
- Change to black yarn at the end of round 10.
- Round 11: 36 sc
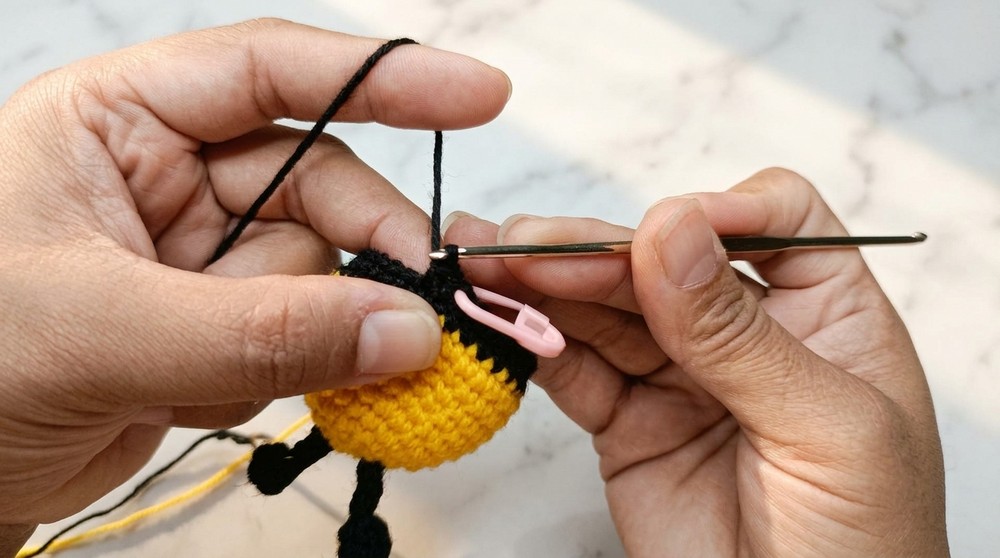
- Round 12: (2 sc, dec, 2 sc) around (30)
Body Shaping & Color Change
- Round 13: 30 sc
- Switch to yellow at the end.
- Round 14: 30 sc
- Round 15: (3 sc, dec) around (24)
- Round 16: (1 sc, dec, 1 sc) around (18)
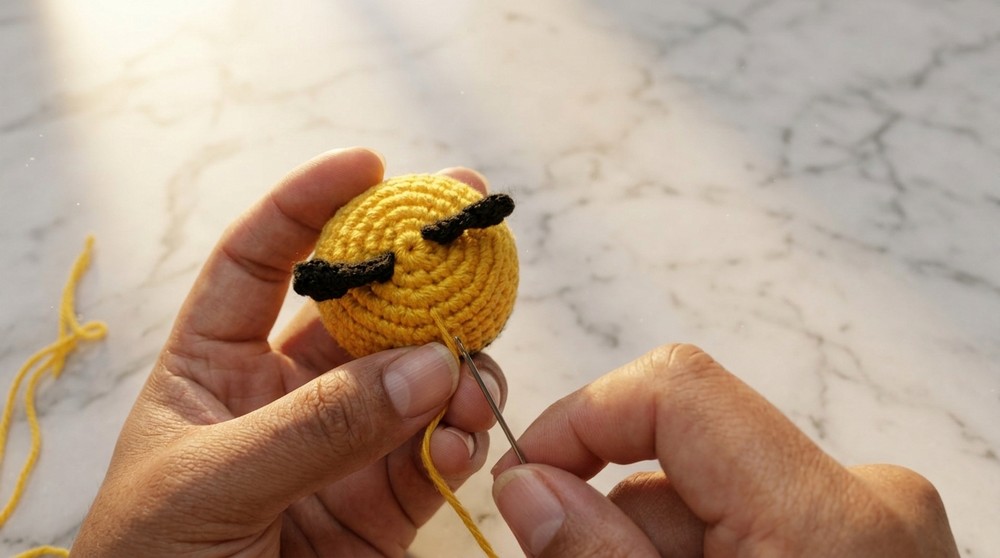
Shape the bee's underside by decreasing rounds and switching back to yellow for the base.
Stuff Body
- Add stuffing to shape bee before closing.
Pause to firmly stuff your bee. This gives a plump, sturdy shape.
Finish Body
- Round 17: (1 sc, dec) around (12)
- Round 18: dec six times (6)
- Cut yarn, use a sewing needle to pull through the final 6 stitches and close the hole. Secure the yarn tail.
Finish with closing rounds. Use a needle to gather and shut the small hole.
Eyes and Smile
- Attach 8 mm safety eyes between rounds 8 and 9, 5 stitches apart.
- Embroider a small smile using black cotton thread and the sewing needle.
Add eyes and stitch a little smile for character. Your bee now has a face!
Wings
Smaller Wings (Make 2)
- Make a MR, ch 1.
- 8 sc inside the MR.
- sl st to first stitch, then sc at first and sc at second stitch.
- Cut yarn, leave a long tail for sewing.
Larger Wings (Make 2)
- Make a MR, ch 1.
- 6 sc in the MR, tighten, and join with sl st.
- ch 1, make 2 sc into the same stitch.
- 6 inc (2 sc in each stitch) around (12)
- Do not join; make 1 sc at first and 1 sc at second stitches.
- Cut yarn, leave tail for sewing.
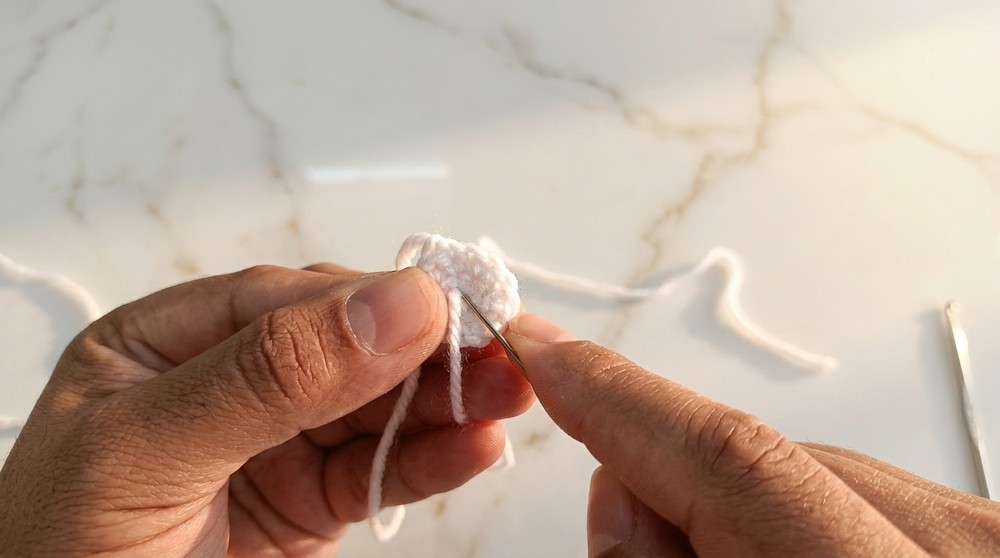
You'll have a total of four wings-two large and two small-to sew on the back.
Assembly & Finishing
- Sew the two large wings at the top (between rounds 7 and 8).
- Sew the two small wings underneath (between rounds 8 and 9).
- Use the yarn tails and sewing needle to attach wings securely.
- Hide and secure all yarn ends inside the bee.
Sew all four wings on neatly and firmly. Check wings are symmetrical and hide any yarn tails inside.
Pattern Summary & Tips
This bee is made top-down, using the magic ring, single crochet, and straightforward increase and decrease stitches. Antennae and wings are made separately and sewn on. This pattern uses only the most basic crochet stitches-perfect for beginners!