
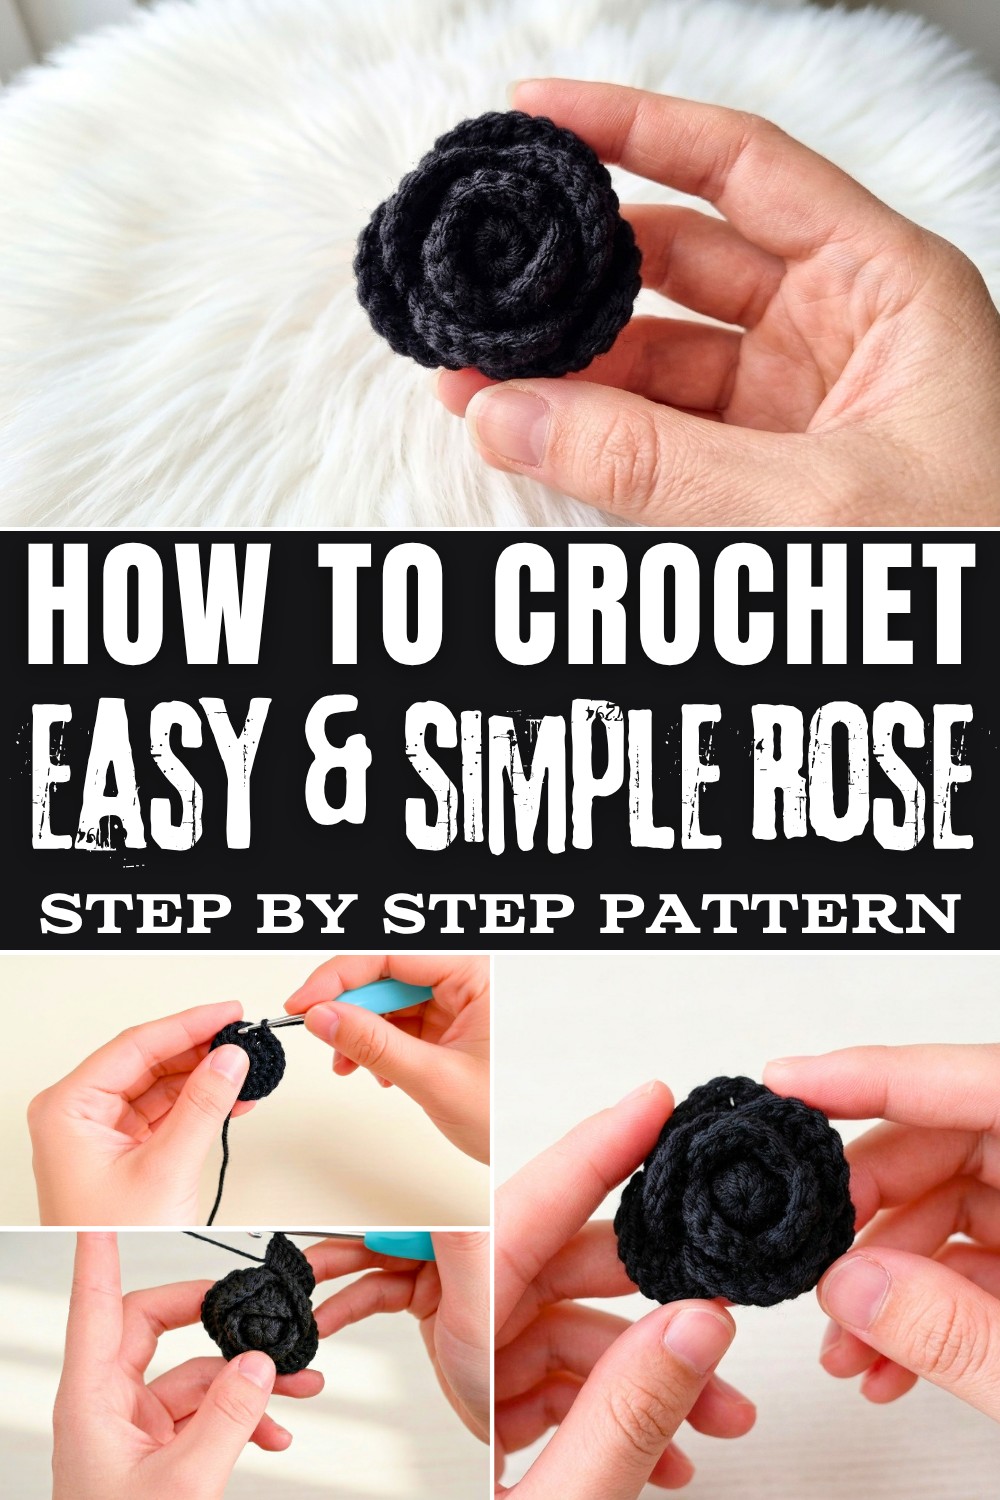
Learn to make this colorful crochet rose with a free pattern that is simple to follow and perfect for gifts, decorations, or unique creations.
Did you know you can make a rose with just yarn and a hook? With a free crochet rose pattern, you can create a stunning rose that looks so pretty and never loses its charm. This crochet rose is soft, colorful, and can be made in any size. Its beauty stands out, and it can brighten up any space or outfit.
Cute Crochet Rose Free Pattern
You can use it to decorate your room, give it as a handmade gift to a loved one, or even turn it into a cute accessory like a keychain or headband.
The best part is that this pattern is completely free and easy to follow, whether you're new to crochet or have some experience. Making a crochet rose is not only fun but also a creative way to turn simple yarn into something amazing. Try it and bring your dream rose to life.
Materials Needed
- Yarn: 4-ply yarn in any color(s) of your choice (gradient colors also work beautifully).
- Hook: 2.5 mm crochet hook.
- Optional:
- Stitch markers to keep track of rounds.
- Yarn needle for weaving in ends.
- Scissors for trimming yarn ends.
Skill Level
- Intermediate to Advanced. While the techniques are relatively simple, maintaining consistency in stitch placement and working in rounds requires careful attention.
Key Abbreviations (US Crochet Terminology)
- ch: Chain
- sc: Single Crochet
- dc: Double Crochet
- sl st: Slip Stitch
- sp: Space
- st: Stitch
- rep: Repeat
Special Notes
- Petals Automatically Overlap: This pattern is designed so petals layer naturally as you work. There is no need to sew or arrange petals after completion.
- Magic Ring: Start with a magic ring to ensure a tight center for the flower.
- Stitch Placement: Pay close attention to the correct stitches where you will insert your hook to maintain the layering effect.
- Yarn Changes: For added dimension, consider changing yarn colors between petal layers.
Pattern Instructions
The pattern begins with a refreshing approach that eliminates rolling rows and enables crocheting a three-dimensional flower in one piece. This method ensures both experts and beginners can achieve pleasing results, even experimenting with gradient colors for additional visual interest.
Step 1: Foundation & First Petal Layer
- Start with a Magic Ring:
- Create a magic ring and secure it. Insert your hook into the ring, pull up a loop, then ch 3.
- The ch 3 does not count as a stitch.
- Round 1:
- Work 12 dc into the magic ring.
- To make a dc: yarn over, insert your hook into the ring, yarn over and pull up a loop, yarn over, pull through two loops, yarn over, pull through remaining two loops.
- Pull the yarn tail to tighten the magic ring.
- Join: Sl st into the top of the first dc to close the round. You now have 12 dc.
- Work 12 dc into the magic ring.
- Round 2 (Set Spaces for Petals):
- Ch 1, sc in the same st where you joined.
- Ch 2, skip the next st, sc in the next st.
- Repeat: [ch 2, skip 1 st, sc into the next st] around until you have 6 ch-2 sp (spaces).
- Join: Sl st into the first sc.
By inserting your hook into the ring and pulling up a loop, you chain three (which is not counted as a stitch) before working twelve double crochets (DC) into the magic ring. This step builds a compact base with a slight dome, setting the stage for the layered petals. The ring is tightened after all stitches are completed and joined with a slip stitch, ensuring the center is secure and the foundation is ready for further shaping.
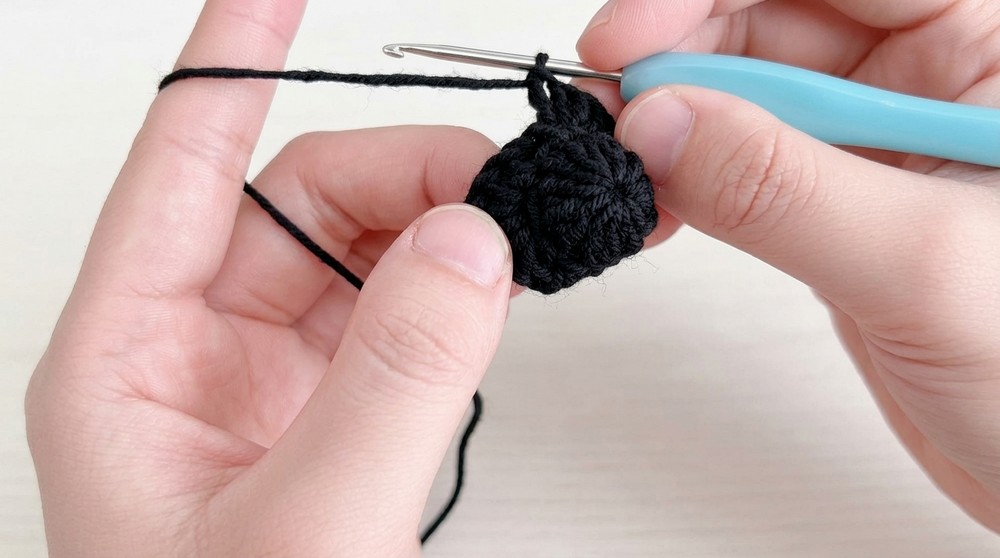
- Petals (First Layer):
- Ch 1, sc in the first ch-2 sp.
- In the next ch-2 sp, work 5 dc into the same space.
- Work in the following pattern:
- In the next ch-2 sp, sc.
- In the next ch-2 sp, work 5 dc.
- Repeat alternating sc and 5 dc.
- Join: Sl st into the first sc.
Step 2: Second Petal Layer
- Set Up Chains for Second Layer:
- Ch 1, then identify the sc st beneath the first petal. Insert your hook under this st and sl st to secure.
- Ch 3, move to the next sc beneath the next petal, and sl st into this st.
- Repeat: [ch 3, sl st to the next sc] to create 6 ch-3 sp (spaces) around.
- Join: Sl st into the first ch-3 sp.

Once the flower's foundation is established, the pattern moves to constructing the petals in layers, which creates a natural overlap and the illusion of depth. The next step involves chaining and skipping stitches to create spaces-after joining, chain one, single crochet (sc) in the same stitch, then chain two, skip a stitch, and sc into the next. This forms six evenly spaced gaps around your circle, where petals will anchor. In each space, alternate between one sc and five DC, repeating this set three times, and join at the end of the round.
- Petals (Second Layer):
- Ch 1, sc into the first ch-3 sp.
- In the next ch-3 sp, work 7 dc into the same space.
- Pattern:
- In the next ch-3 sp, sc.
- In the next ch-3 sp, work 7 dc.
- Repeat alternating sc and 7 dc until all petals are complete.
- Join: Sl st into the first sc.
Step 3: Third Petal Layer
- Set Up Chains for Third Layer:
- Ch 1, move to the st beneath the first sc (to the left of the second row of petals). Sl st under this st.
- Ch 4, move to the next sc beneath the next petal, and sl st into this st.
- Repeat: [ch 4, sl st to the next sc] to create 6 ch-4 sp (spaces) around.
- Join: Sl st into the first ch-4 sp.
With each new petal layer, you create additional chain spaces via slip stitches and chaining (increasing the chain count with each round, e.g., ch3, ch4). Petal construction increases for each round, escalating from 5 DC in the first petal layer to 7 DC in the second, and 9 DC for the third, with the flower petals automatically fanning and overlapping. This layering not only adds visual texture but causes the flower's center to rise organically, adding dimension and a sense of realism.
- Petals (Third Layer):
- Ch 1, sc into the first ch-4 sp.
- In the next ch-4 sp, work 9 dc into the same space.
- Pattern:
- In the next ch-4 sp, sc.
- In the next ch-4 sp, work 9 dc.
- Repeat alternating sc and 9 dc until all petals are complete.
- Join: Sl st into the first sc.
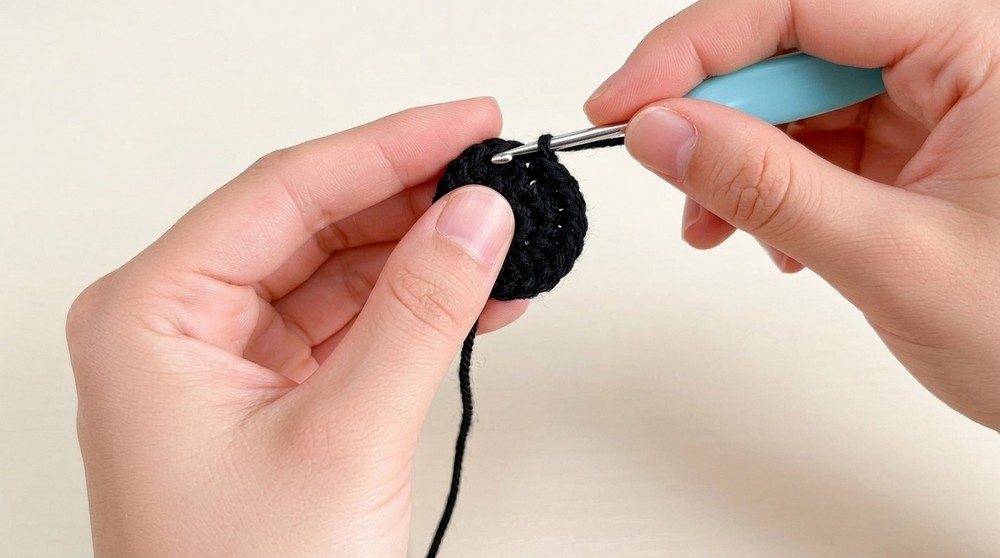
Step 4: Finishing
- Secure the Flower:
- Ch 1, sl st to secure the final round.
- Cut the yarn, leaving a long tail if attaching to a project (e.g., blanket) or a short tail for stand-alone use.
- Pull the tail through the loop to fasten off.
- Weaving in Ends:
- Use your yarn needle to weave the ends into the back of the flower, keeping them secured and hidden.
The finishing stages of the pattern are where the flower truly comes to life. After completing the third petal layer and joining, chain one to secure and cut the yarn. The center, already elevated from previous rounds, further rises, enhancing the flower's beauty. At this point, turn the piece to the back to hide yarn ends, an important finishing step for a polished look. If you plan to attach your flower to another project, such as a blanket, leave a longer yarn tail.
Conclusion
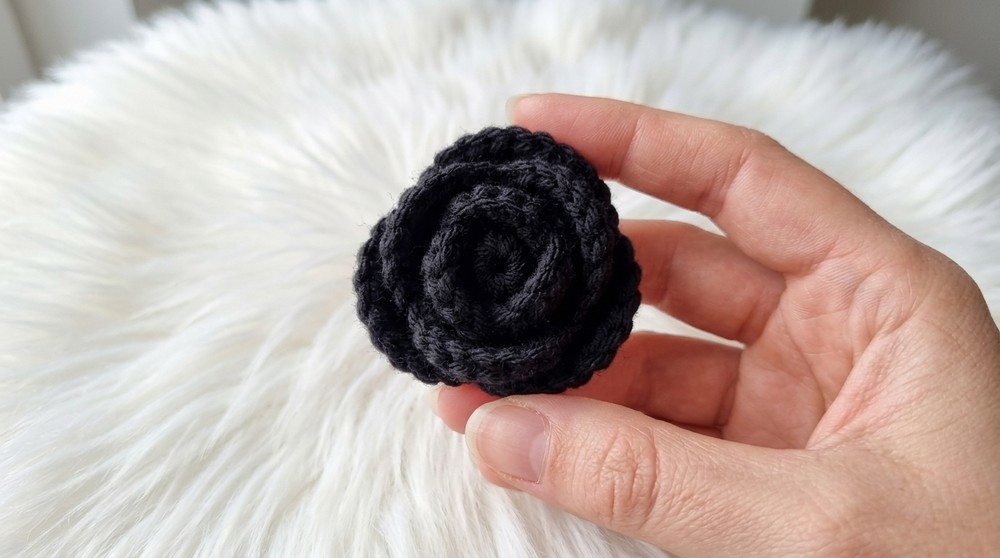
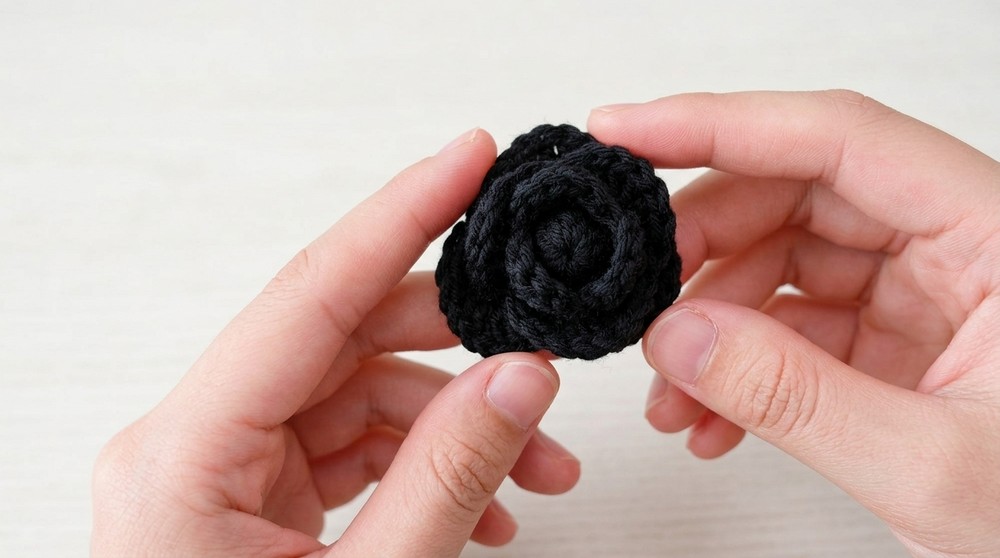
The layered flower with a naturally rising center is complete! The overlapping petals create depth and beauty, making the flower a perfect embellishment for your next project. With gradient colors, this flower can look even more dynamic.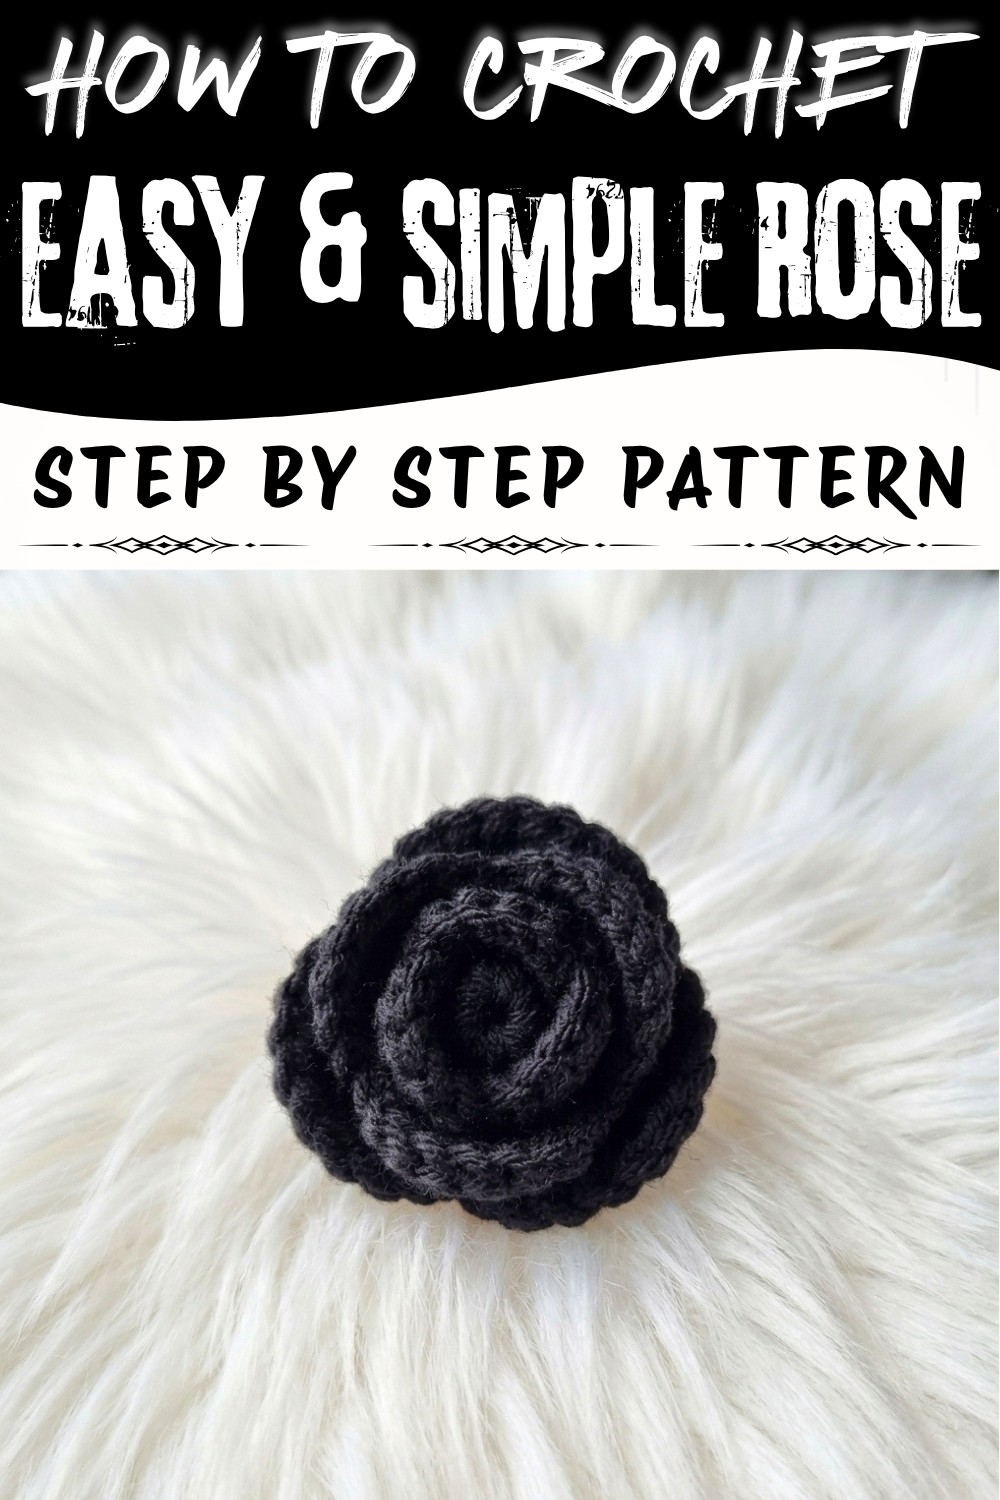
This tail can be used for sewing the flower onto the fabric, ensuring it is securely anchored but also easy to integrate. Once these steps are done, you'll observe that the petals of each layer overlap seamlessly, and the center stands proud, giving the flower an appealing and professional finish. The method is not only efficient but also produces a charming, textured crochet flower suitable for a variety of applications, from accessories to home decor.
Pattern Correction
If petals fail to overlap properly, check that:
- Chains set for the petal bases (ch-2, ch-3, ch-4) are evenly spaced.
- Stitches are worked into the correct chain spaces.
- Rounds are joined in the correct stitch (first sc of each round).
Tips
- For a sturdier flower, stiffen with fabric stiffener after completion, or use acrylic yarn for better structure.
- Using gradient or ombre yarn adds a natural transition between petal layers.
- Crochet firmly to ensure that the center rises naturally and looks full.