
Enjoy the warmth and charm of the Free Crochet Honeycomb Hat Pattern with a timeless textured look that's versatile for any season or outfit.
There's something truly satisfying about combining a timeless stitch with a modern look, and this Free Crochet Honeycomb Hat Pattern does exactly that! As someone who loves crochet projects that strike a balance between beauty and functionality, this one quickly became a favorite. The intricate honeycomb texture, created with the puff stitch, gives the hat a unique, raised design that's eye-catching yet simple to make. It's the perfect winter accessory, offering both style and warmth without being overly bulky.
Cozy and Elegant Free Crochet Honeycomb Hat Pattern You'll Love to Wear

What's even more exciting is the endless color possibilities with this pattern. Whether you prefer neutral tones like beige, cream, or soft gray, or want to experiment with vibrant colors like mustard yellow, deep burgundy, or even a mix of stripes, this hat pattern will look stunning in any shade. The versatility of the pattern makes it a chic addition to both casual and semi-formal ensembles-it's great for cozy days at home, chilly morning walks, or even as a thoughtful gift for someone special.

What You'll Learn
Through this beginner-friendly pattern, you'll gain confidence working with the puff stitch, a technique that opens the door to countless other creative projects. You'll also learn how to shape a hat, work in the round, and create beautiful textures that look far more complicated than they actually are.
What You Can Make With These Skills
- Snuggly afghans or throws with a honeycomb texture
- Textured scarves and cowls for everyday wear
- Cute tote bags or purses with a modern look
- Decorative table runners with intricate detailing
- Warm headbands or ear muffs for winter accessorizing

Crochet Honeycomb Hat Pattern
Materials Required
- Yarn: ALIZE Lanagold Classic yarn (Color Medium Red; 51% acrylic and 49% wool).
- 1 skein for the hat.
- If you plan to make matching mittens and a snood, you will need 3 skeins in total.
- Crochet Hook: Size 5 mm.
- Plastic Needle: With a large eye for assembling the top of the hat.
- Markers: To mark specific stitches in the pattern.
Sizing
- Hat Size: 55-57 cm.
- Crown to End of the Main Pattern: 16.5 cm.
- Hat Depth (with Labeled Lapel): 15 cm (adjustable by modifying the lapel).
- For a child's hat or different sizes, reduce the number of foundation chain loops and rows while maintaining the proportions.
Abbreviations
| Stitches | Abbreviation | Description |
|---|---|---|
| Chain | ch | Foundation chain stitches. |
| Single Crochet | sc | Insert hook, yarn over, pull through, yarn over, pull through both loops. |
| Half Double Crochet | hdc | Yarn over, insert hook, yarn over, pull through, yarn over, pull through all three loops on hook. |
| Slip Stitch | sl st | Insert hook, yarn over, pull through loop and the loop on hook. |
Pattern Instructions
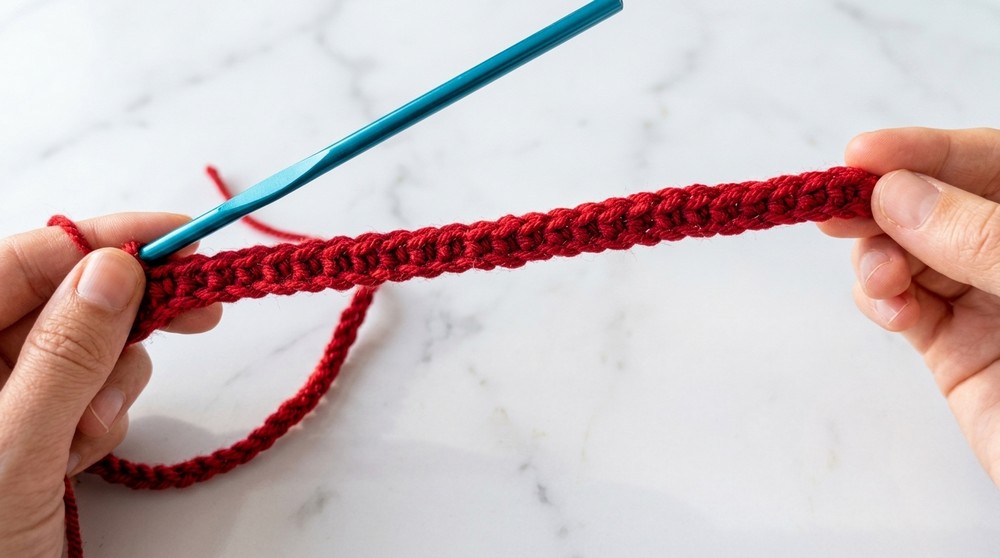
Step 1: Foundation Chain
- Begin by making 30 foundation chain loops.
- For the lapel (adjustable depth): Use 26 ch.
- For the main hat body pattern: Use 4 additional ch.
- Total Foundation Chain Loops: 30 ch (26 ch + 4 ch).
Step 2: First Row
- Add 1 turning chain at the end of the foundation chain.
- Work the following stitches:
- 26 sc for the lapel (mark the last stitch with a marker).
- 6 hdc: Yarn over, insert hook into the next loop, and pull all three loops together. Repeat 6 times.
- 6 sl st: Insert hook, pull up a loop, and pull through the loop already on the hook. Repeat 6 times.
- 26 sc for the lapel (mark the last stitch with a marker).
- Turn the work once the row is complete.
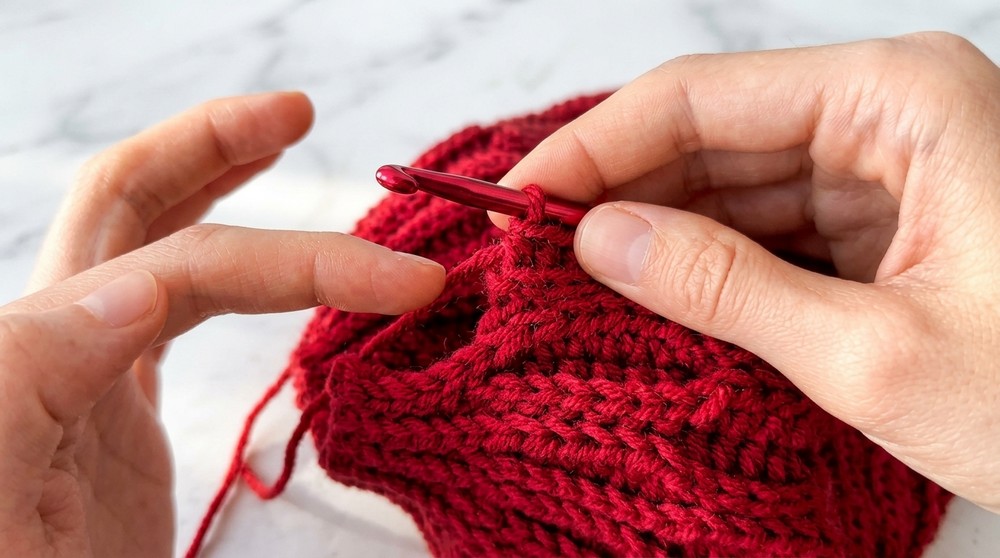
Step 3: Second Row
- Start with 1 turning chain.
- Work all stitches in the back loop only of the previous row to form a ribbing effect.
- Repeat the sequence:
- 6 sl st in the back loop.

- 6 hdc in the back loop.
- 6 sl st in the back loop.
- Continue until the marker, and then work 26 sc to complete the row.
Step 4: Repeat the Pattern
- Alternate Row 1 and Row 2 to create the honeycomb effect.
- Continue working in this sequence for 72 rows (or until you have 18 full honeycomb clusters).
- Ensure to complete your last row like Row 4 to match the pattern alignment for joining.
Step 5: Joining the Hat
- Turn the Hat Inside Out: To ensure the seam is on the wrong side.
- Use a plastic needle to sew the edges together along the back of the hat.
- Align the honeycomb ridges and valleys for a seamless finish.
- Use whip stitches or insert the needle through the back loops of the outermost stitches.
- Align the honeycomb ridges and valleys for a seamless finish.
- Sew halfway up and turn the hat right side out.
- Try the hat on with the lapel turned to ensure a proper fit.
- Finish sewing to the crown.
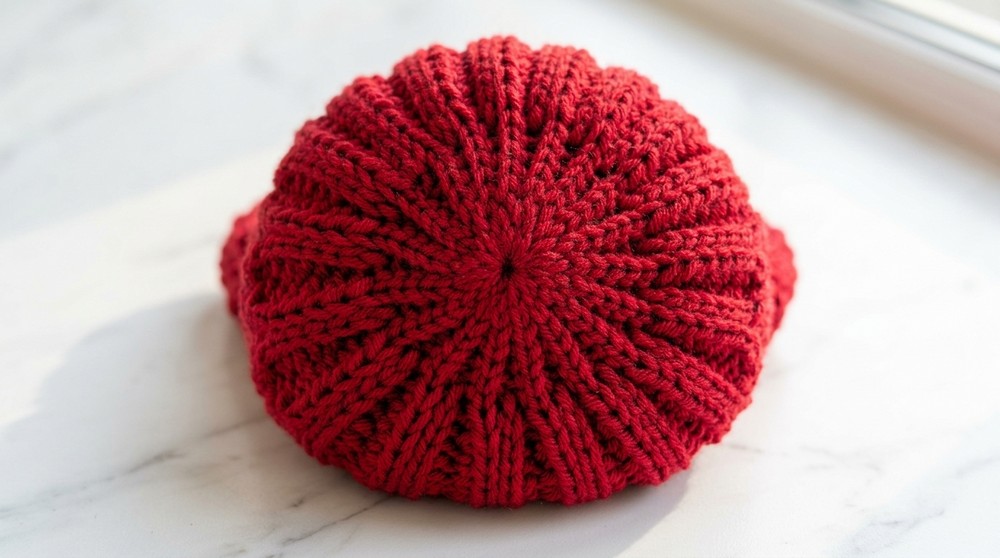
Step 6: Assembling the Crown
- Gather the Crown:
- Use the remaining yarn end (approximately 30 cm) and a plastic needle.
- Thread through the last row of stitches around the crown. Ensure uniform tension while pulling.
- Secure the Gather:
- Pull the yarn taut to cinch the crown closed tightly.
- Secure with a few additional stitches in a crisscross pattern to reinforce.
Finishing the Hat
- Trim any excess yarn and weave in all loose ends neatly on the wrong side of the hat.
- Turn the hat to its proper side and fold the ribbed edge to create a lapel.
Final Notes and Suggestions
- Adjusting Size: To create a smaller or larger hat, adjust the foundation chain length and number of rows worked while keeping the proportions consistent.
- Yarn Substitution: Use any medium weight yarn with a similar fiber composition for a similar result. Test a small swatch to ensure the correct gauge.
- Washing and Care: Wash the hat in lukewarm water using a gentle wool wash, and lay flat to dry to maintain its shape.
Final Words
Congratulations on completing the honeycomb pattern hat. With its unique texture and warm lapel, this hat is perfect for cold weather and makes a wonderful gift. Don't forget to pair it with the matching snood and mittens to complete the set.