
Uplift your cold-weather wardrobe using the Free Crochet Work Sock Hat Pattern, designed for easy comfort and a trendy vintage look.
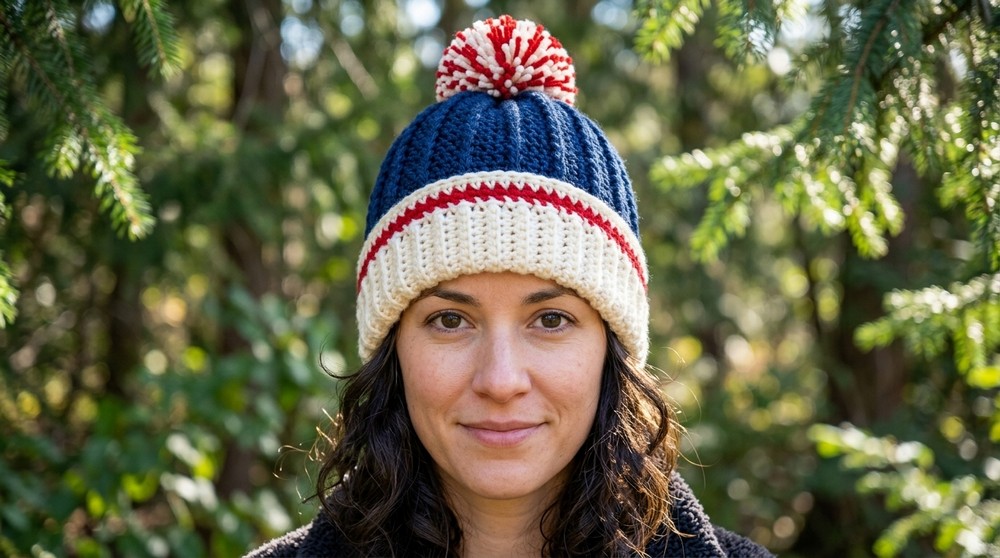
There's nothing quite like crocheting a warm, stylish hat that you'll love wearing during chilly days. The Work Sock Hat pattern has quickly become one of my favorite projects for its timeless charm that reminds me of cozy winter mornings. What truly makes this pattern special is its classic color combination-starting with dark blue tones accented with pops of vibrant red and white stripes. The folded brim adds a polished, tailored look, while the optional fluffy pom-pom brings playfulness to the design. It's perfect for keeping your head warm outdoors or simply accessorizing your winter wardrobe with a homemade touch.
Learn to Crochet a Free Work Sock Hat with Rustic Charm
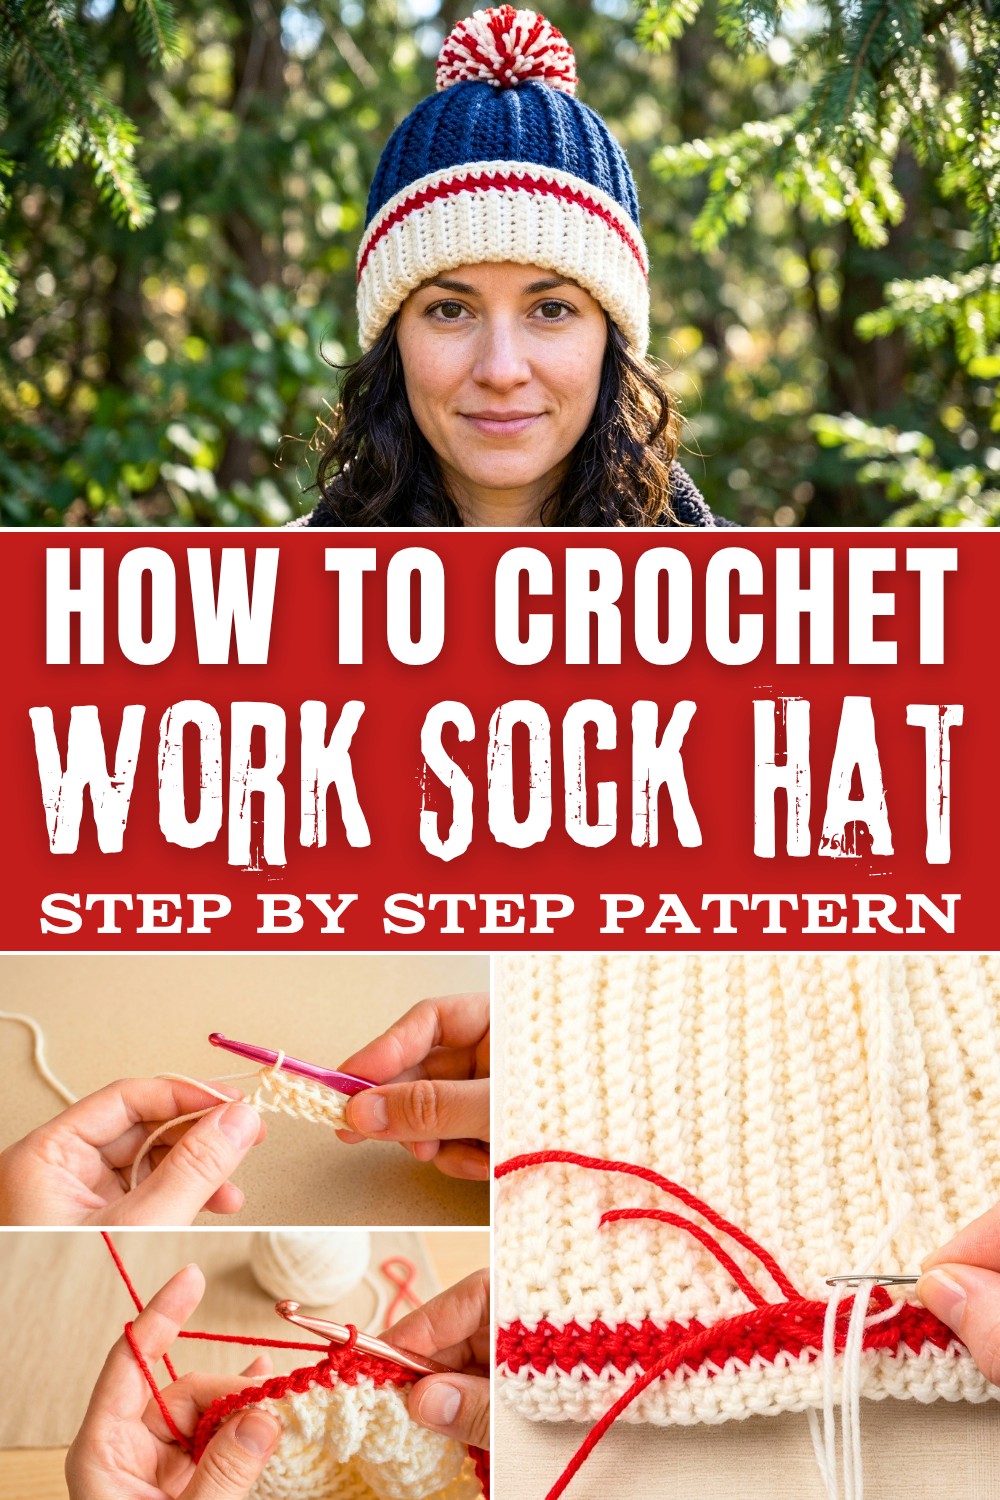
This pattern primarily uses single crochet and double crochet stitches, along with the front post double crochet (FPDC) stitch. The FPDC creates eye-catching ribbed textures that mimic the look of knits, providing the hat with character and visual interest. The brim is crocheted using single crochet in the back loop, which forms a soft stretch for a snug fit. Adding to its versatility, the slip stitch is used to join edges seamlessly, giving the hat a clean, professional finish.
What You Can Make With These Skills
- Cozy winter hats in various textures and colors.
- Scarves and cowls with ribbed or striped designs.
- Dishcloths or placemats with raised textures for practical use.
- Baby blankets with ribbed edges.
- Fingerless gloves using back-loop stitches for stretchy cuffs.
- Decorative pillow covers with textured surface designs.
With this Work Sock Hat pattern, you'll have the creative tools to tackle many projects that are as functional as they are beautiful!
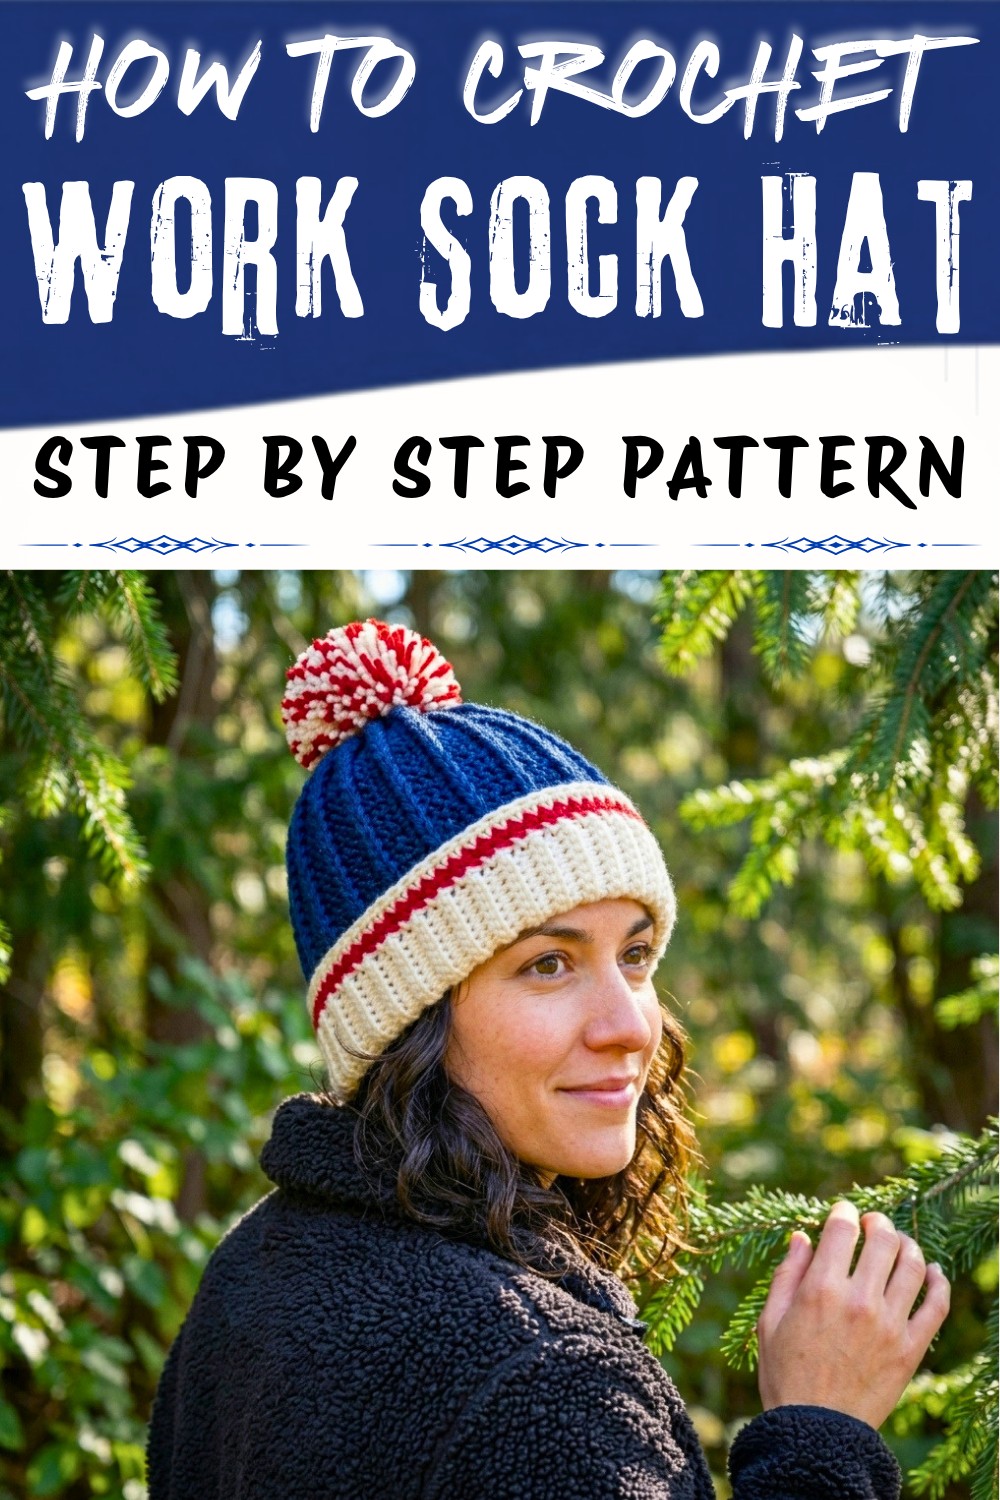
Crochet Sock Heat with Pom-Pom - Free Pattern
Skill Level
Intermediate to Advanced
You should be comfortable with:
- Working in rows and rounds
- Working in the back loop only (BLO)
- Front post double crochet (FPdc)
- Decreasing in double crochet and single crochet
- Invisible join and basic finishing
Materials
- Yarn:
- Bulky or heavy worsted (#4-#5) yarn, main color (MC) for brim and body
- Contrasting color (CC) for the middle stripe (optional; shown in red/blue transitions in the transcript)
- Yardage will vary by size, but approx. 150-200 yards of MC and 30-60 yards of CC is typical for an adult hat.
- Hook:
- 6.5 mm crochet hook
- Notions:
- Darning needle / tapestry needle
- Scissors
- Measuring tape
- Optional: Pom‑pom (pre‑made or handmade)
Key Abbreviations (US Terminology)
- ch - chain
- sc - single crochet
- dc - double crochet
- sl st - slip stitch
- st(s) - stitch(es)
- BLO - back loop only
- FPdc - front post double crochet
- dc2tog - double crochet two together (decrease)
- sc2tog - single crochet two together (decrease)
Special Notes
- Hat is worked in sections:
- Brim in rows, then joined into a circle
- Stitches picked up for inner side of brim
- Body in the round with texture pattern
- Crown decreases and closure
- Pom‑pom attachment
- Stitch counts are based on 60 sts around for the body. If your number is different, it should be divisible by 3 to keep the FPdc pattern consistent.
- Height and exact size can be adjusted by changing the number of rows/rounds.
PATTERN INSTRUCTIONS
Part 1 - Ribbed Brim
- Foundation Chain:
- Make a slipknot.
- Ch until your strip measures approximately 6" (15 cm).
(This length is the height of the folded brim.)
- Row 1 (Base row):
- Starting in the first ch from the hook (note: the video says "first chain"; if you prefer a looser edge you may start in 2nd ch from hook), work:
- 1 sc in each ch across.
- Turn.
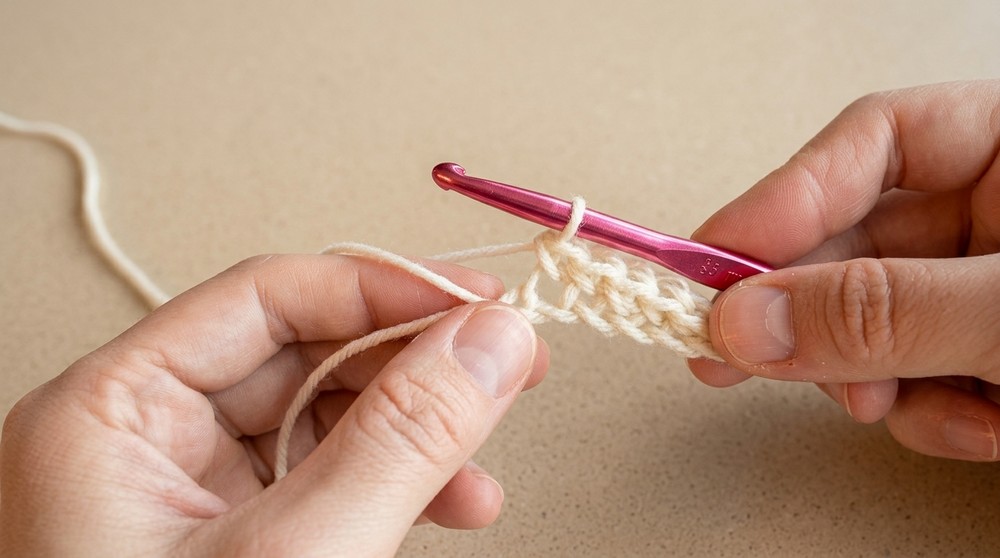
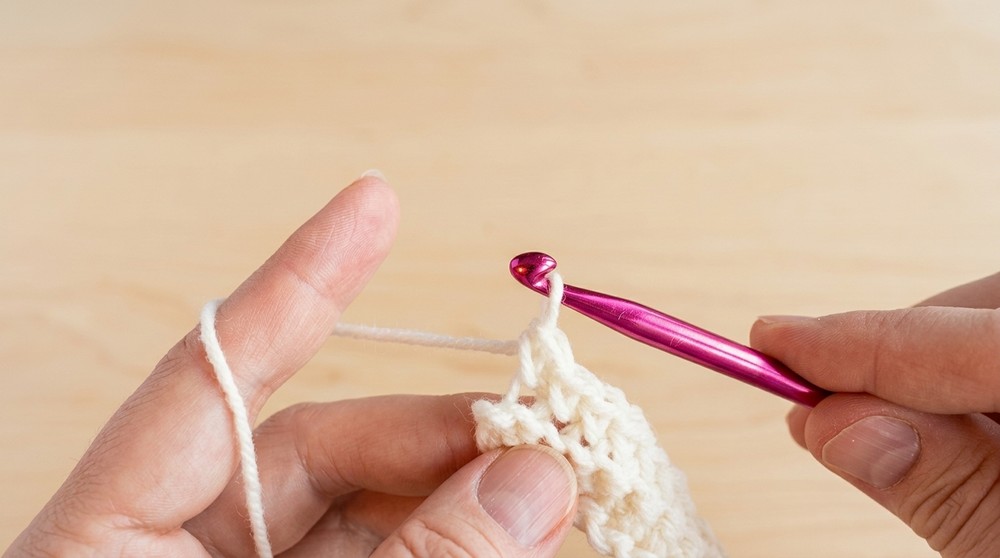
- Row 2 (Start ribbing):
- Ch 1, turn.
- Starting in the first st, work 1 sc in BLO of each st across.
- Turn.
- Row 3 and onward:
- Repeat Row 2:
- Ch 1, turn.
- 1 sc in BLO in each st across.
- Maintain the same stitch count in every row (the demonstrator has about 20 sts across).
- Continue until the strip measures approx. 18" around or desired head circumference (the example is 60 rows, giving 18" with that yarn/tension).
- Repeat Row 2:
You now have a long ribbed strip for the brim.
Part 2 - Forming the Brim Circle
- Work Down the Side (Pick up sts):
- After completing the last rib row, ch 1.
- Turn to work along the long side (row ends).
- Work 1 sc into the end of each row along the side of the brim (find a consistent spot at the end of each row).
- For 60 rows, you should have 60 sc along this edge when finished.
- Join the Brim into a Circle:
- Fold the brim so the foundation chain edge and the last worked sc edge line up.
- You will now join them with slip stitches:
- Insert hook through first foundation chain and through the BLO of the corresponding sc on the opposite edge.
- Yarn over, pull through both loops and the loop on hook (sl st).
- Repeat across, joining each chain st to the BLO of the corresponding sc.
- This closes the brim into a tube.
Part 3 - Inner Edge of Brim
- Set Up for Body:
- At the end of joining, ch 1.
- Work sc along the inside edge (the inside of the circle) of the brim:
- Work 1 sc into the end of each row around on the inner side.
- You should again have 60 sc around (one per brim row).
- Join with a sl st into the first sc.
This creates the line where the brim folds up and the hat body begins.
Part 4 - Colour Change (Optional Stripe)
The video shows a colour change (e.g., adding a contrasting stripe) before the main textured body.
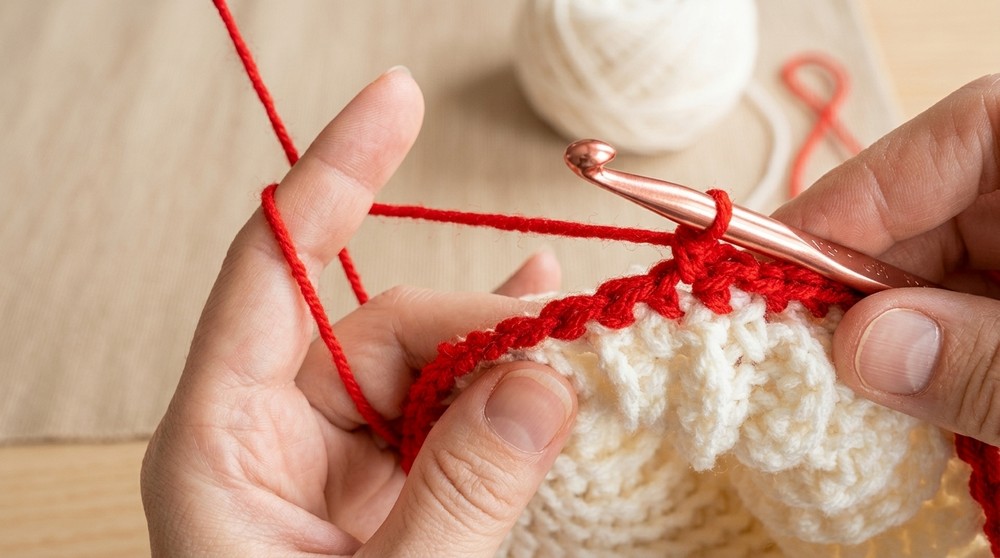
- Change to Contrast Color (CC):
- When you reach the end of the round:
- Insert hook into first sc of the round as if to sl st.
- Drop MC, pick up new color (CC).
- Yarn over with CC and pull through to complete the sl st join.
- Ch 1, then work:
- 1 sc in both loops of each st around.
- Join with sl st in first sc.
- When you reach the end of the round:
- Second Round in CC:
- Ch 1, work 1 sc in each st around.
- Join with sl st.
- Change Back to Original Color (MC):
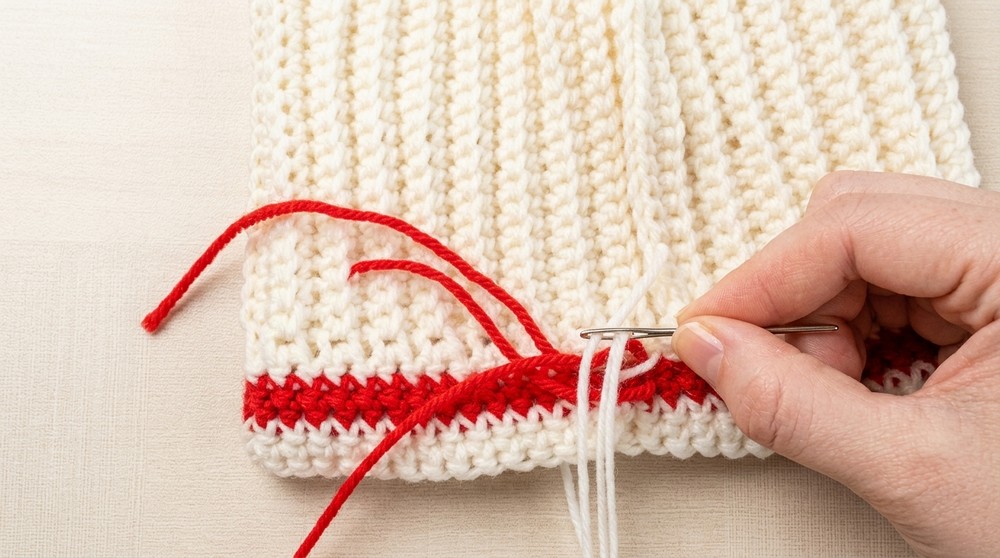
- At the join, insert hook into first sc, drop CC, pick up MC, pull through to complete the sl st.
- Cut CC and secure later.
- Ch 1.
- Work 2 more rounds of sc in MC:
- Round 1: 1 sc in each st, join with sl st.
- Round 2: 1 sc in each st, join with sl st.
This gives you a neat contrast stripe above the brim (optional; you may omit color changes and work all in one color).
Part 5 - Start the Textured Body (Double Crochet + FPdc)
- Set Up Double Crochet Round:
- Join MC if not already active.
- Start at the middle/back seam area.
- Ch 3 - counts as first dc.
- Work 1 dc in each sc around.
- Join with a sl st into top of ch-3 (or into the first dc if using an alternative starting dc).
- You should have 60 dc.
- If you do not have 60, ensure your stitch count is divisible by 3 so the pattern works.
- Textured Pattern - Row 1 of FPdc Section:
- Ch 2 (does not count as a stitch).
- Dc in the same st (this is your first dc of the round).
- Dc in next st.
- Now start the pattern:
- 1 FPdc around next dc, then
- dc in each of the next 2 sts.
- Repeat around:
- [FPdc around next dc, dc in next 2 sts].
- At the end, you will:
- dc where needed so the pattern aligns, then
- finish with a FPdc around the last appropriate post.
- Join with sl st to the first dc (not the ch‑2).
- Textured Pattern - Row 2 and Following:
- Ch 2 (does not count as st).
- Dc in same st.
- Dc in next st.
- You will now maintain the established pattern:
- Work FPdc around each FPdc from previous row.
- Work dc in each of the 2 dc sts between FPdc posts.
- Pattern:
- [FPdc around FPdc below, dc in next 2 sts] repeated around.
- Join with sl st to first dc.
- Continue for Height:
- Repeat Step 13 until the hat body reaches about 12 rows of this pattern or approx. 6" (15 cm) from the fold-over brim line (as in the video).
- You may adjust this to be taller or shorter.
Part 6 - Crown Decreases
- First Decrease Round (in dc):
- Begin with the established pattern, but replace the two separate dc with dc2tog:
- Work a FPdc around the FPdc below as usual.
- Then dc2tog over the next 2 dc sts instead of 1 dc in each.
- So the pattern becomes:
- [FPdc, dc2tog] around.
- This reduces the stitch count while preserving the ribbed texture lines.
- Begin with the established pattern, but replace the two separate dc with dc2tog:
- Next Round - Single Crochet:
- After the dc decrease round:
- Ch 1.
- Work 1 sc in each st all the way around.
- Join with sl st.
- After the dc decrease round:
- Final Decrease Round (in sc):
- Ch 1.
- Work sc in every second st:
- Skip one st, sc in next st, repeat:
- [Skip 1 st, sc in next st] around.
- This effectively sc2tog across the round by leaving every second stitch empty and tightening the crown area.
- Prepare for Closure:
- Cut yarn, leaving about 12" (30 cm) tail for closing the top and attaching pom‑pom.
Part 7 - Closing the Crown
- Gather and Close:
- Thread the long yarn tail onto a darning needle.
- Weave in and out of every remaining stitch around the top opening.
- When you have gone around, pull tight to cinch the opening closed.
- Stitch across the opening a few times:
- Weave back and forth multiple times to secure and fully close the crown.
- Weave Ends:
- Weave in any remaining loose ends on the inside of the hat.
Part 8 - Pom‑Pom Attachment (Optional)
- Attach Pom‑Pom:
- Bring your finishing tail (or a new piece of strong yarn) to the inside of the hat at the crown center.
- Thread the long ties from the pom‑pom onto the needle.
- Pull each tie through the top center of the hat (one on each side of the center) to the inside.
- Tie multiple secure knots on the inside of the hat.
- Trim excess ends.
Tips for Best Results
- Check Fit Early:
- After finishing the brim and a couple of rows of body, try the tube around your head to confirm circumference is comfortable.
- Keep Stitch Markers Handy:
- Use a marker at the start of rounds where stitch patterns matter (especially in FPdc and decrease rounds) so you do not lose your place.
- Mind Your Tension:
- FPdc can tighten your fabric. If your hat feels stiff or too tight, consider going up a hook size or relaxing your tension.
- Neat Colour Changes:
- Always change color on a sl st join: pull through the new color on the last step of the slip stitch for a clean transition.
- Reinforce the Crown:
- When closing the top, do multiple passes with the needle. This not only seals the opening but also strengthens the area where the pom‑pom is attached.