
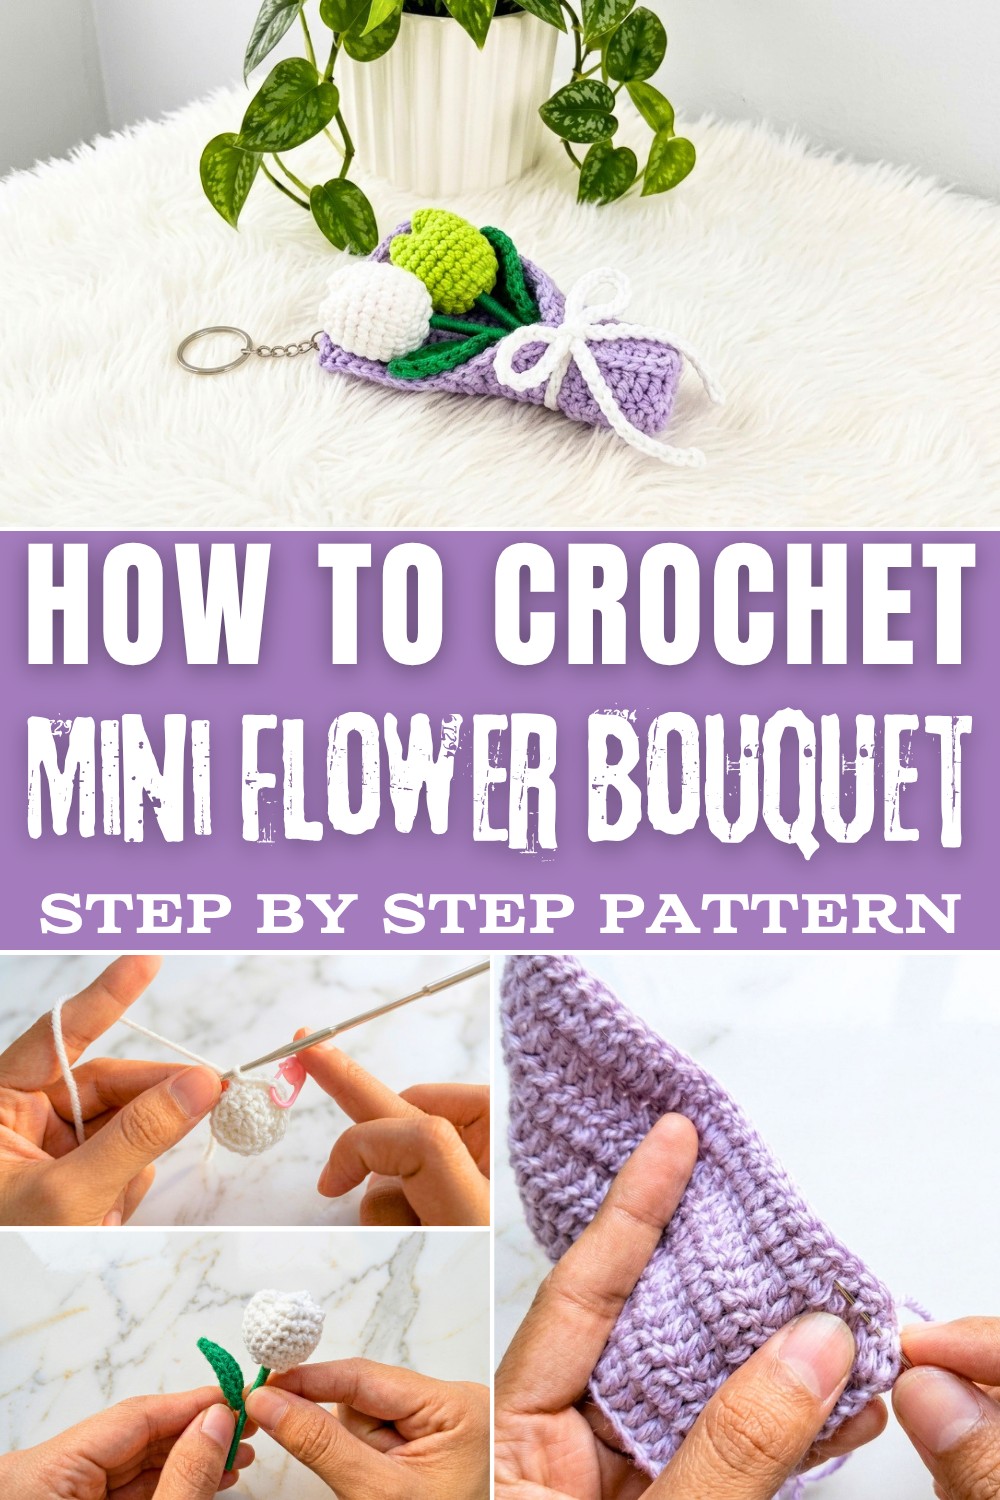
Spruce up your projects with Crochet Mini Flower Bouquet ideas featuring vibrant blooms, endless color combos, and perfect accents for gifts or decor!
Tiny floral creations made with yarn bring a touch of charm and creativity to any project. A Crochet Mini Flower Bouquet Pattern allows you to crochet delicate blossoms in various styles, from roses to daisies, all coming together in an adorable mini arrangement. These vibrant, handmade bouquets are not only fun to make but also incredibly versatile. They can be used as thoughtful gifts, wedding decorations, or even unique embellishments for hats, bags, and clothing. The best part? Unlike real flowers, these crocheted blooms never wilt, offering a lasting token of beauty.
Free Crochet Mini Flowers for Special Occasions
This project is ideal for practicing intricate stitches and experimenting with different yarn colors or textures, making it suitable for both beginners and skilled crocheters. With plenty of room to customize, each bouquet can be as simple or elaborate as you like, personalized to match your style or occasion. Whether you're looking to brighten up your home, surprise a loved one, or simply try something new, this pattern is a wonderful way to combine craftsmanship with creativity.

Crochet Mini Flower Bouquet Pattern
Finished Size
- Length: About 13-15 cm (body)
- Diameter: ~2-2.5 cm after assembly
Gauge: Approx. 22-24 stitches = 10 cm in single crochet (your tension may vary; adjust hook size if needed)
important features
This pattern offers a versatile design that blends structural elements with decorative flair. Here are the important features that make this project stand out:
-
Cylindrical Foundation: The core of the design is a sturdy 18-stitch cylinder, providing a solid, tube-like shape that serves as the main body for your project.
-
Optional Internal Support: The inclusion of 13 cm of craft wire allows you to add rigidity to the structure, making it perfect if you need the piece to stand upright or hold a specific shape for display.
-
Convertible Outer Sleeve: The flat rectangular panel (made with 30 double crochet stitches across) is designed to wrap around the main cylinder, offering an easy way to change the color or style of your item without re-doing the core.
-
Dual-Textured Leaf: The leaf accent uses a combination of single crochet, half double crochet, and 3 sc at the tip to achieve a realistic, pointed shape that adds a professional, organic touch.
-
Functional Hanging Cord: By including a 65-stitch chain, the pattern provides a ready-made solution for turning your work into a functional accessory, such as a wrist strap or a hanging decorative piece.
-
Beginner-Friendly Techniques: The pattern relies on fundamental stitches like the magic ring, single crochet, half double crochet, and double crochet, making it accessible while still producing a multi-part, finished-looking result.
-
Modular Assembly: The structure allows you to assemble the pieces in different ways, whether you are closing the base for a pouch-like finish or using the sleeve as a decorative cover.
Materials
- Yarn: 4 colors of DK or light worsted weight wool or acrylic yarn (for body, tip, accent)
- Hook: 2.5 mm crochet hook
- Filling: Fiberfill or non-stretch stuffing (optional, if making as a toy)
- Wire: Thin craft wire for stem structure (one 13 cm strand)
- Tapestry needle: For sewing and weaving in ends
- Scissors
- Glue: For securing wire or accessories
- Stitch marker: Optional, to mark rounds
Abbreviations (US Terms)
| Abbreviation | Meaning |
|---|---|
| MR | Magic Ring |
| ch | Chain |
| sc | Single Crochet |
| hdc | Half Double Crochet |
| dc | Double Crochet |
| sl st | Slip Stitch |
| st(s) | Stitch(es) |
| inc | Increase (2 sc in same st) |
| rep | Repeat |
Gauge
Not critical for this pattern, but ensure your stitches are tight enough to hold shape, especially for structural items.
Pattern
1. Cylindrical Body (Main Piece)
With first color:
Round 1:
Make a magic ring, ch 1, work 6 sc in MR. Pull to close.
Round 2:
Sl st in first sc to join. Ch 1.
2 sc in each st around (inc in every st). (12 sts)
Round 3:
Sl st to join, ch 1.
[sc in next st, 2 sc in next st] rep around (1 sc, inc) (18 sts)
Rounds 4-18:
Sl st to join and ch 1 at the start of each round (if you wish, or you may work in a spiral).
1 sc in each st around (18 sts) for a total of 18 rounds from the start.
Finish:
Cut yarn, fasten off.
2. Insert Stem (Optional Wiring)
- Cut a 13 cm length of craft wire.
- Fold or bend slightly as desired.
- Insert into the tube, position as the central "stem."
- Secure in place by gluing, especially if using as a display or handle.
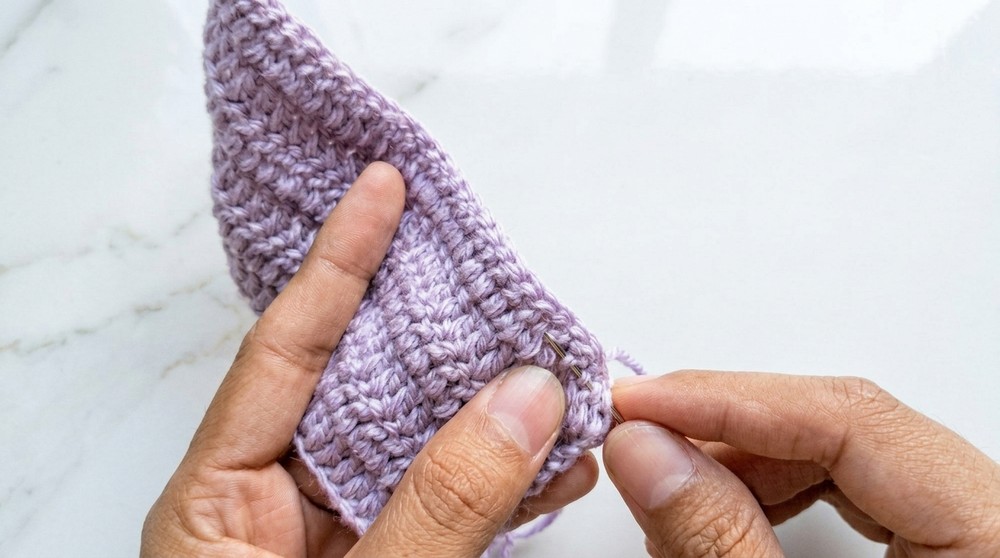
3. Seaming
- With the tapestry needle, sew the base closed using a whipstitch, going through 9 stitches per side if using wire.
- Sew the opposite open end closed for a more "packaged" finish.
4. Outer Slip Cover (Bag/Sleeve)
With new color:
Row 1:
Make a slip knot, ch 32.
Row 2:
Skip first 2 ch, dc in third ch from hook.
Dc in each ch across (30 dc). Turn.
Rows 3-6:
Ch 2, turn, dc in each st across (30 dc).
Finishing:
- Cut yarn, fasten off, and weave in ends.
- Fold or wrap around cylinder, sew as a sleeve if desired, or use as a cup cover.
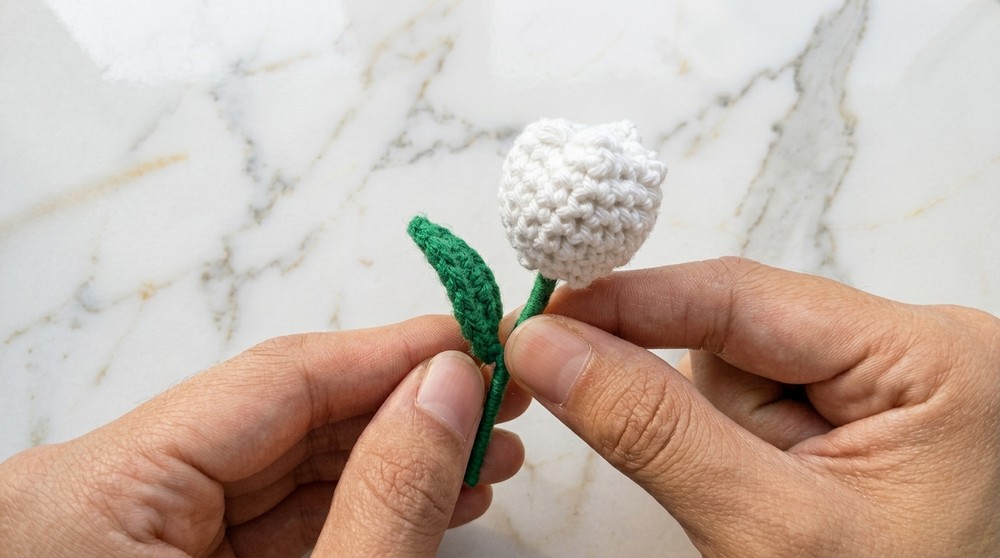
5. Leaf Accent
With green yarn:
Ch 8.
- Skip first ch, sc in next 2 ch.
- Hdc in next 5 ch.
At row end:
- Work 3 sc in last ch.
- Work along the opposite side (back of chains):
- Hdc in next 5 ch
- Sc in last 2 ch
- At tip: 2 sc in same stitch.
Finishing:
- Sl st to join if a loop is desired.
- Ch 1, cut yarn, weave in ends.
- Attach to body or stem with glue/needle.
6. Chain or Hanging Cord
- Ch 65 (or desired length).
- Use as a closure, wrist strap, or hanging loop; sew or tie securely.
Tips and Customization
- Stripe it: Use multiple colors in body for stripes or segments.
- Embroider: Add details with embroidery or beads after stitching.
- Shape: Lightly stuff for a firmer touch, especially if used as decor.
- Leaf Variety: Adjust the number of chains for larger or smaller leaves.
- Closure: For a secure closure, sew a button to the cover and make a loop at one end of the chain.
Conclusion & Final Remarks
This pattern results in a sturdy cylinder accented with a sleeve/cover and a leaf, adaptable as a case, pouch, handle, or decorative piece. Embellish further with embroidery, buttons, or other accessories. Attention to joining and end weaving will enhance your final presentation.
Special Techniques
- Magic Ring: Ensures a tight, closed base-ideal for containers or bags.
- Wire insertion: Gives structure to the piece (omit for soft items).
- Continuous rounds: Can be used if you prefer a seamless look; use a stitch marker.
Pattern Corrections
- If you notice the tube or cover twisting, ensure you have the correct number of stitches in each round.
- For a softer finish, substitute acrylic yarn.