Freshen up your accessories with this Crochet Lemon Keychain Free Pattern and enjoy a cheerful charm on your keys or favorite bag.
Brighten up your everyday essentials with a delightful accessory that's as charming as it is functional. This petite lemon-themed piece brings a touch of sunny freshness and a splash of color wherever it goes. Perfect for those who enjoy adding a personal twist to daily items, it's an ideal pick for the warmer months or any time you want to invoke a cheerful vibe.
Sweet Crochet Lemon Keychain Free Pattern as a Summer Accessory
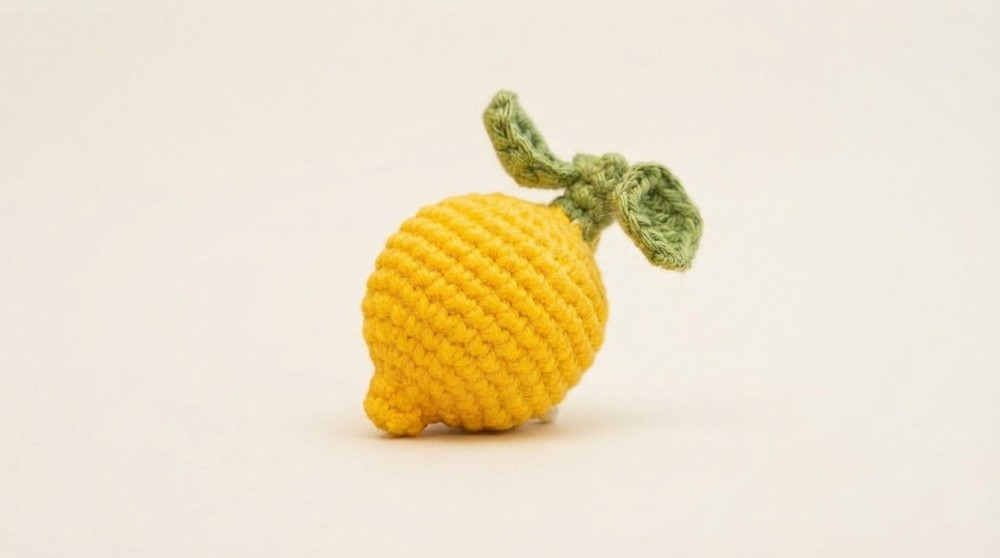
The Crochet Lemon Keychain Pattern, thoughtfully designed and shared by Bibi Crochet, is a wonderfully fun project created to craft a compact and vibrant lemon-shaped charm. This trendy keychain adds a burst of sunshine to your keys, bags, or even as a cute decorative accent in your living space. Its cheerful yellow hue paired with hints of green mimics the juicy zest of an actual lemon, making it a great companion for spring and summer outings, picnics, or even as a thoughtful gift for friends and family.
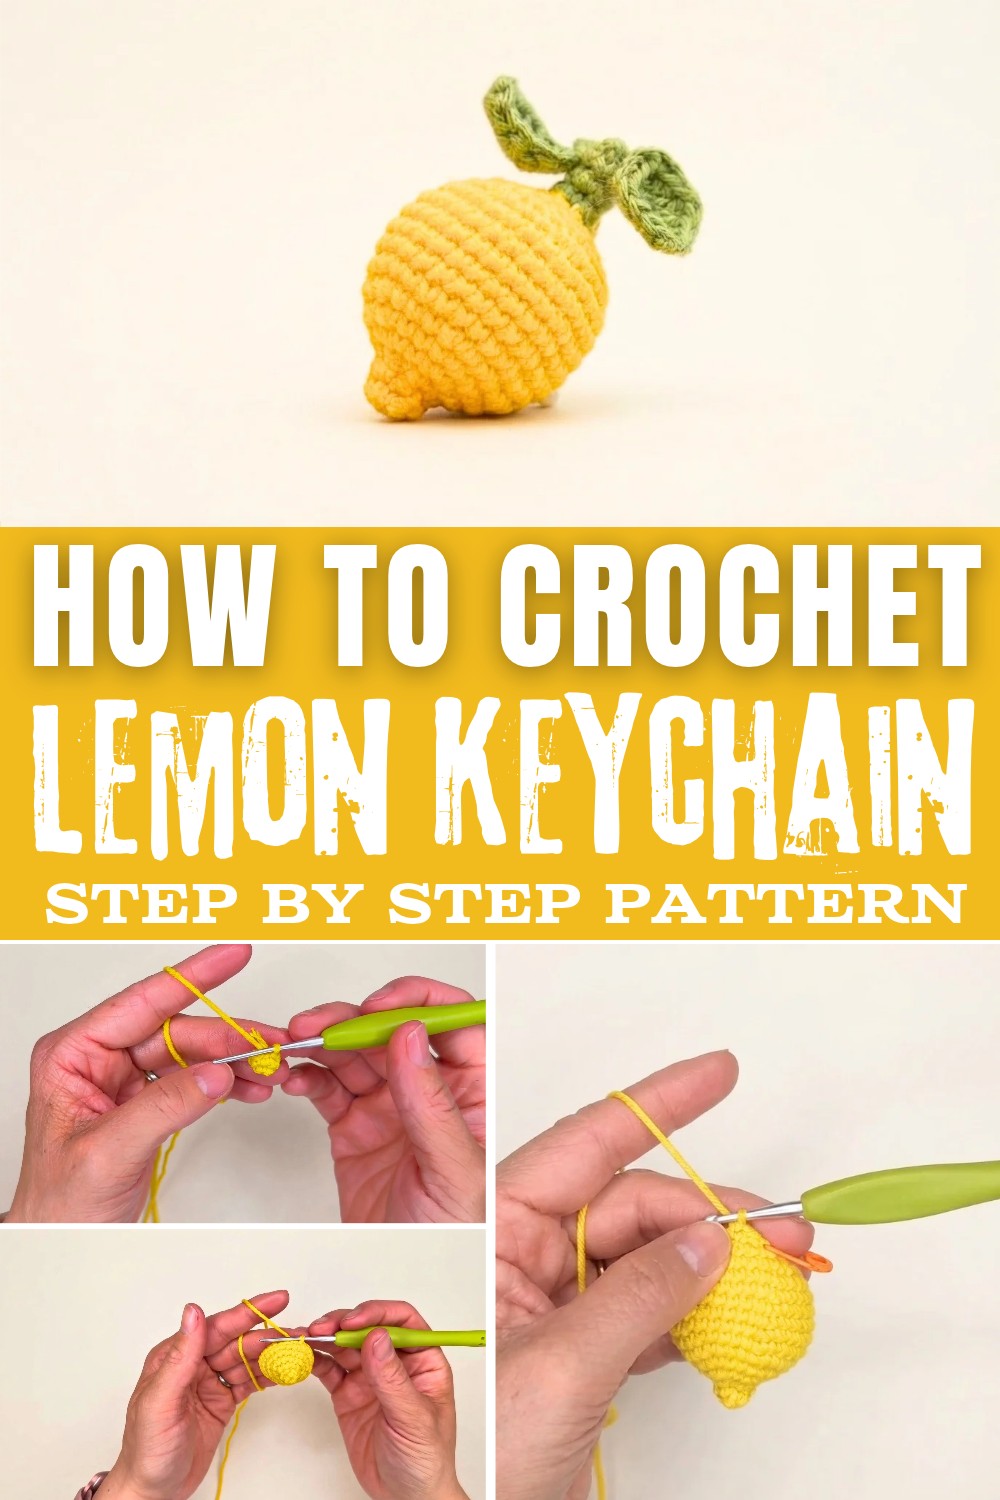
One of the standout features of this keychain is its detailed texture, which beautifully captures the natural segments of a lemon. The pattern cleverly uses increases and decreases in stitches to sculpt a rounded, plump shape, lending it both visual interest and a soft, tactile appeal. The addition of tiny green leaves atop the lemon slice adds an extra layer of authenticity and charm, making this little accessory truly eye-catching.
Whether attached to a set of keys or dangling from a backpack zipper, this lemon keychain effortlessly elevates your everyday look. Its compact size makes it comfortable to carry and a stylish statement piece for casual or outdoor occasions. Dive into the full Crochet Lemon Keychain Pattern by Bibi Crochet to explore the step-by-step process and enjoy creating your own burst of sunshine today.
Crochet Lemon Amigurumi Free Pattern
With summer just around the corner, a simple lemon amigurumi provides an appealing mini-project, perfect for keychains, gifts, or cheerful home décor. Using basic shapes and straightforward stitches, this guide takes you through each phase-from forming the body with increasing and decreasing rounds, to attaching the distinctive stem and leaf. This approachable shape is well-suited for those who enjoy bite-sized crochet tasks and appreciate clear structure in their projects. Along the way, you will find clear stitch instructions and round-by-round explanations, making it easy to maintain consistency. The finished piece is compact and ideal for personal touches through yarn color and attachment options. Whether crafted for practical use as a keychain or as a bright accent, this lemon amigurumi brings a fresh twist to your crochet repertoire and showcases the beauty of simplicity paired with precision.
Quick Overview of Pattern
- Work the lemon's body from the bottom up, starting with a magic ring.
- Use a sequence of increases to shape the base, followed by straight rounds for altitude.
- Employ careful decreases to taper the top before switching color to form the stem.
- The green stem is crocheted in place directly after finishing the lemon's top.
- A leaf is crocheted and attached to the stem, with an optional second leaf for added flair.
- Body is stuffed and all openings are seamed closed with neatly woven ends.
Notes
- Always mark the first stitch of every round to maintain accuracy.
- Ensure the lemon is firmly stuffed, as tight shaping enhances both durability and appearance.
- When changing colors, finalize the last stitch of the previous color with the new color for a smooth transition.
- Use a tapestry or wool needle for all finishing and joining steps.
- The leaf and stem are both constructed with basic stitches but rely on correct stitch placement for symmetry.
Skill Level
- Beginner-Intermediate
- This project requires knowledge of the magic ring, basic increases, decreases, color changes, and working in the round.
- Some experience with flat leaf shapes is beneficial but not essential, as detailed steps are provided.
Materials
- Yarn: Size #3 in two shades: yellow (body) and green (stem and leaves)
- Crochet Hook: 2.0 mm
- Stuffing: Fiberfill or cotton stuffing
- Tapestry Needle: For closing rounds and attaching leaves
- Stitch Marker: A dot or plastic stitch marker for marking rounds
Measurements / Sizing
- Finished Size: The lemon measures approximately 4.5-6 cm (1.75-2.25 inches) tall, excluding the leaf and stem.
- The size may vary slightly depending on tension and yarn selection.
Gauge (and Stitch Pattern)
- Gauge: Not critical but ensure stitches are tight to prevent visible stuffing.
- Stitch Pattern: Standard amigurumi single crochet in continuous spirals.
Stitch Abbreviations
| Abbr | Meaning |
|---|---|
| ch | chain |
| sc | single crochet |
| inc | increase (2 sc in same st) |
| dec | decrease (sc2tog) |
| hdc | half double crochet |
| dc | double crochet |
| sl st | slip stitch |
| MR | magic ring |
| st(s) | stitch(es) |
Special Stitches
- Magic Ring (MR):
Form a ring and work stitches directly into the ring. Pull tail to tighten. - Increase (inc):
Work two sc in the same stitch. - Decrease (dec):
Sc two stitches together for a single stitch in place of two. - Double Crochet Increase (dc-inc):
Work two dc into the same foundation stitch.
The Crochet Pattern
Lemon Body (Yellow Yarn)
- Round 1: Magic ring with 6 sc [6 sts].
- Round 2: 1 sc in each st around [6 sts].
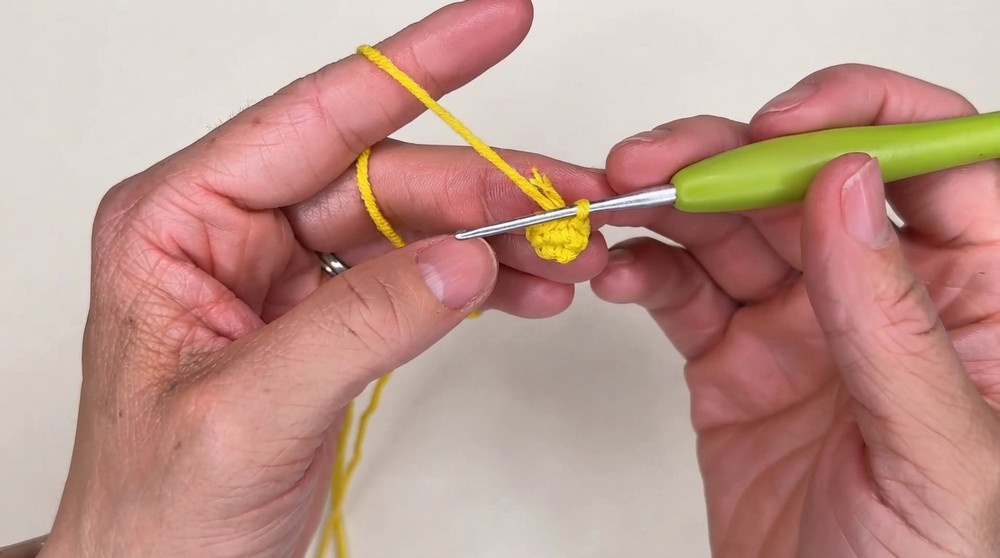
- Round 3: [1 inc] x 6 (2 sc into each stitch) [12 sts].
- Round 4: [1 sc, 1 inc] x 6 (1 sc, 2 sc in next st) [18 sts].
- Round 5: [2 sc, 1 inc] x 6 (sc in next 2 sts, 2 sc in next st) [24 sts].
- Round 6: [3 sc, 1 inc] x 6 (sc in next 3 sts, 2 sc in next st) [30 sts].
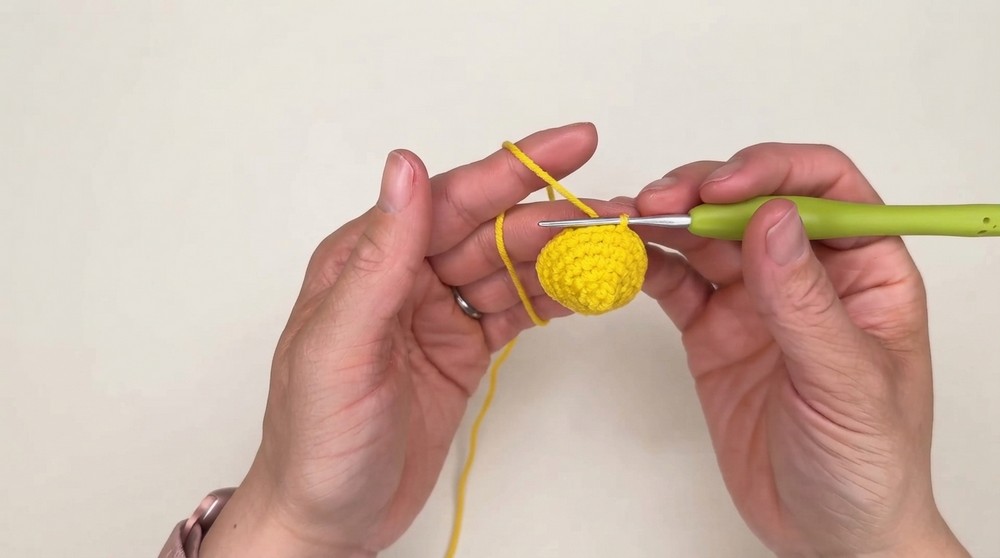
- Rounds 7-12: 1 sc in each st around [30 sts per round]. Continue spiraling, marking first stitch of each round for consistency.
- Round 13: [3 sc, 1 dec] x 6 (sc in next 3 sts, decrease over next 2 sts) [24 sts].
- Round 14: [2 sc, 1 dec] x 6 (sc in next 2 sts, decrease over next 2 sts) [18 sts].
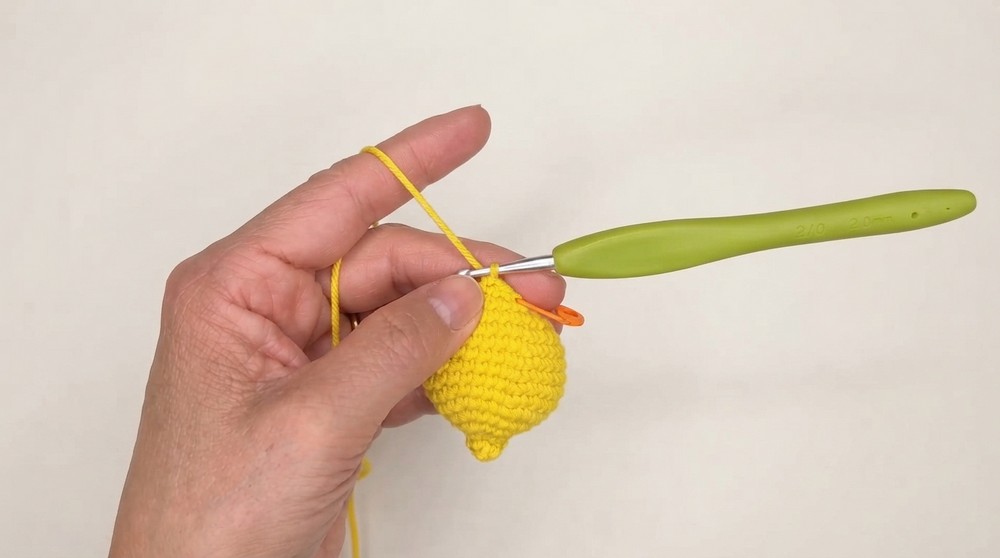
- Round 15: [1 sc, 1 dec] x 6 (sc in next st, decrease over next 2 sts) [12 sts].
At this point, begin stuffing the lemon body firmly. Carefully distribute filling for an even, rounded shape.
- Round 16: [1 dec] x 6 (decrease over each pair of sts around) [6 sts].
Note: During the final decrease, do not complete the last yarn over with yellow. Switch to green yarn on the last yarn-over-pull-through of the decrease.
Stem (Green Yarn)
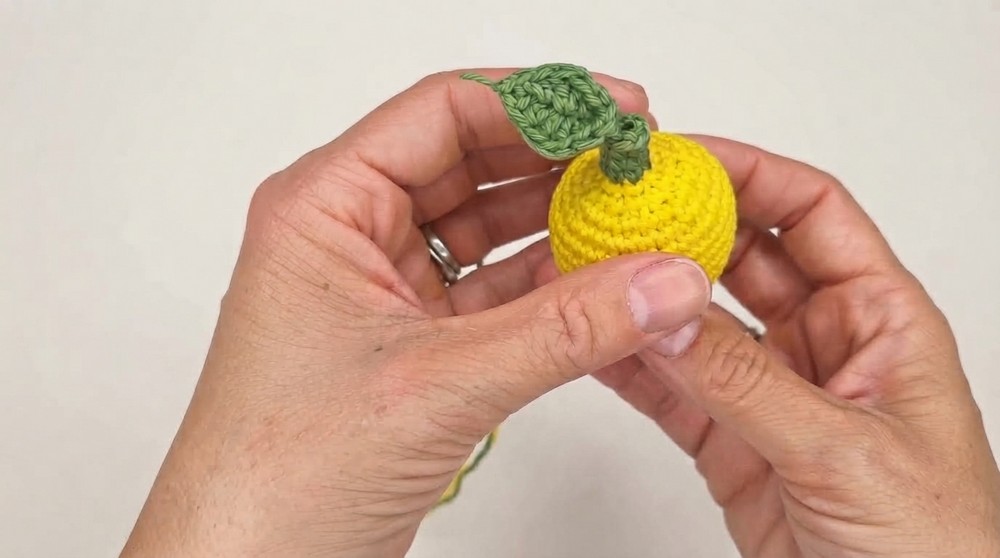
- Round 17: Join green yarn. Work 1 sc in each st around [6 sts].
- Rounds 18-19: 1 sc in each st around [6 sts each round], forming a small cylinder for the stem.
First Leaf (Attached to Stem)
- Begin Leaf: Keeping green yarn attached, ch 6.
- Side 1:
- 1 sc in 2nd ch from hook
- 1 hdc in next ch
- 1 dc-inc (2 dc in same ch)
- 1 hdc in next ch
- 3 sc in last ch
- Side 2 (along other side of chain):
- 1 hdc in next st
- 1 dc-inc (2 dc in same st)
- 1 hdc in next st
- 1 sc in next st
- Side 1:
- Finishing: Sl st to first sc to join. Fasten off, leaving a long tail for weaving in.
Second Leaf (Optional; Worked Separately)
- Chain: Ch 6
- Side 1:
- 1 sc in 2nd ch from hook
- 1 hdc in next ch
- 1 dc-inc in next ch
- 1 hdc in next ch
- 3 sc in last ch
- Side 2:
- 1 hdc in next st
- 1 dc-inc in next st
- 1 hdc in next st
- 1 sc in next st
- Side 1:
- Finishing: Sl st to first sc to join, fasten off, leave long tail for attaching to stem.
Assembly & Finished Size
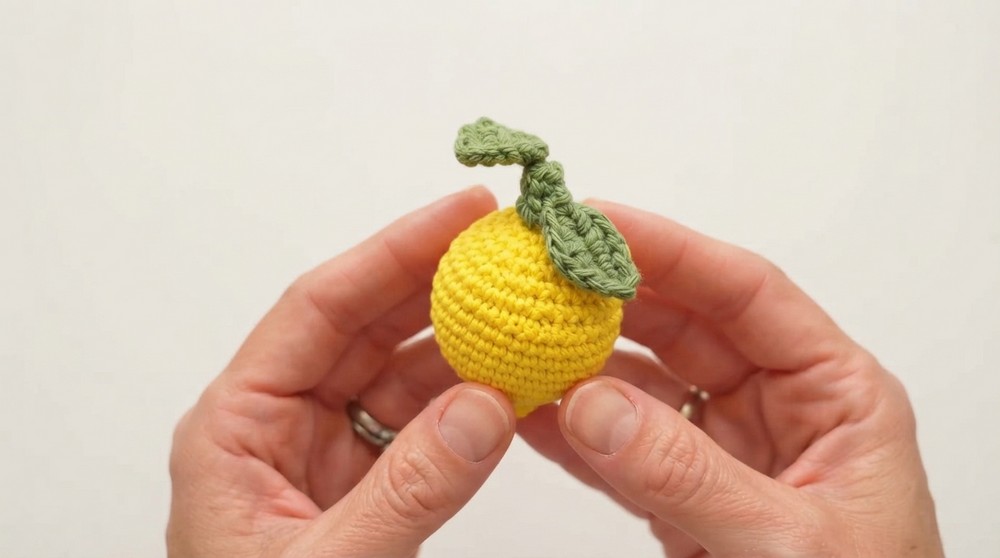
- Optional: Attach keychain to leaf.
Final Size:
The finished lemon amigurumi stands approximately 4.5-6 cm tall, with leaves adding extra flair. It is sturdy, well-shaped, and proportioned for use as a keychain, decorative object, or soft charm.
Conclusion and Ending Words
This lemon amigurumi showcases the impact of simple stitches and careful construction, resulting in a vibrant and versatile piece. Throughout the process, sequence and technique play key roles in creating an even, rounded body and symmetrical details. The addition of a strong stem and leaf offers realistic character and a tidy finish. This piece sits comfortably in the hand and easily adapts for personalized gifts or whimsical accessories. Consistent marking and firm stuffing help support both aesthetics and lasting structure. Pause to admire your progress at each stage, from forming the initial ring to attaching the final leaf. Subtle finishing at the top ensures a professional appearance, with neatly hidden yarn ends an indication of thoughtful handiwork. Confidently incorporate this cheerful project into your handmade collection, and consider experimenting with different shades for a fruit bowl of miniature delights.