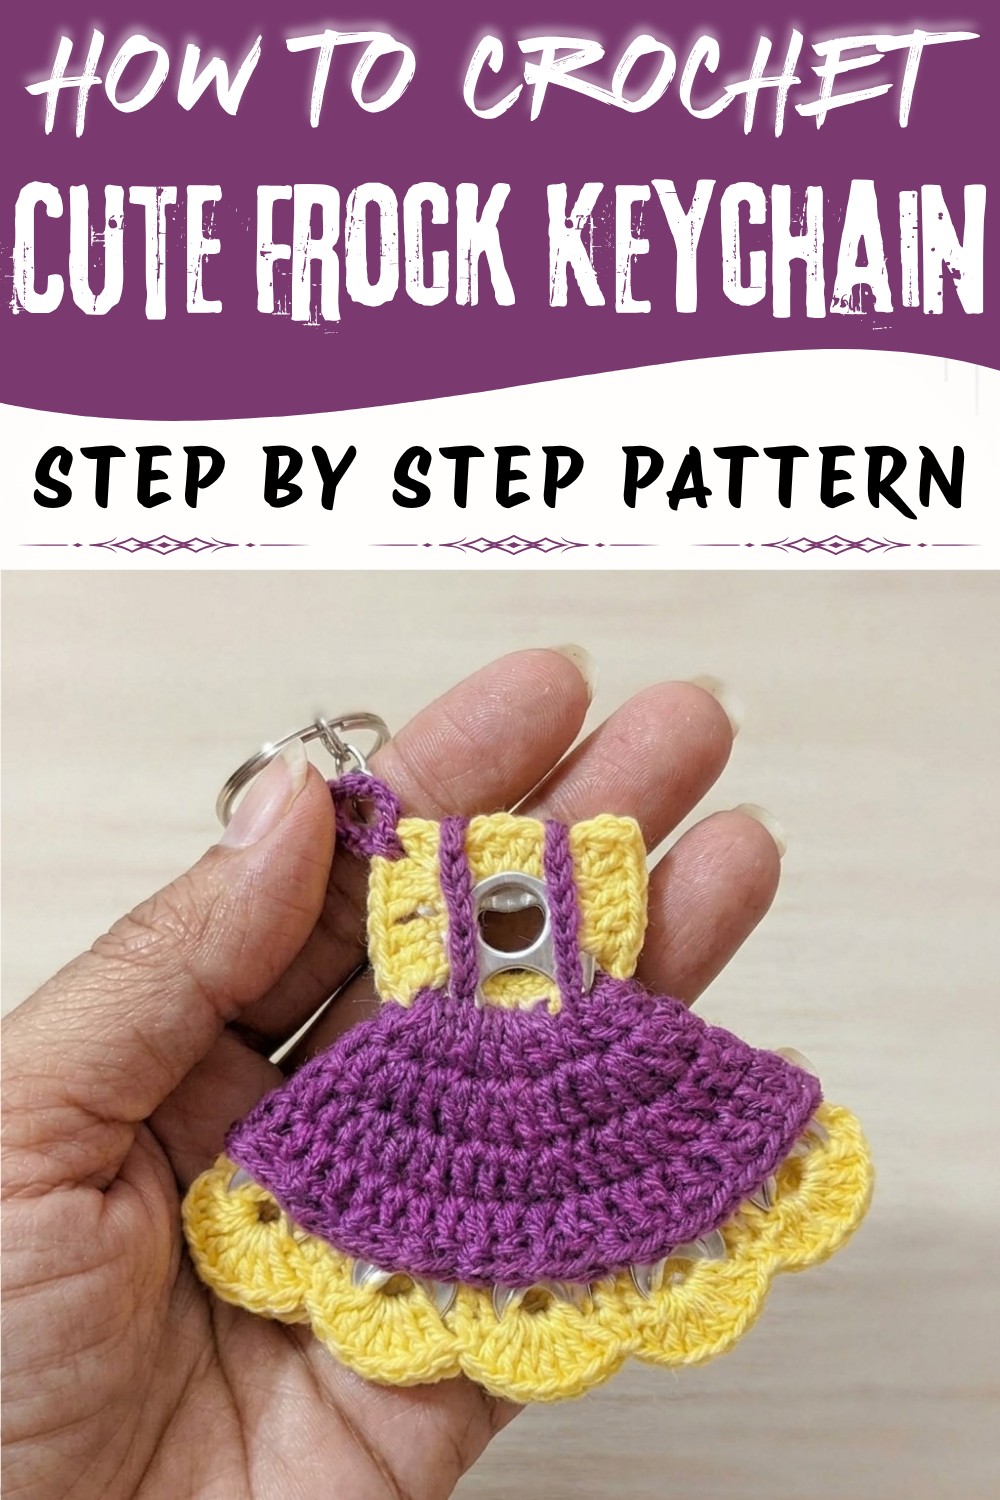
Dress up your keys with this Crochet Frock Keychain Pattern and choose your favorite colors for a tiny dress charm that adds a cute touch.
When you stumble upon a simple yet charming way to personalize your everyday items, it instantly catches your attention. It is very interesting to turning a tiny dress into an adorable accessory that can brighten your keys or bag. This is exactly what makes the idea behind the Crochet Frock Keychain Pattern so delightful. Thanks to the clear and easy-to-follow tutorial by Nancy a crochet, this miniature frock changes from yarn to a stylish keychain, making it a fun project for anyone looking to add a unique touch to their belongings.
Lovely Crochet Frock Keychain Free Pattern for a Mini Dress Charm
The Crochet Frock Keychain Pattern is a small wearable dress model recreated in yarn, designed to clip onto your keys, purse, or backpack. Its compact size and cute appearance allow it to stand out while being incredibly practical. Besides personal use, it also serves as a heartfelt gift option due to its thoughtful design and handmade charm. Whether given as a birthday surprise or a token of appreciation, the frock keychain offers a personal touch that generic store-bought items often lack.
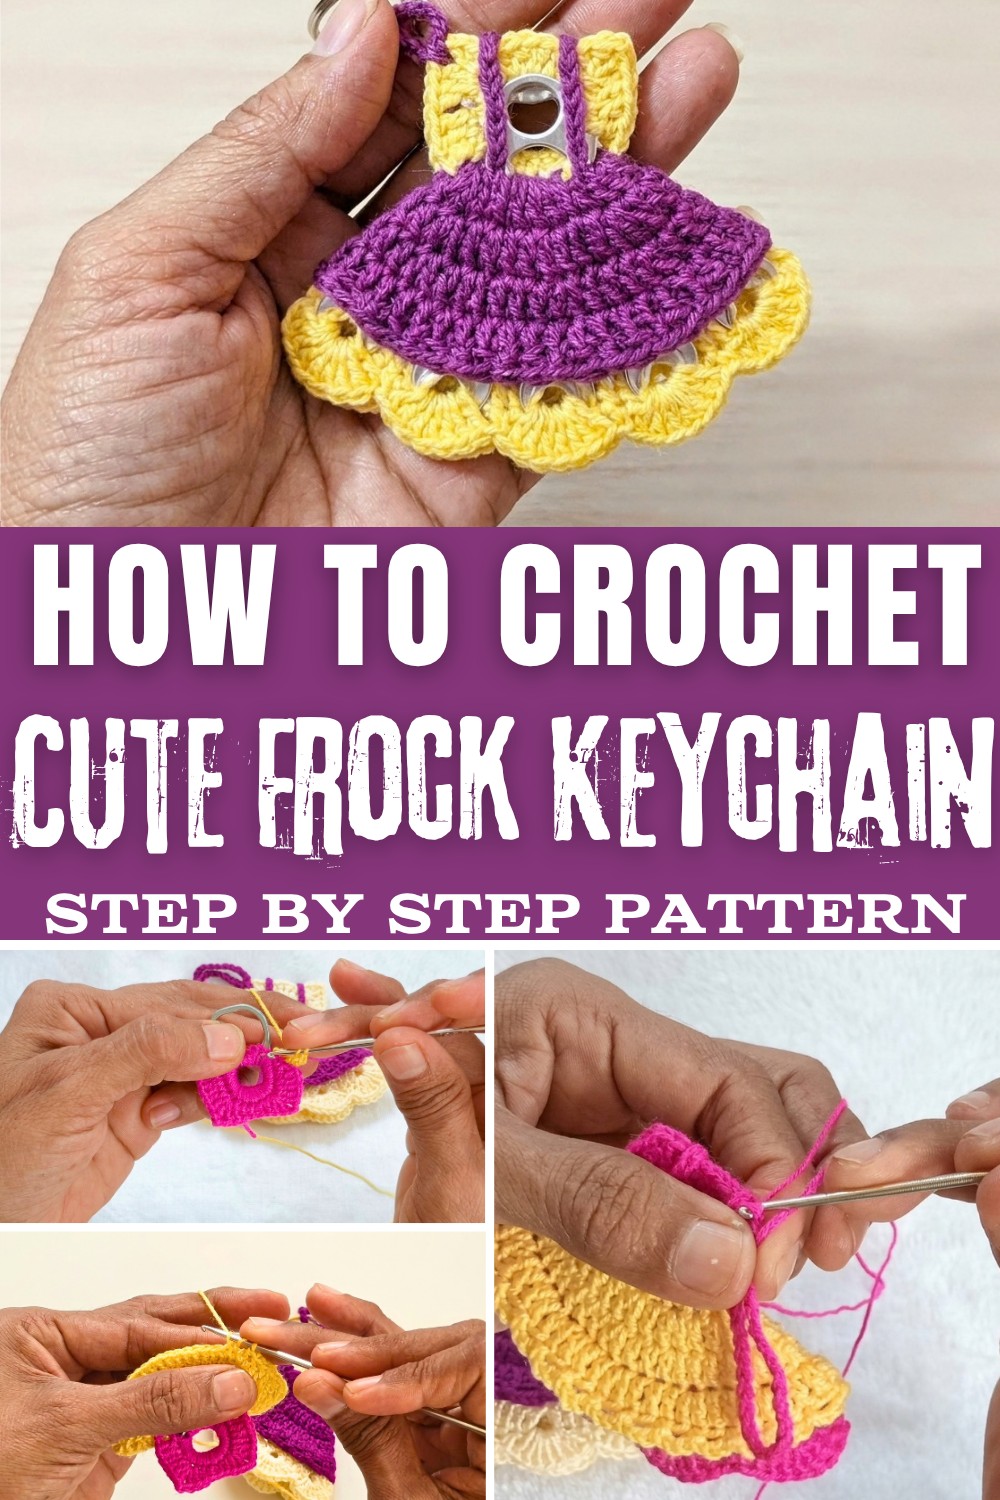
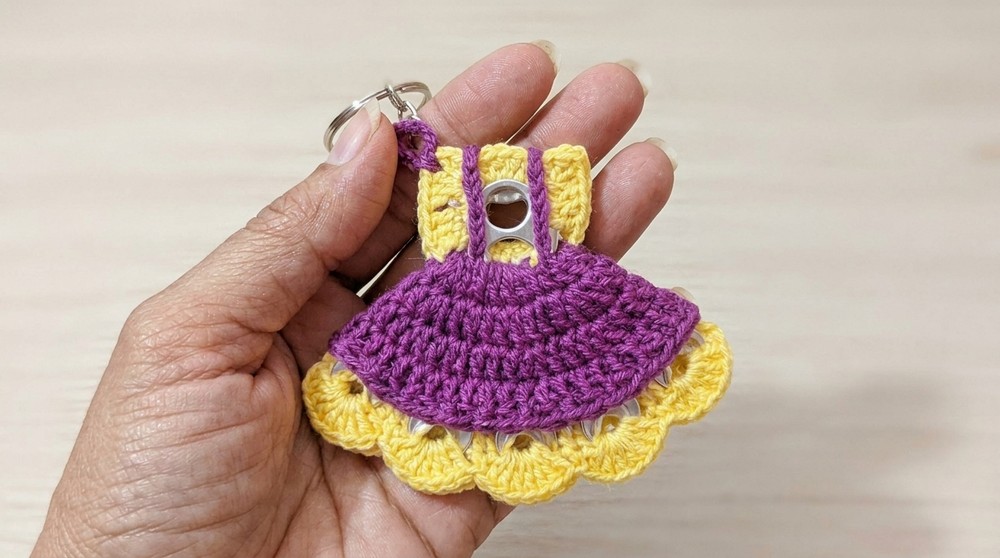
This project boasts a delightful appearance with a classic frock shape, complete with delicate sleeves and a flowing skirt effect that adds movement and softness. The texture is smooth yet slightly raised, showcasing the intricate stitches that create subtle patterns across the surface. Its style leans towards whimsical and vintage-inspired, making it an excellent decorative piece for those who love fashion and accessories with a playful twist. The standout design feature is undoubtedly the tiny belt detail around the waist, giving the frock depth and character, while the loop and small ring make it easy to attach wherever you please.
Ideal for fashion enthusiasts of all ages or anyone interested in brightening up their everyday carry items, the frock keychain adds charm, personality, and a sweet reminder of creativity wherever it goes. It combines beauty, practicality, and sentimental value into one petite, lovable package.
Crochet Frock Keychain Free Pattern With full guide
This upcycled keychain project converts an ordinary metal can tab into a colorful accessory using crochet techniques and mercerized cotton thread. The instructions focus on building a solid foundation of stitches around the ring, expanding the form through strategic increases, and integrating color changes for a lively visual appeal. Each step emphasizes structural integrity and careful placement of stitches, ensuring even tension and symmetry throughout the motif. The finished piece incorporates mesh and cluster textures as well as petal shapes that highlight both skill and creative reuse. With clear guidance for securing yarn ends and attaching hardware, this project lends itself to practical applications for everyday use. Requiring only basic tools, it provides an opportunity to transform common materials into a decorative item that combines durability and eye-catching detail.
Quick Overview Of Pattern
- Attach yarn to a clean can tab ring and work a base round of single crochet stitches
- Crochet expansion rounds directly into the base and surrounding loops, forming the motif's decorative structure
- Introduce a contrasting color and continue working around, expanding with double crochets and increases
- Develop mesh and petal-like textures by alternating loop placement and cluster construction
- Form a hanging loop suitable for attaching a metal keyring or decorative accessory
- Weave in all loose ends to complete a secure and attractive keychain
Notes
- Ensure the metal can ring/tab is clean and smooth before starting to prevent yarn snags or injury.
- Loosen tension for base stitches to make later rounds easier; do not pull stitches too tight around the metal.
- Increases are vital for flatness; check each round's shape and adjust tension as needed.
- Use a blunt (tapestry) needle for weaving in ends to avoid splitting cotton fibers.
- Color changes may be customized to match preferences or available scrap yarn.
Skill Level
- Intermediate: Familiarity with single crochet (sc), double crochet (dc), half double crochet (hdc), increases, joining rounds, and color changes is required.
Materials
- 1 large metal can ring/pull tab (from a food can)
- 1.75 mm crochet hook
- Mercerized cotton thread, 2 colors (e.g., base color and yellow)
- Tapestry needle (blunt tip)
- Scissors
- Metal keyring (for keychain attachment)
Measurements / Sizing
- Finished keychain motif: approximately 5-6 cm (2-2.5 in) in diameter, excluding the hanging loop
- Loop: adjustable, but typically 3-5 cm long
Gauge
- Gauge is not critical for this project, as motif size may vary slightly based on the can tab's size and yarn thickness.
- Motif should lay flat and be dense enough to hold its shape but flexible for ease of assembly.
Stitch Abbreviations
- ch - chain
- sc - single crochet
- hdc - half double crochet
- dc - double crochet
- sl st - slip stitch
- inc - increase (2 stitches in the same space)
Special Stitches
- Mesh Loop: chain-3 spaces, used for outer lace edging.
- Petal Shell: group of 7 hdc in one chain space.
- Cluster: sequence of 5 hdc, chain 1, skipping one stitch between clusters.
The Crochet Pattern
Round 1: Base Ring Coverage
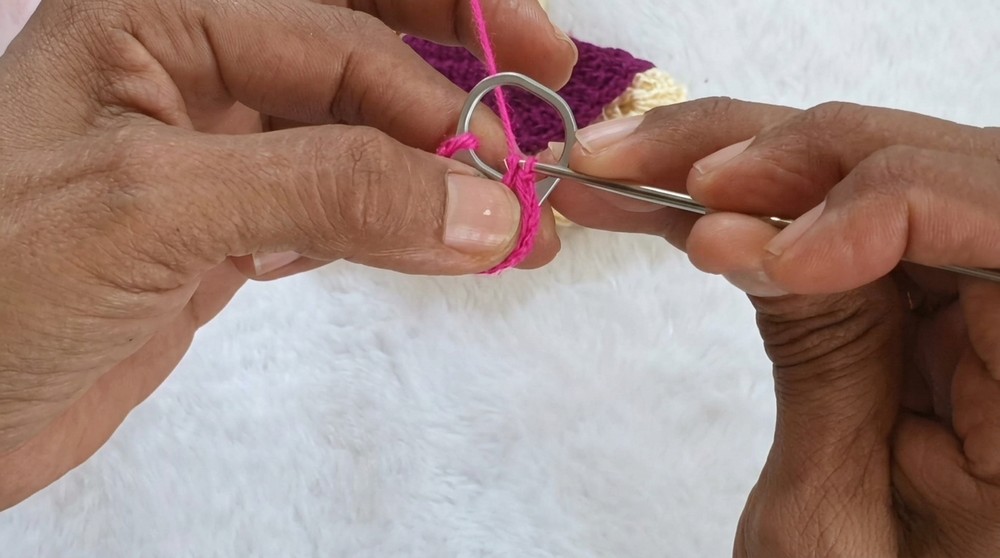
- Insert your hook into the can tab opening.
- Secure yarn with a slip knot or safety stitch around the metal.
- Work 16 single crochets (sc) evenly around the inner opening, keeping stitches slightly loose to allow for comfortable looping in subsequent rounds.
- Closing: After 16 sc, join with a sl st to your first sc to close the round.
Round 2: Front & Back Loop Base Expansion
- Work 5 stitches (according to motif shape) along the edge into both loops of the previous round.
- Sl st into the starting stitch to anchor.
- Ch 3, then 4 dc into the next stitches.
- At the motif's tip (corner), work an increase: 2 dc, ch 2, 2 dc all in the same stitch to create a pointed tip.
- Work 4 half double crochets (hdc) down the side.
- On the opposite side: 1 dc, 1 dc, ch 2, 1 dc, then 4 dc to mirror the structure.
- Fasten off and cut thread neatly.
Round 3: Color Change & Outer Loop Base
- Join your second yarn color (e.g., yellow) to the outer loops of the previous base.
- Ch 2, then 1 dc in the same space.
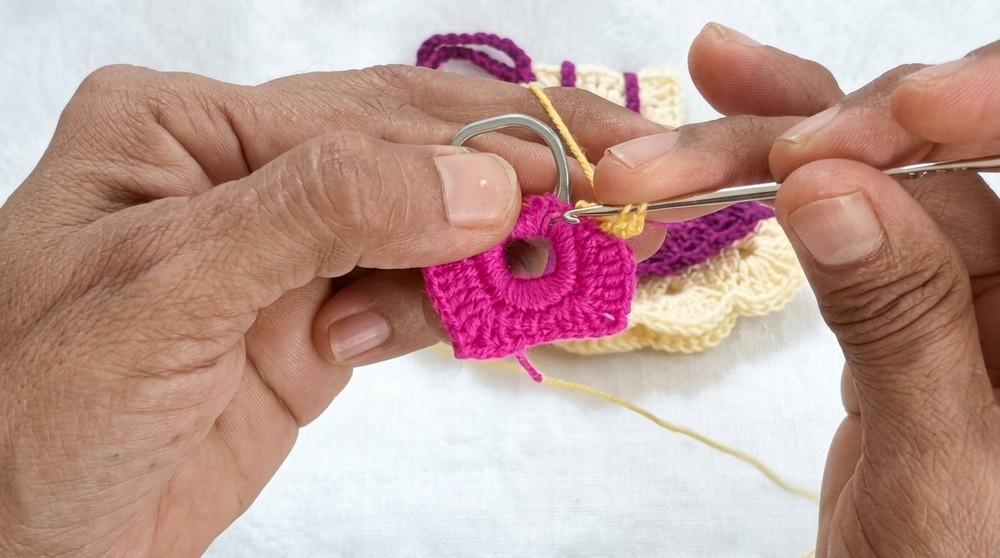
- Continue with 1 dc in each outer loop for the entire round, working only into the dedicated strand of each base stitch.
- Join with a sl st to the first dc to close this round.
Round 4: First Expansion Round
- Ch 2.
- 1 dc in the first st; 2 dc (increase) in next st.
- Alternate (1 dc, 2 dc in next) around the motif's shape-this sequence expands the motif to 38 stitches.
- Join with sl st at the round's end.
Round 5: Second Expansion Round
- Ch 2, then 2 dc in the next two stitches.
- Work 1 increase (2 dc in same st) in the following stitch.
- Repeat (2 dc, 1 inc) for the whole round's perimeter.
- Join with sl st to finish.
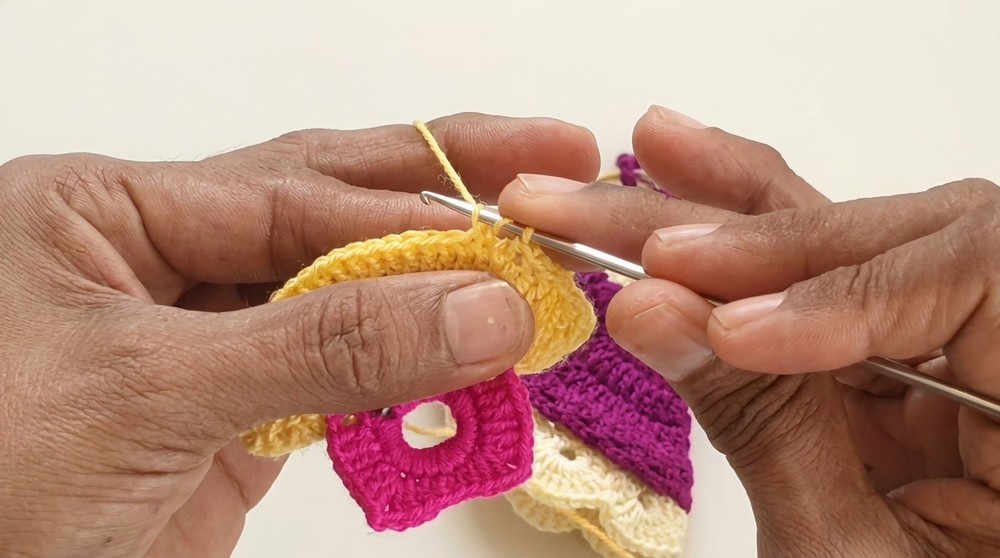
Round 6: Outer Strand Base & Mesh Loop Chain
- Ch 2.
- Work 3 dc and 1 increase per sequence, working strictly into the outer loops of the previous round for dimension.
- For mesh edging: ch 3, skip 1 st, sl st into next.
- Repeat (ch 3, skip 1 st, sl st) around the edge for a lacy effect.
- Fasten off and cut the thread tidily.
Round 7: Inner Loop Cluster Foundation
- Reattach main base color yarn to the inner loops left unworked in Round 6.
- Work 1 dc into each inner base stitch.
- Join with sl st, then ch 2 to prepare for clusters.
- For clusters:
- 5 hdc in the same space,
- ch 1, skip 1 st,
- repeat this (5 hdc, ch 1, skip 1 st) pattern to form textured clusters and gaps around the motif.
- Complete the round with a sl st.
Round 8: Petal Shell Finish
- Sl st to next space; work a single crochet.
- In every chain-1 space from the previous round, work 7 hdc-this forms each petal shell.
- 1 sc in the center between each shell cluster for definition.
- Repeat (7 hdc in ch-space, 1 sc in center) to finish all 10 petals.
- End with sl st into the round's start, fasten off, and use the tapestry needle to neatly weave in all ends inside.
Round 9: Keyring Hanging Cord & Final Assembly
- Attach matching or contrasting yarn to the motif's top tip.
- Ch 9 (or as preferred) for a durable hanging loop.
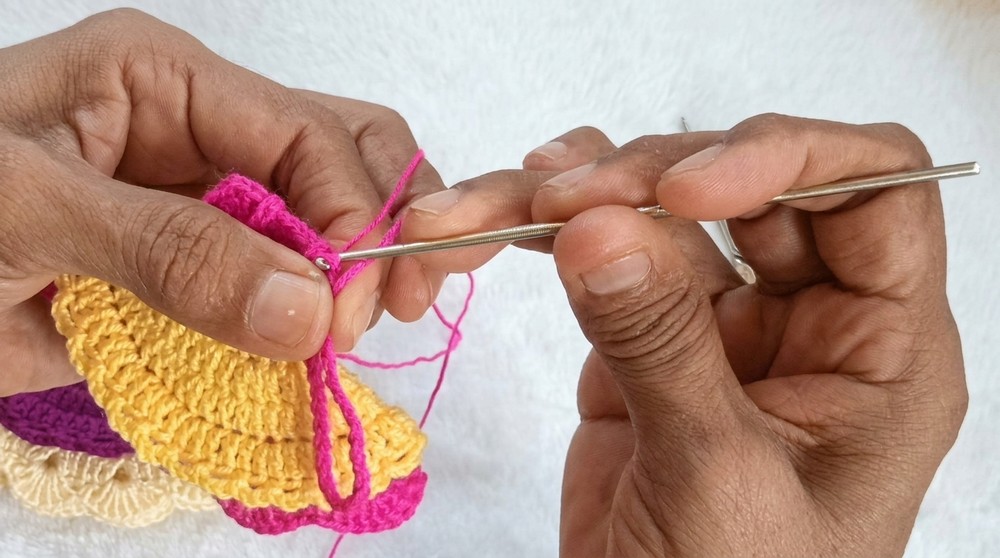
- Secure end by knotting to the motif's opposite tip (for symmetric hanging).
- Thread both yarn ends inside with the tapestry needle so they vanish among the stitches.
- Slide a metal keyring through the hanging loop.
- Optionally, attach a decorative flower or ring for added detail.
Conclusion and Ending Words
Once the steps are completed, the can tab crochet keychain stands as a durable piece with balanced shapes and vivid textures. The sequence, from the initial coverage of the metal ring through layered expansions and petal finishes, produces a robust structure that resists daily wear and tear. Attention to color combinations and finishing methods helps the keychain feel both refined and lively, suitable for personal use or as a thoughtful gift. The solid construction offers peace of mind for long-term use on keys, bags, or zippers. Thorough weaving in of loose ends ensures a neat appearance while the attachment loop provides flexibility in placement. By combining everyday materials, skillful technique, and practical assembly, this accessory succeeds in delivering both function and distinctive style.